How to Clean an Oil Paint Brush
To clean an oil paint brush, gather your supplies: a rinse container, cleaning solvent, mild soap, paper towels, and gloves. First, pour solvent into the container, then dip the brush and swish gently to dissolve paint. Wipe off excess paint, then wash bristles with soap and warm water. Rinse thoroughly, reshape the bristles, and lay the brush flat to dry. Make certain you handle cleaning agents safely to maintain a secure workspace. There’s more to explore on proper care techniques.
Preparation For Cleaning
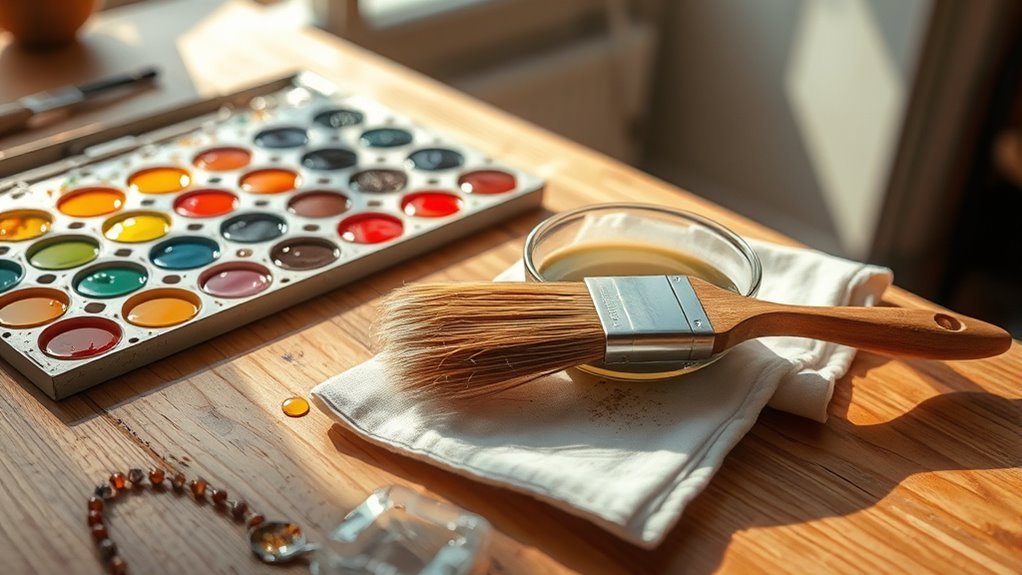
Before you plunge into cleaning your oil paint brush, it’s essential to gather a few key supplies to make the process efficient and effective. Start by selecting a container for your cleaning solution, ensuring it’s large enough to fully submerge the brush. Next, choose a cleaning agent suitable for oil paint, like solvent or soap, depending on your preference. You’ll also need paper towels or rags for wiping away excess paint and a comb or brush cleaner for thorough bristle maintenance. Consider your cleaning frequency; regular maintenance will extend the life of your brushes, preventing paint buildup. By being prepared, you’ll not only clean more effectively but also enjoy the freedom that comes with well-cared-for tools.
Tools and Chemical Required
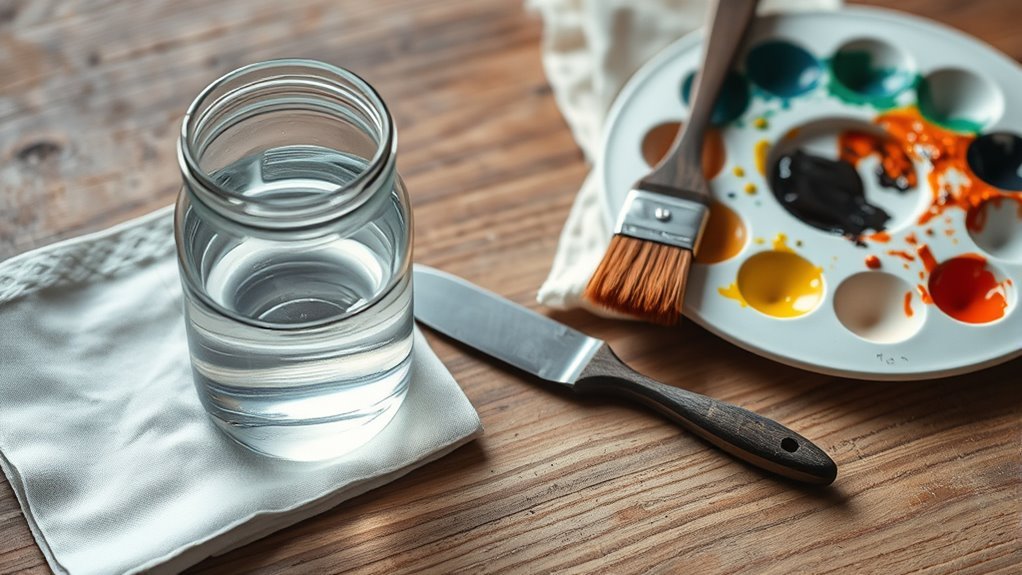
Having gathered your supplies, it’s time to focus on the tools and chemicals you’ll need to effectively clean your oil paint brush. Different brush types require specific cleaning solvents to guarantee thorough care. Here’s a concise table to guide you:
| Tool/Chemical | Purpose | Example |
|---|---|---|
| Brush Comb | Detangling bristles | Metal comb |
| Cleaning Solvent | Dissolving oil paint | Odorless mineral spirits |
| Rinse Container | Holding rinse water | Plastic bucket |
| Paper Towels | Wiping excess paint | Absorbent towels |
| Gloves | Protecting hands | Disposable gloves |
Using the right tools and solvents will help maintain your brushes and guarantee they last for many creative sessions ahead!
How to Clean:

Step 1: Prepare Your Cleaning Supplies
- Gather your cleaning solvent (such as mineral spirits or turpentine) and a rinse container that is large enough to submerge the bristles of your brush.
- Ensure you have mild soap and warm water ready for the final cleaning stage.
- Have paper towels or a clean cloth on hand for wiping the brush.
Step 2: Pour the Solvent
- Carefully pour enough cleaning solvent into the rinse container.
- Make sure the solvent is deep enough to fully submerge the bristles of the brush without overfilling the container.
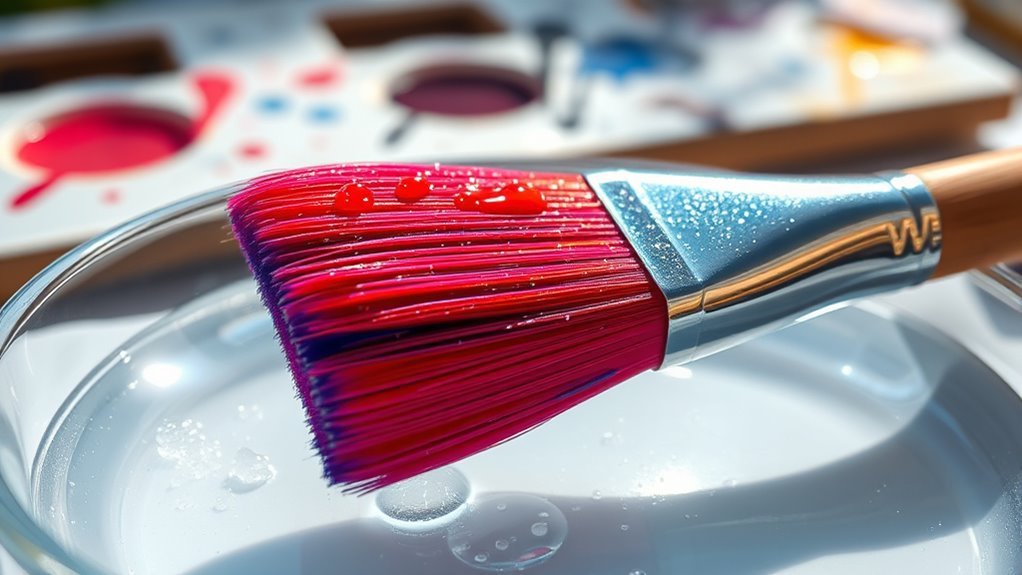
Step 3: Dip the Brush
- Take your oil paint brush and dip the bristles into the solvent.
- Gently swish the brush around in the solvent, allowing it to dissolve the paint.
- Be cautious not to bend or damage the bristles during this process, as it can alter their shape and effectiveness.
Step 4: Remove Excess Paint
- After about a minute of swishing, lift the brush from the solvent.
- Wipe the bristles against the edge of the container to remove excess solvent and paint. This helps to clear the brush of any remaining residue.
Step 5: Repeat the Process
- Check the solvent; if it is still discolored, repeat Steps 3 and 4 until the solvent runs clear.
- This indicates that the majority of the paint has been removed from the brush.
Step 6: Wash with Soap
- Once the solvent is clear, proceed to wash the bristles with mild soap.
- Use warm water to create a lather with the soap, ensuring to thoroughly clean the bristles and remove any remaining paint or solvent.
Step 7: Rinse Thoroughly
- Rinse the brush under running warm water to remove all soap and paint residues.
- Make sure there are no suds left, as they can affect the performance of the brush in future use.
Step 8: Reshape the Bristles
- Gently reshape the bristles of the brush back to their original form after rinsing.
- This step is crucial to maintaining the brush’s effectiveness for future painting projects.
Step 9: Dry the Brush
- Lay the brush flat on a clean surface or a paper towel to dry.
- Avoid standing the brush upright in a container, as this can cause the bristles to bend or splay.
Step 10: Store Properly
- Once the brush is completely dry, store it in a safe place.
- Proper storage will help prolong the life of your brush and keep it ready for your next masterpiece.
Safety Consideration
While cleaning your oil paint brushes is essential for their longevity, it’s equally important to prioritize safety throughout the process. Start by wearing appropriate protective gear, such as gloves and a mask, to shield yourself from harmful solvents and fumes. These materials can irritate your skin and respiratory system, so don’t underestimate their impact. Next, guarantee proper ventilation importance; open windows or work in a well-ventilated area to disperse any airborne toxins. If you’re using strong cleaning agents, consider a fume hood or respirator for added protection. Finally, always dispose of cleaning materials responsibly, preventing environmental harm. By prioritizing safety, you can enjoy your artistic freedom with peace of mind while keeping your workspace secure.
Frequently Asked Questions
Can I Reuse Leftover Paint From My Brush Cleaning Process?
Yes, you can reuse paint from your brush cleaning process, but it’s crucial to be cautious. After cleaning, collect any leftover paint in a separate container. Verify it’s free from solvents or debris. When you’re ready to paint again, mix this recycled paint with fresh paint to maintain consistency. Just remember, reusing paint might alter the color slightly, so test it first to see if it meets your creative vision. Enjoy your freedom in art!
What Should I Do if My Brush Bristles Are Stiff?
If your brush bristles are stiff, think of them as a garden that needs nurturing. Start by soaking the bristles in warm soapy water, then gently work the soap through with your fingers. Rinse thoroughly and allow them to dry flat. For brush conditioning, apply a bit of brush conditioner or olive oil to restore flexibility. Regular bristle care will keep your brushes in top shape, ready to create your next masterpiece!
How Often Should I Clean My Oil Paint Brushes?
You should clean your oil paint brushes after each use for peak performance and to maintain their longevity. Regular routine maintenance is key, so aim for immediate cleaning to prevent paint from drying. If you’re using multiple colors, consider a cleaning frequency of every few strokes to keep colors pure. This approach not only preserves your brushes but also enhances your painting experience, allowing you the freedom to express your creativity without limitations.
Can I Use Soap Instead of Solvents for Cleaning?
Sure, you can use soap instead of solvents for cleaning your brushes, but it’s not always as effective. While soap can help with initial rinsing, it may not fully remove all oil residues. For proper brush maintenance, you’ll want to follow up with a solvent to guarantee a thorough clean. Remember, treating your brushes well keeps them in top shape, allowing your creativity to flow freely without the hassle of stubborn paint.
What Are the Signs That My Brush Needs Replacing?
You’ll know it’s time to replace your brush when the bristle quality diminishes. Look for frayed, split, or misshapen bristles that won’t hold their form. If you notice a loss of responsiveness or a lack of precision in your strokes, that’s a clear sign your brush maintenance routine needs a rethink. Additionally, if the brush feels stiff or hard despite proper cleaning, it’s best to invest in a new one for peak performance.


