How to Safely Clean and Disinfect Baby Bottles
To safely clean and disinfect baby bottles, start by choosing bottles that are easy to clean, like wide-neck glass ones. Disassemble all parts, rinse off milk residue, then wash thoroughly with warm, soapy water using a bottle brush. Rinse well and either air dry or use a dishwasher if bottles are dishwasher-safe. For disinfecting, steam sterilizers or microwave steam bags work best after cleaning. There’s more to learn about drying, storage, and keeping bottles hygienic that can help you care for your little one.
Choosing the Right Baby Bottles for Easy Cleaning

Although all baby bottles serve the same basic purpose, choosing ones designed for easy cleaning can save you time and hassle. When deciding between glass versus plastic, consider that glass bottles are less likely to retain odors and stains, making them easier to keep spotless. However, plastic bottles are lighter and more portable, giving you freedom on the go. Opt for bottles with wide necks since they allow better access for thorough scrubbing. Bottle size also matters—smaller bottles are quicker to clean but may require more frequent refills, while larger bottles might take longer to wash but reduce prep time. By selecting bottles that balance ease of cleaning with your lifestyle needs, you’ll enjoy more freedom and less stress during feeding time.
Preparing Bottles for Cleaning
Before you start cleaning, it’s important to prepare the bottles properly to confirm they come out spotless and safe for your baby. Using effective bottle preparation techniques guarantees you remove residue and prevent contamination. Follow this pre cleaning checklist to get started:
| Step | Action | Purpose |
|---|---|---|
| 1. Disassemble | Take apart all bottle parts | Access all surfaces |
| 2. Rinse | Rinse with cool water | Remove milk residue |
| 3. Sort | Group similar parts | Organize for washing |
| 4. Inspect | Check for cracks or damage | confirm safety |
| 5. Pre-soak | Soak in warm soapy water | Loosen stubborn debris |
Washing Baby Bottles by Hand
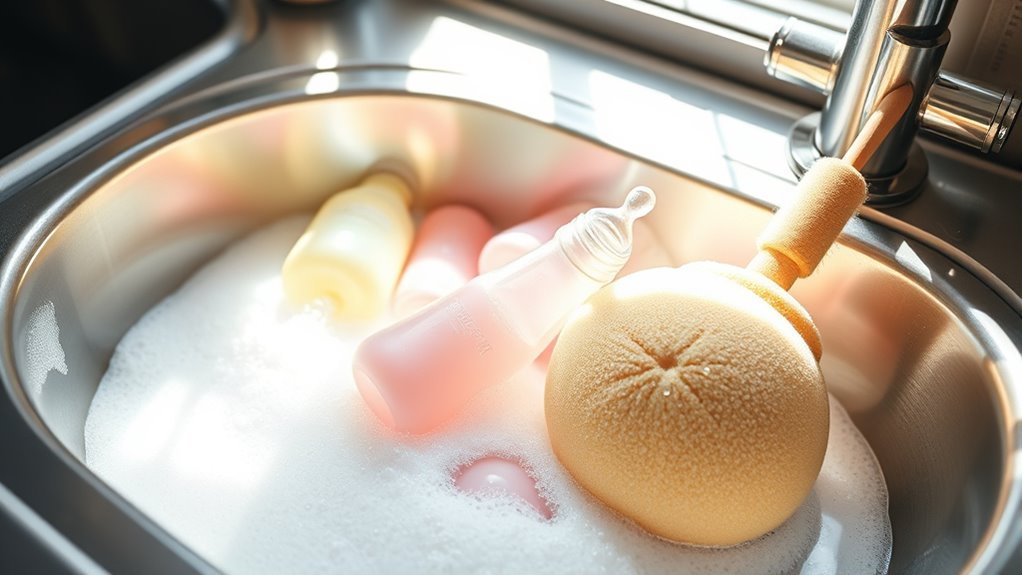
Once you’ve prepared your baby bottles by disassembling, rinsing, and soaking them, it’s time to wash them thoroughly by hand. Hand washing lets you control every detail, ensuring your baby’s bottles are spotless. Use warm, soapy water and focus on every nook with bottle brushes designed to reach deep inside. These brushes help remove milk residue and buildup that rinsing alone can’t handle. Don’t forget to scrub nipples and caps separately to avoid lingering bacteria. Rinse all parts well with clean water to wash away soap and debris. After washing, place bottles and parts on a clean towel or drying rack to air dry completely. Hand washing baby bottles this way gives you freedom and confidence that they’re clean and safe for your little one.
Using a Dishwasher to Clean Baby Bottles
If you prefer a more hands-off approach, using a dishwasher to clean baby bottles can save you time and effort. To get the best results, be certain to check your dishwasher settings. Choose a cycle with hot water and a heated dry option to guarantee thorough cleaning. Pay attention to bottle orientation—place bottles upside down on the top rack so water can reach inside easily. Separate nipples and small parts in a dishwasher-safe basket to prevent loss and ensure they get cleaned properly. Avoid overcrowding to let water circulate freely. This method frees you from scrubbing but still gives you clean bottles ready for your little one. Just make sure your bottles are dishwasher-safe to keep them in great shape.
Effective Methods for Disinfecting Baby Bottles

Although regular cleaning removes most residue, disinfecting baby bottles is essential to eliminate harmful bacteria and guarantee your baby’s safety. One of the most effective methods is steam sterilization, which uses high-temperature steam to kill germs without chemicals. You can use an electric steam sterilizer or a microwave steam bag for quick, hassle-free disinfecting. Before sterilizing, give your bottles a thorough scrub with bottle brushes to remove milk residue from hard-to-reach areas, ensuring the steam reaches every surface. Regularly replacing your bottle brushes keeps the cleaning process effective. By combining careful scrubbing and steam sterilization, you maintain a safe feeding environment for your little one while keeping things simple and free from unnecessary hassle.
Natural and Chemical Disinfectants: What to Use
While steam sterilization is a popular and effective way to disinfect baby bottles, you might be wondering about other options, especially natural or chemical disinfectants. Natural cleaners like vinegar or baking soda offer a gentle, eco-friendly alternative that many parents appreciate for their simplicity and lack of harsh chemicals. These options can effectively reduce bacteria without compromising your baby’s health or your desire for a toxin-free environment. However, if you choose chemical disinfectants, it’s essential to prioritize chemical safety. Always select baby-safe products, follow instructions precisely, and rinse bottles thoroughly to avoid residue. Balancing natural cleaners with safe chemical options lets you maintain cleanliness while embracing freedom in your choices. Ultimately, pick what aligns best with your lifestyle and peace of mind.
Drying and Storing Clean Baby Bottles Safely
Once your baby bottles are thoroughly cleaned and disinfected, drying and storing them properly is vital to prevent contamination. You’ll want to use drying racks that allow air to circulate freely around each piece, speeding up the drying process and keeping moisture from lingering. Avoid towel drying, which can introduce bacteria or fibers.
For bottle storage, pick a clean, dry spot away from kitchen sinks or food prep areas to reduce exposure to germs. Store bottles upright with lids off or loosely placed to maintain airflow and prevent trapped moisture. If you prefer, use a closed container designed for bottle storage to shield them from dust while still allowing ventilation. Taking these simple steps guarantees your baby’s bottles stay as clean as possible, so you’re always ready to feed without worry.
Tips for Maintaining Bottle Cleanliness Between Uses
Keeping your baby bottles clean between uses helps prevent bacteria buildup and guarantees each feeding stays safe. To maintain freshness without feeling tied down, stick to a simple cleaning schedule and smart bottle storage habits. Here’s how you can stay on top of it:
- Rinse bottles immediately after use to avoid milk residue drying and hardening.
- Store bottles in a clean, dry place with lids off to prevent moisture buildup and mold.
- Follow a consistent cleaning schedule—wash bottles thoroughly at least once daily, even if used multiple times.
Signs That Indicate It’s Time to Replace Baby Bottles
Even if you take great care of your baby bottles, they won’t last forever. Over time, wear and tear on the bottle material can compromise safety and hygiene. Look for cracks, discoloration, or cloudiness—these are clear signs it’s time to replace your bottles. Silicone and plastic degrade differently, so knowing your bottle material helps you judge when to swap them out. Additionally, consider the manufacturer’s recommended replacement frequency; sticking to it guarantees your baby’s feeding gear stays safe. If you notice any persistent odors or if the nipples become sticky or cracked, don’t hesitate to replace those, too. Keeping an eye on these signs gives you the freedom to trust your bottles, keeping feeding time safe and worry-free.
Frequently Asked Questions
Can I Use Vinegar to Clean Baby Bottles Safely?
You can use vinegar to clean baby bottles safely since it has natural vinegar benefits like cutting through residue and killing some bacteria. It’s a great cleaning alternative if you want a chemical-free option. Just make sure to rinse the bottles thoroughly afterward to remove any vinegar smell or taste. This way, you keep things fresh and safe without being tied down by harsh cleaners.
How Often Should Bottle Nipples Be Replaced?
You should keep an eye on nipple wear to know when it’s time for replacement. If you notice cracks, tears, or the nipple feels sticky or discolored, those are clear replacement signs. Generally, it’s a good idea to swap them out every 1 to 2 months to keep things safe and comfy for your baby. Staying on top of this lets you enjoy freedom from worries while your little one feeds happily.
Are Silicone Bottles Easier to Clean Than Plastic Ones?
You’ll find silicone bottles often easier to clean than plastic ones because silicone durability lets you scrub and boil them without damage. Their flexible material means fewer hard-to-reach spots, making cleaning methods simpler and more effective. Plus, silicone resists stains and odors better, giving you more freedom to reuse without worrying. So, if you want hassle-free upkeep, silicone bottles might be your best bet.
Can Microwave Steam Bags Disinfect Baby Bottles Effectively?
You can use microwave steam bags to disinfect baby bottles effectively, but you’ve got to prioritize microwave safety. These bags harness steam sterilization, which kills most germs quickly and conveniently. Just follow the instructions carefully to avoid overheating or damaging the bottles. It’s a great way to free yourself from complicated cleaning routines while ensuring your baby’s bottles are hygienic. Just keep an eye on the process, and you’re good to go!
Is It Safe to Share Baby Bottles Between Siblings?
When it comes to bottle sharing between siblings, you’ll want to keep sibling safety in mind. Sharing bottles can spread germs and infections, especially if one child is sick. To enjoy freedom while protecting your little ones, consider using separate bottles or thoroughly cleaning and disinfecting them between uses. This way, you can avoid unnecessary risks and keep both siblings healthy without feeling restricted in your daily routine.