How to Clean and Whiten Grout in Your Bathroom
To clean and whiten grout in your bathroom, start by mixing baking soda with water to make a paste, then apply it to the grout lines. Spray vinegar over the paste and let it fizz to break down dirt and stains. Scrub with a toothbrush or grout brush, then rinse with water. Regular sealing and quick spill clean-ups help keep grout bright. Keep going for more tips on natural whitening and safe commercial cleaners.
Understanding Why Grout Gets Dirty

Although grout might seem like a simple filler between tiles, it’s actually quite porous, which means it easily absorbs dirt, moisture, and stains. Understanding grout composition helps you see why it’s vulnerable: made from cement, sand, and water, it creates tiny gaps perfect for trapping grime. You’ll notice stain sources like soap scum, mold, mildew, and everyday spills seeping into these pores, dulling your tiles’ appearance. If you want freedom from constant cleaning struggles, recognizing these factors is key. Once you grasp why grout gets dirty, you can approach cleaning with purpose instead of frustration. It’s not just about surface dirt—it’s about the grout’s nature and what it attracts, so you can keep your bathroom looking fresh and bright with less effort.
Essential Tools and Materials for Grout Cleaning
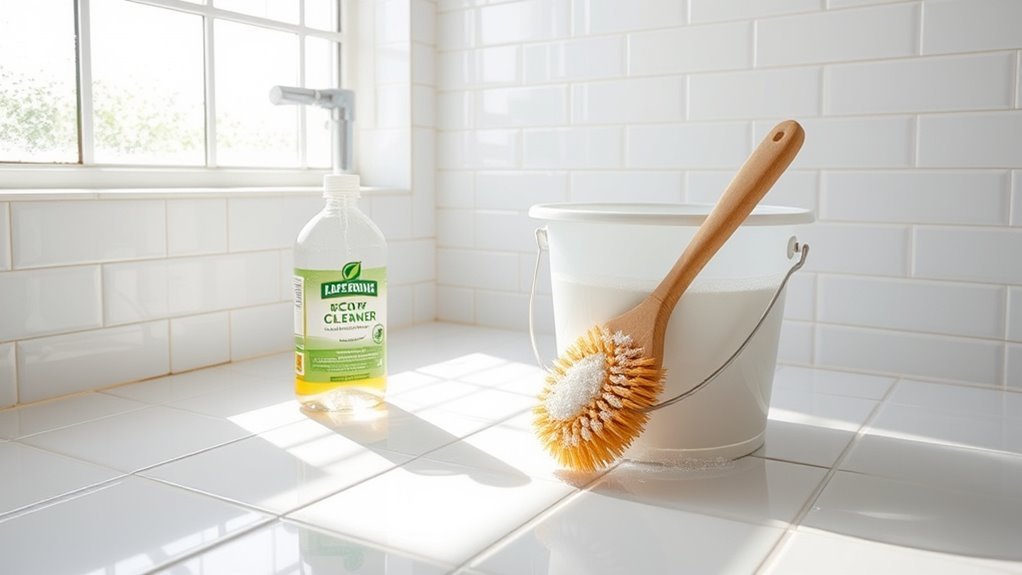
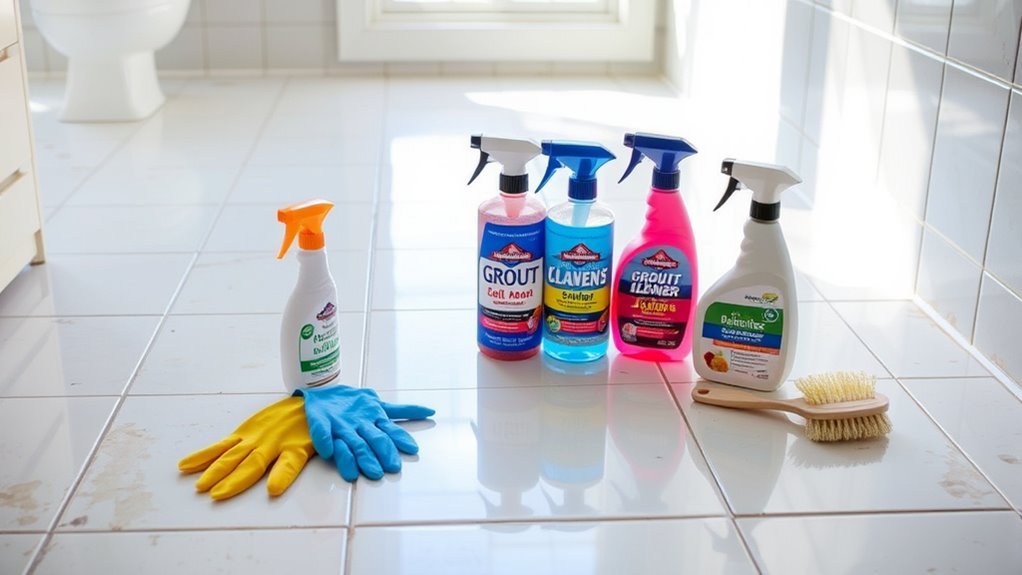
Getting your grout clean and bright requires the right tools and materials to tackle the dirt trapped in those tiny pores effectively. To enjoy the freedom of a sparkling bathroom, you’ll want to arm yourself with these essential supplies for grout cleaning:
- Grout brush or old toothbrush – Its stiff bristles reach deep into grout lines to scrub away grime.
- Cleaning solution – Choose a grout cleaner or a homemade mix like baking soda and vinegar.
- Spray bottle – Makes applying your cleaning solution easy and even.
- Protective gloves – Shield your hands from harsh chemicals and keep you comfortable.
With these in hand, you’re set to reclaim your bathroom’s fresh, clean feel without hassle or mess.
Preparing Your Bathroom for Grout Cleaning

Before you start scrubbing, it’s important to prepare your bathroom to protect surfaces and make the cleaning process smoother. Begin by clearing clutter to improve bathroom organization—remove toiletries, rugs, and towels from the area. This gives you full access to grout lines and prevents accidental damage. Next, set up a temporary cleaning station with all your tools within reach to stay efficient. Check your cleaning schedule and pick a time when you can focus without interruptions, so you’re not rushed. Don’t forget to ventilate the space by opening windows or turning on the exhaust fan, keeping fresh air flowing. Taking these simple steps lets you tackle grout cleaning with freedom and confidence, making the effort less of a chore and more of a rewarding refresh.
Step-By-Step Guide to Cleaning Grout With Baking Soda and Vinegar
Cleaning grout with baking soda and vinegar is a simple and effective method you can do with common household items. This approach uses the natural power of vinegar and the gentle abrasiveness of baking soda to lift dirt and brighten grout lines. Here’s a clear step-by-step guide using the right vinegar ratio and proven grout cleaning techniques:
Harness vinegar’s natural power and baking soda’s gentle abrasiveness to easily brighten and clean grout lines.
- Mix baking soda with water to form a thick paste.
- Apply the paste directly onto grout lines.
- Spray vinegar over the baking soda paste, letting the mixture fizz and break down grime.
- Scrub grout with a brush, then rinse thoroughly with water.
Using Commercial Grout Cleaners Safely and Effectively
While baking soda and vinegar work well for many grout cleaning jobs, some stains might need a stronger solution. When you choose a commercial grout cleaner, prioritize commercial cleaner safety by reading labels carefully and using gloves to protect your skin. Make sure your bathroom is well-ventilated to avoid inhaling harsh fumes. For effective application, apply the cleaner directly onto the grout lines and let it sit for the recommended time before scrubbing with a brush. Avoid mixing cleaners, as this can release dangerous gases. Rinse thoroughly afterward to remove any residue. By following these steps, you maintain your freedom to clean effectively without risking your health or damaging your grout.
Tips for Whitening Grout Naturally
Wondering how to brighten your grout without harsh chemicals? You can embrace natural alternatives that are both effective and eco friendly solutions. Here are four tips to get your grout looking fresh and white:
- Mix baking soda and water into a paste, apply it to grout, then scrub gently with a toothbrush.
- Use white vinegar as a spray cleaner; it naturally breaks down grime without toxic residues.
- Lemon juice’s acidity helps lighten stains—apply, let sit, then rinse thoroughly.
- Hydrogen peroxide is a safe bleaching agent; combine it with baking soda for tough spots.
Maintaining Clean Grout to Prevent Future Stains
Even if you’ve just whitened your grout, keeping it clean requires regular care to stop stains from setting in again. One of the best prevention tips is applying grout sealing. This protective barrier repels moisture and dirt, making it easier to wipe away spills before they cause discoloration. You’ll want to reseal your grout every six months to a year, depending on usage.
Besides sealing, simple habits help maintain your grout’s fresh look. Wipe down tiles after showers, avoid harsh cleaners that erode grout, and tackle spills immediately. By staying consistent with these prevention tips, you’ll enjoy bright, clean grout without the hassle of frequent deep cleans. Taking these steps gives you the freedom to relax, knowing your bathroom stays inviting and stain-free.
Frequently Asked Questions
Can Grout Color Be Changed Permanently After Cleaning?
Think of grout like a canvas—you can’t just erase paint, but you can change its color with the right tools. After cleaning, grout color can be changed permanently using grout staining techniques that bond deep into the surface. These permanent color options give you freedom to refresh your space without redoing tiles. Just like updating your wardrobe, changing grout color lets you express yourself and keep your bathroom feeling brand new.
Is Grout Cleaning Safe for All Tile Types?
Not all grout cleaning methods are safe for every tile material. You’ll want to contemplate both your grout types and tile materials before diving in. Some cleaners might be too harsh on delicate tiles like natural stone, while others work great on ceramic or porcelain. Always test a small area first to avoid damage. Choosing the right approach lets you keep your freedom to clean effectively without risking your beautiful tiles.
How Often Should Grout Be Professionally Sealed?
You’ll want to keep grout maintenance tips in mind by sealing your grout every 1 to 3 years, depending on how much wear it gets. Sealing frequency varies based on your bathroom’s moisture and traffic levels, so don’t stress if it’s sooner or later. Regular sealing helps prevent stains and keeps your grout looking fresh, giving you the freedom to enjoy a cleaner, more vibrant space without constant worry about grout damage.
Can Mold in Grout Cause Health Problems?
Yes, mold in grout can definitely cause health problems. When you’re exposed to mold, especially in damp areas like bathrooms, you risk respiratory issues, allergic reactions, and other health risks. If you notice mold, it’s important you deal with it quickly to keep your space safe and breathe freely. Taking control of mold exposure means protecting your health and maintaining a clean, comfortable home environment you deserve.
What Are the Best Tools for Grout Regrouting?
Wondering what tools can make grout cleaning methods and regrouting techniques easier? You’ll want a grout removal tool or an oscillating multi-tool with a grout removal blade to strip old grout efficiently. A grout float helps you spread new grout smoothly, while a grout sponge and bucket keep things neat. Don’t forget safety goggles to protect your eyes. With these tools, you’re free to tackle regrouting like a pro!


