How to Clean Bathroom Floors
To clean your bathroom floors effectively, start by gathering supplies like a broom, mop, bucket, and non-toxic cleaner suited to your floor type. Clear the area, removing rugs and clutter. Sweep or vacuum to pick up dirt, then mop carefully in sections, paying close attention to grout and corners. Rinse with clean water and dry thoroughly to prevent slips and residue. Keeping a regular cleaning routine helps maintain freshness. There’s more to learn about proper grout care and maintenance tips.
Gather Necessary Cleaning Supplies
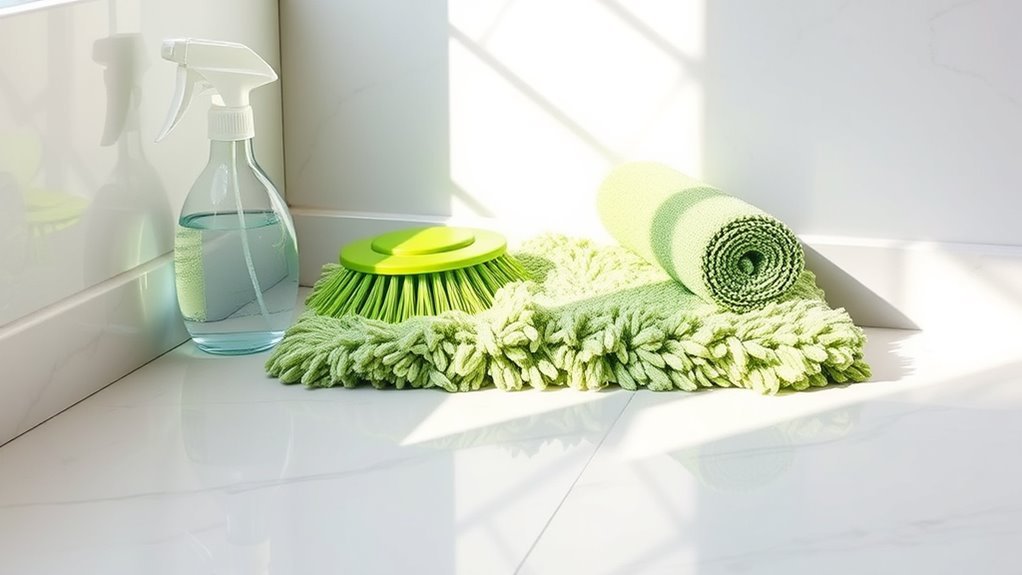
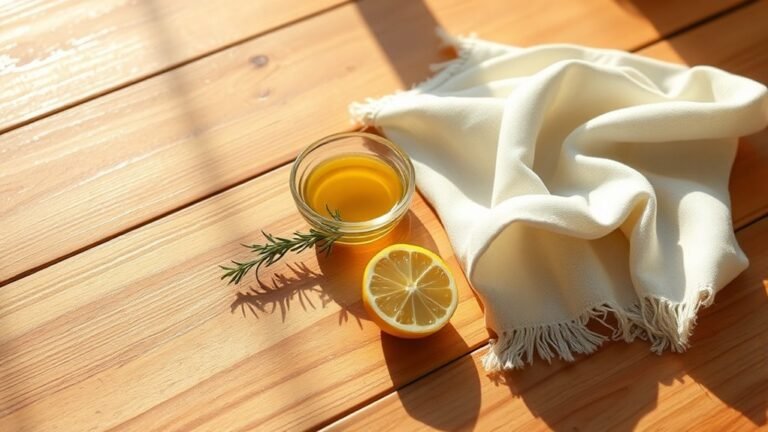
Before you begin cleaning your bathroom floors, make sure you’ve gathered all the necessary supplies to work efficiently. Start by selecting the right cleaning tools: a sturdy broom or vacuum for debris, a mop with a removable, washable head, and a bucket for mixing solutions. Opting for eco friendly options such as natural brushes or microfiber cloths helps minimize environmental impact without sacrificing effectiveness. Choose biodegradable, non-toxic cleaners or make your own with vinegar and baking soda for a safer approach. Having gloves on hand protects your skin during scrubbing. Organize everything within reach to maintain momentum and avoid interruptions. Preparing thoughtfully not only streamlines the process but also empowers you to clean thoroughly while honoring your commitment to freedom and sustainability.
Clear the Bathroom Floor Area
Although it might seem like a simple step, clearing the bathroom floor area is crucial for an effective cleaning process. You’ll want to remove rugs and any loose items that clutter the floor. Organize toiletries on shelves or counters to prevent spills and allow full access to surfaces. This preparation guarantees you can clean without obstruction, making the process swift and thorough.
| Action | Purpose | Tip |
|---|---|---|
| Remove rugs | Access entire floor surface | Shake out before washing |
| Organize toiletries | Prevent spills & clutter | Use bins or trays |
| Clear trash | Avoid obstacles | Empty wastebaskets |
| Move furniture | Reach hidden areas | Use sliders for ease |
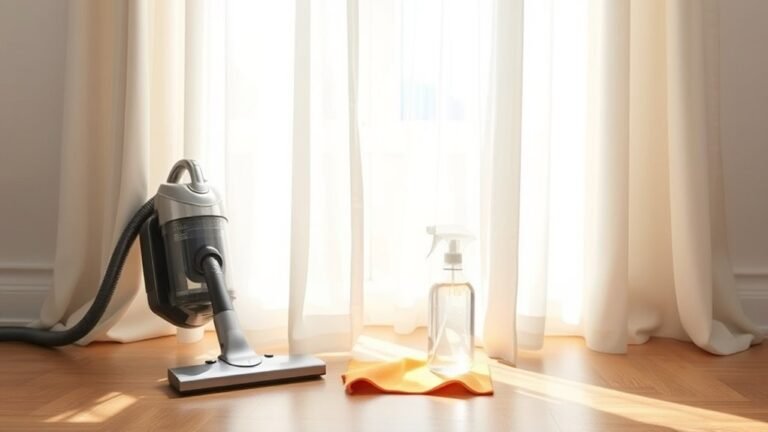
Sweep or Vacuum Loose Dirt and Debris
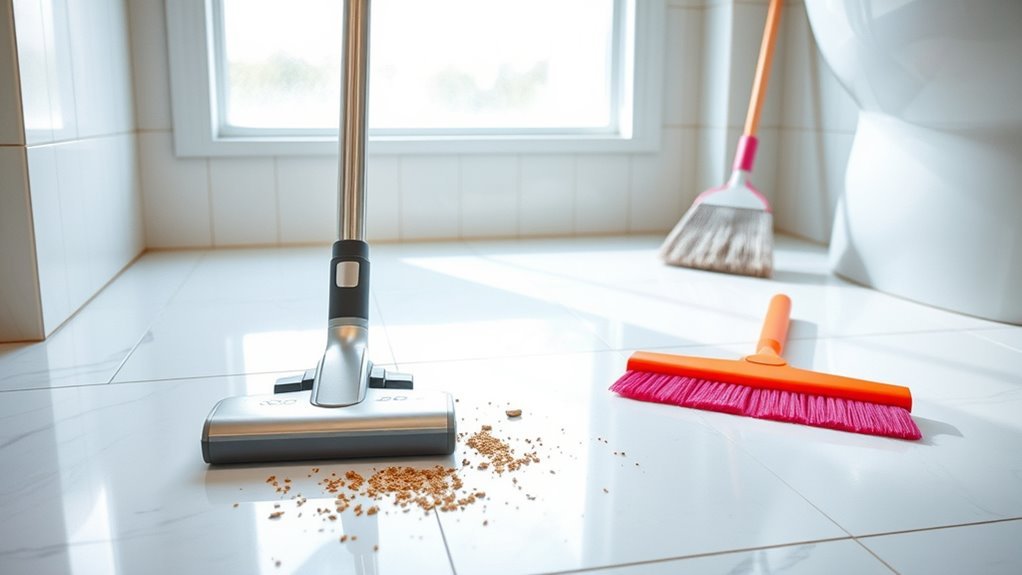
Two essential tools you’ll need for this step are a broom and a vacuum cleaner, each suited to different floor types and debris sizes. Begin by selecting the right tool: use a broom for hard surfaces with larger debris and a vacuum for tile or grout that traps fine dirt. Employ precise sweeping techniques—start from the edges, pushing dirt toward the center in short, controlled strokes to avoid scattering dust. If using a vacuum, choose one with strong suction and a hard floor setting to protect your floor’s finish. Vacuuming benefits include capturing dust mites and allergens quickly, offering a deeper clean. By methodically removing loose dirt and debris, you guarantee the surface is ready for the next cleaning phase, freeing you to maintain a spotless bathroom floor efficiently.
Choose the Right Cleaning Solution for Your Floor Type
First, determine the exact material of your bathroom floor—whether it’s tile, vinyl, laminate, or stone. Once identified, choose a cleaning solution specifically formulated for that material to avoid damage and guarantee effective cleaning. Using the wrong cleaner can dull finishes or cause deterioration, so precise selection is essential.
Identify Floor Material
Understanding your bathroom floor’s material is essential before choosing a cleaning solution, as different surfaces require specific care to avoid damage. You should first identify your flooring options and tile types, as this guides your cleaning approach and protects your investment.
| Floor Material | Common Characteristics |
|---|---|
| Ceramic Tile | Durable, water-resistant, smooth |
| Vinyl Flooring | Flexible, moisture-resistant, soft |
| Natural Stone | Porous, textured, requires sealing |
| Laminate Flooring | Wood-like appearance, sensitive to water |
Select Suitable Cleaner
Choosing the right cleaning solution for your bathroom floor is essential to maintain its appearance and durability. Start by identifying your floor type—whether tile, vinyl, or natural stone—as each requires specific care. For delicate surfaces like natural stone, opt for pH-neutral, eco friendly options to prevent damage. On ceramic or porcelain tiles, you can use mild detergents, ensuring they’re safe for frequent use. Always prioritize chemical safety; avoid harsh bleach or ammonia-based cleaners that can erode finishes and harm your health. If you prefer greener alternatives, vinegar diluted with water works well on many floors but avoid it on stone. Test your chosen cleaner in a small, inconspicuous area first. By selecting the right product, you protect your floor’s longevity while embracing a cleaning routine that respects both your space and the environment.
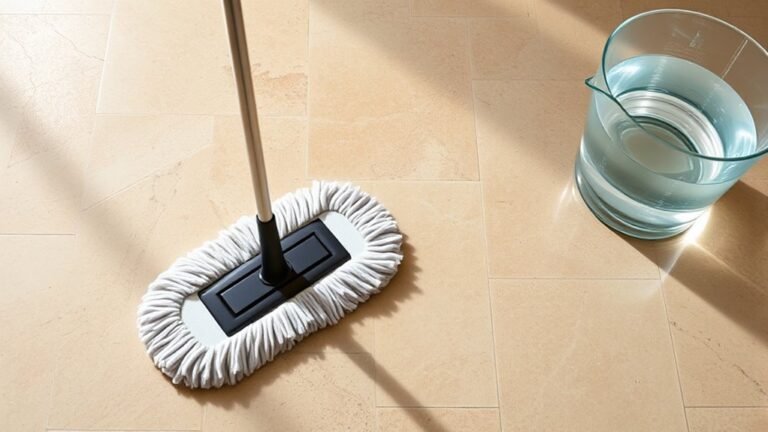
Mop the Floor Thoroughly
You’ll want to start by selecting a cleaning solution that suits your specific floor type to avoid damage and guarantee effectiveness. Next, use a mop with a clean, damp head and apply the solution evenly across the floor, working in small sections. Move the mop in a systematic pattern—such as figure eights or straight lines—to cover every inch without leaving streaks or missed spots.
Choose Appropriate Cleaning Solution
Before you start mopping, select a cleaning solution that suits your bathroom floor’s material and level of dirt. For tile or vinyl, mild eco friendly cleaners are ideal—they clean effectively without damaging surfaces. If you prefer control over ingredients, homemade solutions like a mix of white vinegar and water work well for most floors, cutting through grime while being gentle. Avoid harsh chemicals on delicate surfaces like natural stone; instead, use pH-neutral, eco friendly options. Measure and dilute the cleaner precisely, following package instructions or trusted recipes, to guarantee safety and effectiveness. Choosing the right solution not only preserves your floor’s finish but also reduces harmful exposure. This careful selection empowers you to maintain a fresh, clean bathroom floor while embracing eco-conscious freedom.
Use Proper Mopping Technique
To mop your bathroom floor thoroughly, start by dividing the area into manageable sections to guarantee no spot is missed. Using proper mopping techniques, begin at the farthest corner and work your way toward the exit. Apply consistent, effective strokes—preferably in a figure-eight or straight-line motion—to make certain of even coverage and avoid pushing dirt into corners. Rinse your mop frequently in clean water, wringing it out well to prevent excess moisture, which can damage floors or leave streaks. Pay extra attention to grout lines and edges, where dirt tends to accumulate. By methodically tackling one section at a time and employing precise mopping techniques, you’ll maintain a spotless, hygienic bathroom floor while preserving your freedom from repeated cleaning tasks.
Pay Extra Attention to Grout and Corners
Why do grout lines and corners often require more thorough cleaning than other parts of your bathroom floor? These areas tend to trap dirt, mold, and mildew because they’re less exposed to regular mopping. For effective grout cleaning, use a stiff brush and a specialized grout cleaner or a baking soda paste. Scrub methodically to lift embedded grime without damaging the grout. When it comes to corner maintenance, don’t overlook these tight spots where dirt accumulates. Use a small brush or toothbrush to reach into corners, ensuring you remove hidden buildup. Taking extra care with grout and corners not only preserves your floor’s appearance but also maintains a healthier environment, giving you the freedom to enjoy a truly clean bathroom floor.
Rinse and Dry the Floor Properly
After thoroughly scrubbing grout lines and corners, it’s important to remove any remaining cleaning residue to prevent buildup and streaks. Start by rinsing the floor with clean, warm water, using a mop or sponge to lift away soap and dirt. Change the rinse water frequently to avoid redistributing grime. For effective floor drying, use a microfiber mop or towel to absorb moisture quickly, minimizing slip hazards and potential water damage. Employ drying techniques like working in sections, moving from one side of the room to the other, ensuring no wet spots remain. Proper floor drying not only keeps your bathroom safe but also helps maintain the cleanliness you worked hard to achieve. Taking these steps methodically gives you the freedom to enjoy a spotless, fresh bathroom floor.
Maintain Clean Bathroom Floors Regularly
Regularly maintaining your bathroom floors is essential for preventing dirt buildup and prolonging their cleanliness. To integrate effective floor maintenance into your bathroom routines, commit to sweeping or vacuuming daily to remove loose debris. Follow this with a damp mop using a mild cleaner twice a week, ensuring you rinse thoroughly to avoid residue. Pay close attention to grout lines, where dirt tends to accumulate, using a soft brush as needed. Always dry the floor completely to prevent moisture damage and slips. By adhering to these precise steps consistently, you’ll reduce the need for intensive cleaning, giving you more freedom from chores. Establishing this disciplined approach in your bathroom routines guarantees your floors stay fresh, hygienic, and inviting with minimal effort.
Frequently Asked Questions
How Often Should Bathroom Floors Be Professionally Deep Cleaned?
Think of your bathroom floor as a stage where daily life’s drama unfolds; keeping it fresh is key. For professional frequency, aiming for a deep cleaning every six months strikes a solid balance. This methodical approach tackles unseen grime and bacteria, freeing you from constant worry. If your bathroom sees heavy use, consider quarterly sessions. Regular deep cleaning not only restores sparkle but also extends your floor’s life, letting you enjoy a cleaner, freer space.
Are Steam Cleaners Safe for All Bathroom Floor Types?
You’ll find that not all steam cleaner types suit every floor material compatibility. For example, ceramic and porcelain tiles handle steam well, but hardwood or laminate floors might warp or lose finish. Vinyl can usually take steam, but check the manufacturer’s advice. To keep your freedom of choice, always match your steam cleaner type to your bathroom’s floor material, ensuring safe, effective cleaning without damage or restrictions.
What Are Eco-Friendly Alternatives to Chemical Cleaning Solutions?
You might think eco-friendly cleaning isn’t powerful enough, but natural cleaning methods prove otherwise. Start with white vinegar and baking soda—they’re effective and safe. Green products like castile soap or essential oils also offer antimicrobial benefits without harsh chemicals. These options let you maintain a spotless bathroom floor while respecting your health and the planet. By choosing natural solutions, you’re embracing freedom from toxins and supporting sustainable living.
How to Prevent Mold Growth Under Bathroom Tiles?
To prevent mold growth under bathroom tiles, you need to focus on moisture control and ventilation improvement. First, guarantee your bathroom is well-ventilated by installing exhaust fans or opening windows regularly. Next, fix any leaks promptly and use waterproof membranes beneath tiles to block moisture. Keep humidity levels low by using a dehumidifier if necessary. By methodically controlling moisture and enhancing airflow, you’ll protect your tiles from mold and enjoy a healthier space.
Can Floor Mats Help Reduce Bathroom Floor Dirt Buildup?
Yes, floor mats offer significant floor mat benefits by helping with dirt prevention in your bathroom. Placing mats strategically captures grime and moisture before it spreads across your floor, reducing buildup. You’ll find mats with non-slip backing especially useful for safety and stability. Regularly cleaning these mats guarantees they continue to trap dirt effectively. By incorporating floor mats, you gain more control over cleanliness, keeping your bathroom floors cleaner and fresher with less effort.