
How to Clean Cedar Shake Shingles
To clean cedar shake shingles, start by gathering your materials: oxygen bleach, a wood cleaner, a soft-bristle brush, a hose, and safety gear. Inspect the shingles for damage, then apply the cleaning solution evenly. Let it sit for 15-20 minutes, scrubbing stubborn stains as needed. Rinse thoroughly with a low-pressure hose, and check for any damage afterward. Maintain regular cleaning to prevent issues, and you’ll discover additional tips for effective maintenance.
Preparation For Cleaning
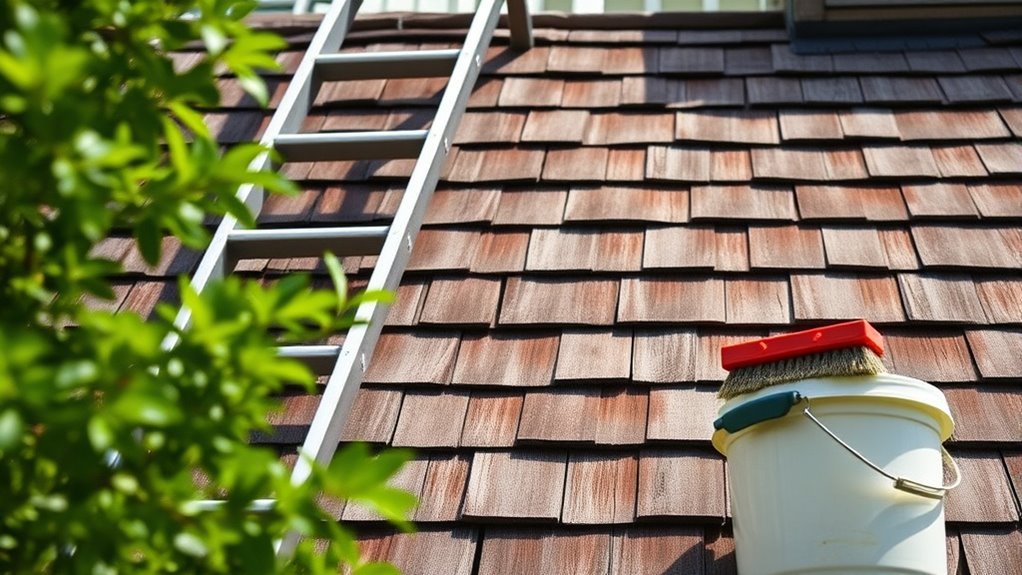
Before diving into the cleaning process, you should gather all necessary materials and tools to guarantee efficiency. Start by performing a thorough shingle inspection, checking for damage or loose shingles that may need repair. Assess the weather conditions; it’s best to clean on a dry, overcast day to prevent rapid drying and streaking. Ascertain you have a sturdy ladder for safe access, along with a soft-bristle brush to avoid damaging the wood. A garden hose with a spray nozzle will help you rinse off debris effectively. Consider having a bucket for any cleaning solutions you plan to use. By preparing meticulously, you’re setting the stage for a successful cleaning experience that maintains the integrity and appearance of your cedar shake shingles.
Tools and Chemical Required
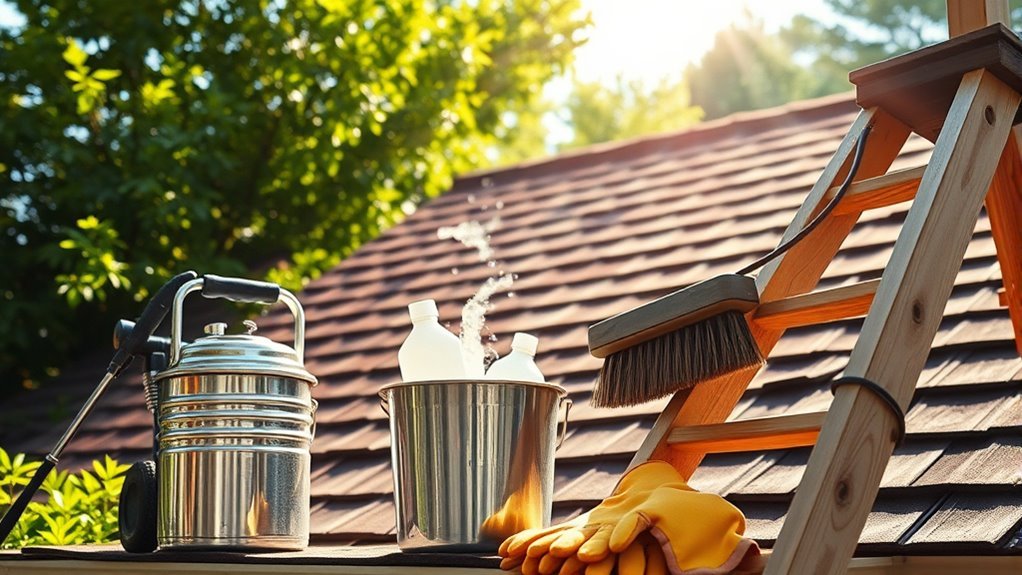
With your preparation in place, it’s time to gather the tools and chemicals necessary for cleaning your cedar shake shingles. You’ll need effective cleaning solutions, such as a mixture of oxygen bleach and water, or a specialized wood cleaner. Don’t forget your protective gear—gloves, goggles, and a mask—to guarantee your safety during the process.
Here’s a quick reference table:
| Tool/Chemical | Purpose |
|---|---|
| Oxygen Bleach | Stain removal |
| Wood Cleaner | Deep cleaning |
| Soft-Bristle Brush | Surface scrubbing |
| Hose/Pressure Washer | Rinsing |
Gathering these items will prepare you for a thorough and efficient cleaning process, keeping your shingles looking great.
How to Clean:
How to Clean Cedar Shake Shingles
Cleaning cedar shake shingles is essential for maintaining their appearance and extending their lifespan. Follow this step-by-step guide for effective cleaning.
Step 1: Gather Your Supplies
- Cleaning Solution: Choose a suitable cleaning solution, such as a mix of water and mild detergent, or a specialized wood cleaner.
- Equipment:
- Garden sprayer or soft-bristle brush
- Low-pressure hose
- Bucket (if needed for mixing)
- Protective gear (gloves, goggles)
Step 2: Prepare the Area
- Clear the Surroundings: Remove any furniture, plants, or debris near the shingles to prevent damage during cleaning.
- Check Weather Conditions: Ensure the weather is dry and mild, as cleaning in direct sunlight may cause the solution to dry too quickly.
Step 3: Apply the Cleaning Solution
- Fill Sprayer or Bucket: If using a sprayer, fill it with the cleaning solution. If mixing in a bucket, prepare enough solution to cover all shingles.
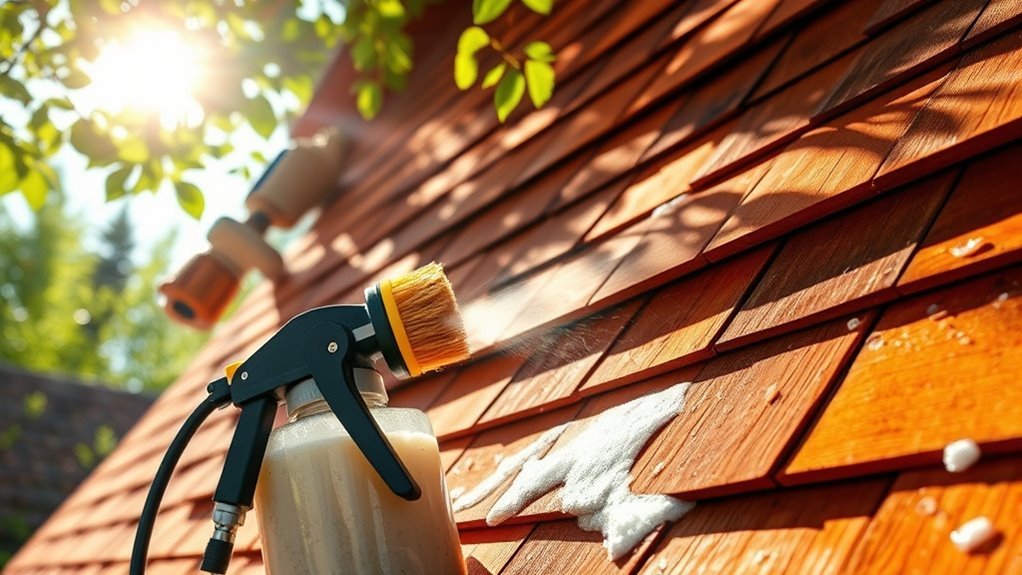
- Distribute Evenly: Use the garden sprayer or soft-bristle brush to apply the cleaning solution evenly across the shingles. Ensure you cover all areas, paying special attention to spots with stains or mildew.
Step 4: Allow Solution to Penetrate
– Wait Time: Let the cleaning solution sit on the shingles for about 15-20 minutes. This allows it to penetrate the wood and break down dirt and stains.
Step 5: Scrub Stubborn Stains
- Gentle Scrubbing: For any tough stains or mildew, use a soft-bristle brush to gently scrub the affected areas. Always work from the top down to avoid streaking.
- Be Cautious: Avoid using excessive force to prevent damaging the wood.
Step 6: Rinse Thoroughly
- Low-Pressure Hose: Attach a low-pressure nozzle to your hose and rinse the shingles thoroughly. Ensure that all cleaning solution and residue are washed away.
- Check for Residue: Inspect the shingles to confirm that no cleaning solution remains, as this can lead to future problems.
Step 7: Inspect for Damage
- Visual Check: After cleaning, take the time to inspect the shingles for any signs of damage, such as cracks, splits, or missing pieces.
- Address Issues: If you find any damage, consider repairing or replacing affected shingles to prevent further deterioration.
Step 8: Maintain Regular Cleaning Schedule
- Annual Cleaning: Aim to clean your cedar shake shingles at least once a year.
- Routine Inspections: Regularly check for signs of wear or damage throughout the year to maintain the shingles’ integrity and appearance.
Safety Consideration
While cleaning cedar shake shingles is crucial for their upkeep, it’s imperative to prioritize safety throughout the process. Start by wearing appropriate safety gear, including gloves, goggles, and non-slip footwear to protect against potential hazards. When using a ladder, guarantee its stability by placing it on a flat, even surface. Employ ladder stabilizers if necessary to prevent tipping. Always maintain three points of contact while climbing, whether that’s two hands and a foot or two feet and a hand. If you’re working on a steep roof, consider using a harness and safety line to secure yourself. By following these precautions, you’ll minimize risks and focus on effectively cleaning your shingles without compromising your safety.
Frequently Asked Questions
How Often Should Cedar Shake Shingles Be Cleaned?
You should aim to clean your cedar shake shingles at least once a year to maintain their beauty and integrity. Think of it as a rejuvenating shower for your home—keeping dirt and debris at bay. Establishing a maintenance schedule helps prevent mold and mildew buildup, ensuring your shingles stay in top shape. If you live in a particularly damp area, consider increasing your cleaning frequency to every six months for peak protection.
Can Cleaning Damage the Shingles?
Yes, cleaning can damage cedar shake shingles if not done correctly. For effective shingle maintenance, use gentle cleaning techniques like soft washing instead of pressure washing, which can strip away protective oils and cause splintering. Avoid harsh chemicals that may degrade the wood fibers. Always follow up with a thorough rinse to prevent residue buildup, ensuring your shingles stay intact and retain their natural beauty while extending their lifespan.
What Is the Best Time of Year to Clean?
The best time of year to clean your cedar shake shingles is during spring maintenance or fall preparation. In spring, you can remove winter debris and guarantee your shingles are ready for the warmer months ahead. Conversely, cleaning in the fall helps prepare your shingles for winter, preventing moisture buildup and damage. Both seasons provide ideal conditions for effective cleaning without the risk of harming the wood, assuring longevity and maintaining aesthetics.
Are There Eco-Friendly Cleaning Options Available?
Yes, there are eco-friendly cleaning options available for your shingles. You can use natural cleaners like a vinegar solution, which effectively removes dirt and algae without harmful chemicals. Mix equal parts water and white vinegar, then apply it to the shingles using a spray bottle. Let it sit for about 20 minutes before rinsing thoroughly with water. This method not only cleans but also keeps the environment safe while maintaining the integrity of your cedar shakes.
How Can I Tell if My Shingles Need Replacing?
If your shingles are showing their age like an old book, it’s time to contemplate replacement. Key signs include curling, splitting, or significant discoloration, indicating a reduced shingle lifespan. Check for granule loss, too; if your gutters are filled with them, it’s a clear replacement sign. Additionally, if you notice water leaks inside your home, don’t ignore it—your shingles might not be holding up as they should.


