How to Clean Ceilings Upholstery
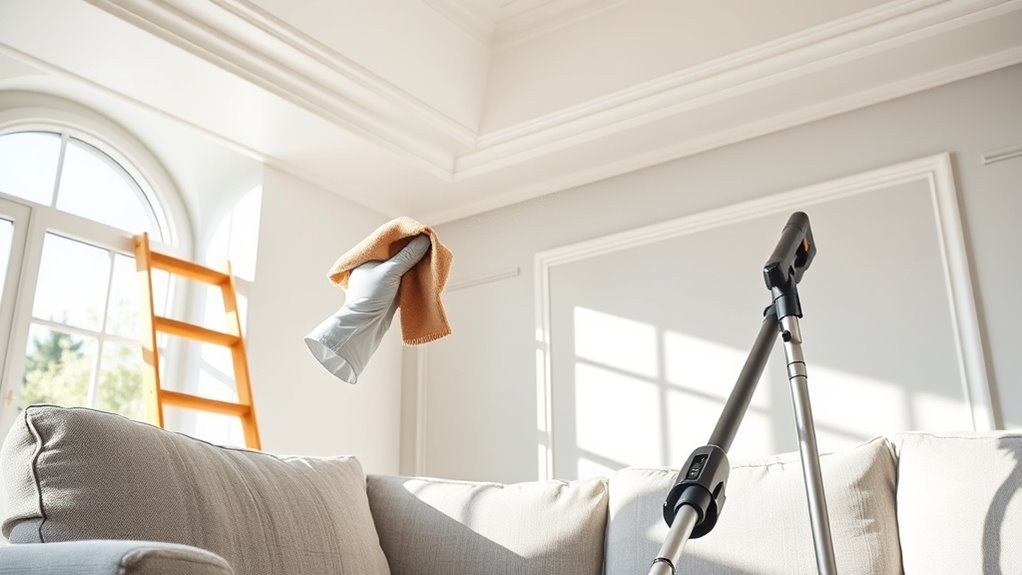
To clean your ceiling upholstery, first identify the fabric type to choose the right supplies. Gather gentle brushes, a vacuum, and mild detergent, then prepare a diluted cleaning solution. Test it on a small, hidden spot to avoid damage. Start by removing dust with a soft brush or vacuum, then gently spot clean stains using a light dabbing motion. Make certain the fabric dries fully to prevent mold. Keep up with regular care to maintain freshness, and if stubborn stains appear, professional help is a smart next step. Explore more techniques to keep it looking great.
Identifying the Type of Ceiling Upholstery
Before you start cleaning, it’s important to identify the type of ceiling upholstery you have. Different fabric types demand different cleaning methods, so knowing what you’re working with guarantees you don’t damage your ceiling or waste effort. Whether it’s velvet, cotton, silk, or synthetic blends, each material reacts uniquely to moisture, heat, and cleaning agents. You can usually find fabric information on tags or by consulting manufacturer details if available. If not, a small test spot with a mild cleaner can help you determine its durability. By pinpointing your upholstery’s fabric type, you gain the freedom to choose the best cleaning method, saving time and avoiding costly mistakes. This step lets you clean confidently, preserving your ceiling’s look for the long haul.
Gathering the Necessary Cleaning Supplies
Now that you know what type of fabric your ceiling upholstery is, you can gather the right cleaning supplies to match. Different upholstery types demand specific cleaning methods to avoid damage and guarantee the best results. For delicate fabrics like silk or velvet, you’ll need gentle brushes and mild detergents, while sturdier materials like leather or vinyl might require specialized cleaners and soft cloths. Don’t forget essentials like a vacuum with upholstery attachments, microfiber cloths, and gloves to protect your hands. Having the correct tools on hand not only speeds up the process but also lets you clean confidently, without worrying about harming your ceiling’s fabric. By tailoring your supplies to your upholstery type, you’re embracing freedom in your cleaning routine, making it both effective and hassle-free.
Preparing the Cleaning Solution
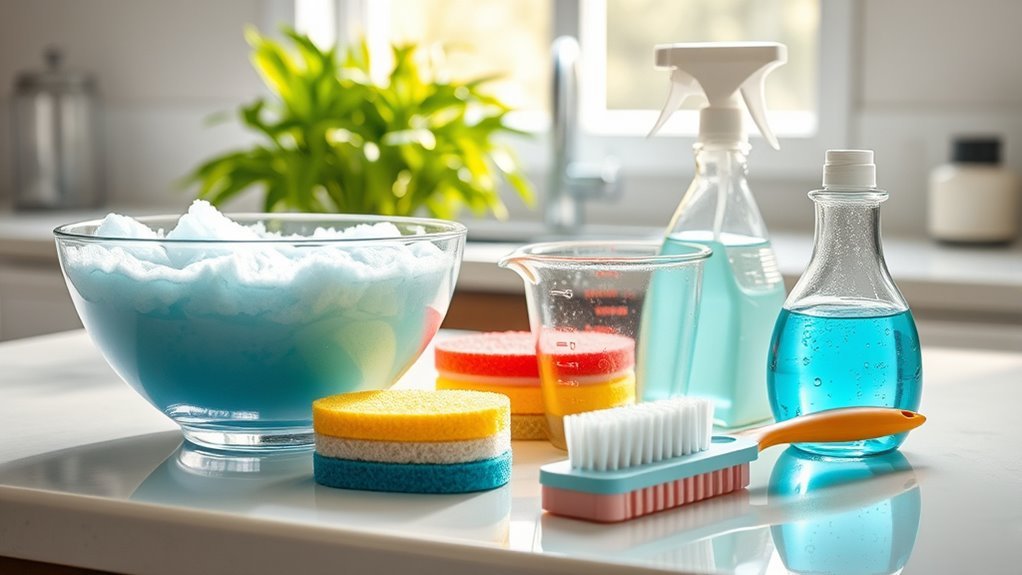
Since the right cleaning solution depends on your upholstery type, you’ll want to mix it carefully to avoid any damage. Start by choosing gentle cleaning agents that suit your fabric—mild detergents or specialized upholstery cleaners usually work well. Pay close attention to solution ratios; too strong a mix could harm fibers, while too weak might not clean effectively. A common approach is diluting one part cleaning agent with four parts water, but always check product guidelines. Use lukewarm water to help dissolve the agents evenly. Stir the solution thoroughly to guarantee consistent strength throughout. By preparing your cleaning solution thoughtfully, you maintain your upholstery’s integrity and enjoy the freedom to refresh your space confidently and safely, without risking stains or wear from harsh chemicals.
Testing the Solution on a Small Area
Although you’ve prepared the cleaning solution carefully, you’ll want to test it on a small, hidden area of your upholstery first. This step guarantees you avoid any unwanted damage or discoloration. Use simple testing methods like applying a small amount with a clean cloth, then wait a few minutes to observe any changes. Check for colorfastness, texture shifts, or fabric weakening. This quick test will reveal the solution effectiveness without risking your entire ceiling upholstery. If the fabric reacts well, you’re free to proceed confidently. If not, adjust your solution or try alternative products. Taking the time for proper testing methods saves you from costly mistakes and keeps your upholstery looking fresh and intact, maintaining your freedom to enjoy a clean, beautiful space.
Removing Loose Dust and Debris
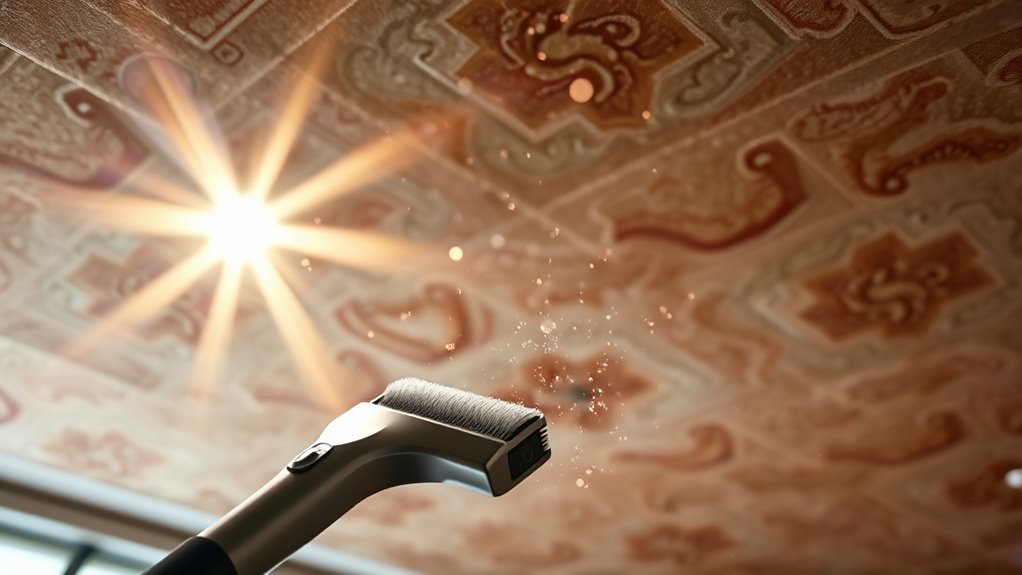
You’ll want to start by gathering the right tools, like a soft brush or vacuum with a brush attachment, to gently remove loose dust and debris. Using careful, consistent strokes will help prevent damage while effectively cleaning your ceiling upholstery. Make it a habit to dust regularly to keep buildup from becoming a bigger problem.
Tools for Dust Removal
Before you start scrubbing, it’s important to gather the right tools for dust removal to make the job easier and more effective. When you’re aiming for freedom from dust on your ceiling upholstery, having the right gear lets you move swiftly and confidently. You’ll want tools that reach high, trap dust, and protect your surfaces without hassle.
Here’s what you should have on hand:
- Vacuum attachments with extendable wands to suck up loose dust without damaging fabric
- Soft microfiber cloths that gently lift dust without spreading it around
- A lightweight duster with a flexible head for tight corners and edges
With these tools, you can tackle dust removal efficiently and enjoy a cleaner space without feeling stuck or overwhelmed.
Effective Dusting Techniques
Three simple steps can help you remove loose dust and debris from ceiling upholstery effectively. First, choose the best dusting tool—like a microfiber duster or a soft-bristled brush—that won’t damage the fabric. Next, gently start from one corner and work your way across in slow, deliberate strokes to lift dust without pressing it deeper. Finally, use a vacuum with a brush attachment to capture any remaining particles, keeping your ceiling fresh and clean.
These ceiling techniques give you control and freedom to maintain your space without hassle. By mastering these methods, you avoid buildup and keep your upholstery looking pristine. Stick to these best dusting practices, and you’ll enjoy cleaner ceilings with minimal effort every time.
Frequency of Cleaning
Regularly removing loose dust and debris from ceiling upholstery is key to keeping it looking fresh and extending its lifespan. Sticking to a cleaning schedule helps you maintain a carefree space without letting dirt pile up. Frequency guidelines vary depending on location and use, but a simple routine keeps things effortless. For example, you might:
- Vacuum or gently brush upholstery every 2-4 weeks
- Address high-traffic areas more often to prevent buildup
- Schedule deeper cleanings seasonally to refresh the fabric
Gently Cleaning Stains and Spots
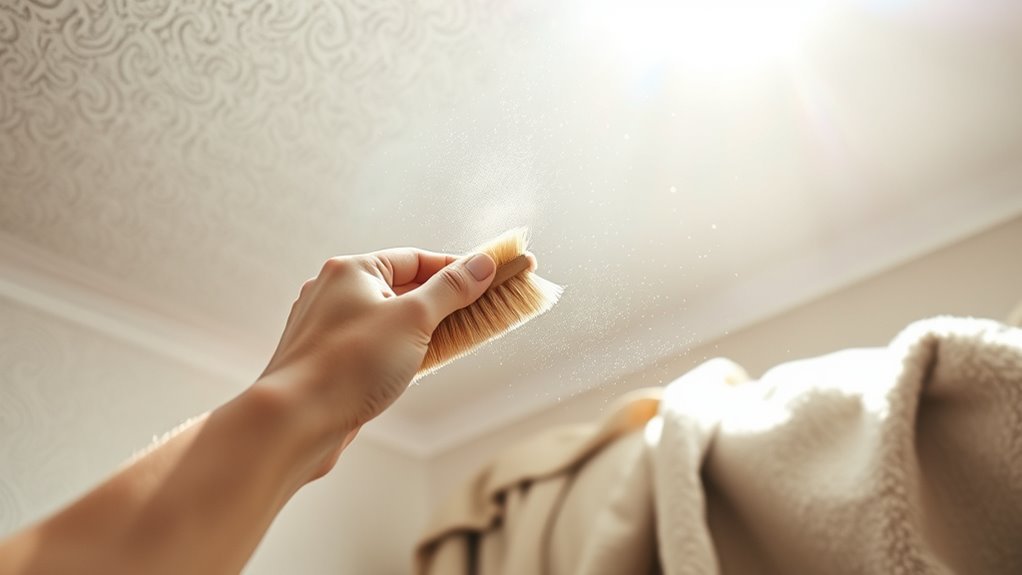
Although stains on ceiling upholstery can seem intimidating, you can often remove them effectively without harsh scrubbing. Start with a gentle spot treatment, using a mild detergent mixed with water or a fabric-safe cleaner. Dab the stain lightly with a soft cloth or sponge, working from the outside in to prevent spreading. Avoid soaking the fabric, as excess moisture can lead to damage. For stubborn stains, try a targeted stain removal product designed for upholstery, but always test it on a hidden area first. Patience is key—you want to lift the stain without damaging the fibers. By approaching stains carefully and gently, you maintain the freedom to enjoy your space without worrying about permanent marks or costly repairs.
Drying the Upholstery Properly
Once you’ve treated the stains, you’ll need to dry the upholstery carefully to prevent water damage or mildew. Choosing the right drying methods and materials guarantees your ceiling upholstery stays fresh and intact. Avoid harsh heat or direct sunlight, which can warp or fade fabric. Instead, opt for gentle airflow and absorbent drying materials to speed up the process without risking damage.
Consider these tips for effective drying:
- Use clean, dry microfiber towels to soak up excess moisture
- Position a fan nearby to circulate air evenly across the surface
- Open windows or doors to promote natural ventilation and prevent dampness
Maintaining Cleanliness Between Deep Cleans
Keeping your ceiling upholstery looking fresh doesn’t stop after drying it properly. To truly enjoy the freedom of a clean space, you need regular maintenance. Simple, easy tips like gently vacuuming the fabric with a soft brush attachment can prevent dust buildup without hassle. Spot-clean any stains immediately using a mild cleaner and a soft cloth to avoid permanent marks. Open windows or use a fan to keep air circulating, which helps reduce odors and moisture. Avoid harsh chemicals that can damage fibers or cause discoloration. By sticking to these straightforward habits, you’ll extend the life of your ceiling upholstery and keep it inviting between deep cleans, freeing you from frequent, intensive cleaning sessions while maintaining that fresh, comfortable vibe you want.
When to Call a Professional Cleaner
If your ceiling upholstery has stubborn stains or persistent odors that won’t go away, it might be time to call in a professional. You’ll benefit from their expertise and specialized equipment that can restore your upholstery without damage. Knowing when to get help can save you time and prevent costly mistakes.
Signs You Need Help
How do you know when it’s time to call in a professional for your ceiling upholstery? Recognizing the help signs early can save you frustration and preserve your freedom from endless scrubbing. When your efforts don’t restore cleanliness or you spot stubborn issues, professional assistance might be your best move.
Look out for these signs:
- Deep stains or discoloration that won’t budge despite your cleaning attempts
- Persistent odors trapped within the fabric layers
- Signs of mold or mildew growth, especially in humid areas
If any of these sound familiar, it’s time to pause and consider expert help. You deserve to enjoy a fresh, clean space without the hassle, so don’t hesitate to reach out when your ceiling upholstery needs more than just a quick touch-up.
Benefits of Professional Service
A professional cleaning service offers expertise and tools that make a real difference when your ceiling upholstery needs more than just surface cleaning. If you want to save time and avoid damage, knowing when to call a pro is key. While you might worry about cost, a cost comparison often shows that professional care prevents expensive repairs down the line. Plus, the service advantages include deep cleaning, stain removal, and faster drying times.
| Aspect | Professional Service |
|---|---|
| Expertise | Specialized knowledge and equipment |
| Efficiency | Faster, thorough cleaning |
| Cost Comparison | Saves money by preventing damage |
| Service Advantages | Deep clean, stain removal, protection |
Trusting professionals means freedom from stress and lasting ceiling beauty.
Frequently Asked Questions
Can Ceiling Upholstery Cause Allergies or Respiratory Issues?
You might wonder if ceiling upholstery can actually cause allergy symptoms or mess with your respiratory health. The truth is, if dust, mold, or allergens build up there, it could trigger issues, especially if you’re sensitive. It’s not the upholstery itself but what clings to it that matters. To keep your freedom to breathe easy, regular cleaning and good ventilation are key to preventing unwanted health problems.
How Often Should Ceiling Upholstery Be Professionally Cleaned?
You should follow frequency recommendations to keep your space fresh and allergen-free. Typically, professional cleaning schedules suggest getting ceiling upholstery cleaned every 12 to 18 months. However, if you live in a dusty area or have pets, you might want to clean more often. Sticking to a regular cleaning schedule gives you the freedom to enjoy a cleaner, healthier environment without worrying about hidden dirt or allergens building up over time.
What Are the Best Methods to Prevent Mold on Ceiling Upholstery?
To keep mold at bay on your ceiling upholstery, focus on mold prevention through regular upholstery maintenance. You’ll want to control humidity by using dehumidifiers or ensuring proper ventilation, especially in damp areas. Clean spills promptly and avoid excess moisture buildup. Also, consider applying a fabric protector that resists mold growth. By staying proactive and consistent, you’ll enjoy fresh, mold-free upholstery without feeling tied down to constant deep cleaning.
Are There Eco-Friendly Cleaning Solutions for Ceiling Upholstery?
You’ll love using natural cleaners and homemade solutions that are gentle yet effective for your ceiling upholstery. Vinegar mixed with water or a mild baking soda paste can tackle dirt without harsh chemicals. These eco-friendly options let you clean freely, knowing you’re protecting both your space and the planet. Plus, they’re easy to make and safe to use, giving you the freedom to maintain your upholstery naturally and confidently.
Can Pets Damage Ceiling Upholstery or Affect Its Cleanliness?
Think of your ceiling upholstery as a delicate canvas, vulnerable to your pet’s playful whispers and sneaky paws. Their behavior—scratching, shedding, or even climbing—can mar the fabric’s beauty, making upholstery maintenance essential. You’ll want to regularly inspect and gently clean it to keep the freedom of your space intact, ensuring your pet’s lively spirit doesn’t turn your ceiling into a battleground of stains and wear.


