How to Clean Coolant off Driveway
To clean coolant off your driveway, first gather absorbent pads, dish soap, and a stiff-bristled brush. Soak up the spill with pads, then mix warm water and dish soap in a bucket. Scrub the area in circular motions and rinse thoroughly. If stains remain, use a degreaser and scrub again. Always wear gloves and goggles for safety, and follow local disposal regulations for contaminated materials. There’s more to guarantee effective cleaning and safety.
Preparation For Cleaning
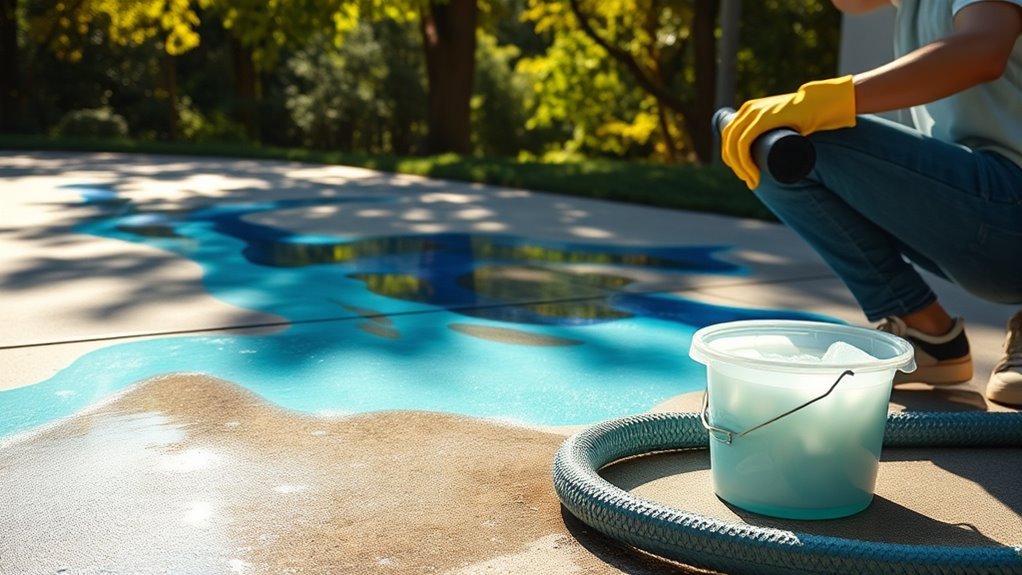
Before you begin cleaning coolant off your driveway, it’s essential to gather the necessary materials and take a few precautions. Start by evaluating the spill’s size—this will help you choose appropriate cleaning methods. For smaller spills, absorbent materials like cat litter or sawdust can effectively soak up the coolant. For larger spills, you might need a degreaser and a stiff brush. Make sure you’re wearing gloves and safety goggles to protect yourself from harmful chemicals. It’s also wise to work in well-ventilated areas and avoid direct sunlight, which can make the coolant harder to clean. Proper driveway maintenance not only enhances aesthetics but also prevents potential slip hazards. Taking these preparatory steps guarantees a more effective cleaning process.
Tools and Chemical Required
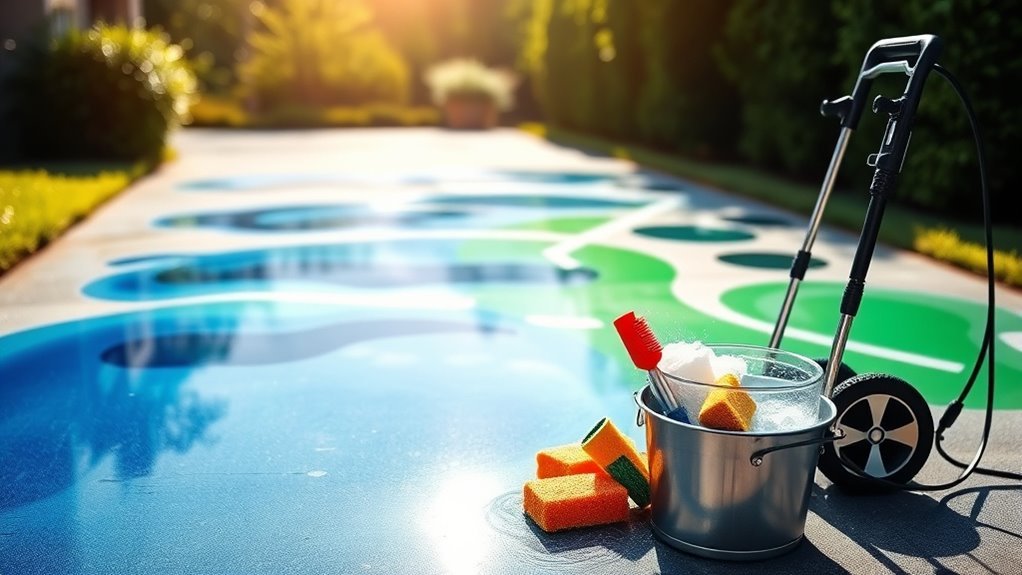
Having gathered your materials, it’s important to know what specific tools and chemicals will aid in effectively cleaning coolant from your driveway. You’ll need absorbent materials to soak up the coolant, and the right cleaning agents to break down any residue. Here’s a concise overview of what you’ll require:
| Tool/Chemical | Purpose |
|---|---|
| Absorbent pads | Soak up coolant spills |
| Baking soda | Neutralizes coolant |
| Dish soap | Breaks down oil residue |
| Bucket | Holds water/cleaning solution |
How to Clean:

Step 1: Absorb the Spill
- Quickly address any coolant spills by using absorbent pads designed for chemical absorption.
- Place the pads directly over the spill to soak up the majority of the coolant.
- Ensure that you use pads that are suitable for the specific type of coolant involved (e.g., ethylene glycol or propylene glycol).
Step 2: Prepare Cleaning Solution
- In a bucket, mix warm water with a few drops of dish soap to create a cleaning solution.
- Stir the mixture to ensure the soap is well-dissolved in the water.
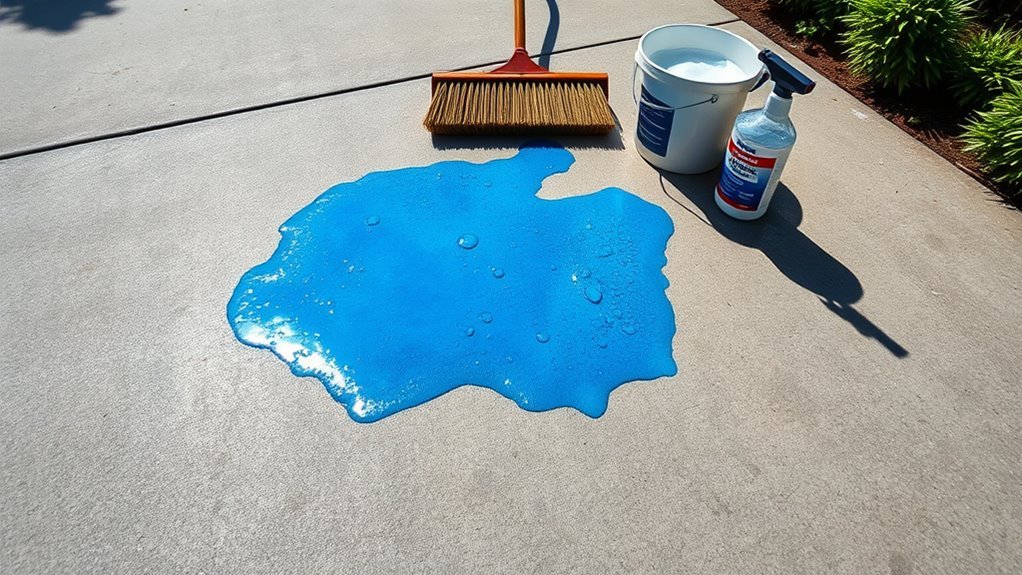
Step 3: Scrub the Affected Area
- Using a stiff-bristled brush that is appropriate for your driveway material (such as concrete, asphalt, or pavers), dip the brush into the soapy water.
- Gently scrub the stained area in circular motions to lift any remaining coolant residue.
- Pay extra attention to corners and edges where coolant may have collected.
Step 4: Rinse Thoroughly
- After scrubbing, take a hose and rinse the cleaned area thoroughly with water.
- Ensure that no soap or coolant residue remains on the driveway surface.
- It’s important to rinse until the water runs clear.
Step 5: Treat Tough Stains (if necessary)
- If there are still visible stains after the initial cleaning, consider using a degreaser that is compatible with your driveway surface.
- Apply the degreaser according to the manufacturer’s instructions, allowing it to sit for the recommended time.
- Scrub the area again with your stiff-bristled brush and rinse thoroughly.
Step 6: Final Check
- After rinsing, inspect the area to ensure all coolant and soap residues are gone.
- If any stains persist, repeat the scrubbing and rinsing process as needed.
- Always ensure the driveway is clean and free from any cleaning products before using the space again.
Safety Consideration
While cleaning coolant off your driveway might seem straightforward, it’s vital to prioritize safety throughout the process. Start by wearing appropriate protective gear, including gloves, goggles, and a mask, to shield yourself from harmful chemicals. Coolant can be toxic, so it’s important to avoid direct skin contact and inhalation. Before you begin cleaning, make sure you have effective spill containment measures in place, such as absorbent mats or kitty litter, to prevent the coolant from spreading further. Once contained, use a suitable cleaning agent to tackle the stain. Dispose of any contaminated materials according to local regulations, making sure you minimize environmental impact. By following these precautions, you’ll not only protect yourself but also contribute to a safer, cleaner environment.
Frequently Asked Questions
How Can I Prevent Coolant Spills in the Future?
You can prevent coolant spills in the future by implementing proper coolant containment measures. Regularly check your vehicle’s hoses and connections, ensuring they’re tight and free of leaks. Engage in preventive maintenance, like routine inspections, to catch potential issues early. Consider using drip pans when working on your car and park on a surface that can handle spills. With these steps, you’ll keep your driveway spotless and your mechanic bills from skyrocketing!
Is Coolant Harmful to Pets or Plants?
Yes, coolant can be harmful to pets and plants due to its toxicity. Ethylene glycol, a common coolant ingredient, is particularly dangerous; even small amounts can cause serious health issues for animals. If you’re concerned about pet safety, make certain your pets can’t access areas where coolant might spill. For plants, the chemical can disrupt soil health and hinder growth. Always clean any spills promptly to protect both your pets and your garden.
Can I Use Household Cleaners Instead of Specialized Products?
You can definitely use household alternatives instead of specialized products, but don’t expect them to always match the cleaning effectiveness. Ingredients like baking soda and vinegar can work wonders, but they might not cut through tough stains as efficiently. For lighter spills, these options can be a refreshing change, saving you both money and time. Just remember, while they might be convenient, they won’t always be the ultimate solution for every mess.
What if the Stain Persists After Cleaning?
If the stain persists after cleaning, you might need to employ additional methods for tough stains. Consider using a degreaser specifically designed for automotive fluids, or a poultice made of baking soda and water to absorb the residue. Let it sit for a few hours before rinsing. If those don’t work, you could try a pressure washer or consult with a professional cleaner to guarantee the driveway looks its best.
How Often Should I Check My Vehicle for Leaks?
You should check your vehicle for leaks at least once a month, similar to how a pilot inspects their aircraft before takeoff. Regular leak detection is vital for vehicle maintenance and guarantees safety on the road. Look for signs like puddles or unusual fluid levels. By staying proactive, you can prevent minor issues from escalating into costly repairs, giving you the freedom to drive with confidence and peace of mind.


