How to Clean Dryer
To clean your dryer, first unplug it and gather supplies like a vacuum and microfiber cloth. Remove and wash the lint trap, then vacuum inside its housing to clear debris. Wipe the drum and carefully disconnect the vent hose to clean both it and the external vent. Reattach everything securely, then run the dryer to check for proper airflow and noises. Keeping your dryer clean boosts efficiency and safety—there’s more to learn about thorough maintenance and tips ahead.
Gather Necessary Cleaning Supplies
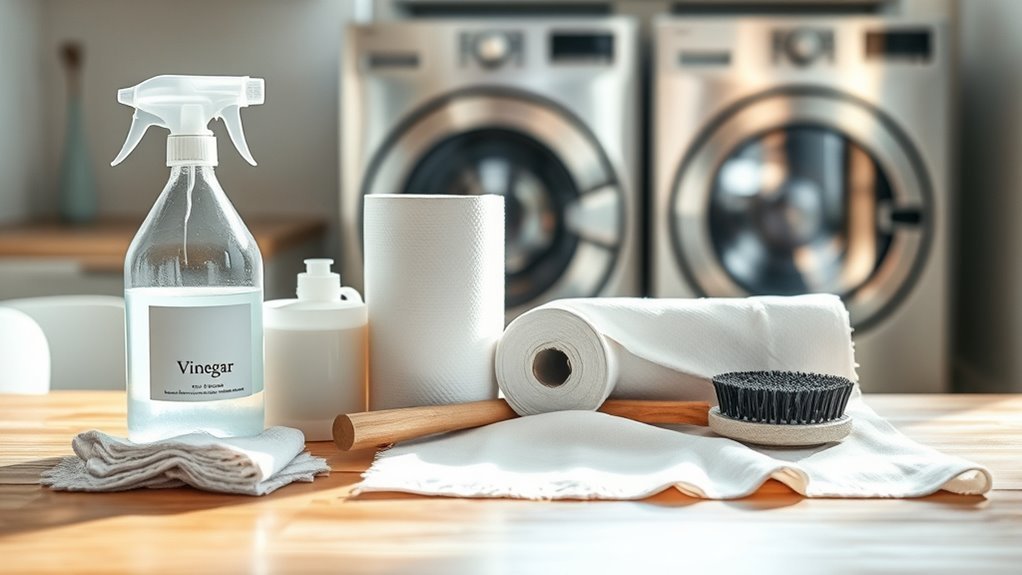
Before you begin cleaning your dryer, make certain you have all the necessary supplies on hand. Having the right cleaning supplies is key to efficient dryer maintenance, freeing you from worries about lint buildup or reduced performance. Gather a vacuum with a hose attachment, a microfiber cloth, a dryer vent brush, mild detergent, and a screwdriver for any panel removal. These tools help you access hard-to-reach areas and safely remove accumulated debris. Staying prepared not only simplifies the task but also guarantees your dryer runs smoothly, saving you time and energy. With these supplies at your fingertips, you’re ready to take control of your dryer’s upkeep and enjoy the freedom that comes with a well-maintained appliance.
Unplug and Prepare the Dryer
Two essential steps come first: unplug your dryer and clear the area around it. These safety precautions make certain you’re protected from electrical hazards while cleaning. By unplugging, you cut power to avoid accidental shocks or damage. Clearing space lets you move freely and access all dryer parts.
Here’s a quick prep checklist to keep your cleaning smooth and safe:
| Step | Why It Matters | Pro Tip |
|---|---|---|
| Unplug dryer | Electrical safety | Use a flashlight to see plug if needed |
| Clear surrounding area | Freedom to move easily | Remove obstacles for quick access |
| Check cord condition | Prevent hazards | Replace frayed cords immediately |
Taking these steps first assures a safe, efficient cleaning process, giving you the freedom to maintain your dryer with confidence.
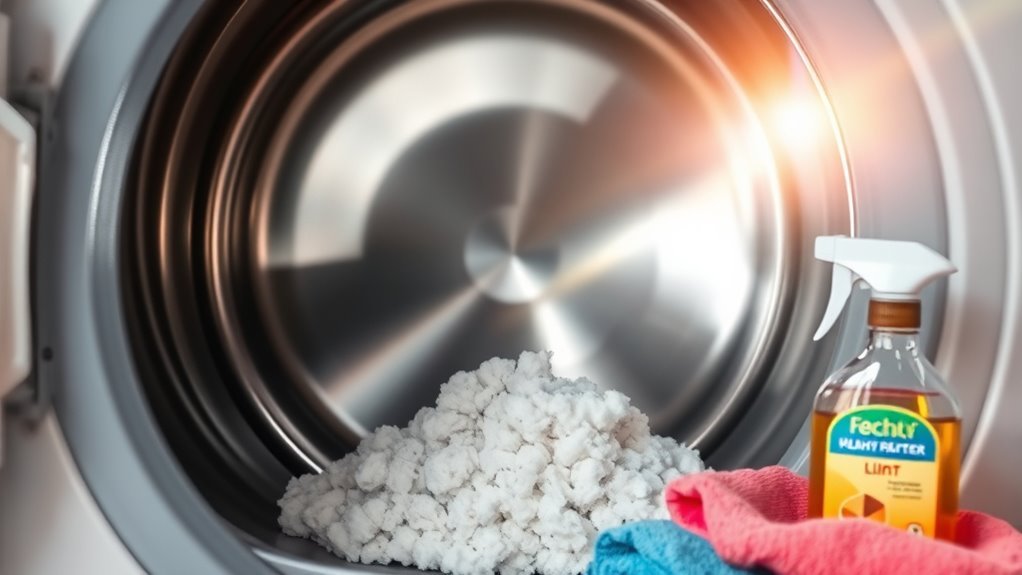
Remove and Clean the Lint Trap

Start by pulling out the lint trap from your dryer—it’s usually located just inside the door or on top of the machine. Once removed, peel off the layer of lint by hand, disposing of it properly. For a deeper clean, rinse the lint trap under warm water and use a soft brush to remove any stubborn buildup. Let it dry completely before putting it back. Regular lint trap maintenance is key to keeping your dryer running smoothly and safely. Not only does it prevent fire hazards, but it also boosts dryer efficiency, helping your clothes dry faster and saving energy. Keeping this simple routine frees you from unnecessary repairs and extends your dryer’s lifespan, giving you more time and freedom for what matters most.
Vacuum the Lint Trap Housing
After removing the lint trap, you’ll want to clear out any leftover lint inside the housing. Grab a vacuum with a narrow attachment to reach those tight spots easily. This helps prevent blockages and keeps your dryer running efficiently.
Remove Lint Residue
One key step in maintaining your dryer is removing lint residue from the lint trap housing. Lint buildup can restrict airflow, reducing efficiency and posing a fire hazard. To keep your dryer running smoothly and safely, regularly clear out this hidden debris. After removing the lint screen, you can use a brush or a soft cloth to reach inside the housing and dislodge stuck lint. This simple act prevents blockages and improves drying performance, giving you more freedom from frequent appliance issues. Staying on top of this part of dryer maintenance saves you time and energy while keeping your home safe. Don’t overlook this small but crucial task—it’s essential for extending your dryer’s life and maintaining peak function.
Use Vacuum Attachments
Vacuuming the lint trap housing is a quick way to remove hidden debris that brushing alone might miss. To boost vacuum efficiency, choose the right attachment types—typically a crevice tool or a narrow nozzle works best for tight spots. These attachments let you access deep corners where lint can build up, improving airflow and preventing potential fire hazards. Simply attach the tool to your vacuum hose, then carefully clean inside the lint trap housing. This method keeps your dryer running smoothly and safely, freeing you from frequent maintenance worries. By incorporating vacuum attachments into your routine, you guarantee a thorough clean that extends your dryer’s life and boosts energy efficiency. It’s a small step that brings big freedom from lint-related issues.
Clean the Dryer Drum

While it might seem simple, cleaning the dryer drum properly is essential to keep your dryer running efficiently and your clothes fresh. Understanding the drum material helps you choose the right cleaning method, preventing damage and ensuring longevity. Regular drum maintenance removes residue, lint, and fabric softener buildup that can cause odors or stains.
| Step | Purpose |
|---|---|
| Wipe with damp cloth | Removes dust and residue |
| Use mild cleaner | Tackles stubborn spots |
| Dry thoroughly | Prevents moisture buildup |
Inspect and Clean the Dryer Vent
Now it’s time to check the dryer vent to keep your dryer running efficiently. Start by locating the vent hose and removing any lint build-up inside. Don’t forget to inspect the exterior vent to make sure it’s clear and unobstructed.
Locate the Vent Hose
To start inspecting and cleaning your dryer vent, you’ll need to locate the vent hose first. Usually, it’s attached to the back of your dryer, connecting the appliance to the vent leading outside. Knowing the vent hose types can help you identify it quickly—common options include flexible foil, rigid metal, or semi-rigid plastic. Vent hose materials matter because metal hoses are more durable and fire-resistant, while plastic or foil ones might be easier to bend but less safe over time. Take a moment to check the hose’s condition and verify it’s properly connected without kinks or crushing. Once you’ve found the vent hose, you’re ready to move on with keeping your dryer running freely and efficiently, avoiding potential hazards down the line.
Remove Lint Build-up
Start by detaching the vent hose from your dryer to access the lint buildup inside. Removing this lint is vital for dryer safety and efficiency, giving you freedom from fire risks and longer appliance life. Use a vacuum or a dryer vent brush to clear out all debris thoroughly.
| Task | Tool Needed | Benefit |
|---|---|---|
| Detach vent hose | Screwdriver | Easy access |
| Remove lint buildup | Dryer vent brush | Prevents fire hazards |
| Vacuum inside vent | Vacuum cleaner | Deep cleaning |
| Reattach vent hose | Screwdriver | Guarantees proper airflow |
Following these lint prevention tips regularly keeps your dryer running safely and smoothly, freeing you from costly repairs and hazards.
Check Exterior Vent
After clearing the lint buildup inside your dryer vent, don’t forget to inspect the exterior vent outside your home. This step is essential for proper vent maintenance and guarantees your dryer runs safely and efficiently. Check the vent cover for any blockages like leaves, nests, or debris that can restrict airflow. If you spot any buildup, gently clear it away to restore full airflow efficiency. A blocked exterior vent can cause your dryer to overheat or work harder, wasting energy and risking damage. Regularly inspecting and cleaning this vent gives you control over your appliance’s performance, freeing you from costly repairs. Make it a habit to check the exterior vent every few months to keep your dryer running smoothly and your home safe.
Detach and Clean the Dryer Vent Hose
One essential step in cleaning your dryer is detaching the vent hose, which often collects lint and debris that can reduce efficiency or become a fire hazard. Start by unplugging your dryer for safety, then carefully loosen the clamps or screws securing the vent hose to the back of the unit and the wall vent. Gently pull the hose free, avoiding damage. Take this opportunity to inspect the hose for cracks or blockages. Use a vacuum or a flexible brush to clear out any lint buildup inside the hose. Regular vent hose maintenance not only boosts dryer efficiency but also gives you peace of mind. Keeping this airflow path clear guarantees your dryer runs smoothly and keeps your home safe.
Reassemble the Dryer Components
Reattaching the dryer components correctly is essential for ensuring your machine runs efficiently and safely. To get started, follow this component reattachment guide closely. Begin by reconnecting the vent hose securely to prevent any leaks or blockages. Next, align the drum precisely within the dryer casing, making sure it spins freely without obstruction. Use our dryer assembly tips to tighten screws and fasteners firmly but avoid over-tightening, which can damage parts. Don’t forget to reattach the lint filter and any access panels you removed earlier. Taking these careful steps guarantees your dryer operates smoothly, giving you the freedom to enjoy hassle-free laundry days. Stick with this guide for a quick, effective reassembly, and you’ll have your dryer back in action in no time.
Test the Dryer After Cleaning
Start your dryer and listen carefully for any unusual sounds or vibrations that could indicate improper assembly or lingering debris. This quick check guarantees your dryer performance is back to its best, giving you the freedom to dry clothes efficiently without worry. Pay attention to airflow and heat—if anything feels off, it’s a sign to revisit your cleaning or assembly steps. Performing these safety checks now prevents future hazards like overheating or fire risks. Don’t rush this step; it’s vital for your safety and the longevity of your appliance. Once you’re confident everything runs smoothly, you can enjoy the peace of mind that comes with a clean, efficient dryer ready to handle your laundry with ease.
Frequently Asked Questions
How Often Should I Clean My Dryer’s Lint Trap?
Think of your dryer’s lint trap as a gateway to freedom—keeping it clear lets your dryer breathe easy and work efficiently. For lint trap maintenance, you should clean it after every load. This cleaning frequency prevents buildup that can cause fires or reduce dryer performance. By staying consistent, you’re not just maintaining a machine; you’re preserving your independence from costly repairs and ensuring your laundry routine stays smooth and safe.
Can Dryer Sheets Affect Dryer Cleanliness?
You might not realize it, but dryer sheets can leave behind dryer sheet residue inside your machine. This buildup can trap odors, leading to dryer odor issues that won’t go away just by airing out your clothes. If you want your dryer to feel fresh and work freely, it’s a good idea to clean out that residue regularly. That way, your dryer stays clean and your laundry smells great without any unwanted buildup.
What Are Signs My Dryer Needs Professional Servicing?
If you’re hearing strange noises or smelling something burning when your dryer runs, it’s time to get it checked out. You might also notice moisture buildup inside or excessive heat during cycles. When your clothes take longer drying than usual, don’t ignore it. These signs mean your dryer’s freedom to work smoothly is compromised, so calling a professional can help you avoid bigger issues and keep your laundry routine hassle-free.
Is It Safe to Use a Dryer Without a Vent?
You wouldn’t sail a ship without a proper rudder, right? Using a dryer without a vent can feel just as risky. While traditional dryers need vents to expel moisture, ventless dryers are designed to recycle air safely. If you crave freedom from bulky installations, ventless dryers offer that, but be mindful of safety concerns like humidity buildup and potential mold. Choosing the right type means embracing convenience without compromising your home’s health.
How Does Cleaning the Dryer Improve Energy Efficiency?
When you clean your dryer regularly, you remove lint buildup that blocks airflow. This blockage forces your machine to work harder and use more energy, costing you extra money. By keeping it clear, you boost its efficiency, leading to noticeable energy savings. So, taking a little time to clean your dryer means you’re freeing yourself from higher bills and unnecessary energy waste, letting you enjoy more freedom with your resources.


