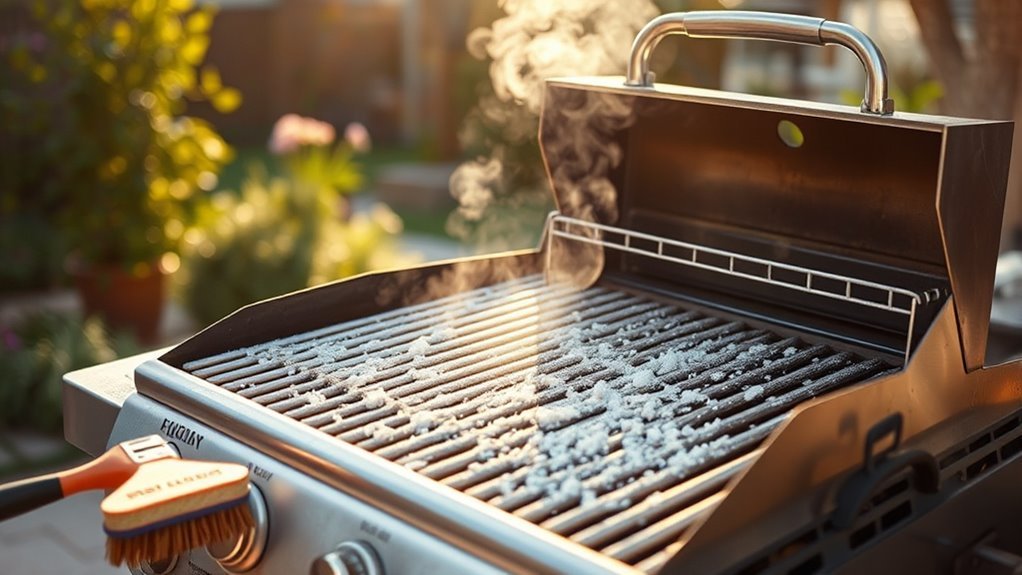
How to Clean a Grill After Using a Fire Extinguisher
After using a fire extinguisher on your grill, first verify it’s cool and disconnected from the gas source. Inspect for damage and gather cleaning tools like a wire brush, scraper, and degreaser. Remove grates and accessories, washing them in hot, soapy water. Scrub the grill’s interior with a stiff brush and a vinegar-water solution to remove buildup. Wipe down the exterior and thoroughly rinse and dry all parts to prevent rust. For more detailed steps, keep going.
Preparation For Cleaning
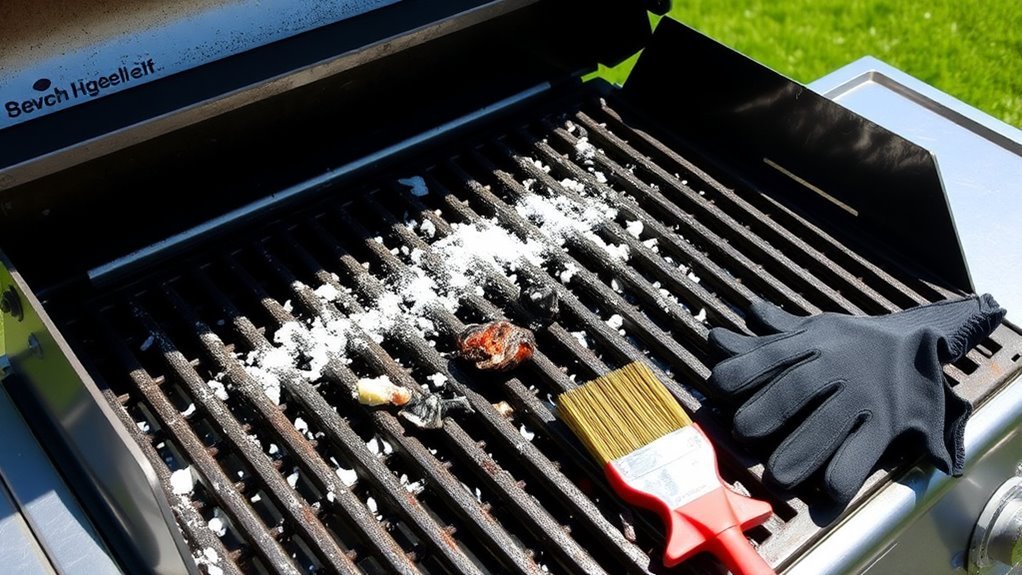
Before you plunge into cleaning your grill, it’s important to gather the right supplies and take a few preliminary steps. Start by ensuring the grill is completely cool and disconnected from any gas source. This is vital for fire safety, as you don’t want to risk any flare-ups during the cleaning process. Next, inspect your grill for any damage that might’ve occurred during the fire incident; addressing these issues now can save you trouble later. Having a plan for proper grill maintenance is essential to extend the life of your equipment. Make sure to have your cleaning tools ready, including brushes and scrapers, to tackle any residue effectively. With these preparations in place, you’re set for a thorough and safe cleaning. Using the right cleaning tools will make the process less tedious and more effective.
Tools and Chemical Required
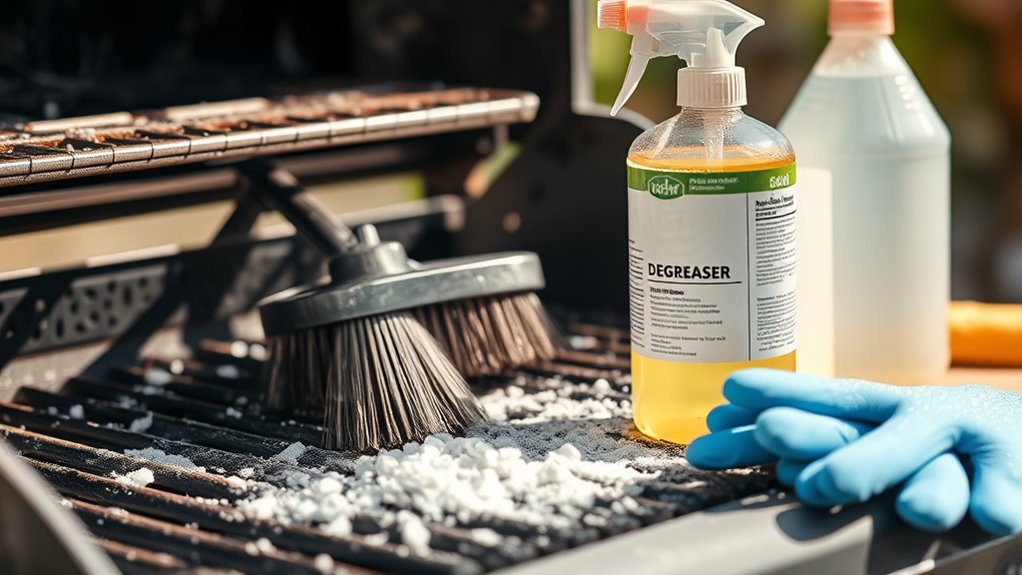
To effectively clean your grill after a fire extinguisher has been used, you’ll need specific tools and chemicals to tackle the residue left behind. For proper grill maintenance, gather the following items:
| Tool/Chemical | Purpose |
|---|---|
| Wire brush | Scrubbing grates |
| Plastic scraper | Removing stubborn residue |
| Bucket of warm water | Soaking tools |
| Degreaser | Breaking down chemical residue |
Using these cleaning techniques will help restore your grill. Make sure to wear gloves and a mask to protect yourself from any harmful substances. With the right tools and a bit of effort, you’ll have your grill ready for your next cookout, ensuring freedom to enjoy outdoor cooking safely.
How to Clean:
Step-by-Step Guide on How to Clean a Grill
Cleaning your grill is essential for maintaining its performance and ensuring fire safety. Follow these detailed steps for an effective cleaning process:
Step 1: Gather Your Tools and Chemicals
- Tools Needed: Stiff brush, sponge, cloth, bucket, and a grill scraper.
- Cleaning Chemicals: Dish soap, vinegar, water, and grill cleaner (optional).
Step 2: Turn Off the Gas Supply
- Locate the gas supply valve on your grill.
- Turn the valve to the “Off” position to prevent any gas leaks during the cleaning process.
Step 3: Allow the Grill to Cool Completely
– Ensure that your grill has cooled down to a safe temperature before beginning to clean. This will prevent burns and make the cleaning process easier.
Step 4: Remove Grates and Accessories
- Carefully take out any removable parts, such as grates, burners, and other accessories.
- Set them aside for cleaning.
Step 5: Wash Grates and Accessories
- Fill a bucket with hot, soapy water.
- Submerge the grates and accessories in the soapy water and let them soak for a few minutes.
- Use a sponge or grill brush to scrub away any grease and residue.
- Rinse thoroughly with clean water and set aside to dry.
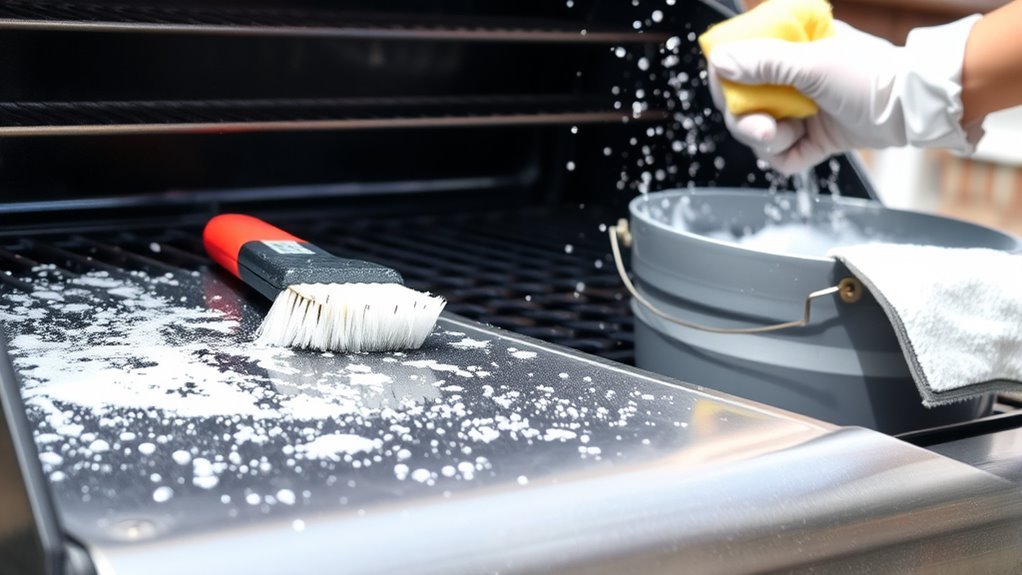
Step 6: Clean the Interior of the Grill
- Use a stiff brush to scrub the grill’s interior, focusing on areas with heavy buildup.
- For stubborn residues, create a mixture of vinegar and water (1:1 ratio) and apply it to the affected areas.
- Let the mixture sit for a few minutes before scrubbing again to help dissolve the residue.
Step 7: Wipe Down the Exterior
- Dampen a cloth with clean water and wipe down the exterior of the grill.
- Pay special attention to areas that may have collected grease or extinguisher powder if applicable.
Step 8: Rinse and Dry Everything
- Rinse all parts, including grates and interior surfaces, with clean water to remove any soap or cleaning solution.
- Dry everything completely with a cloth or allow them to air dry to prevent rust formation.
Step 9: Reassemble the Grill
- Once all parts are dry, carefully reassemble your grill.
- Ensure that all grates and accessories are securely in place.
Step 10: Check All Connections
- Before using the grill again, inspect all gas connections to ensure they are tight and leak-free.
- Perform a quick visual check for any damage or wear that may need attention.
Regular maintenance and cleaning will help prevent flare-ups and ensure safe cooking during your next barbecue.
Conclusion
Regular cleaning not only enhances your grill’s performance but also promotes fire safety. By following these steps, you can ensure your grill is ready for your next cookout.
Safety Consideration
While cleaning your grill is essential for safety and performance, it’s equally important to keep certain safety considerations in mind. First, verify your fire extinguisher types are appropriate for grill fires; using the wrong type can worsen the situation. After using an extinguisher, let the grill cool before cleaning to avoid burns. Wear gloves to protect your hands from debris and chemical residues. Ventilate the area to prevent inhaling any lingering particles. Check for any damage to the grill that might have occurred during the fire; addressing these issues promptly can enhance grill safety. Finally, always have a proper fire extinguisher nearby during grilling sessions to verify you’re prepared for any potential flare-ups. Stay safe and enjoy grilling!
Frequently Asked Questions
Can I Use My Grill After Cleaning It Post-Extinguisher Use?
Yes, you can use your grill after cleaning it post-extinguisher use, but you’ve gotta verify it’s completely safe first. Make sure all residue is removed and check the grill for any damage. Prioritize grill safety by inspecting the burners and connections. Once you’re confident everything’s in order, it’s wise to perform a test run to prevent any fire hazards. Remember, fire prevention is key to enjoying your grilling experience without worry!
What Should I Do With Leftover Fire Extinguisher Residue?
When the storm passes, you’ve got to clear the debris. For leftover fire extinguisher residue, first, check the extinguisher type. Powder extinguishers leave a dry residue, while foam ones may leave a wet layer. Dispose of powder by sweeping it up and placing it in a sealed bag. For foam, rinse with water, ensuring it drains properly, as it can affect waterways. Remember, freedom from residue means a safe space to grill again!
How Long Should I Wait Before Using the Grill Again?
You should wait at least 24 hours before using the grill again. This allows any cleaning methods you used to fully dry and guarantees grill safety. Make sure to thoroughly clean all residue from the extinguisher, as leftover chemicals can affect your food’s taste and safety. After waiting, inspect your grill for any remaining residue or damage, confirming it’s safe for your next cookout. Enjoy grilling with peace of mind!
Will Cleaning Damage My Grill’s Finish or Coating?
Cleaning your grill won’t damage its finish or coating if you use the right methods. Picture a shiny surface glistening in the sun as you carefully scrub it. Opt for gentle cleaners and soft brushes suitable for your grill materials. Avoid harsh chemicals or abrasive tools that might scratch. By choosing the right approach, you can restore your grill’s beauty without compromising its integrity, allowing you to enjoy your outdoor cooking adventures freely.
Is It Safe to Use Water for Cleaning After an Extinguisher?
Yes, it’s generally safe to use water for cleaning after using a fire extinguisher, but you should take some safety precautions. Start by verifying the grill’s completely cool. Use a gentle cleaning technique to avoid damaging the surface. Mix water with soap to help remove residue, and rinse thoroughly. Always check the manufacturer’s guidelines for specific instructions, as some materials may react differently. Keeping your grill clean verifies it stays in great condition for your next cookout.


