How to Clean Grout Floors
To clean grout floors, start by sweeping to remove loose dirt, then apply a mix of baking soda and vinegar to grout lines for natural stain lifting. Scrub gently with a stiff brush, rinse with warm water, and dry thoroughly. For tough stains, try hydrogen peroxide or a commercial grout cleaner. Regular cleaning and sealing afterward protect grout from moisture and stains. Keep following for techniques on preventing mold and maintaining long-lasting grout beauty.
Understanding Grout and Its Challenges
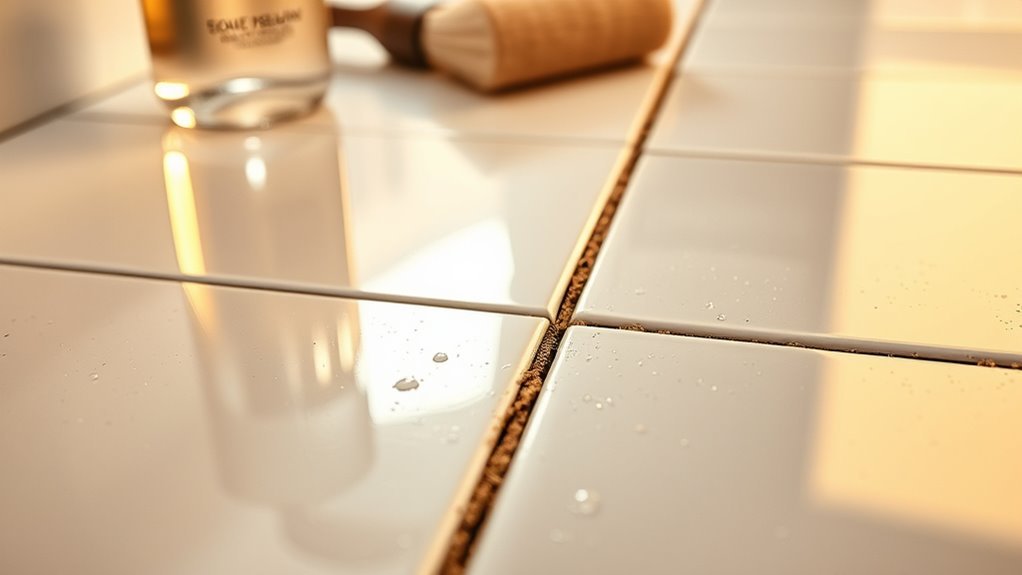
Grout, the porous material filling the gaps between floor tiles, plays an essential role in both the appearance and structural integrity of tiled surfaces. You should know that grout composition varies, typically made from cement, water, and sand, with additives for flexibility or water resistance. Different grout types exist to suit specific needs: sanded grout is durable for wider joints, while unsanded grout fits narrower gaps. Epoxy grout offers superior stain resistance but can be harder to work with. Understanding these differences helps you choose the right grout for your floors and anticipate cleaning challenges. Because grout is porous, it easily absorbs dirt and moisture, making maintenance vital to preserve both its look and function while ensuring your freedom from constant worry about stains or damage. Regular cleaning is essential to maintain appearance and prevent odors, as grout is vulnerable to stains like dirt, mold, and mildew due to its porous nature.
Essential Tools and Materials Needed
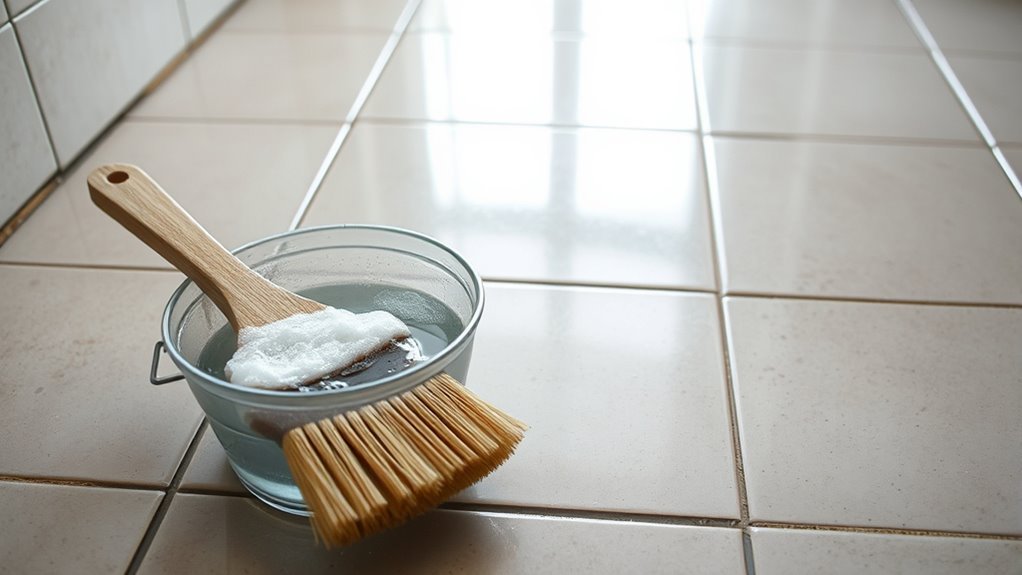
To effectively clean your grout floors, you’ll need a specific set of tools and materials designed to tackle dirt embedded in porous surfaces. Start with grout cleaning tools like a stiff-bristled brush or an old toothbrush for scrubbing, and a microfiber cloth for wiping away loosened debris. Essential cleaning materials include a pH-neutral grout cleaner or a homemade mixture of baking soda and vinegar, which helps break down grime without damaging the grout. You’ll also want a bucket for mixing solutions and clean water for rinsing. Gloves protect your hands from harsh chemicals, while a spray bottle allows precise application of cleaning agents. Having these grout cleaning tools and essential cleaning materials ready guarantees you maintain the freedom to restore your floors efficiently and effectively. Understanding the different types of grout can help you choose the best cleaning approach for your specific floor.
Preparing the Floor for Cleaning

Before diving into the actual cleaning, start by thoroughly sweeping or vacuuming the floor to remove loose dirt and debris that can scratch the surface during scrubbing. Next, tackle these steps to prepare your grout floor effectively:
Start by sweeping or vacuuming to eliminate loose dirt that could scratch the grout during cleaning.
- Begin by carefully removing furniture and other obstacles to grant yourself full access to the floor.
- Inspect the grout and tiles closely, checking for damage such as cracks or loose pieces that might need repair before cleaning.
- Use a damp cloth to wipe down the floor, removing any remaining surface dust or residues.
- Confirm the room is well-ventilated to allow any cleaning agents used later to dissipate safely.
Since grout is porous, it is important to prevent excess moisture buildup during cleaning to avoid long-term damage.
Following this precise preparation lets you clean freely and thoroughly without risking further damage.
Using Baking Soda and Vinegar for Natural Cleaning
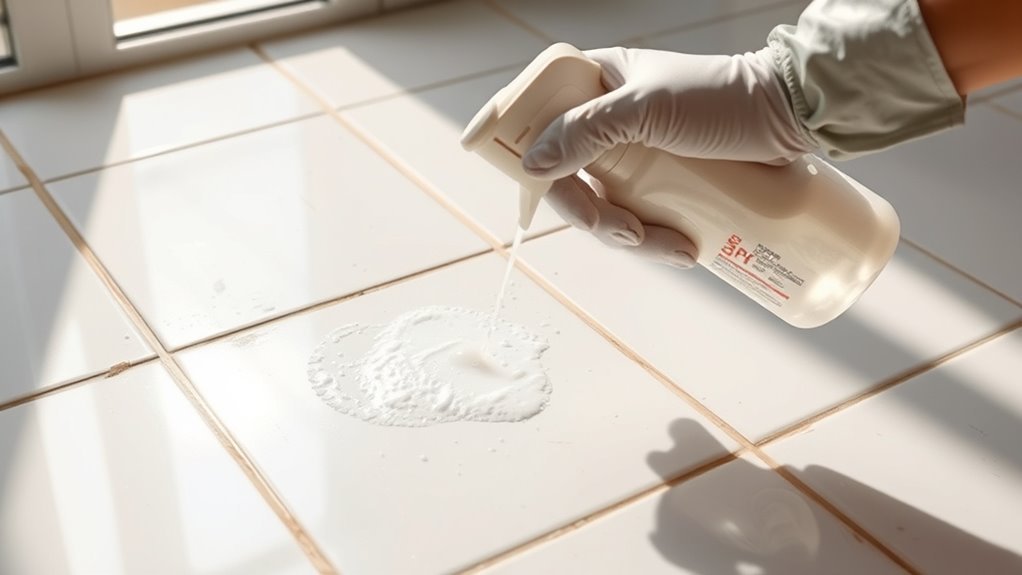
Once your floor is prepped and free of debris, you can move on to the cleaning solution. Start by sprinkling baking soda over the grout lines; its natural abrasive texture helps lift dirt without damaging surfaces, showcasing key baking soda benefits. Next, mix equal parts water and white vinegar in a spray bottle. Vinegar properties, like acidity and antibacterial effects, work wonders to break down grime and kill mold in grout. Spray the vinegar solution over the baking soda, causing a fizzing reaction that loosens stubborn stains. Let it sit for 5 to 10 minutes, then scrub with a stiff brush or old toothbrush along grout lines. Finally, rinse thoroughly with warm water to remove residue, revealing clean grout and freeing your floors naturally. For best results, test a small area before applying the solution widely to avoid potential damage to your flooring.
Applying Commercial Grout Cleaners Safely
Although natural remedies like baking soda and vinegar are effective, there are times when you’ll need a commercial grout cleaner to tackle tough stains or deep-seated grime. When using commercial cleaner types, follow these safety precautions to safeguard yourself and your home:
- Read labels carefully to understand chemical strength and recommended usage.
- Wear gloves and a mask to avoid skin irritation and inhaling fumes.
- Ventilate the area well by opening windows or using fans during application.
- Test a small, inconspicuous area first to verify the cleaner won’t damage your grout or tiles.
Also, choosing products that both clean effectively and protect grout will help maintain your floor’s appearance longer.
Scrubbing Techniques for Effective Grout Cleaning
After preparing your grout with the right cleaner and safety measures, the next step is mastering scrubbing techniques that effectively lift dirt without damaging your tiles. Start by choosing a stiff-bristled brush specifically designed for grout. Use small, circular motions to agitate the cleaner deep into the grout lines. Be mindful of your scrub pressure: applying too much can erode grout or scratch tiles, while too little won’t remove embedded dirt. Maintain consistent pressure, adjusting as needed based on grout condition. Work systematically, focusing on one section at a time to guarantee thorough cleaning. Avoid back-and-forth scrubbing, which can spread dirt around. By refining your brush techniques and controlling scrub pressure, you’ll achieve a cleaner floor that preserves your grout’s integrity and appearance, giving you the freedom to enjoy spotless tiles. Additionally, using a pH-neutral cleaning solution helps prevent damage to grout and tiles during scrubbing.
Removing Stubborn Stains From Grout
Three common types of stubborn grout stains—mildew, rust, and deep dirt buildup—often require specialized treatments beyond regular scrubbing. To tackle these effectively, you’ll need targeted stain removal techniques. Here are four proven stubborn stain remedies:
- For mildew, apply a mixture of hydrogen peroxide and baking soda; let it sit for 10 minutes before scrubbing.
- Rust stains respond well to lemon juice combined with salt; allow the paste to rest for 5–7 minutes.
- Deep dirt buildup requires a strong cleaner—try oxygen bleach diluted in water, applied with a stiff brush.
- For persistent spots, a commercial grout stain remover can provide extra power.
Remember to rinse thoroughly with warm water and dry the area completely to prevent future mold growth.
Preventing Mold and Mildew Growth
To prevent mold and mildew from taking hold in your grout, you need to guarantee proper ventilation in the area to reduce moisture buildup. Establishing a regular cleaning routine will also help keep mold spores from settling and growing. By combining these steps, you’ll maintain cleaner, healthier grout floors over time.
Proper Ventilation Importance
Although cleaning grout thoroughly removes dirt and stains, it’s crucial to guarantee proper ventilation to prevent mold and mildew growth. Without adequate air circulation, moisture lingers, creating an ideal environment for these unwanted guests. To maintain a healthy space, consider these ventilation methods:
- Open windows and doors during and after cleaning to boost natural air flow.
- Use exhaust fans in bathrooms or kitchens to expel humid air efficiently.
- Employ portable dehumidifiers to reduce moisture levels when ventilation options are limited.
- Arrange fans strategically to enhance air movement across grout surfaces.
Regular Cleaning Routine
Maintaining a regular cleaning routine is key to preventing mold and mildew growth on grout floors. To keep your floors pristine, establish a weekly schedule that suits your lifestyle and space usage. Focus on the cleaning frequency—aim to clean grout at least once a week to avoid buildup of dirt and moisture, which fosters mold. Use a brush with stiff bristles and a suitable grout cleaner, scrubbing methodically along the lines to remove grime and inhibit fungal growth. After cleaning, dry the floor thoroughly to eliminate residual moisture. By sticking to this disciplined routine, you not only enhance your freedom from stubborn stains but also guarantee a healthier living environment. Consistency in your cleaning frequency is the best defense against mold’s persistence.
Sealing Grout to Protect Against Future Stains
Once your grout is thoroughly cleaned and dried, sealing it is essential to prevent future stains and moisture buildup. You’ll find various sealers available, including penetrating and membrane types, each suited for different grout materials and environments. Applying the sealer properly—usually with a brush or applicator—ensures long-lasting protection and helps maintain your floor’s appearance.
Importance of Sealing
Because grout is porous, it can easily absorb dirt, moisture, and stains over time, making sealing an essential step in protecting your floors. Understanding the importance of sealing will help you maintain that freedom from constant cleaning hassles. Here’s why grout sealing benefits you:
- Prevents stains by creating a protective barrier against spills and dirt.
- Reduces the growth of mold and mildew by blocking moisture penetration.
- Eases routine cleaning, saving you time and effort.
- Extends the lifespan of grout, preserving your floor’s appearance.
Pay attention to sealing frequency; typically, reapplying every 1-2 years keeps protection effective. By sealing your grout regularly, you guarantee lasting cleanliness and durability, giving you the freedom to enjoy your floors without worry.
Types of Sealers
Choosing the right type of sealer is essential to effectively protect your grout from future stains and damage. You’ll mainly encounter penetrating sealers, which soak into the grout and repel moisture without altering its appearance. Topical sealers, on the other hand, form a protective layer on the surface but may change the grout’s look. Silicone sealants offer water resistance and flexibility, ideal for areas prone to movement. Epoxy grout itself is a durable, stain-resistant option, often sealed less frequently. Here’s a quick comparison:
| Sealer Type | Key Features |
|---|---|
| Penetrating Sealers | Deep protection, invisible finish |
| Topical Sealers | Surface layer, may alter appearance |
| Silicone Sealants | Water-resistant, flexible |
| Epoxy Grout | Durable, stain-resistant grout |
| Combination Use | Enhances protection by layering |
Choose what fits your freedom to maintain grout appearance and longevity.
Application Tips
Applying grout sealer correctly involves several essential steps to guarantee maximum protection against future stains. First, confirm your grout is thoroughly cleaned using effective grout cleaning techniques; dirt or residue can prevent proper sealing. Second, choose a sealer that complements your grout color options, enhancing appearance while protecting. Third, apply the sealer evenly with a small brush or applicator, covering all grout lines without pooling. Fourth, allow the sealer to penetrate and dry fully—usually 24 hours—to form a durable barrier. Reapplying every 1-2 years maintains protection. By following these steps, you’ll preserve your grout’s look and keep it stain-resistant, freeing you from constant worry about dirt and spills.
Maintenance Tips for Long-Lasting Clean Grout
While regular deep cleaning is essential, maintaining grout’s cleanliness over time requires consistent, preventive care. To guarantee long-lasting clean grout, establish a grout maintenance routine tailored to your floor’s usage. Adjust your cleaning frequency based on traffic and environmental factors; high-traffic areas might need cleaning weekly, while less-used spaces can suffice with monthly attention. Use a pH-neutral cleaner to avoid damaging grout and seal it every six to twelve months to prevent stains and dirt buildup. After mopping, dry the grout lines thoroughly to minimize moisture retention, which fosters mold growth. Additionally, promptly address spills to prevent permanent stains. By following these precise maintenance tips, you’ll keep your grout floors looking fresh and extend their lifespan without sacrificing your freedom to enjoy your space. Applying a grout sealing layer after deep cleaning helps protect the grout and enhance its durability.
Frequently Asked Questions
Can Grout Cleaning Damage Heated Flooring Systems?
You might wonder if grout cleaning methods can harm your heated flooring system. Generally, they won’t cause damage if you use gentle, non-abrasive cleaners and avoid excessive water, which could affect the heating elements. Heated flooring concerns mainly revolve around moisture and harsh chemicals, so be cautious with steam cleaners or acidic products. Sticking to recommended grout cleaning methods guarantees your floor stays safe while maintaining its freedom from dirt and stains.
How Often Should Grout Be Professionally Cleaned?
Did you know that improperly maintained grout can harbor up to 100 times more bacteria than other surfaces? For ideal grout maintenance frequency, experts recommend professional cleaning every 12 to 18 months. This guarantees deep removal of dirt and mildew, preserving your floors’ integrity. Professional cleaning benefits include prolonging grout life and enhancing overall cleanliness, giving you the freedom to enjoy spotless, healthy floors without constant upkeep stress.
Are There Pet-Safe Grout Cleaning Products?
Yes, there are pet safe options for grout cleaning that won’t harm your furry friends. You can rely on natural cleaners like baking soda and vinegar or hydrogen peroxide mixes, which effectively clean without harsh chemicals. These natural cleaners are gentle, yet powerful, keeping your floors fresh and safe. Always double-check labels to verify products are labeled pet safe, especially if your pets are prone to licking floors or paws.
Can Colored Grout Be Restored to Its Original Color?
Yes, you can restore colored grout to its original color through grout color restoration methods. You’ll want to start with thorough cleaning techniques, like using a pH-neutral cleaner or a specialized grout cleaner to remove surface dirt and stains. After cleaning, applying a grout colorant or sealer designed for colored grout can refresh and even out the color, giving your floors a vibrant, like-new appearance while protecting them from future discoloration.
Is Steam Cleaning Effective for Grout Floors?
Oh sure, why not just invite a steam cleaner to your grout’s spa day? Steam cleaning benefits include blasting dirt with high-temperature vapor, loosening grime without harsh chemicals. Using proper steam cleaning techniques, you’ll free your grout from stubborn stains and bacteria effectively. It’s precise and eco-friendly, giving you the freedom to enjoy spotless floors without sacrificing your health or the planet. Just remember: patience and the right tool are key!


