How to Clean Hot Water Tank in Rv
To clean your RV’s hot water tank, start by turning off the water heater and disconnecting it from power. Next, locate the drain valve, attach a hose, and open it to drain the tank. Use vinegar as a descaling agent for any deposits and scrub with a soft brush if needed. Flush the tank by turning the water supply on briefly. Regular maintenance can help guarantee longevity, and there are more effective strategies to take into account.
##

Maintaining your RV’s hot water tank is crucial for ensuring optimal performance and durability, and this article will guide you through the essential steps to achieve just that. Neglecting regular cleaning can result in sediment buildup, which can hinder efficiency and potentially cause damage over time. In the following sections, you’ll learn how to properly drain your tank, utilize effective cleaning solutions, and ensure thorough flushing to eliminate any stubborn deposits. By following these guidelines, you’ll enhance your water heater’s functionality and longevity, allowing you to focus on enjoying your RV adventures without the worry of unexpected issues.
Preparation For Cleaning
Before you plunge into the cleaning process, it’s essential to gather the necessary tools and materials to guarantee a smooth and efficient operation. Consider your cleaning frequency; regular maintenance can prevent buildup and prolong your tank’s lifespan. Start by ensuring you have a suitable water source available to flush the tank thoroughly. You’ll also need a bucket or hose for draining, and a wrench for removing the drain plug. Check your owner’s manual for specific instructions regarding tank maintenance, as different models may have unique requirements. Additionally, having a soft brush on hand can help remove stubborn debris. With these preparations in place, you’re set to tackle the cleaning effectively, ensuring your RV’s hot water system remains in peak condition.
Tools and Chemical Required
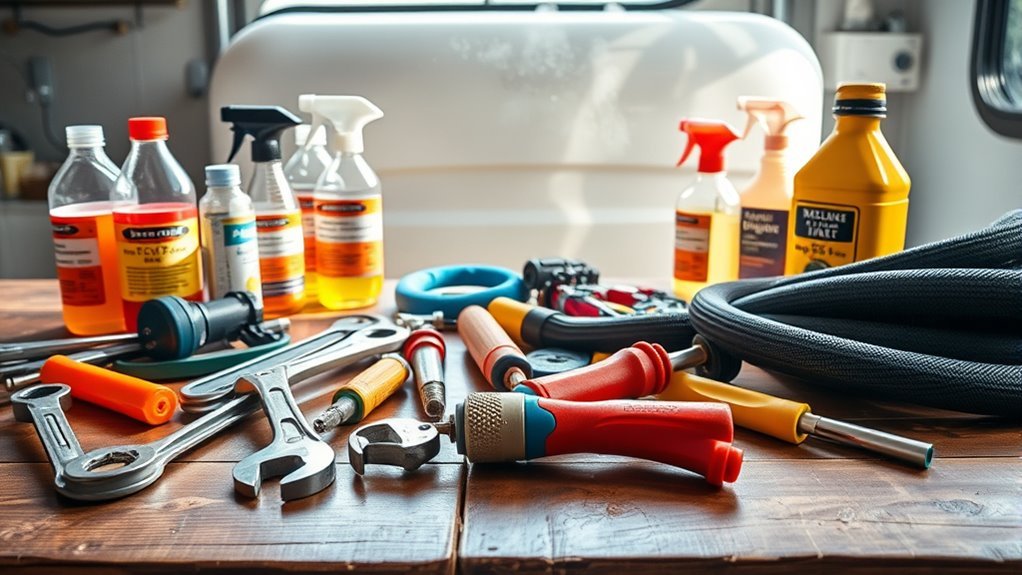
Having gathered the necessary tools and materials for the preparation phase, it’s time to focus on the specific tools and chemicals you’ll need for the cleaning process. Here’s a quick guide to essential cleaning supplies and maintenance tools you should have on hand:
| Tools/Chemicals | Purpose |
|---|---|
| Screwdriver | Remove the access panel |
| Vinegar | Descale and clean deposits |
| Bucket | Collect drained water |
| Soft brush | Scrub any residues |
These items will guarantee you can effectively clean your hot water tank, maintaining its performance and extending its lifespan. Remember, having the correct tools and chemicals simplifies the process and empowers you to take control of your RV maintenance.
How to Clean:
Step 1: Turn Off the Water Heater
- Before you begin the cleaning process, ensure that the water heater is turned off to prevent any accidents or damage.
- Allow the tank to cool down completely; this will make the cleaning process safer and more effective.
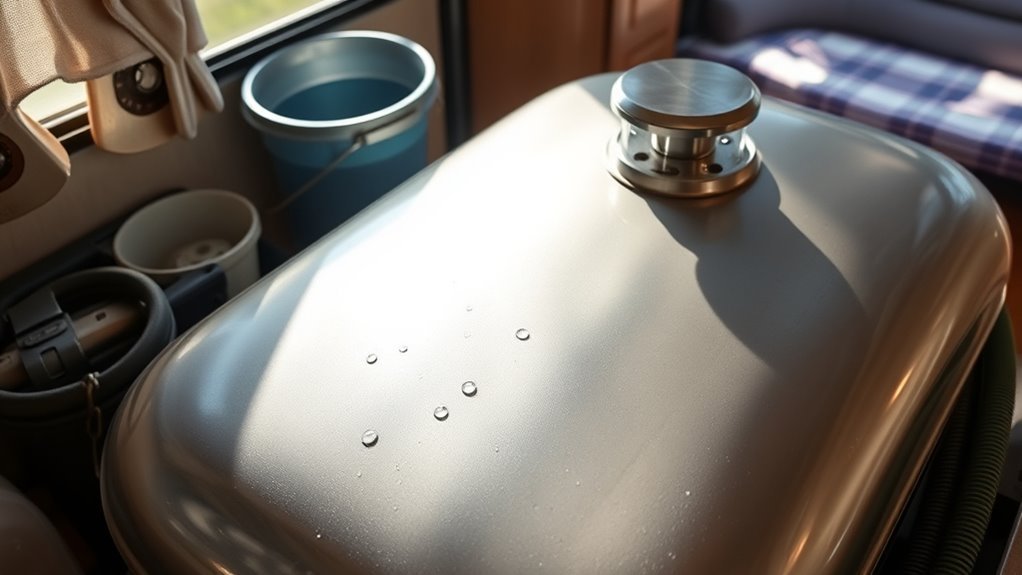
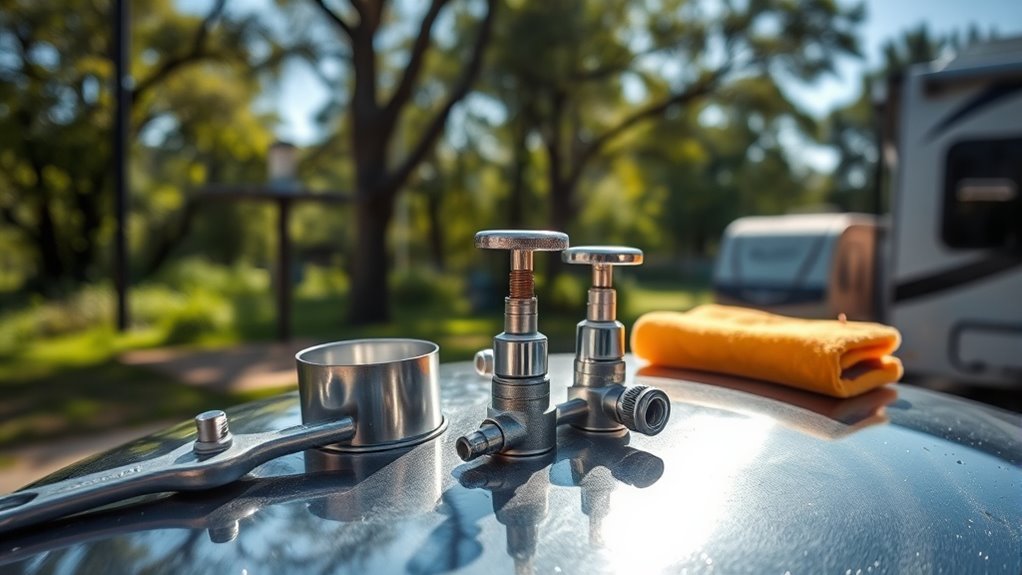
Step 2: Locate the Drain Valve
- Find the drain valve, which is typically located at the bottom of the hot water tank.
- Familiarize yourself with the valve’s location, as you’ll need to access it easily during the cleaning process.
Step 3: Attach a Hose
- Connect a suitable hose to the drain valve. Ensure that the hose fits securely to avoid leaks.
- Direct the other end of the hose to a designated drainage area, such as a sewer drain or outside your RV.
Step 4: Open the Drain Valve
- Carefully open the drain valve to allow the water to flow out of the tank.
- This step will help eliminate any sediment buildup that may have accumulated at the bottom of the tank.
Step 5: Flush the Tank
- Once the tank is completely drained, it’s time to flush it out.
- Briefly turn on the water supply to rinse out any remaining debris or sediment inside the tank.
- Make sure to monitor the water flow to ensure it is clear.
Step 6: Close the Drain Valve
- After the water runs clear and you are satisfied with the flushing, close the drain valve securely.
- This step prevents any further water leakage during the next phase.
Step 7: Refill the Tank
- Start refilling the hot water tank by turning the water supply back on.
- Keep an eye on the tank to ensure it fills properly without any leaks.
Step 8: Check for Leaks
- After the tank is filled, inspect the area around the drain valve and the tank itself for any signs of leaks.
- Address any issues immediately to prevent water damage or further complications.
Step 9: Turn the Water Heater Back On
- Once you’re sure there are no leaks, turn your water heater back on.
- Allow it to heat the water, and check again for any leaks or issues as it operates.
Step 10: Perform Regular Maintenance
- To enhance the efficiency and longevity of your RV’s hot water tank, schedule regular cleaning and maintenance.
- Setting reminders for this process will help keep your RV in optimal condition.
Safety Consideration
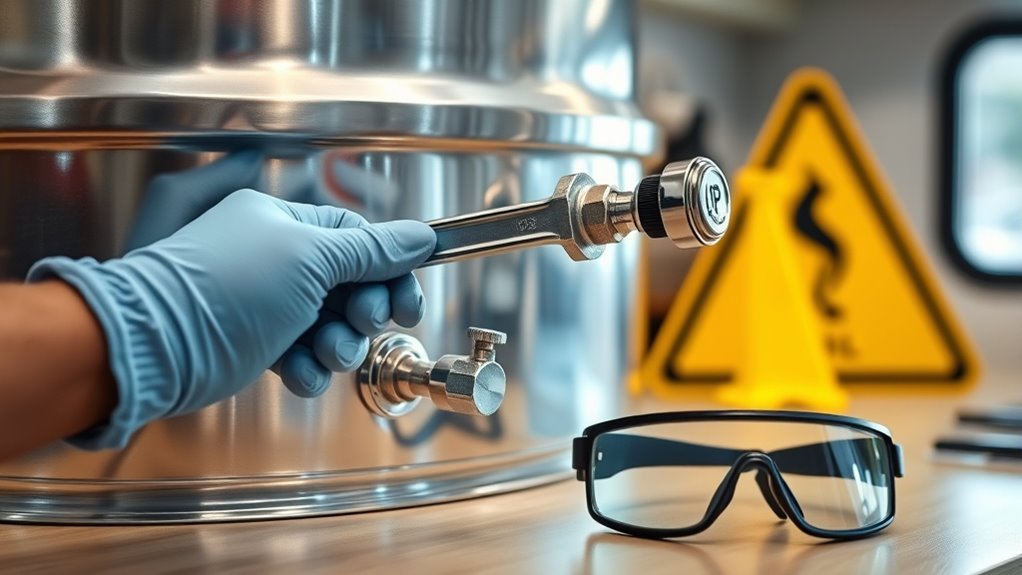
Cleaning your RV’s hot water tank involves several steps, but prioritizing safety throughout the process is just as important. Before you start, verify the water heater is completely turned off and disconnected from any power source to prevent electric shock. Wear appropriate safety gear, including gloves and goggles, to protect yourself from potential contaminants and sharp edges. Make sure to release the pressure from the tank by opening the pressure relief valve and draining the water safely. Always work in a well-ventilated area to avoid inhaling harmful fumes. Inspect hoses and connections for wear or damage; if you find any issues, replace them before proceeding. Following these safety measures guarantees a smooth and accident-free cleaning process.
Tips to keep clean for long time
While regular maintenance is crucial, implementing a few proactive strategies can help keep your RV’s hot water tank clean for an extended period. First, schedule routine maintenance to flush the tank at least once a year, removing sediment buildup that can compromise performance. Additionally, monitor your water quality; using a water filter can prevent impurities from entering the system. Consider adding a sacrificial anode rod to combat corrosion in the tank, and check its condition regularly. Always guarantee the tank is completely drained when not in use, and keep it covered to minimize debris accumulation. Finally, routinely inspect the connections and fittings for leaks, as this can lead to larger issues down the road. Your freedom on the road depends on a well-maintained system.
Frequently Asked Questions
How Often Should I Clean My Rv’s Hot Water Tank?
You should clean your RV’s hot water tank at least once a year, though more frequent cleaning might be necessary if you use it heavily or notice sediment buildup. Establish a cleaning schedule that aligns with your usage patterns. Frequency recommendations suggest checking every six months if you’re traveling often. By maintaining a regular cleaning routine, you’ll guarantee peak performance and prolong the life of your hot water system, giving you more freedom on the road.
Can I Use Vinegar Instead of Chemicals for Cleaning?
Yes, you can use vinegar instead of chemicals for cleaning. In fact, studies show that vinegar can eliminate up to 99% of bacteria, making it an effective natural cleaning solution. The benefits of vinegar extend beyond just sanitizing; it also helps dissolve mineral deposits that accumulate in your hot water tank. By opting for this eco-friendly alternative, you’re not only maintaining your RV’s efficiency but also embracing a healthier lifestyle while enjoying your freedom on the road.
What Signs Indicate My Hot Water Tank Needs Cleaning?
If you notice reduced hot water pressure, strange noises, or cloudy water, these are signs your hot water tank needs cleaning. Sediment buildup can obstruct the system, affecting performance and efficiency. Regular tank maintenance is essential to prevent these issues. Look for discoloration or a metallic taste in your water, as these can also indicate that it’s time to clean your tank and guarantee you’re enjoying the freedom of reliable hot water.
Is It Safe to Clean the Tank While It’s Still Hot?
No, you shouldn’t clean the tank while it’s still hot. The tank temperature can pose serious risks, including burns or scalding. Before you start, make certain to take safety precautions: turn off the power and allow the tank to cool down completely. Waiting guarantees you can work without the threat of injury. Patience is key; your safety is worth the time it takes to let the water cool before proceeding.
How Can I Prevent Sediment Buildup in the Future?
To prevent sediment buildup, you need to perform regular inspections and preventative maintenance on your RV’s hot water tank. Make it a habit to flush the tank at least once a year, which helps remove sediment. Additionally, consider using a water softener if your water supply is hard, as this can greatly reduce mineral deposits. Keeping an eye on your tank’s anode rod will also help prolong its life and efficiency.


