How to Clean the Lines of a Kegerator
To clean your kegerator lines, start by disconnecting the keg and tap. Next, prepare a cleaning solution as directed by the manufacturer. Attach it to the beer line and let it run for 15 minutes. Rinse the lines thoroughly with clean water. Regular cleaning every two weeks helps maintain beer quality and equipment lifespan. Check seals for leaks and guarantee a well-ventilated space while you work. For additional maintenance tips, there’s more to explore.
##
If you’re looking to keep your kegerator in top shape and ensure your beer tastes as fresh as possible, you’ve come to the right place. This article will walk you through the essential tools and supplies needed for a thorough kegerator cleaning, as well as the frequency and importance of regular maintenance. You’ll learn about the necessary cleaning kits, protective gear, and how to inspect and maintain your lines effectively. By following the tips provided, you’ll be able to enjoy your favorite brews without any compromise on flavor, ensuring every pint is as good as the last.
Preparation For Cleaning
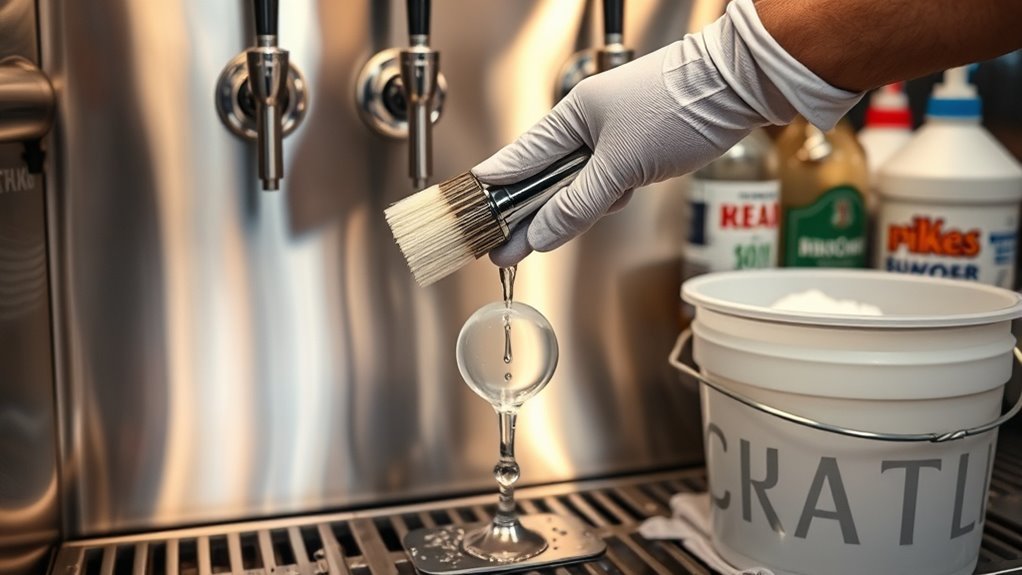
To guarantee an effective cleaning process for your kegerator, it’s essential to gather all necessary supplies and tools beforehand. Start by reviewing your cleaning schedule; regular line maintenance guarantees peak performance and flavor. You’ll need a cleaning solution specifically designed for beer lines, a bucket to catch runoff, and a wrench for disconnecting components. Make sure to have a soft brush for scrubbing, and don’t forget gloves to protect your hands. Before you begin, turn off your kegerator and disconnect the CO2 tank to prevent any pressure buildup. This preparation will set the stage for a thorough cleaning, extending your system’s lifespan and enhancing your beer experience. Get everything ready, and you’ll be well on your way to cleaner lines.
Tools and Chemical Required
Gathering the right tools and chemicals is essential for effectively cleaning your kegerator. You’ll need a few essential tools and reliable cleaning solutions to guarantee a thorough job. Here’s a quick overview of what you’ll need:
| Essential Tools | Cleaning Solutions |
|---|---|
| Food-safe gloves | Cleaning vinegar |
| Bucket | Brewery-approved cleaner |
| Soft brush | Sanitizing solution |
| Flexible cleaning line | Hot water |
With these tools and cleaning solutions at your disposal, you can confidently tackle the cleaning process. Make sure to choose products specifically designed for kegerators to maintain the integrity of your equipment. Using non-abrasive cleaners will help preserve the appliance’s finish and functionality. This preparation will set the stage for a successful cleaning experience.
How to Clean:
How to Clean Your Kegerator: A Step-by-Step Guide
Cleaning your kegerator is essential for maintaining beer quality and prolonging the life of your equipment. Follow these detailed steps to ensure effective cleaning.
Cleaning your kegerator is crucial for preserving beer quality and extending the lifespan of your equipment.
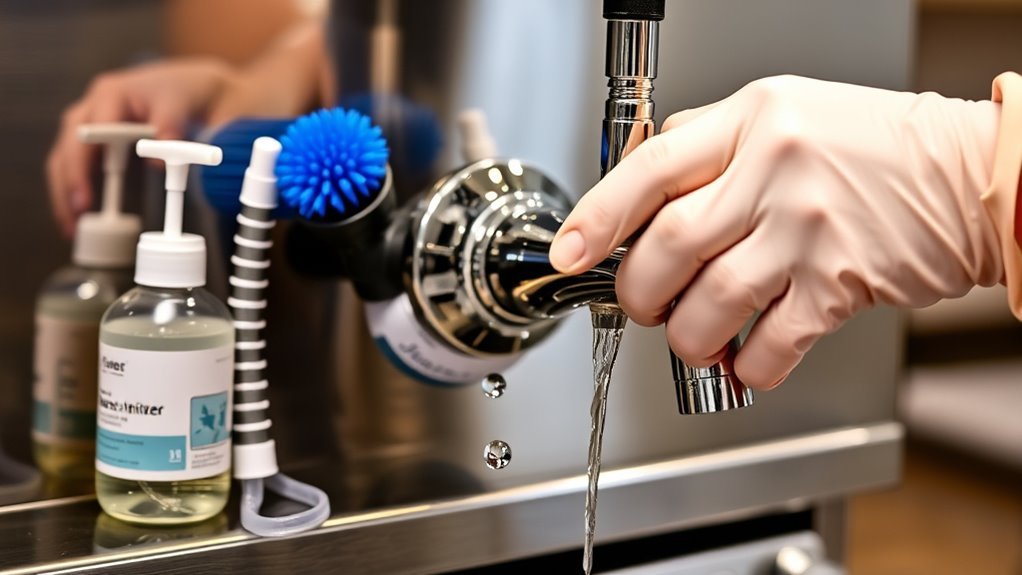
Step 1: Disconnect the Keg and Remove the Tap
- Begin by turning off the CO2 tank to stop any gas flow.
- Carefully disconnect the keg from the coupler by lifting the handle and pulling it out.
- Remove the tap by unscrewing it from the beer line, ensuring any residual beer does not spill.
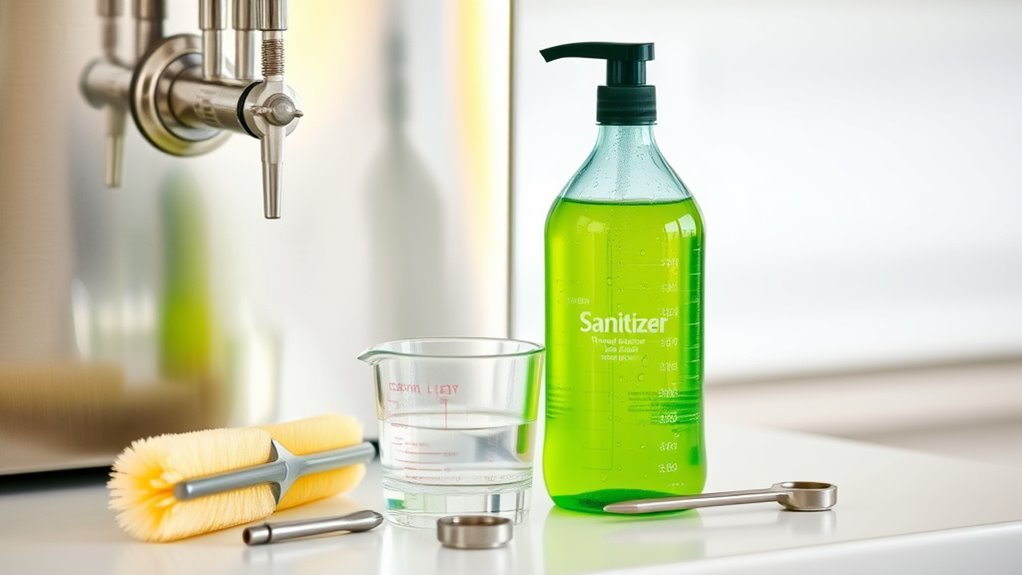
Step 2: Prepare Your Cleaning Solution
- Refer to the cleaning solution manufacturer’s instructions for the correct dilution ratio.
- Mix the cleaning solution in a clean container, ensuring it is well combined to achieve effective results.
- Make sure you have enough solution to clean both the beer line and the tap.
Step 3: Attach the Cleaning Solution to the Beer Line
- Using a cleaning kit, attach the cleaning solution to the beer line. This may involve connecting a cleaning cap or using a dedicated cleaning pump.
- Open the tap to allow the cleaning solution to flow through the beer line.
- Let the solution run through the line for at least 15 minutes to thoroughly clean and sanitize the entire system.
Step 4: Rinse the Lines Thoroughly
- After the cleaning solution has circulated, disconnect the cleaning solution and prepare to rinse.
- Connect the beer line back to a clean water source or use a separate rinsing kit.
- Run clean water through the lines for several minutes to ensure all residual cleaning solution is flushed out.
- Be thorough in this step to prevent any cleaner from affecting the taste of your beer.
Maintenance Tips
- To maintain optimal performance, aim to clean your kegerator every two weeks.
- Regular cleaning not only improves beer quality but also helps prevent bacteria buildup and equipment wear.
- Keeping a consistent maintenance schedule allows you to enjoy perfectly poured drafts whenever you desire.
Safety Consideration

While cleaning your kegerator is essential for maintaining beer quality, it’s equally important to prioritize safety throughout the process. Start by wearing protective gloves and goggles to prevent skin and eye irritation when handling cleaning chemicals. Guarantee your workspace is well-ventilated, as fumes from cleaning solutions can be harmful. Always read and follow the manufacturer’s instructions for any chemicals you use, as improper chemical handling can lead to dangerous reactions. Keep cleaning agents away from food and drink areas to avoid contamination. If you’re using a pressurized cleaning system, check for leaks to prevent accidents. Prioritizing these cleaning safety measures will guarantee you maintain a safe environment while enjoying the freedom of brewing your favorite beers.
Tips to keep clean for long time
After guaranteeing a safe cleaning environment, maintaining your kegerator’s cleanliness over time requires consistent practices. To keep your system in top shape, follow these tips for regular maintenance and proper storage:
- Clean lines regularly: Aim for every two weeks to prevent buildup.
- Check CO2 levels: Confirm your CO2 tank is properly filled to maintain pressure and prevent contamination.
- Store kegs correctly: Keep them upright and in a cool environment to minimize spoilage.
- Inspect seals and components: Regularly check for leaks or wear and replace any faulty parts promptly.
Incorporating small, attainable goals into your cleaning routine can make maintenance feel more manageable and help sustain motivation over time.
Frequently Asked Questions
How Often Should I Clean the Kegerator Lines?
You should clean your kegerator lines every two weeks to maintain peak line performance and beer quality. Establishing a cleaning schedule helps prevent buildup and guarantees consistent flavor. Regular line maintenance is essential, especially if you’re serving different types of beer, as each can leave residues. By committing to this routine, you’ll enjoy fresher pours and extend the life of your equipment, allowing you to focus on the freedom of enjoying your brews.
Can I Use Vinegar Instead of Commercial Cleaners?
Yes, you can use vinegar as a cleaning alternative for your kegerator lines. Vinegar benefits include its natural antibacterial properties, making it effective in removing buildup and odors. To use it, mix equal parts vinegar and water, then let it sit in the lines for about 30 minutes before rinsing thoroughly. However, remember that while vinegar is effective, it may not be as powerful as commercial cleaners specifically designed for this purpose.
What if My Beer Tastes off After Cleaning?
If your beer tastes off after cleaning, it could be due to residual cleaning solution or improper rinsing. Make certain you’re using a proper cleaning technique, rinsing thoroughly with cold water to eliminate any traces. Additionally, check your equipment for any leftover debris or contaminants. Sometimes, even the water quality can impact beer flavor, so consider using filtered water for your cleaning process. Always taste-test your beer after cleaning to verify quality.
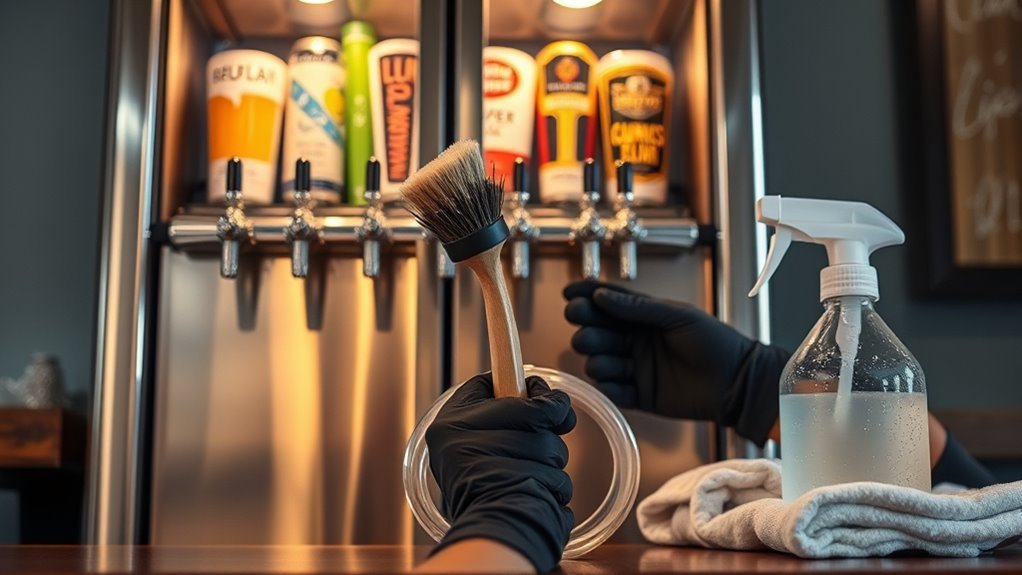
Is It Necessary to Clean the Faucet Too?
Absolutely, cleaning the faucet is essential for maintaining beer quality. You might think the lines alone do the trick, but without proper faucet maintenance, you’re just inviting trouble. Residue can build up, affecting taste and freshness. Regularly disassemble and clean the faucet with warm water and a brush, ensuring you reach every crevice. It’s a small effort for the freedom of enjoying perfectly poured, delicious beer without any off-flavors. Cheers to that!
How Do I Know When to Replace the Lines?
You’ll know it’s time to replace the lines when you notice certain line replacement indicators. Look for line wear signs like discoloration, cracks, or brittleness. If you detect off-flavors in your beer or excessive foam, that might also signal it’s time for a change. Regular checks can help maintain your kegerator’s performance, ensuring you have the best pour every time. Don’t wait too long; a proactive approach keeps your beer tasting fresh.


