
How to Clean Natural Stone in Shower
To clean natural stone in your shower, first identify the stone type and gather pH-balanced cleaner, soft cloths, and a mop. Mix the cleaner with warm water, then apply it with a damp cloth or sponge, working in sections. For tough stains, use a specialized stain remover after patch testing. Confirm the area is well-ventilated, and wear gloves for protection. Regular maintenance helps prevent buildup, and you’ll discover more effective tips to keep your stone pristine.
##
If you’re looking to maintain the beauty and longevity of your natural stone surfaces, you’ve come to the right place. In this article, you’ll discover essential tips and best practices for cleaning and caring for various types of stone, ensuring that you preserve their unique properties and avoid any potential damage. From understanding the cleaning frequency for softer stones like marble to the more durable granite, we’ll provide you with practical advice on how to handle spills, the right cleaning products to use, and a maintenance schedule that will keep your stone looking pristine for years to come. Get ready to equip yourself with the knowledge you need to care for your natural stone effectively!
Preparation For Cleaning
Before diving into the cleaning process, it’s essential to gather the right tools and materials to guarantee effective and safe maintenance of your natural stone surfaces. First, identify your stone types—granite, marble, or limestone—as each requires specific care. Consider your cleaning frequency; regular maintenance can prevent buildup and staining, making your efforts more efficient. You’ll want to have soft cloths or sponges, a pH-balanced cleaner, and a mop for larger areas. It’s also wise to protect your stone with a suitable sealer, especially if you clean infrequently. Finally, ascertain the area is well-ventilated, as proper airflow will aid in drying and help maintain your stone’s integrity. Taking these preparatory steps will set you up for success.
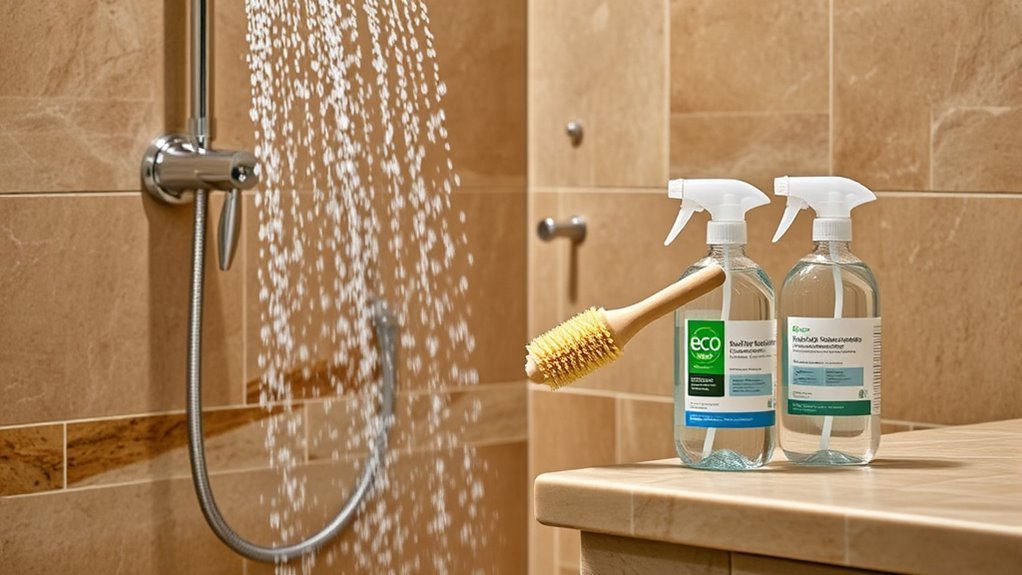
Tools and Chemical Required
To effectively clean natural stone, you’ll need a few essential tools and the right chemicals to guarantee ideal results. Start with high-quality stone cleaners specifically designed for your type of stone. You’ll also need durable cleaning brushes with soft bristles to avoid scratching the surface.
Here’s a quick reference table of tools and chemicals:
| Tools | Chemicals |
|---|---|
| Cleaning Brushes | pH-neutral Stone Cleaner |
| Mop or Microfiber Cloth | Mild Detergent |
| Bucket | Vinegar (for tough stains) |
With these items in hand, you’ll be well-equipped to maintain the beauty of your natural stone shower, ensuring it remains a serene space for relaxation.
How to Clean:
Step 1: Identify the Stone Type
- Examine your shower to determine the type of natural stone. Common types include granite, marble, and travertine.
- Research the specific care instructions for the identified stone to ensure you use the correct cleaning methods.
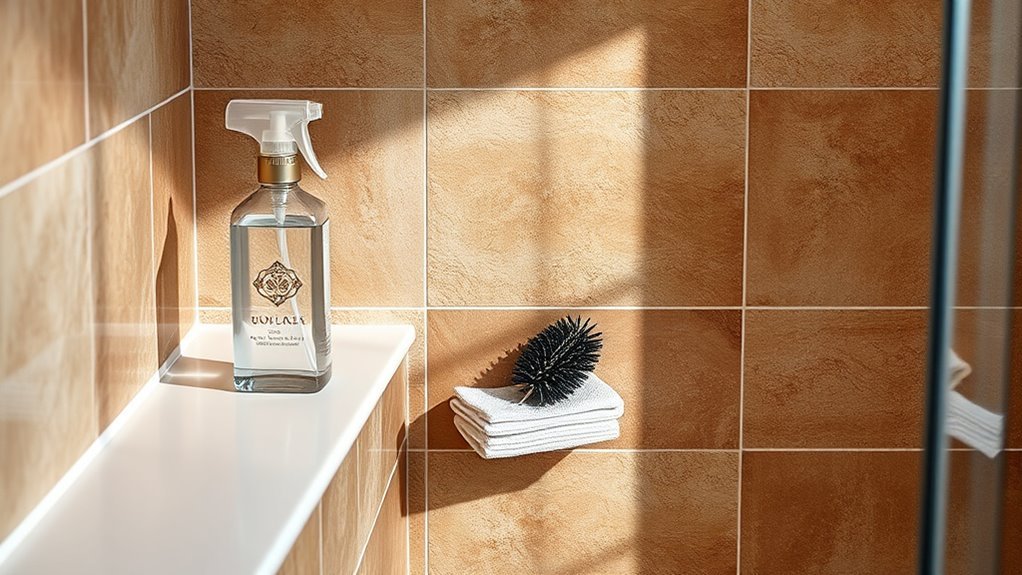
Step 2: Gather Cleaning Supplies
- Collect the necessary cleaning supplies:
- pH-balanced stone cleaner
- Warm water
- Soft cloth or sponge
- Gentle scrubbing brush (if needed)
- Specialized stone stain remover (for tough stains)
- Soft towel for drying
Step 3: Prepare the Cleaning Solution
- In a bucket, mix the pH-balanced stone cleaner with warm water according to the instructions on the cleaner’s label.
- Ensure the solution is well combined before use.
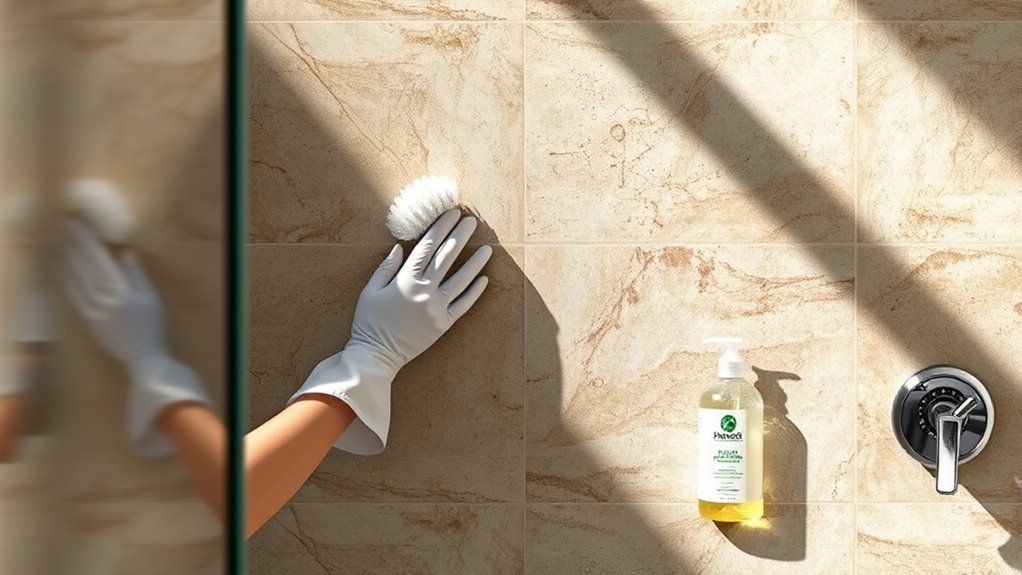
Step 4: Apply the Cleaning Solution
- Dampen a soft cloth or sponge in the cleaning solution.
- Gently apply the solution to the stone surfaces, working in small sections.
- Avoid using abrasive pads or brushes that could scratch the stone.
Step 5: Address Tough Stains
- For any stubborn stains, apply a small amount of specialized stone stain remover directly on the affected area.
- Use a gentle scrubbing method with a soft brush, being careful not to damage the stone.
- Always conduct a patch test in an inconspicuous area before applying any new cleaner.
Step 6: Rinse the Stone
- After cleaning, thoroughly rinse the stone surfaces with clean water to remove any cleaning solution or residue.
- Use a clean sponge or cloth to help with rinsing if necessary.
Step 7: Dry the Surfaces
- Use a soft towel to dry the stone surfaces completely.
- Ensure that no water spots form by drying promptly after rinsing.
Step 8: Regular Maintenance
- Establish a routine cleaning schedule to maintain the beauty and longevity of your natural stone shower.
- Consider using a pH-balanced cleaner weekly or bi-weekly and inspect for any stains or build-up regularly.
- Additionally, applying a grout sealant after cleaning can help protect adjacent grout lines from moisture and staining, enhancing overall shower longevity.
Safety Consideration
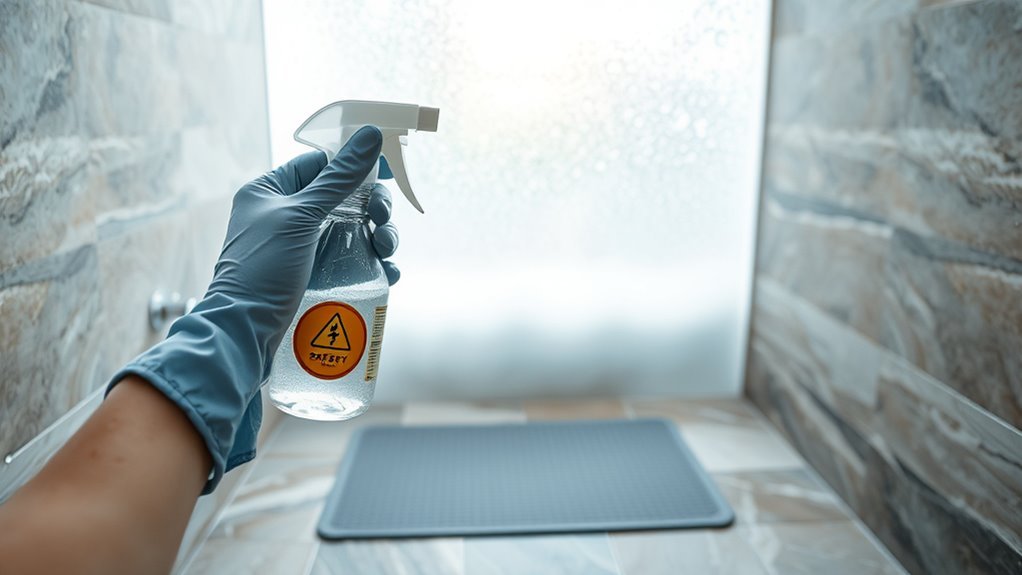
As you clean your natural stone, it’s important to prioritize safety to protect both yourself and the stone. Begin by wearing non-slip footwear to minimize slip hazards, especially if you’re working in a wet environment. Make certain the area is well-ventilated to reduce chemical exposure risks from cleaning products. Use gloves to protect your skin from harsh cleaners, and consider a mask if you’re sensitive to fumes. Always test any cleaning solution on a small, inconspicuous area first to prevent damage. Keep your workspace organized—avoid clutter that could lead to accidents. Finally, be mindful of your posture and movements to prevent strains. By taking these precautions, you can clean effectively while maintaining a safe environment.
Tips to keep clean for long time
While maintaining the beauty and integrity of your natural stone surfaces may seem challenging, a few proactive measures can help keep them looking pristine for an extended period. First, establish a routine of regular maintenance by cleaning your stone with a pH-balanced cleaner to prevent buildup. Avoid acidic or abrasive products that can damage the surface. Seal your stone every 6 to 12 months to provide a protective barrier against stains and moisture. Additionally, promptly wipe away spills and water to prevent etching. Installing a ventilation system can reduce humidity, minimizing mold and mildew growth. By implementing these preventive measures, you’ll not only enhance the longevity of your stone but also enjoy a stunning shower environment for years to come. Marble is particularly sensitive to acids and abrasives, so using pH-neutral cleaners is essential for preserving its surface.
Frequently Asked Questions
Can I Use Vinegar on Natural Stone Surfaces?
You shouldn’t use vinegar on natural stone surfaces, as its acidity can damage the stone’s finish and lead to etching. Instead, consider vinegar alternatives like pH-neutral cleaners specifically designed for stone maintenance. These products will effectively clean your surfaces without compromising their integrity. Regular maintenance is essential, so always opt for gentle solutions to preserve your stone’s beauty and longevity. Keeping your stone in top condition allows you to enjoy it for years to come.
How Often Should I Clean My Stone Shower?
You should clean your stone shower at least once a week to maintain its beauty and prevent buildup. Regular cleaning frequency is essential, as it helps avoid stains and water spots. For maintenance tips, use a pH-balanced cleaner and a soft cloth or sponge to gently scrub the surfaces. Make sure to rinse thoroughly and dry with a microfiber towel to keep it looking pristine. This way, you’ll enjoy a beautiful, long-lasting stone shower.
Will Hard Water Damage My Natural Stone?
Yes, hard water can damage your natural stone over time, much like a relentless wave erodes a shoreline. The minerals in hard water can lead to unsightly stains and buildup, requiring more frequent stone maintenance. To protect your investment, consider using a water softener or regularly applying a protective sealant. By taking these steps, you can preserve the beauty of your stone and enjoy a worry-free shower experience for years to come.
Can I Seal My Natural Stone Myself?
Yes, you can seal your natural stone yourself using DIY sealing techniques. First, make sure the surface is clean and dry. Choose a high-quality penetrating sealer designed for your specific stone type. Apply it evenly with a soft cloth or brush, following the manufacturer’s instructions. Allow adequate time for the sealer to penetrate before wiping off any excess. Regularly maintaining your stone with this method can help preserve its beauty and durability.
What Should I Do About Mold on Stone?
Oh, mold on stone? What a delightful house guest! To kick it out, start with a gentle mold removal solution, like a mix of vinegar and water. Scrub with a soft brush, but don’t go too hard—you’re not trying to start a revolution! For prevention, keep the area dry and well-ventilated. Regularly check for moisture build-up, and you’ll keep that mold at bay, letting your stone bask in its freedom!


