How Do You Clean an Oil Painting on Canvas
To clean an oil painting on canvas, begin by inspecting for damage and ensuring your workspace is clean and well-lit. Use a soft brush to gently remove dust, working from one edge to the other. For stains, lightly moisten a cotton swab with distilled water and dab the area in small circles without saturating it. Allow it to air dry completely. Remember to take safety precautions and maintain your painting’s vibrancy; more detailed steps await you ahead.
##
When it comes to cleaning an oil painting on canvas, understanding the proper techniques and precautions is vital for preserving the integrity of the artwork. This article will guide you through the essential steps to effectively clean your painting without causing any damage. You’ll learn how to assess the condition of the painting, the best tools to use for dust removal, and when it’s necessary to seek professional help. By following these guidelines, you can ensure your artwork remains in excellent condition while continuing to enhance your space with its beauty. Whether you’re a seasoned art collector or a first-time owner, this comprehensive guide will equip you with the knowledge needed to care for your oil paintings effectively.
Preparation For Cleaning
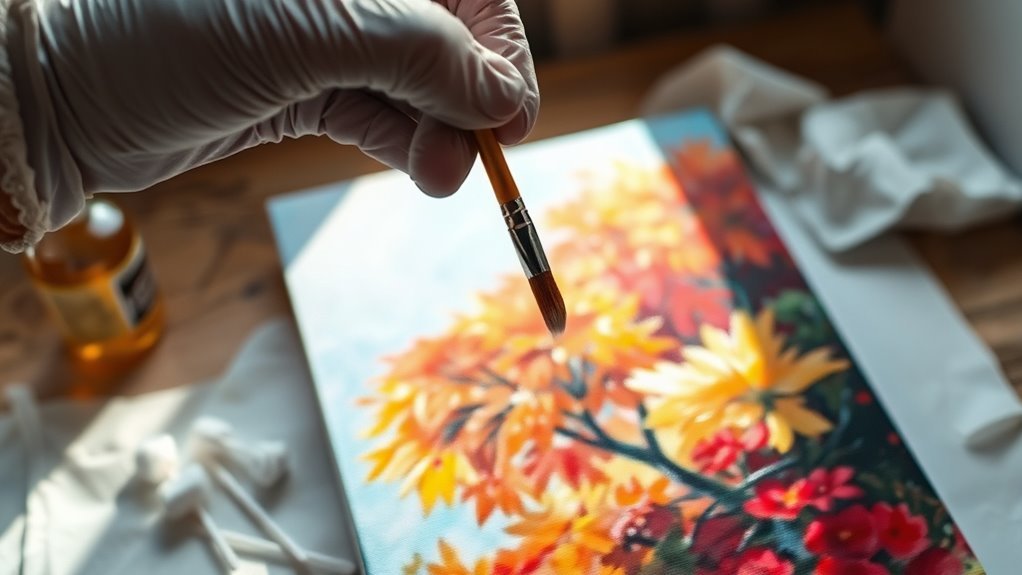
Before you start cleaning your oil painting, it’s vital to gather the right materials and assess your workspace. Begin with a thorough canvas inspection. Look for any signs of damage, such as tears or loose areas, which could affect the cleaning process. Pay close attention to the paint condition; check for flaking, cracking, or discoloration. These factors will determine the methods you’ll use. Make sure your workspace is well-lit and free from dust or debris, as these can inadvertently scratch or contaminate the painting. Have soft brushes and lint-free cloths ready, but don’t use any cleaning solutions yet. This preparatory step is essential for guaranteeing the safety and integrity of your artwork during the cleaning process.
Tools and Chemical Required
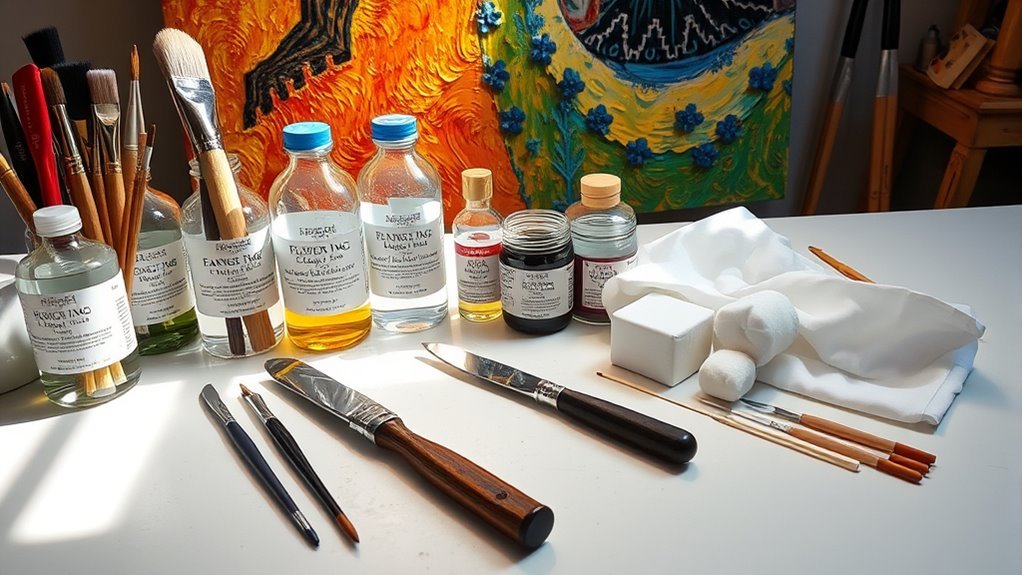
To effectively clean an oil painting on canvas, you’ll need specific tools and chemicals tailored for this delicate task. Gathering the right cleaning supplies is essential for proper canvas care. You’ll want to have soft brushes, cotton swabs, and microfiber cloths on hand. For chemicals, a gentle solvent like distilled water or a specialized cleaning solution is recommended. Avoid harsh chemicals as they can damage the painting.
Here’s a quick reference table for your cleaning supplies:
| Tool/Chemical | Purpose | Notes |
|---|---|---|
| Soft Brush | Dust removal | Use gently to avoid damage |
| Cotton Swabs | Spot cleaning | Ideal for intricate areas |
| Distilled Water | Solvent for cleaning | Safe for most oil paintings |
How to Clean:
How to Clean an Oil Painting on Canvas
Cleaning an oil painting on canvas requires careful attention to preserve its integrity. Follow this step-by-step guide for effective cleaning:
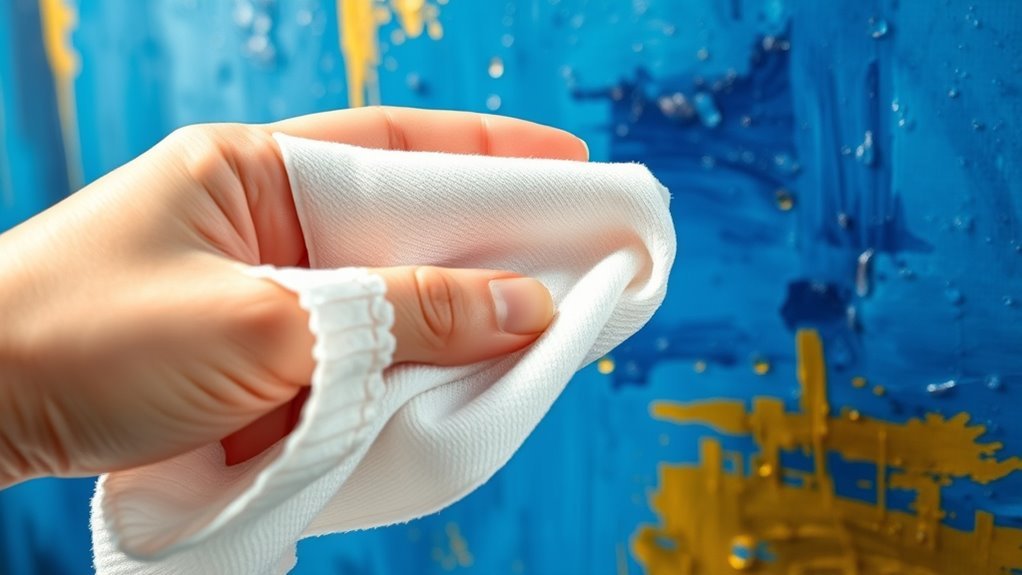
Step 1: Dust Removal
- Gather Your Supplies: Obtain a soft, dry brush, such as a makeup brush or a special artist brush. Make sure it is clean and free from any debris.
- Gentle Brushing: Lightly brush the surface of the painting to remove dust and loose particles. Start from one edge and work your way across the painting in gentle strokes.
- Check Progress: Periodically assess the area you’ve cleaned to ensure no paint is being lifted. If you notice any damage, stop immediately.
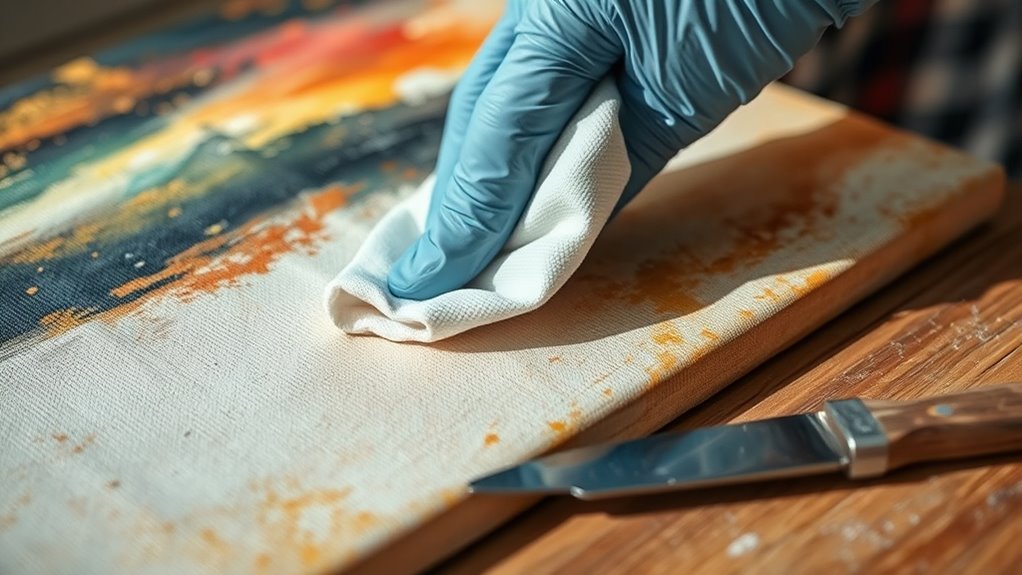
Step 2: Spot Cleaning
- Prepare Your Materials: Get a clean cotton swab and distilled water. Avoid using tap water as it may contain impurities.
- Dampen the Swab: Lightly moisten the cotton swab with distilled water. Ensure it is not dripping wet; it should just be damp enough to clean.
- Target Stains: Gently dab the stained areas of the canvas with the dampened swab. Use a light touch to avoid saturating the canvas or disturbing the paint layer.
- Move in Circles: If necessary, clean in small circular motions to lift the stain without spreading it further.
- Dry: Allow the area to air dry completely before proceeding to the next step.
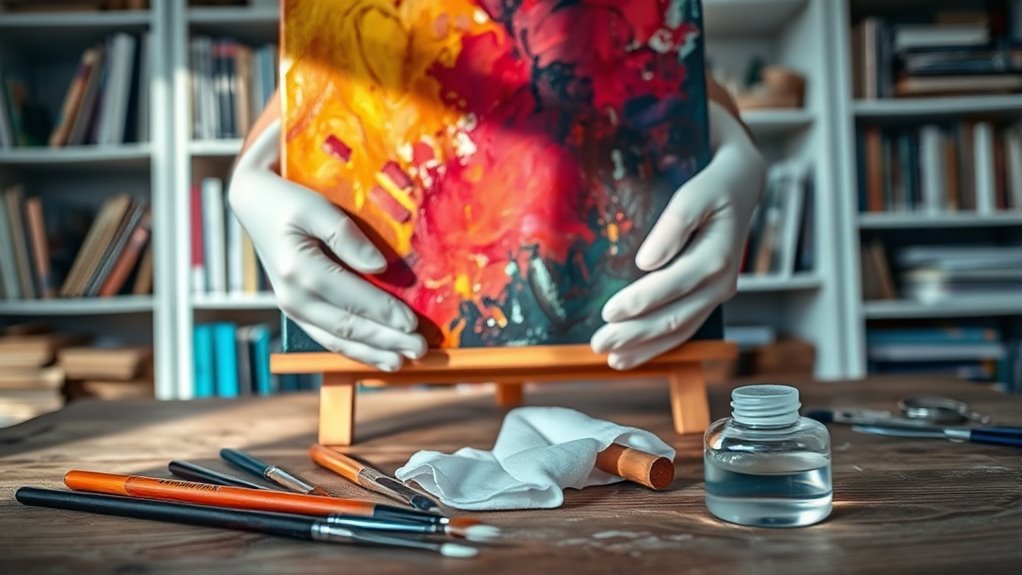
Step 3: Final Touch
- Choose the Right Varnish: Select a conservation-grade varnish specifically designed for oil paintings. This will help enhance colors and provide protection.
- Application: Using a clean, soft brush or a spray applicator, apply a thin, even layer of varnish to the entire painting or just the cleaned areas.
- Follow Instructions: Ensure you follow the manufacturer’s instructions for drying times and application techniques to achieve the best results.
- Final Inspection: Once the varnish is dry, inspect the painting for any missed spots or areas that may require additional attention.
Safety Consideration
When cleaning an oil painting, it’s vital to prioritize safety to protect both yourself and the artwork. Start by taking necessary cleaning precautions to mitigate any risks. Always work in a well-ventilated area to avoid inhaling harmful fumes, especially if you’re using solvents. It’s important to wear protective gear, such as gloves and goggles, to safeguard your skin and eyes from potential irritants. If you’re handling the painting directly, make certain your hands are clean and dry to prevent transferring oils or moisture. Additionally, keep your workspace organized to avoid accidents or damage to the artwork. By adhering to these safety measures, you’ll not only preserve the integrity of the painting but also guarantee a safer cleaning experience for yourself.
Tips to keep clean for long time
Maintaining the cleanliness of an oil painting over time requires consistent care and attention. To guarantee your artwork remains vibrant, implement these preventive measures and commit to regular maintenance:
- Dust Regularly: Use a soft, dry microfiber cloth to gently remove dust from the surface, preventing buildup that can dull colors.
- Control Environment: Keep your painting in a stable environment—avoid direct sunlight, humidity, and extreme temperatures that can damage the canvas and paint.
- Use Glass Framing: Consider framing your oil painting behind glass to protect it from dust and pollutants, while still allowing visibility and appreciation.
- Opt for eco-friendly cleaning supplies to avoid harsh chemicals that could damage the painting or introduce harmful residues over time.
Frequently Asked Questions
Can I Use Water to Clean Oil Paintings?
No, you shouldn’t use water to clean oil paintings. In fact, 70% of art conservators recommend avoiding water due to the risk of water damage. Instead, consider specialized cleaning techniques that preserve the integrity of the artwork. Using solvents specifically designed for oil paintings is a safer option. Always test a small area first to guarantee you don’t inadvertently harm the painting’s surface or alter its colors. Your freedom to enjoy art shouldn’t come at a cost.
How Often Should I Clean My Oil Painting?
You should clean your oil painting every few years, depending on its exposure to dust and pollutants. Frequency guidelines suggest evaluating the painting regularly; if it looks dull or dirty, it’s time to clean. Use gentle cleaning techniques—like a soft brush or cloth—to avoid damage. If you’re unsure, consider consulting a professional conservator. Regular maintenance guarantees your artwork remains vibrant without compromising its integrity or value.
What if My Painting Has Mold or Mildew?
If your painting has mold or mildew, it’s essential to act quickly. Studies show that mold can grow within 48 hours under the right conditions. To tackle this, employ gentle mold removal techniques using a soft brush or cloth, avoiding harsh chemicals that could damage your artwork. After cleaning, guarantee proper ventilation to promote mildew prevention. Keeping your painting in a controlled environment with low humidity will help prevent future outbreaks.
Is Professional Cleaning Necessary for All Oil Paintings?
Not all oil paintings require professional cleaning, but it’s often advisable for valuable works. Professional preservation and art restoration can address issues like grime, yellowing varnish, or structural damage that you might overlook. If your painting has sentimental or monetary value, entrusting it to a specialist guarantees it’s treated with the right techniques. However, minor cleanings can sometimes be done at home, provided you’re cautious and informed about the materials involved.
Can Cleaning Damage the Paint or Canvas?
Yes, cleaning can damage the paint or canvas if not done carefully. You might think you’re preserving the artwork, but improper cleaning techniques can strip layers, fade colors, or even cause cracks. It’s essential to use gentle, appropriate methods focused on paint preservation. Always test any cleaning approach on a small area first, and consider consulting a professional if you’re uncertain. Don’t risk your cherished piece; your artwork deserves meticulous care.


