
How to Clean Oil Tank
To clean an oil tank, start by draining the oil safely in a well-ventilated area. Wear protective gear like gloves and goggles. Use stiff brushes with biodegradable cleaning solutions to scrub the interior, then rinse thoroughly with clean water. Guarantee the tank dries completely before refilling. Regular inspections every six months and proper maintenance will help prevent buildup and maintain efficiency. Discover more effective strategies for oil tank upkeep to guarantee longevity.
##
When it comes to cleaning an oil tank, understanding safety precautions is crucial for effective maintenance. This article will guide you through the essential steps for safely and efficiently cleaning your tank, including evaluating its condition, identifying oil residue risks, and equipping yourself with the necessary protective gear. You’ll learn the importance of proper ventilation, how to inspect for leaks or corrosion, and the significance of knowing the specific properties of the oil you’re handling. By the end of this article, you will have the knowledge and tools needed to ensure a successful and safe oil tank cleaning operation.
Preparation For Cleaning
Preparation is key to a successful oil tank cleaning operation. Before diving into the cleaning process, you need to complete a thorough oil tank inspection. This step helps you identify any leaks, corrosion, or structural issues that could complicate the cleaning. Next, create a pre-cleaning checklist to guarantee you have all necessary tools and information on hand. Check off items like safety gear, proper disposal containers, and any required permits. Additionally, assess the amount of sludge and contaminants present, as this will inform your cleaning strategy. Taking these preparatory steps not only enhances safety but also maximizes efficiency during the cleaning process. By being methodical, you lay the groundwork for effective and responsible oil tank maintenance.
Tools and Chemical Required
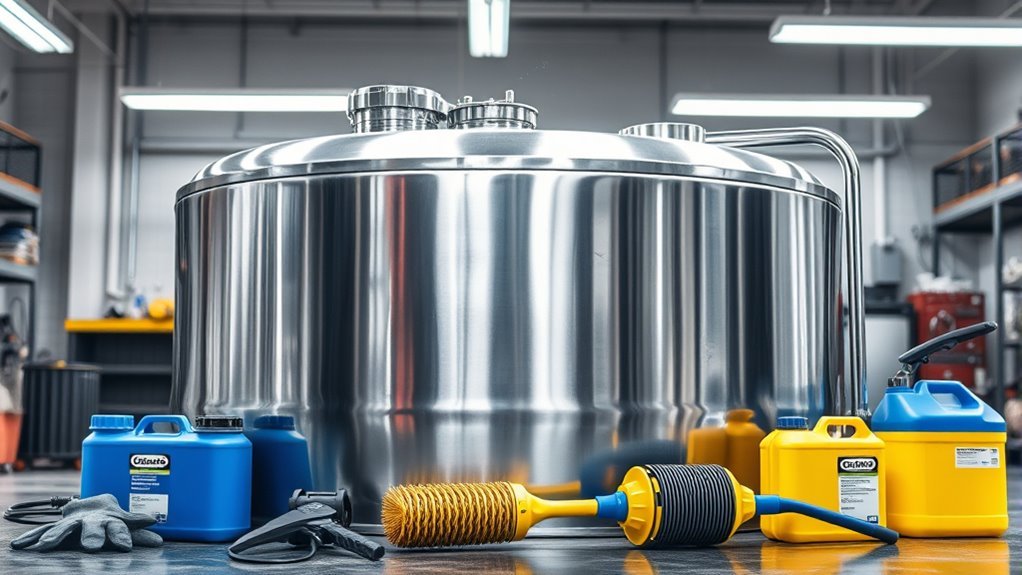
To effectively clean an oil tank, you’ll need a specific set of tools and chemicals tailored for the job. Gather the appropriate cleaning supplies and chemical solvents to guarantee thoroughness. Here’s a helpful reference table:
| Tools/Materials | Purpose |
|---|---|
| Safety goggles | Protects eyes from chemicals |
| Heavy-duty gloves | Prevents skin contact with solvents |
| Scrub brushes | Removes sludge and debris |
| Vacuum cleaner | Extracts residue from the tank |
Using these tools, you’ll be well-equipped to tackle the cleaning process efficiently. Make sure you follow safety guidelines while handling chemical solvents, as they’re essential for breaking down stubborn residues. With the right supplies, you’re on your way to a clean, functional oil tank.
How to Clean:
How to Clean Your Oil Tank: A Step-by-Step Guide
Cleaning your oil tank is essential for maintaining its efficiency and longevity. Follow this detailed guide to ensure your tank is cleaned properly.
Cleaning your oil tank is vital for optimal performance and durability. Follow this guide for effective maintenance.
Step 1: Drain the Tank
- Preparation: Before you begin, gather all necessary tools and safety equipment, including gloves, goggles, and a suitable container for the oil.
- Safety First: Ensure that the area around the tank is well-ventilated. If necessary, use a pump to remove the oil safely.
- Drainage Process: Open the drain valve at the bottom of the tank and let the oil flow into your prepared container until the tank is completely empty. Be cautious of any remaining oil residue.
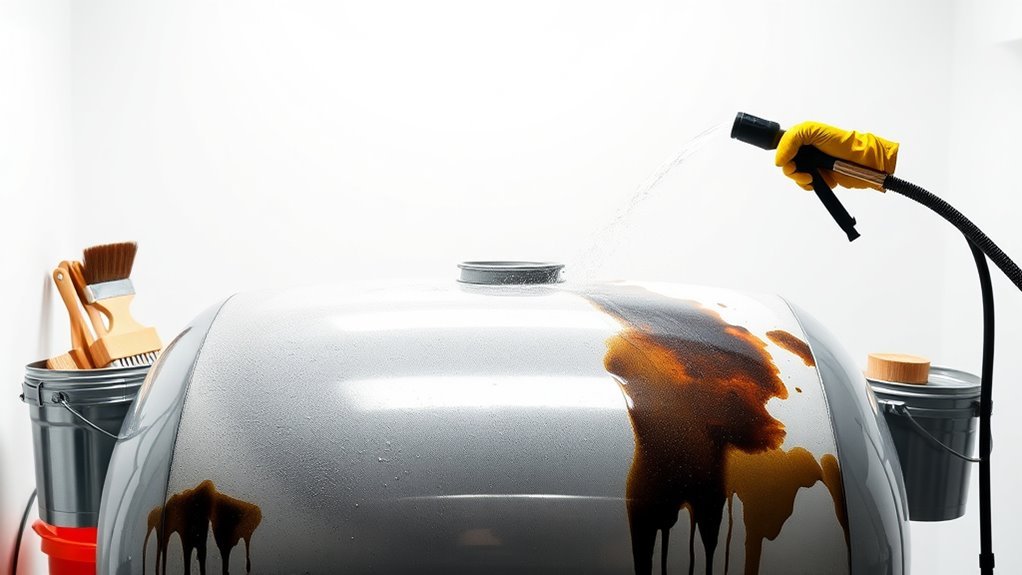
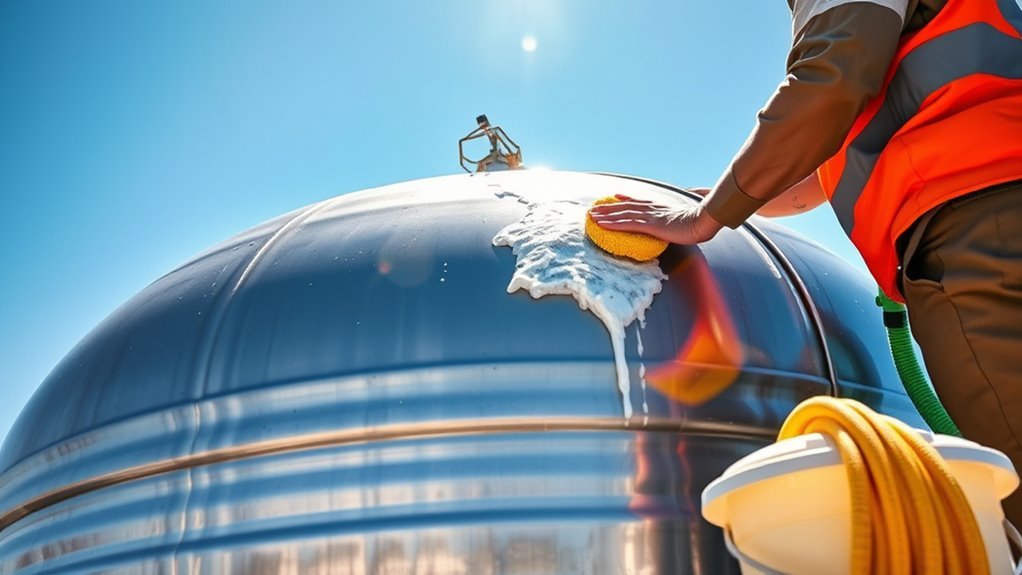
Step 2: Scrub the Interior
- Choose the Right Tools: Equip yourself with a stiff brush or scrubbing pad that can reach all areas of the tank.
- Select a Cleaning Solution: Use a biodegradable cleaning solution that is effective in breaking down oil. Avoid harsh chemicals that may damage the tank material.
- Scrubbing Technique: Dip the brush in the cleaning solution and scrub the tank walls thoroughly. Focus on areas with heavy residue buildup and ensure you reach corners and edges.
Step 3: Rinse Thoroughly
- Prepare for Rinsing: After scrubbing, gather a hose or a bucket of clean water for rinsing.
- Rinsing Process: Rinse the interior of the tank with water, ensuring that all cleaning agents and any remaining debris are washed away. It may take several rinses to achieve a completely clean surface.
- Check for Residue: Inspect the tank to confirm that there is no leftover oil, dirt, or cleaning solution.
Step 4: Dry Completely
- Ventilation: Open any access points to allow air circulation, which aids in drying.
- Drying Method: You can use a fan or let the tank air dry naturally. Ensure that no moisture remains, as it can lead to rust or contamination.
- Final Inspection: Before refilling the tank with oil, conduct a final check to ensure it is completely dry and clean.
Safety Consideration

When cleaning an oil tank, safety should be a top priority to prevent accidents and health hazards. Always wear appropriate protective gear, including gloves, goggles, and a respirator, to shield yourself from harmful fumes and potential spills. Before starting, make certain you have a spill containment plan in place, using absorbent materials and containment trays to manage any leaks. It’s essential to work in a well-ventilated area to avoid inhaling toxic vapors. Keep a fire extinguisher nearby, as oil is flammable. Also, inform others in the vicinity about your work to guarantee they maintain a safe distance. By prioritizing safety measures, you can effectively clean your oil tank while minimizing risks to yourself and those around you.
Tips to keep clean for long time
After confirming safety precautions are in place, maintaining a clean oil tank over the long term involves a few key practices. To keep your oil tank in prime condition, follow this maintenance schedule and perform regular inspections:
- Schedule regular inspections: Check for leaks, corrosion, or any signs of wear every six months.
- Keep the area clean: Make sure the surrounding area is free of debris and contaminants that could affect tank performance.
- Monitor oil levels: Regularly check oil levels to prevent sediment buildup, which can impact efficiency.
- Use additives: Consider fuel additives to help minimize sludge formation and improve combustion efficiency.
Frequently Asked Questions
How Often Should I Clean My Oil Tank?
You should clean your oil tank at least once a year as part of your maintenance schedule. This oil tank frequency helps prevent sludge buildup, which can cause operational issues. Regular inspections can also identify potential leaks or corrosion early on. If you notice any changes in your oil quality or tank performance, consider cleaning it more frequently. Staying proactive guarantees your system runs efficiently and minimizes costly repairs down the line.
Can I Hire Professionals for Oil Tank Cleaning?
Absolutely, you can hire professionals for oil tank cleaning! Proper oil tank maintenance is essential for efficiency and safety. Professional cleaning guarantees a thorough job, eliminating sludge and contaminants that could compromise your system’s performance. They’ve got the specialized skills and equipment necessary to handle the task efficiently. Plus, it gives you peace of mind, knowing that experts are safeguarding your investment. So, when in doubt, don’t hesitate to call in the professionals!
What Are the Signs My Oil Tank Needs Cleaning?
If you notice oil residue around the tank or find a strange odor, it’s time to contemplate cleaning. Sludge buildup, which can cause fuel flow issues, is another key sign. Additionally, if your heating system starts to underperform or you see discoloration in the oil, these are indicators that your tank needs attention. Regular maintenance can prevent costly repairs and guarantee your system runs efficiently, giving you peace of mind.
Is It Safe to Clean an Oil Tank Myself?
It’s not always safe to clean an oil tank yourself; about 10% of DIY jobs lead to accidents. If you choose to proceed, make sure you take proper safety precautions, like wearing protective gear and ensuring adequate ventilation. Follow DIY tips such as draining the tank completely and using appropriate cleaning agents. However, consider hiring a professional, as they have the experience and tools to handle the job safely and effectively.
What Happens if I Neglect Oil Tank Maintenance?
If you neglect oil tank maintenance, you’ll likely face significant oil tank deterioration. Over time, sediment buildup can lead to blockages, causing inefficient fuel flow and potential system failures. Additionally, corrosion may develop, increasing the risk of leaks and environmental hazards. The consequences of inadequate maintenance can be costly, both in repairs and potential fines for environmental damage. Regular maintenance guarantees your system operates efficiently and safely, protecting your investment and the environment.


