How to Clean Pool Tile Calcium Deposits
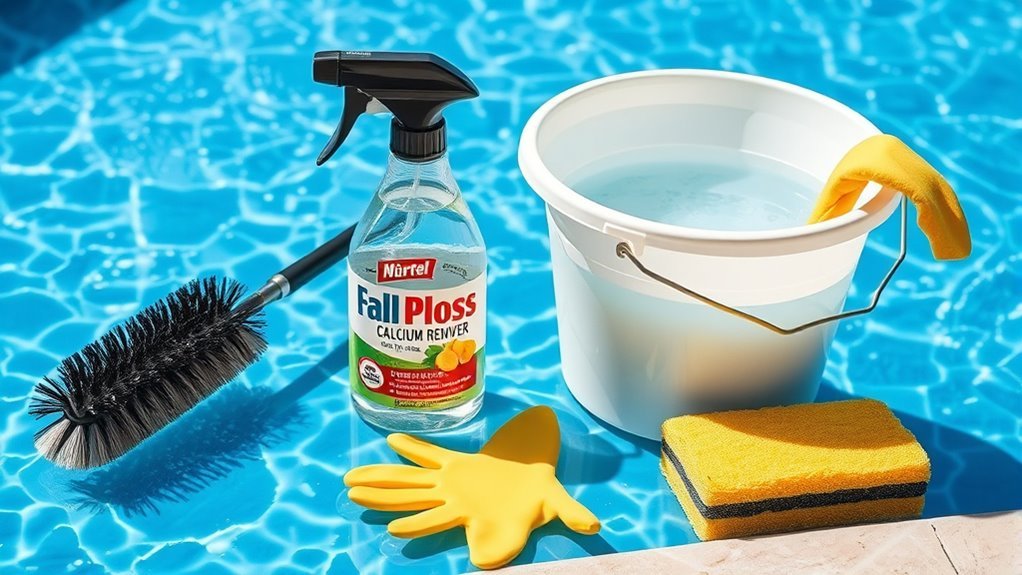
To clean pool tile calcium deposits, gather supplies like a soft-bristled brush, vinegar solution (equal parts vinegar and water), and a commercial calcium remover. Wet the tiles first, then scrub vigorously to remove loose debris. Apply the vinegar solution, letting it sit for 10-15 minutes before scrubbing again. Rinse thoroughly with a hose to eliminate residue. Regular maintenance and inspections will help prevent future buildup, and you’ll discover additional tips to keep your pool tiles pristine.
##
If you’re looking to keep your pool tiles in pristine condition, understanding how to effectively tackle calcium deposits is crucial. In this article, you’ll discover essential tips and techniques for removing these unsightly buildups, which not only mar the beauty of your pool but can also lead to costly damage over time. We’ll explore both specialized cleaners and natural solutions like vinegar and baking soda, equipping you with the knowledge you need for regular maintenance. By following a consistent cleaning routine, you’ll prevent the accumulation of deposits and save yourself time and money in the long run. Get ready to take control of your pool care and learn how to keep your tiles sparkling clean!
Preparation For Cleaning
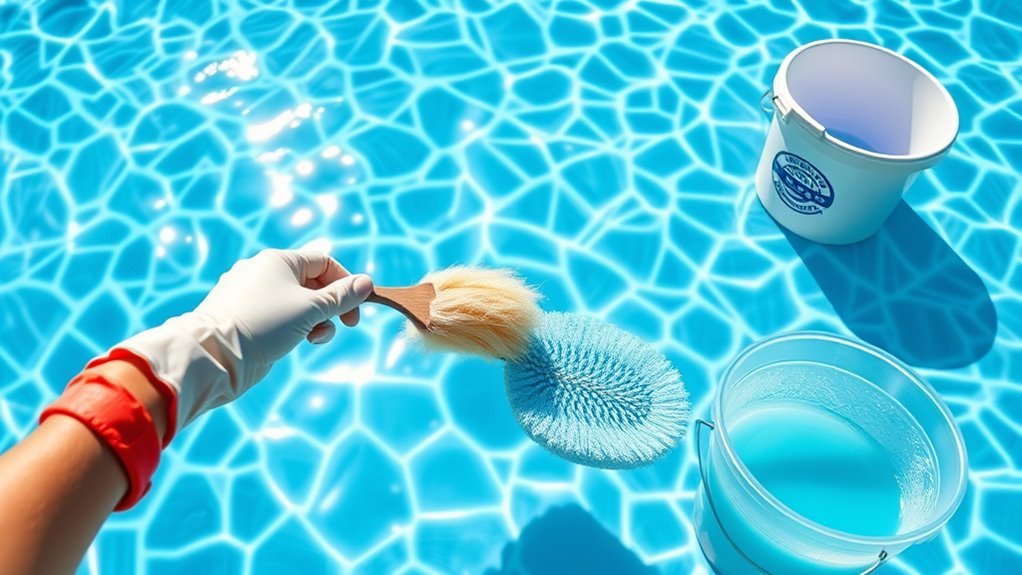
Before diving into the cleaning process, it’s essential to prepare both your workspace and the materials you’ll need. Proper preparation will streamline your efforts and guarantee effective pool maintenance. Here’s a quick checklist of essential cleaning supplies:
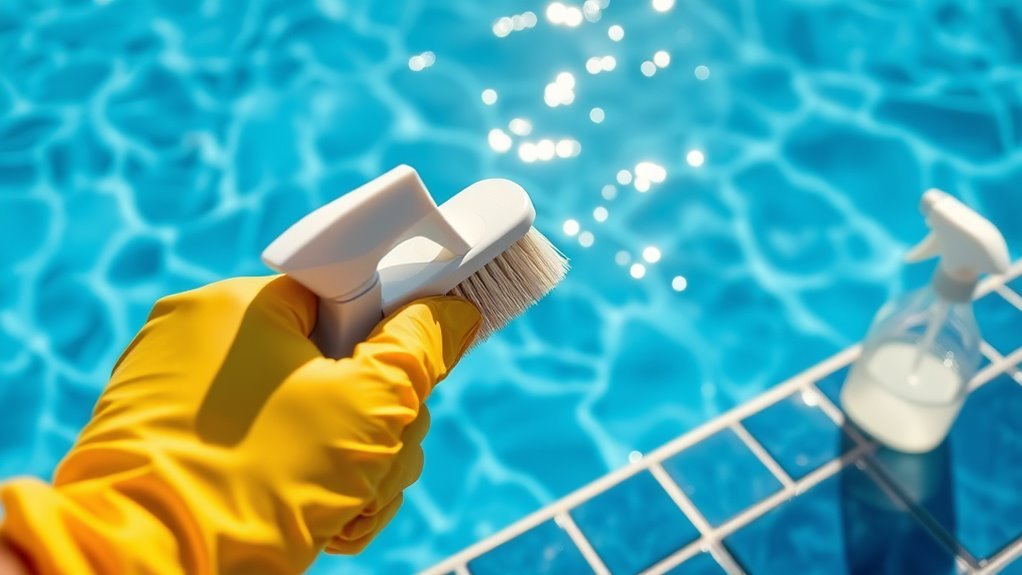
- Tile Cleaner: Choose a specialized product for calcium deposits.
- Soft-Bristled Brush: This helps avoid scratching the tile surface.
- Bucket: Use it to mix your cleaning solution and rinse.
- Protective Gear: Gloves and goggles will keep you safe from chemicals.
Gather these items before you start, confirming everything’s within reach. This preparation will not only save you time but also enhance the effectiveness of your cleaning session, allowing you to enjoy a pristine pool without unnecessary hassle.
Tools and Chemical Required
To effectively tackle calcium deposits on pool tiles, you’ll need a combination of specialized tools and chemicals. Start with quality cleaning brushes designed to reach into crevices without damaging the tile surface. Pair these with effective calcium removers to break down stubborn deposits.
Here’s a quick reference table of essential tools and chemicals:
| Tool/Chemical | Purpose | Notes |
|---|---|---|
| Cleaning Brush | Scrubbing tiles | Choose soft bristles |
| Calcium Remover | Dissolving deposits | Follow manufacturer’s instructions |
| Safety Gloves | Protecting your hands | Always wear during cleaning |
| Bucket | Mixing solutions | Use for rinsing brushes |
| Hose | Rinsing tiles after cleaning | guarantee good water pressure |
Gather these supplies and you’ll be well-equipped for your cleaning task.
How to Clean:
Step-by-Step Guide to Cleaning Pool Tile Calcium Deposits
Cleaning calcium deposits from your pool tiles doesn’t have to be a daunting task. Follow this detailed step-by-step guide to restore your pool tiles to their original shine.
Step 1: Gather Your Supplies
- Stiff-bristled brush: Essential for scrubbing away deposits manually.
- Vinegar: A natural cleaning agent that effectively dissolves calcium.
- Water: To mix with vinegar or dilute commercial cleaners.
- Commercial calcium remover: For tougher stains, if needed.
- Pressure washer: Optional, for extensive buildup.
- Protective gear: Gloves and goggles to protect your skin and eyes.
Step 2: Assess the Condition of Your Tiles
- Inspect the Tiles: Look for areas with visible calcium buildup. These are typically white, chalky spots along the waterline.
- Determine Frequency of Cleaning: Depending on your pool usage and water hardness, decide how often you need to clean (every few weeks is ideal).
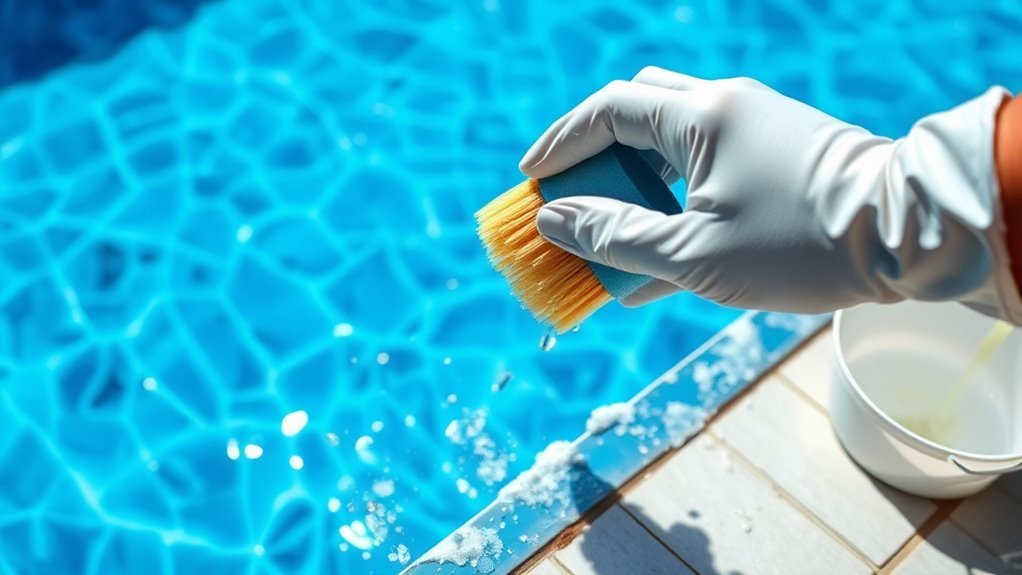
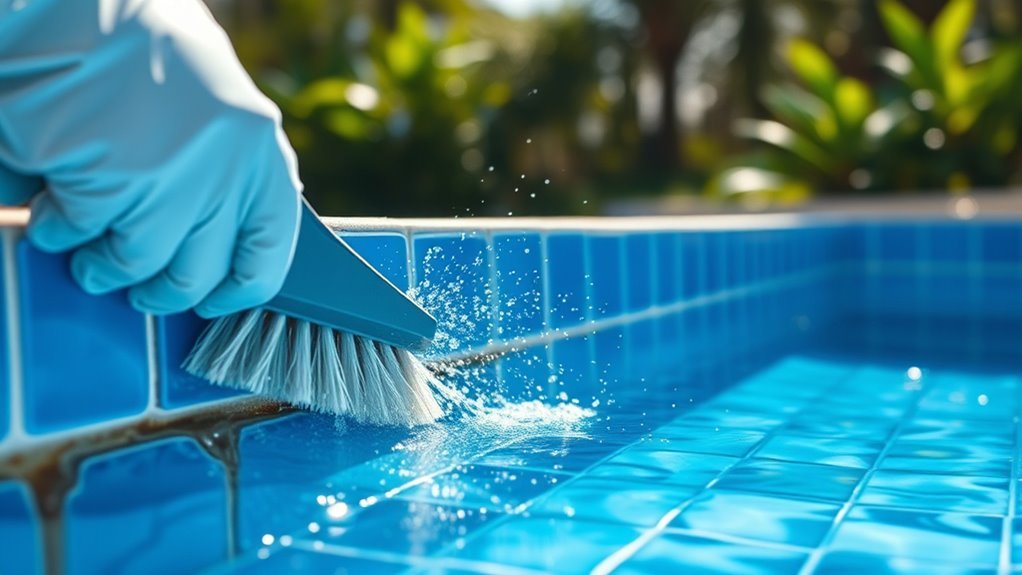
Step 3: Manual Scrubbing
- Wet the Area: Spray the calcium deposit area with water to make scrubbing easier.
- Scrub with a Brush: Use the stiff-bristled brush to scrub the deposits. Apply firm pressure to effectively remove buildup.
- Rinse Frequently: Rinse the area with water after scrubbing to see your progress and prevent residue from drying.
Step 4: Apply Vinegar Solution
- Mix Solution: Combine equal parts vinegar and water in a spray bottle or bucket.
- Apply to Deposits: Spray or pour the vinegar solution directly onto the calcium deposits.
- Let it Sit: Allow the solution to sit for 10-15 minutes to penetrate the deposits.
- Scrub Again: After letting it sit, scrub the area again with your brush for enhanced effectiveness.
- Rinse Thoroughly: Rinse the area with clean water to remove any vinegar residue.
Step 5: Use Commercial Cleaners (if necessary)
- Choose the Right Product: Select a specialized calcium remover that’s safe for your pool tiles.
- Follow Instructions: Carefully read and follow the manufacturer’s instructions for application.
- Apply to Affected Areas: Use a brush or cloth to apply the cleaner directly to the deposits.
- Allow Time to Work: Let the cleaner sit as recommended to break down the calcium.
- Scrub and Rinse: Scrub the area again and rinse thoroughly with clean water.
Step 6: Pressure Washing (for extensive buildup)
- Set Up Pressure Washer: If you have significant calcium buildup, using a pressure washer can be effective.
- Adjust Settings: Set the pressure to a level suitable for tile cleaning, typically around 1500-2000 PSI.
- Test on a Small Area: Before applying to the entire tile surface, test on a small inconspicuous area.
- Wash the Tiles: Move the pressure washer nozzle in a sweeping motion across the tiles to remove deposits.
- Rinse: Ensure to rinse the area well to eliminate any loosened debris and cleaner residues.
Step 7: Establish a Regular Cleaning Schedule
- Create a Routine: Based on your earlier assessment, set a cleaning schedule (every few weeks) to maintain your pool tiles.
- Monitor Water Quality: Keep an eye on water hardness and adjust your cleaning frequency as necessary.
- Keep Cleaning Supplies Handy: Store your cleaning supplies together for easy access when it’s time to clean. Establishing a cleaning schedule helps keep maintenance manageable and prevents buildup over time.
Safety Consideration
Safety considerations are essential when cleaning pool tile calcium deposits. Before you begin, make sure you’re wearing appropriate protective gear, such as gloves, goggles, and a mask. This gear helps safeguard you against potential chemical hazards associated with cleaning products. Many cleaning agents contain acids or other chemicals that can irritate your skin or lungs.
Always read the labels and follow the manufacturer’s instructions to minimize risks. Verify your working area is well-ventilated, especially if you’re using strong chemicals. It’s also wise to have a water source nearby in case you need to rinse off any spills or splashes. By taking these precautions, you’ll protect yourself while effectively tackling those calcium deposits on your pool tiles.
Tips to keep clean for long time
After ensuring your safety while cleaning, maintaining your pool tiles becomes the next priority. To keep your tiles clean for the long term, consider these tips:
Ensuring your safety is crucial; then focus on maintaining your pool tiles for lasting cleanliness.
- Preventive Maintenance: Schedule regular cleanings to avoid heavy buildup.
- Regular Inspections: Check tiles weekly for signs of calcium deposits or damage.
- Water Chemistry: Maintain balanced pH and calcium levels to prevent scale formation.
- Surface Protection: Apply a sealant to your tiles after cleaning to create a barrier against future deposits.
Additionally, just as routine maintenance schedules are essential for HVAC systems, implementing a consistent cleaning routine for your pool tiles ensures lasting cleanliness and efficiency.
Frequently Asked Questions
How Often Should I Clean Pool Tile Calcium Deposits?
“An ounce of prevention is worth a pound of cure.” To keep your pool tiles looking pristine, you should aim to clean calcium deposits every few weeks during peak swimming season. Establishing a regular maintenance schedule helps prevent buildup, making future cleaning easier. If deposits are persistent, consider increasing your cleaning frequency. Staying on top of it not only enhances your pool’s aesthetics but also prolongs the life of your tiles.
Can I Use Vinegar Instead of Commercial Cleaners?
Yes, you can use vinegar as a cleaning alternative for calcium deposits on pool tiles. Vinegar’s effectiveness comes from its acetic acid, which helps dissolve mineral build-up. However, it might not be as potent as some commercial cleaners designed specifically for this purpose. If you prefer a more natural approach, vinegar can work well for lighter deposits. Just remember to rinse thoroughly afterward to prevent any potential damage to your tiles or pool surface.
Are There Any Natural Remedies for Calcium Deposits?
Around 85% of homeowners face calcium deposits in their pools. For natural remedies, you might consider using baking soda and lemon juice. Mix these two ingredients into a paste; the baking soda acts as a mild abrasive, while the citric acid in lemon juice helps dissolve the deposits. Apply the paste to the affected areas, let it sit for about 15 minutes, then scrub and rinse. This method’s eco-friendly and effective!
Will Cleaning Affect the Pool’s Water Chemistry?
Yes, cleaning your pool tile can affect the water’s chemistry. When you remove calcium deposits, it might alter the water balance temporarily, requiring chemical adjustments to maintain ideal levels. You’ll need to monitor pH, alkalinity, and calcium hardness post-cleaning to guarantee the water remains safe and comfortable. Keeping an eye on these factors will help you enjoy your pool without any unwanted surprises. Regular maintenance can prevent significant fluctuations in water chemistry.
What Are Signs of Severe Calcium Buildup?
If you’ve noticed rough, white patches on your pool tiles or a cloudy appearance in the water, you’re likely facing severe calcium buildup. These calcium symptoms can manifest as scale formations or stubborn stains that resist regular cleaning. Additionally, you might spot buildup indicators like waterline rings or an increase in filter pressure. Addressing these issues promptly can help maintain your pool’s health and guarantee a relaxing swim experience.


