
How to Clean Printer
To clean your printer, first gather microfiber cloths, compressed air, and cleaning solution. Always power off and unplug it before starting. Wipe the exterior gently with a damp cloth, then remove ink cartridges to clean contacts carefully. Clear any paper jams and dust inside, using compressed air or a soft brush. Don’t forget to clean the rollers to avoid paper misfeeds. After these steps, test a print and run maintenance tools for best results. There’s more to keep your printer in top shape.
Gather the Necessary Cleaning Supplies
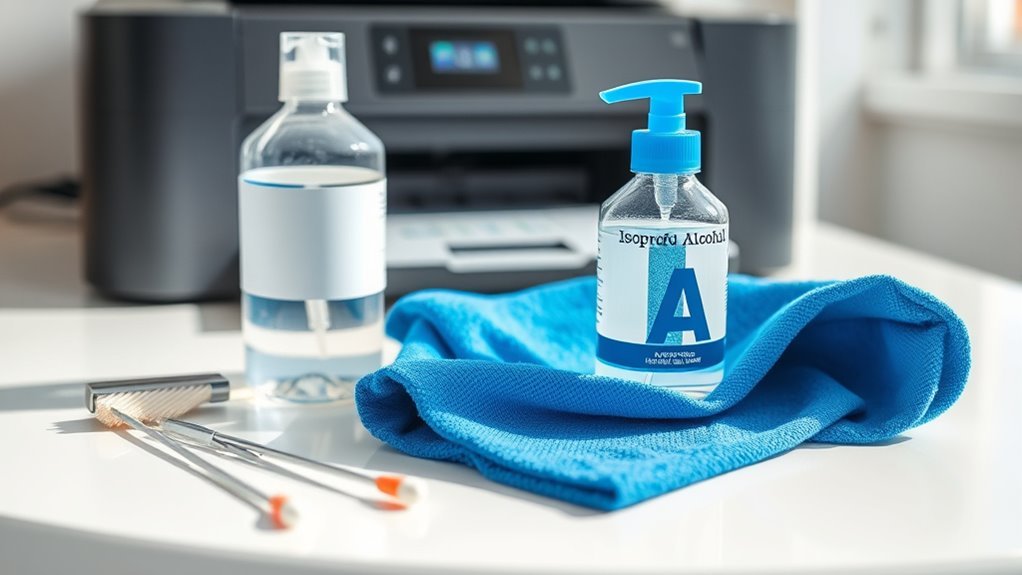
Before you begin cleaning your printer, you’ll need to gather a few essential supplies. Having the right tools lets you choose the best cleaning methods without hassle, giving you the freedom to maintain your printer efficiently. Start with a supply checklist: microfiber cloths to avoid scratches, cotton swabs for tight spots, and a small brush to sweep away dust. You’ll also want isopropyl alcohol or a dedicated printer cleaner to dissolve grime safely. Avoid harsh chemicals that can damage your printer’s components. Don’t forget compressed air to blow out dust from hard-to-reach areas. With this supply checklist ready, you’re set to clean your printer thoroughly, keeping it running smoothly and freeing you from frustrating print issues down the line.
Power Off and Unplug the Printer
Since safety is critical when cleaning your printer, you should always power it off and unplug it from the wall outlet. Doing this eliminates the risk of electrical hazards that can occur if the printer is accidentally powered on or if moisture comes into contact with live components. Prioritizing power safety lets you clean confidently without worrying about shocks or damage. Unplugging also guarantees the device won’t start unexpectedly, giving you full control over the process. Taking this simple step protects both you and your printer, allowing you to maintain your freedom to handle repairs and upkeep on your own terms. Never skip this crucial precaution; it’s the foundation of safe and effective printer maintenance.
Clean the Exterior Surfaces

With your printer safely powered off and unplugged, you can now focus on cleaning its exterior surfaces. Maintaining your printer’s exterior materials not only keeps it looking fresh but also prevents dust buildup that can affect performance. Here’s how to do it right:
- Choose a gentle cleaning solution suitable for your printer’s exterior materials—usually, a mix of water and mild dish soap works best.
- Dampen a soft cloth with your cleaning solution; avoid soaking it to prevent moisture damage.
- Wipe down all outer surfaces gently, including buttons and vents, to remove dirt and grime without scratching.
Remove and Clean the Ink Cartridges or Toner
Now it’s time to remove the ink cartridges or toner carefully to avoid damage. You’ll want to clean them using a soft cloth and appropriate cleaning solution, making sure to avoid the nozzles or drum. After drying them thoroughly, you can reinstall the cartridges to keep your printer running smoothly.
Cartridge Removal Steps
Before you start cleaning your printer’s ink cartridges or toner, you’ll need to carefully remove them from the printer. Different cartridge types require slightly different handling, so knowing yours is key. Follow these steps to release your cartridges safely:
- Power off and unplug your printer to avoid any damage or electric shock.
- Open the printer cover gently; locate the cartridge carriage where the ink cartridges or toner reside.
- Press the release tab or lever to disengage each cartridge, then lift it out slowly to avoid spilling ink or toner.
If you use ink alternatives, be extra cautious, as these can vary in size and sensitivity. Taking these steps guarantees you maintain your printer’s freedom to produce crisp prints without hassle.
Cleaning Techniques
Although removing the cartridges is just the first step, cleaning them properly is crucial to keep your printer functioning smoothly. To embrace effective cleaning methods, gently wipe the cartridge contacts with a lint-free cloth dampened with distilled water or isopropyl alcohol. Avoid touching the nozzles directly, as they’re delicate and essential for ink flow. For toner cartridges, use a soft, dry cloth to remove dust and toner residue, steering clear of liquids that could cause damage. Regularly performing these cleaning methods is a key part of printer maintenance, helping you avoid clogs and streaks while extending your device’s lifespan. By taking control of this process, you guarantee your printer stays reliable and frees you from frequent service trips.
Drying and Reinstallation
Once you’ve carefully cleaned the cartridges, let them dry completely to prevent any moisture from damaging your printer. Proper drying techniques guarantee your device stays in top shape and frees you from frequent maintenance hassles. To master the drying and reinstallation process:
- Place cartridges on a clean, lint-free cloth in a well-ventilated area away from direct sunlight.
- Allow at least 30 minutes for natural air drying; avoid using heat sources that might warp components.
- Once dry, carefully reinstall the cartridges by aligning them with their slots and pressing firmly until they click into place.
Following these steps helps you maintain your printer’s freedom from clogs and smudges, guaranteeing smooth operation every time you print.
Clear Paper Jams and Debris
If you notice your printer struggling to feed paper or producing misaligned prints, it’s often due to paper jams or debris inside the machine. Start by turning off your printer and unplugging it to avoid any damage. Open all accessible panels and gently remove stuck paper, ensuring you don’t tear it. Use your cleaning tools, like a soft brush or compressed air, to clear dust and small debris from the paper feed path. Avoid using sharp objects that might damage internal parts. Taking these steps regularly keeps your printer running smoothly and frees you from frustrating interruptions. Clearing jams promptly and thoroughly means you’re in control, maintaining your printer’s freedom to perform without hassle.
Clean the Printer Rollers

Everyone who uses a printer knows how frustrating it can be when pages don’t feed properly. The culprit is often dirty rollers, which can cause paper jams and misfeeds. To keep your printer running smoothly and maintain your printing freedom, follow these roller maintenance tips:
- Use a lint-free cloth lightly dampened with water or isopropyl alcohol to clean the rollers gently.
- Avoid harsh chemicals that can damage rubber surfaces.
- Follow cleaning frequency recommendations—typically, clean the rollers every 3 to 6 months depending on usage.
Regular roller cleaning guarantees your printer grabs paper reliably, freeing you from disruptions. Stick to these steps, and you’ll enjoy hassle-free printing with minimal downtime.
Perform a Test Print and Maintenance Check
Now that your printer is clean, go ahead and run a test print to check the quality. Take a close look for any streaks, smudges, or missing lines. If you spot issues, use the printer’s maintenance tools to fine-tune its performance.
Initiate Test Print
Start by initiating a test print to check your printer’s current condition. This quick step lets you assess the printer’s performance and decide what cleaning or maintenance it needs. Here’s how to get started:
- Access your printer’s control panel or software on your computer.
- Locate the “Test Print” or “Print Quality Check” option.
- Execute the test print and watch for any immediate errors or issues.
Inspect Print Quality
After you’ve completed the initial test print, take a close look at the print quality to identify any issues like streaks, smudges, or faded areas. Pay attention to color accuracy—are the hues vibrant and true to what you expect? If the colors seem off or the print looks uneven, it’s a sign your printer needs cleaning or adjustment. Don’t settle for less; your printer should deliver crisp, clear results every time. Checking the print quality now saves you time and frustration later. This step gives you the freedom to address problems early, ensuring your printer performs at its best without unexpected hiccups. Stay proactive, and you’ll enjoy consistent, high-quality prints whenever you need them.
Run Maintenance Tools
If your test print revealed any issues, running your printer’s maintenance tools can help fix them quickly. These built-in features are designed to keep your device running smoothly and extend its lifespan. To get started, follow these steps:
- Access the printer diagnostics menu via the control panel or software on your computer.
- Select options like nozzle check, head cleaning, and alignment to address common print quality problems.
- Stick to a regular maintenance schedule to prevent issues before they arise and guarantee consistent performance.
Frequently Asked Questions
How Often Should I Clean My Printer?
You might think cleaning your printer is a hassle, but imagine avoiding those frustrating paper jams and blurry prints. For reliable printer maintenance, it’s smart to set a cleaning schedule every 3 to 6 months, depending on usage. This keeps your device running smoothly and frees you from unexpected breakdowns. Stick to this routine, and you’ll enjoy hassle-free printing whenever you want, without losing your freedom to create or work.
Can I Use Household Cleaners on My Printer?
You shouldn’t use just any household cleaners on your printer because they might damage sensitive parts. Instead, stick to gentle cleaning materials like a soft, lint-free cloth slightly dampened with water or isopropyl alcohol. Avoid harsh chemicals, sprays, or abrasive cleaners. By choosing the right materials, you keep your printer happy and working smoothly, giving you the freedom to print without worrying about damage or costly repairs.
What Should I Do if My Printouts Are Still Smudged?
If your printouts are still smudged, it’s like freedom slipping right through your fingers, isn’t it? Don’t worry; you can tackle this with some smart printer maintenance tips. Check if the paper is sticking around too long before drying or if your ink cartridges need replacing. Also, troubleshooting smudging often means adjusting settings or cleaning the rollers. Keep experimenting—you deserve crisp, clean prints without hassle!
How Do I Clean a Wireless Printer’s Internal Components?
When you’re tackling internal cleaning on your wireless printer, start by turning it off and unplugging it to stay safe. Carefully open the printer to access internal components—check the manual for guidance. Use a soft brush or lint-free cloth to remove dust and debris, avoiding liquids inside. Regular printer maintenance like this keeps everything running smoothly and prolongs your device’s life, so you’re free from frustrating jams or smudged prints.
Is It Safe to Clean the Printer’s Circuit Board?
Think of your printer’s circuit board as the heart of a delicate ecosystem; circuit board safety is key. You don’t want to drown it with liquids or harsh chemicals. Instead, use gentle cleaning techniques like a soft, dry brush or compressed air to blow away dust. Avoid moisture to keep freedom from short circuits. By treating it with care, you keep your printer’s spirit alive without risking damage or losing control.


