How to Clean Remote
To clean your remote, first power it off and remove the batteries to avoid damage. Gather supplies like a microfiber cloth, cotton swabs, and isopropyl alcohol or a gentle cleaner. Wipe the surface carefully, then clean between buttons and tight spots with swabs. Disinfect without soaking the remote, and let it dry fully before reassembling. Regular cleaning helps keep it responsive and germ-free. Keep going to uncover easy maintenance tips and troubleshoot common issues.
Gather the Necessary Cleaning Supplies
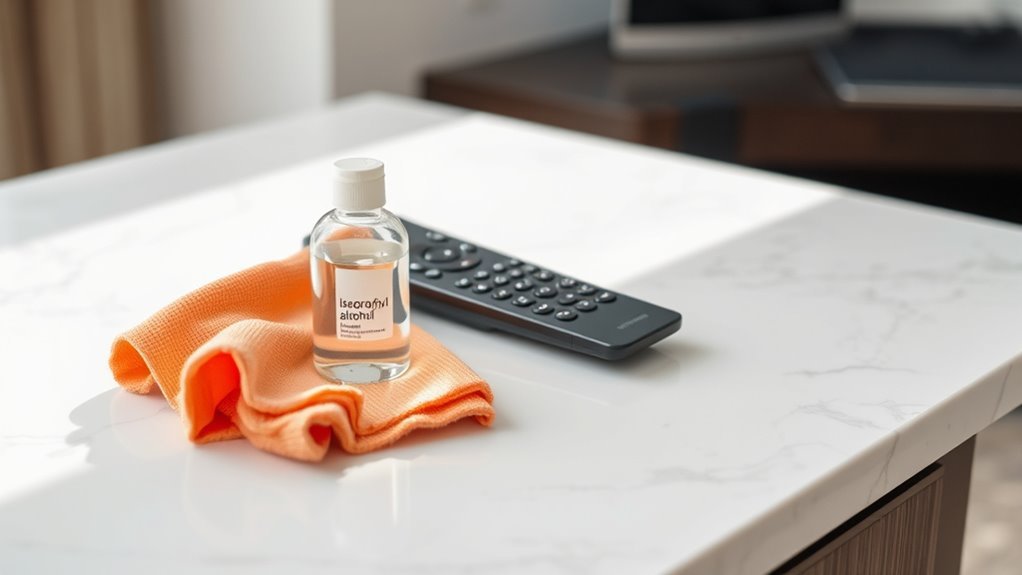
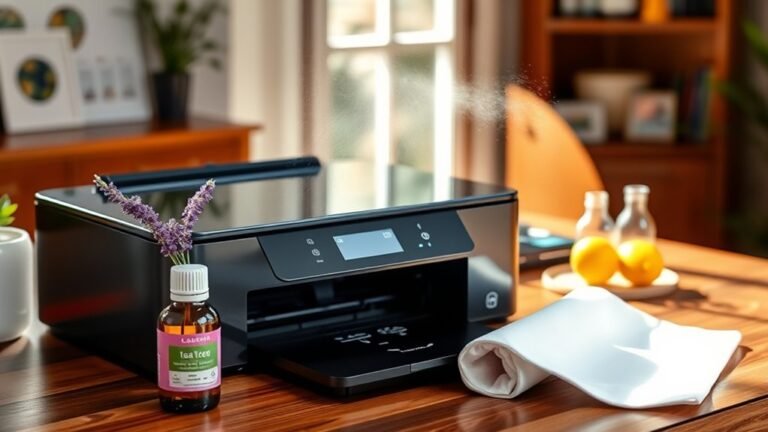
Before you begin cleaning your remote, you’ll need to gather a few essential supplies. Having the right cleaning supplies and essential tools on hand makes the process smoother and more effective, giving you the freedom to tackle dirt without hassle. Grab a microfiber cloth to avoid scratching surfaces, cotton swabs for tight spaces, and isopropyl alcohol or gentle cleaning solution to break down grime. You might also want to have a small brush or compressed air to remove dust from crevices. These essential tools guarantee you clean thoroughly without damaging your remote. By preparing ahead, you’re taking control of the task, freeing yourself from trial and error. With these supplies ready, you’re set to restore your remote’s functionality and appearance quickly.
Power Off and Remove Batteries
Before you start cleaning, make sure the remote is completely powered off to avoid any accidental inputs. Then, carefully remove the batteries to prevent damage or short circuits while you clean. This simple step keeps both you and your device safe during the process.
Ensure Device Is Off
Although it might seem obvious, you should always power off your remote and remove the batteries before cleaning it. Doing so guarantees device safety by preventing accidental button presses and avoiding short circuits. When the remote’s off, you’re free to clean without worrying about disrupting remote usage or causing damage. This simple step protects the internal components from moisture or debris that might slip inside during cleaning. Taking a moment to confirm the device is fully off gives you peace of mind and keeps your remote functioning smoothly. So, before you start wiping down your remote, power it down and take out the batteries—this small action safeguards your device and lets you clean confidently and freely.
Safely Remove Batteries
To safely remove the batteries from your remote, start by locating the battery compartment, usually found on the back. Make sure your remote is powered off to prevent any accidental signals. Gently slide or lift the compartment cover to expose the batteries. Identify the battery types—whether AA, AAA, or coin cells—since handling them properly protects both you and your device. Carefully remove each battery, avoiding any bending or leakage. Removing batteries when cleaning not only prevents damage but also extends your remote lifespan by avoiding corrosion or short circuits. Store batteries in a cool, dry place if you plan to reuse them or recycle them responsibly. Taking these simple steps keeps your remote free and functional, so you stay in control without restrictions.
Wipe Down the Remote Surface
Since the remote is something you handle frequently, wiping down its surface regularly is key to keeping it clean and hygienic. Depending on the remote materials—plastic, rubber, or silicone—you’ll want to use a gentle cleaner like a microfiber cloth slightly dampened with water or a mild solution. Avoid harsh chemicals that can damage the finish or degrade buttons. Set a cleaning frequency that suits your lifestyle; once a week is ideal for most households, but more often if you share devices or eat nearby. By sticking to a simple wipe-down routine, you maintain not only cleanliness but also control over your environment. This small act supports your freedom to relax without worrying about germs lurking on your remote’s surface.
Clean Between Buttons and Crevices
One of the trickiest parts to clean on your remote is the space between buttons and in tiny crevices where dust and grime easily hide. To regain control and freedom from dirt buildup, focus on precise button cleaning using the right tools. Here’s how to tackle these tight spots:
- Grab a soft brush or a specialized crevice tool to gently loosen debris.
- Use compressed air to blow out particles stuck deep in crevices.
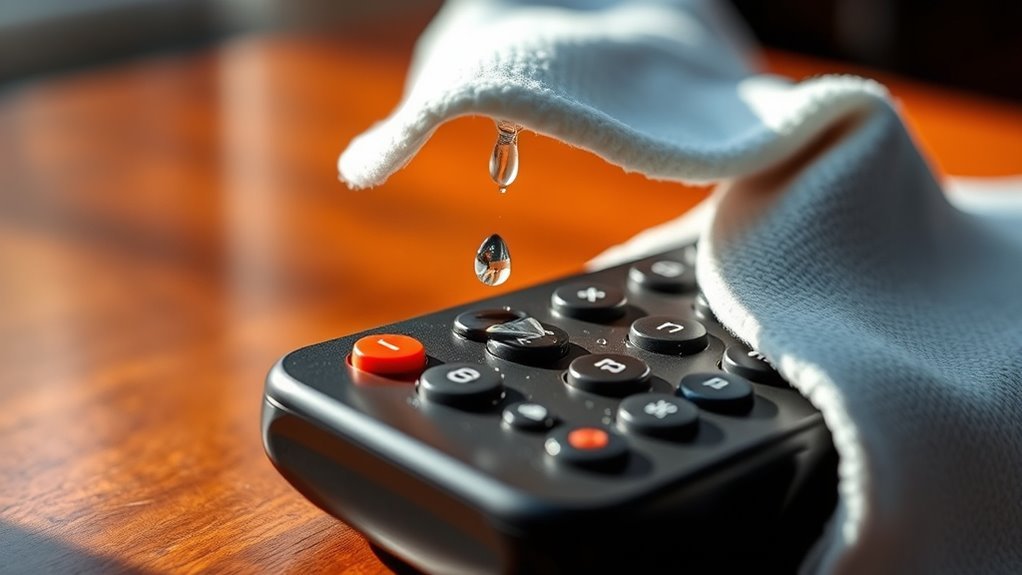
- Dip a cotton swab lightly in isopropyl alcohol for targeted cleaning around each button.
- Wipe away loosened grime with a microfiber cloth, ensuring no moisture seeps inside.
Disinfect the Remote Safely
When disinfecting your remote, make sure you pick cleaning solutions that won’t harm its surface. Avoid using too much liquid to prevent damage inside the remote. Using soft cloths or cotton swabs helps keep the cleaning gentle and effective.
Choose Safe Cleaning Solutions
Anyone can clean a remote effectively by choosing the right cleaning solutions that won’t damage its delicate components. To keep your remote safe and your cleaning routine freeing, follow these tips:
- Opt for eco friendly cleaners to protect both your device and the environment.
- Use alcohol wipes sparingly—they disinfect well without soaking the remote.
- Avoid harsh chemicals or abrasive materials that can strip buttons or screens.
- Test any new cleaner on a small, hidden spot before full application.
Avoid Liquid Damage Risks
Although disinfecting your remote is important, you need to be careful to prevent liquid from seeping inside and causing damage. When choosing liquid types for cleaning, avoid soaking the remote or spraying directly onto it. Instead, lightly dampen a microfiber cloth with a safe disinfectant. This method guarantees effective cleaning without risking moisture intrusion. Damage prevention depends on controlling how much liquid you use and where it goes. Avoid harsh chemicals or excessive moisture that can corrode internal circuits or cause malfunctions. Remember, your goal is to sanitize while preserving your remote’s functionality and freedom from damage. By following these simple precautions, you’ll keep your remote clean and fully operational without compromising its delicate electronics.
Use Gentle Cleaning Tools
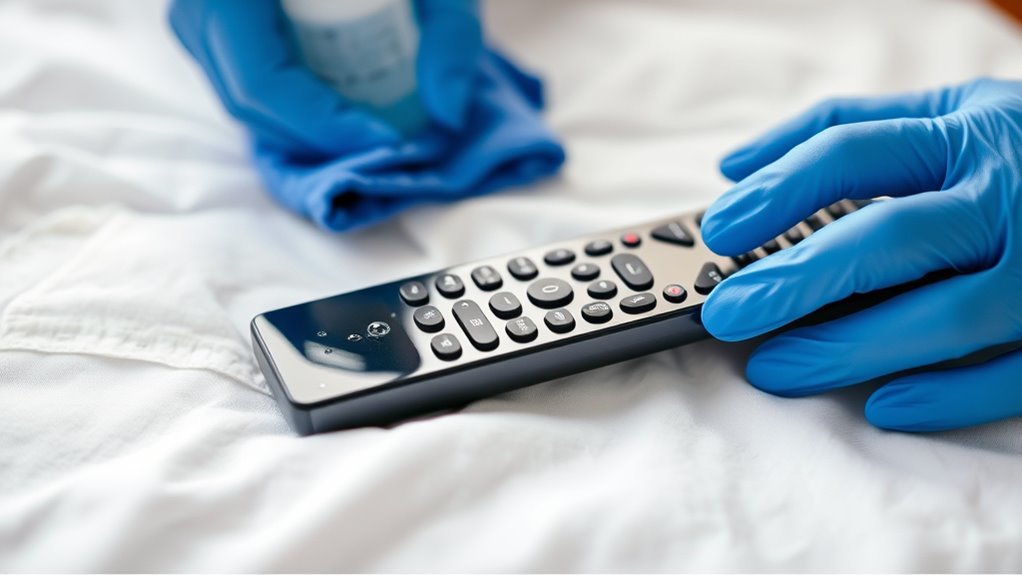
Two essential tools you’ll need for safely disinfecting your remote are a microfiber cloth and cotton swabs. These gentle cleaning tools protect your device while freeing you from harsh chemicals and abrasive materials. To use them effectively:
- Lightly dampen microfiber cloths with a mild disinfectant to wipe the remote’s surface without risking liquid damage.
- Use soft brushes or cotton swabs to reach tight spaces between buttons, removing dirt and germs effortlessly.
- Avoid pressing too hard; gentle strokes maintain your remote’s integrity.
- Let the remote air dry completely before using to guarantee safety.
Dry and Reassemble the Remote
Once you’ve thoroughly cleaned all the parts, make sure everything is completely dry before putting the remote back together to prevent any damage from moisture. Use drying techniques like air drying or gentle towel patting to speed up the process without risking water spots inside. When reassembling, follow remote reassembly tips to align buttons and circuits perfectly, ensuring smooth function.
| Step | Tip | Reason |
|---|---|---|
| Dry Components | Use a soft cloth or air dry | Prevents moisture buildup |
| Align Buttons | Match each button to slot | Maintains button responsiveness |
| Snap Together | Press edges firmly yet gently | Avoids gaps and loose parts |
Taking your time here frees you from future faults and keeps your remote running smoothly.
Tips for Regular Remote Maintenance
To keep your remote working well over time, regular maintenance is key. Practicing consistent remote care guarantees you won’t be stuck without control when you need it most. Here’s how to manage your maintenance frequency effectively:
- Clean weekly: Wipe the surface with a microfiber cloth to remove dirt and oils.
- Check batteries monthly: Replace them before they lose power to avoid leakage.
- Inspect buttons: Make sure keys aren’t sticking; clean around them gently if needed.
- Store properly: Keep your remote in a dry, accessible spot to prevent damage.
Frequently Asked Questions
Can I Use Alcohol Wipes on All Types of Remotes?
You might want to check your remote material compatibility before using alcohol wipes. While alcohol wipe effectiveness is great for disinfecting, some materials like soft plastics or painted surfaces can get damaged or faded. If you want to keep your remote free and clear of germs without risking damage, test a small area first or opt for wipes specifically designed for electronics. That way, you maintain both cleanliness and freedom from worries.
How Often Should I Deep Clean My Remote Control?
You might be surprised how often your remote control harbors unseen germs. For your freedom and health, follow remote maintenance tips that suggest deep cleaning every one to two months. Cleaning frequency guidelines vary if you share the device or eat near it—then, more often is better. Keeping it fresh not only boosts hygiene but prevents sticky buttons, letting you enjoy your devices without interruption or worry.
What Should I Do if Liquid Seeps Inside the Remote?
If liquid seeps inside your remote, act fast to minimize liquid damage. Remove the batteries immediately to prevent short circuits, then gently shake out any excess liquid. Leave it to dry completely—using silica gel packets or rice can help absorb moisture. Avoid turning it on too soon. If it still malfunctions, consider professional remote repair or replacing it. Taking quick steps frees you from further hassle and keeps you in control.
Are There Specific Cleaners to Avoid on Remotes?
Think of your remote as a delicate bird—you wouldn’t use harsh winds to clean it. You should avoid cleaners with ammonia, bleach, or alcohol, as they can damage the surface or fade buttons. Instead, stick to safe cleaning methods like a lightly dampened microfiber cloth. Also, consider your remote’s material; some plastics react differently. By choosing gentle options, you keep your remote alive and well, giving you the freedom to enjoy without worry.
Can Cleaning Improve Remote Button Responsiveness?
Yes, cleaning can definitely improve remote button responsiveness. If you’re dealing with button sensitivity issues, regular remote maintenance tips like wiping away dirt and grime can help restore smooth function. Dust and debris often block the contacts beneath buttons, making them less responsive. By keeping your remote clean, you’re not only ensuring better performance but also freeing yourself from annoying delays and misfires, giving you full control with ease.