How to Clean Stains
To clean stains effectively, act quickly and identify the stain type—whether it’s oily, protein-based, ink, or dirt. Blot excess liquid without rubbing and use cold water to avoid setting stains. Apply suitable treatments like baking soda for grease, vinegar for tea, or rubbing alcohol for ink, then rinse and launder properly. Always test on a hidden area first. Following these steps guarantees better removal and fabric care. For more detailed methods tailored to each stain, keep exploring these tips.
Identifying Different Types of Stains
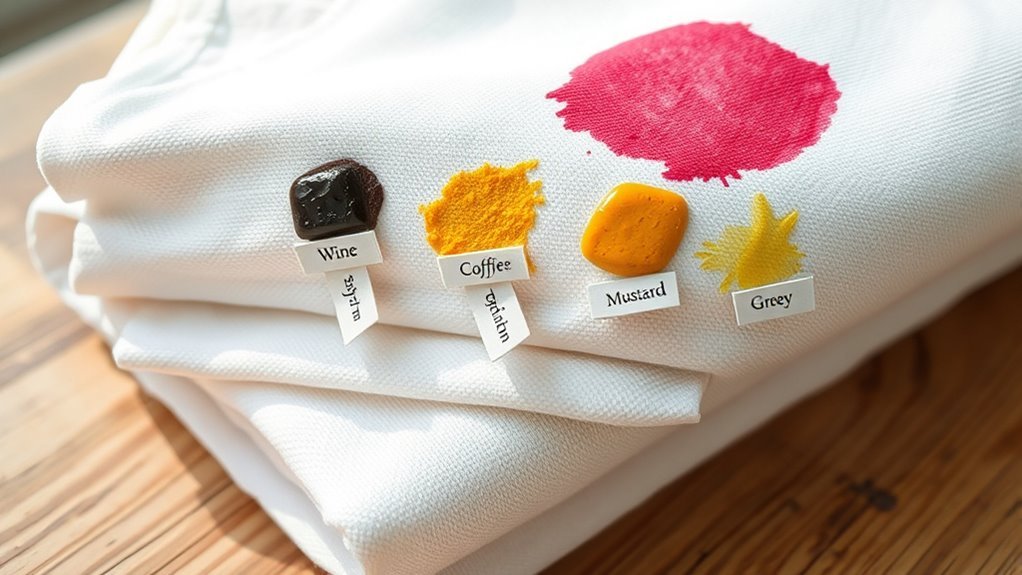
How can you effectively clean a stain if you don’t know what it is? Start by examining the stain characteristics carefully. Look at the stain color, texture, and location to narrow down possibilities. For example, oily stains often feel greasy and appear darker, while protein-based stains like blood or sweat tend to be reddish or yellowish. Ink stains usually have sharp edges with vibrant colors. By identifying these stain characteristics, you can choose the right cleaning approach that avoids damage or setting the stain permanently. Take note: the stain color can also change over time, affecting your strategy. Understanding exactly what you’re dealing with gives you the freedom to tackle stains confidently and efficiently, saving time and effort in your cleaning process. Different stains, such as coffee, pet accidents, and wine, require specific treatments due to their unique properties, making identifying stain types essential for effective cleaning.
General Tips for Stain Removal
Before tackling any stain, it’s important to act quickly and avoid rubbing, which can push the stain deeper into the fabric. To maximize your stain removal success, keep these general tips in mind:
Act fast and avoid rubbing to prevent stains from embedding deeper into fabric for better removal results.
- Blot gently with a clean cloth to absorb excess liquid without spreading the stain.
- Test any home remedies on a hidden area first to prevent damage or discoloration.
- Use cold water for most stains, as hot water can set them permanently.
- Treat stains from the back of the fabric to push the stain out rather than deeper in.
- Immediate action is crucial to prevent permanent discoloration and maintain fabric appearance.
Removing Coffee and Tea Stains
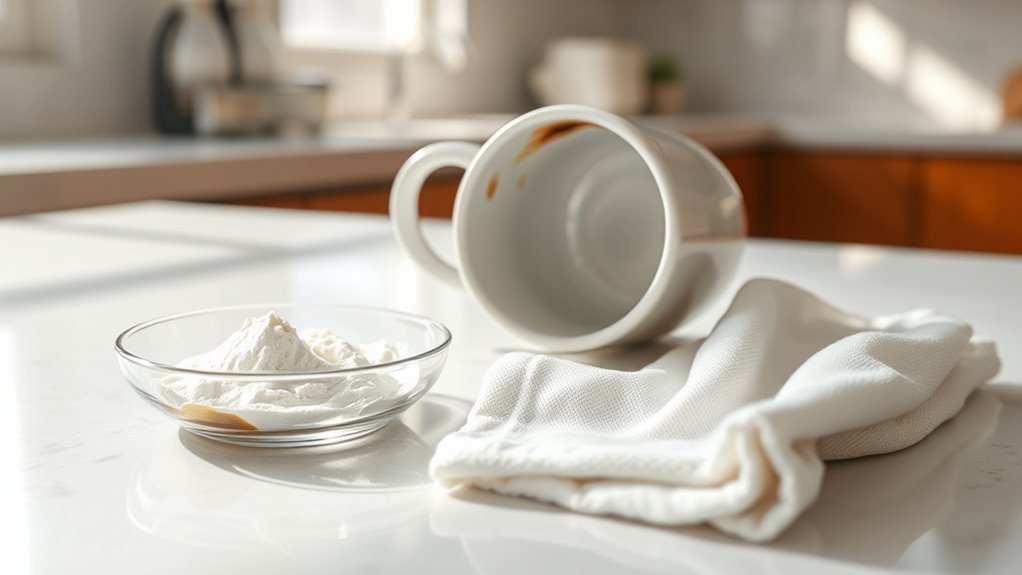
Coffee and tea stains are among the most common and stubborn you’ll encounter. To tackle these, act fast—blot excess liquid without rubbing. Then use cold water to dilute the coffee stain or tea stain. For persistent marks, apply a mixture of equal parts white vinegar and water, let it sit for 5 minutes, then rinse. Here’s a quick guide:
| Stain Type | Immediate Action | Cleaning Agent |
|---|---|---|
| Coffee stain | Blot, cold water rinse | Vinegar-water solution |
| Tea stain | Blot, cold water rinse | Vinegar-water solution |
| Both | Avoid heat until clean | Mild detergent if needed |
Don’t use hot water initially; it sets the stain. Understanding the chemistry of coffee stains can greatly improve your stain removal results. Following these steps guarantees you regain freedom from stubborn coffee and tea stains swiftly and effectively.
Treating Ink and Marker Stains
When treating ink and marker stains, start by identifying the stain type to choose the right remover. You’ll want to use effective products like rubbing alcohol or specialized cleaners. Applying the correct technique quickly improves your chances of complete removal.
Identifying Stain Type
How do you know if a stain is from ink or marker? Proper stain identification starts with observing key stain characteristics. Ink stains usually appear sharp, with defined edges and deep color saturation, often blue or black. Marker stains tend to be broader, sometimes with uneven color, and can be permanent or washable depending on the type.
To identify the stain type:
- Check the color intensity—ink is typically darker and more uniform.
- Examine the edges—ink has crisp edges; markers are often smudged.
- Test a hidden area with water—marker stains may bleed; ink usually won’t.
- Consider the source—pens leave ink stains; felt-tip pens cause marker stains.
Knowing these details sets you free to treat each stain effectively.
Effective Stain Removers
Wondering which stain remover works best for ink versus marker stains? For ink, try natural stain removers like vinegar mixed with cornstarch to lift fresh stains gently. If the stain persists, commercial stain solutions containing alcohol or acetone are more effective but test on fabric first to avoid damage. Marker stains, especially permanent ones, respond well to rubbing alcohol or hand sanitizer as commercial options, breaking down pigments quickly. For a natural alternative, lemon juice combined with salt can help fade marker marks on some fabrics. Always blot, don’t rub, and act promptly for best results. By choosing the right remover based on your stain type, you gain freedom from stubborn marks without compromising your fabric’s integrity.
Stain Removal Techniques
Although ink and marker stains can seem stubborn, treating them promptly with the right technique makes removal much easier. To maintain freedom from stains, follow these stain removal techniques using eco friendly solutions:
- Blot the stain gently with a clean cloth to absorb excess ink without spreading it.
- Apply a mixture of white vinegar and water or rubbing alcohol, both effective and eco friendly solutions, onto the stain.
- Let it sit for 10 minutes, then rinse with cold water.
- Launder the fabric as usual, but avoid heat drying until the stain is gone to prevent setting.
For stain prevention tips, always test new markers on scrap fabric and keep cleaning supplies handy for quick action.
Getting Rid of Grease and Oil Stains
Grease and oil stains are among the toughest to remove, but treating them quickly can make a big difference. First, focus on grease absorption by sprinkling a generous amount of baking soda or cornstarch onto the stain. Let it sit for 15-20 minutes to soak up excess oil. Next, perform oil blotting by gently pressing a clean cloth or paper towel onto the stain—avoid rubbing, as it spreads the grease. After blotting, brush off the powder and apply a small amount of dish soap directly to the stained area. Use warm water to gently work the soap into the fabric, then rinse thoroughly. Repeat if necessary before laundering as usual. Acting fast and using these steps will help you break free from stubborn grease stains. Understanding the different types of grease stains can help you choose the most effective cleaning method for each situation.
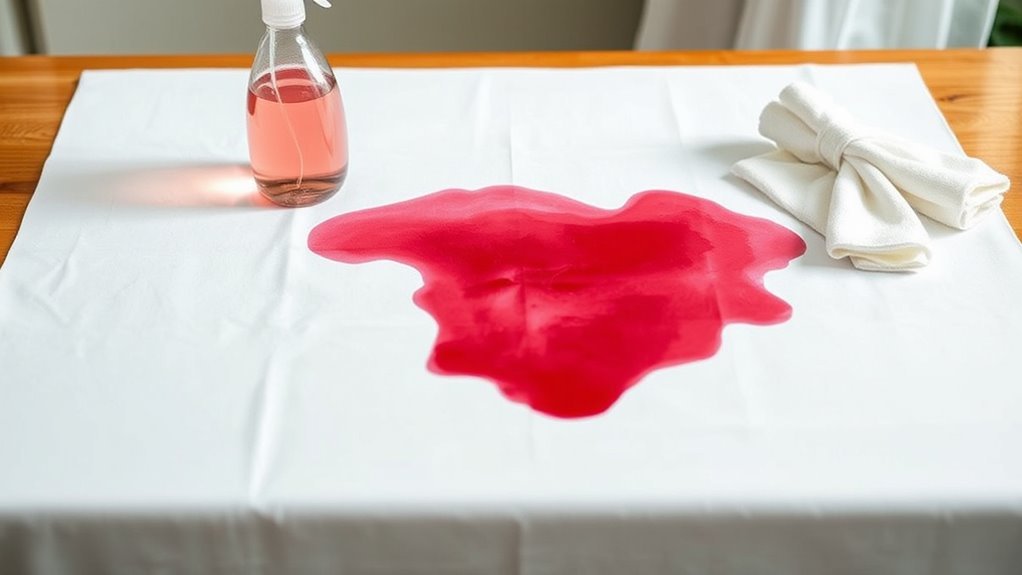
Cleaning Red Wine and Juice Stains
When you spill red wine or juice, act quickly to prevent the stain from setting. Blot the area gently and avoid rubbing to minimize damage. Next, use proven removal techniques like cold water rinses and stain removers to restore the fabric.
Immediate Stain Treatment
Two key steps can help you tackle red wine and juice stains before they set: blotting the area gently and applying a cold water rinse. These immediate stain treatment actions are essential as part of your stain prevention tips and emergency stain solutions. Follow these steps:
- Blot the stain with a clean cloth—don’t rub, to avoid spreading.
- Rinse the stained spot with cold water to dilute the stain.
- Apply a small amount of mild detergent or stain remover if available.
- Continue blotting gently until the stain lightens.
Act fast to keep stains from settling and gaining a foothold. These quick, precise responses give you the freedom to handle spills confidently and keep fabrics looking fresh.
Effective Stain Removal Techniques
Although immediate treatment is essential, effectively removing red wine and juice stains often requires specific techniques tailored to these stubborn marks. Start by blotting the stain gently with a clean cloth—never rub—to prevent spreading. Mix cold water with an eco friendly cleaner or a solution of white vinegar and dish soap. Apply this to the stain, let it sit for 10-15 minutes, then blot again. For tougher spots, sprinkle baking soda to absorb moisture before rinsing. Always test cleaners on a hidden area first. To avoid future hassles, follow stain prevention tips like using coasters and promptly addressing spills. By combining prompt action with these eco friendly stain removal methods, you’ll maintain freedom from stains without harsh chemicals or time-consuming scrubbing.
Handling Mud and Dirt Stains
Since mud and dirt stains can set quickly, you should treat them as soon as possible to prevent permanent marks. Effective mud removal and dirt prevention start with prompt action. Here’s what you need to do:
Act quickly to treat mud and dirt stains before they set and become permanent marks.
- Let the mud dry completely, then gently brush off as much dirt as possible without rubbing it deeper.
- Pre-treat the stain with a liquid detergent or stain remover, focusing on the affected area.
- Soak the fabric in cold water for 30 minutes to loosen remaining dirt.
- Wash according to the garment’s instructions, preferably in cold water to avoid setting stains. For flooring, using soft-bristle brushes can help loosen dirt without causing damage.
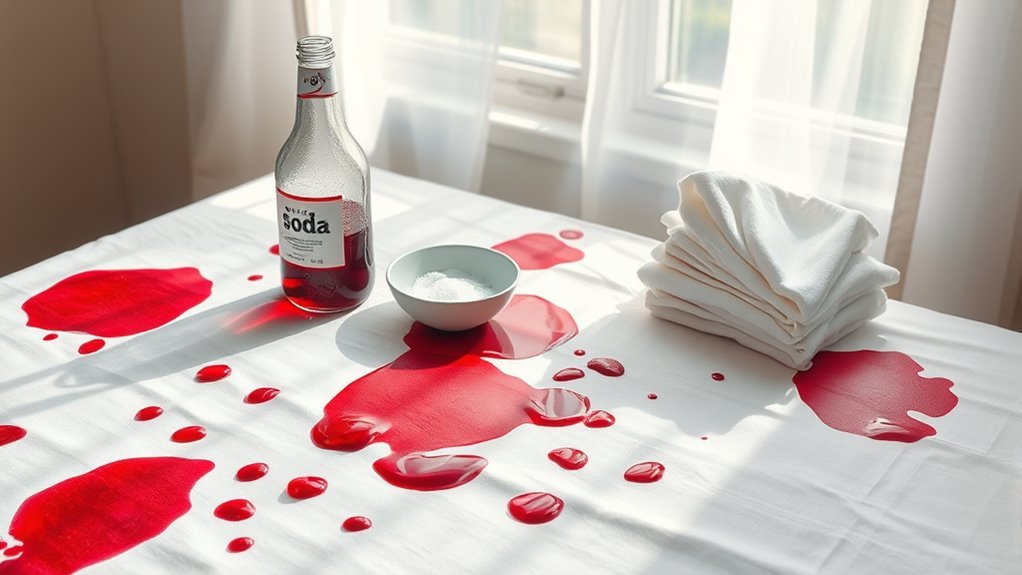
Removing Blood Stains Effectively
Just like with mud and dirt, acting quickly can make a big difference when removing blood stains. Treating the stain promptly is a key first aid step for stain prevention. Use cold water to rinse the fabric; hot water sets the stain. Avoid rubbing, which spreads blood. Instead, blot gently. Here’s a quick guide:
| Step | Action |
|---|---|
| 1. Rinse | Use cold water immediately |
| 2. Blot | Gently dab with a clean cloth |
| 3. Soak | Use cold water and mild soap |
| 4. Treat | Apply hydrogen peroxide sparingly |
| 5. Wash | Launder as usual in cold water |
This method keeps you in control and maximizes your freedom from stubborn stains. For tougher stains, consider using hydrogen peroxide carefully, as it is effective in breaking down blood components without damaging most fabrics.
Stain Removal From Upholstery and Carpets
When dealing with stains on upholstery and carpets, quick action is essential to prevent permanent damage. Follow these steps for effective upholstery cleaning and carpet care:
- Blot the stain immediately with a clean, dry cloth—avoid rubbing, which can spread the stain.
- Test a mild cleaning solution on an inconspicuous area to verify colorfastness.
- Apply the solution gently, working from the outside inward, then blot with a clean cloth.
- Allow the area to air dry completely; avoid heat, which can set stains. Immediate action with the correct cleaning techniques greatly increases the chances of successful stain removal.
Best Practices for Laundry Stain Treatment
To tackle laundry stains effectively, start by identifying the type of stain you’re dealing with. Use appropriate pre-treatment techniques to loosen and break down the stain before washing. Finally, select the best washing method to guarantee complete removal without damaging the fabric. Immediate action is essential because fresh stains are easier to tackle before they set in, increasing the chances of complete removal through timely treatment.
Identify Stain Types
Although stains may look similar at first glance, identifying their type is essential for effective treatment. By understanding stain characteristics, you can target the right cleaning method and avoid worsening the damage. Here’s how to nail stain identification:
- Oil-based stains: Look for greasy, shiny spots from butter, makeup, or motor oil.
- Protein-based stains: These include blood, sweat, or dairy and often feel tacky when dry.
- Tannin stains: Coffee, tea, or wine leave these; they’re usually brownish and water-soluble.
- Dye stains: Ink or grass stains tend to have vibrant or stubborn coloring that resists water.
Recognizing these details frees you to treat stains precisely and regain your laundry’s freshness without guesswork.
Pre-Treatment Techniques
Before you plunge into washing, it’s essential to tackle stains head-on with the right pre-treatment techniques. Start by gently blotting excess residue to avoid spreading the stain. Apply a suitable stain remover or a bit of liquid detergent directly onto the spot. Let it sit for 5 to 10 minutes, but don’t let it dry out—that can make removal harder. For delicate fabrics, test any product on a hidden area first to guarantee fabric care. Avoid harsh scrubbing; instead, gently rub the fabric together or use a soft brush if needed. These steps not only improve stain removal but also support stain prevention by stopping the stain from setting. Mastering pre-treatment gives you freedom to maintain your clothes’ appearance and longevity with confidence.
Optimal Washing Methods
Once you’ve treated the stain, selecting the right washing method becomes your next step to guarantee effective removal. Following optimal washing techniques guarantees your clothes come out fresh without damage. Keep laundry temperature guidelines in mind—they’re vital for stain removal and fabric care.
- Use warm water for most stains; it activates detergents better but avoid hot water on delicate fabrics.
- Choose a detergent designed for stain removal to boost cleaning power.
- Wash stained items separately to prevent spreading stains to other clothes.
- Check the stain before drying; heat can set it permanently. Repeat treatment if needed.
Frequently Asked Questions
Can Natural Remedies Be Used for Stain Removal?
Ever wondered if you could ditch harsh chemicals and still tackle tough stains? You absolutely can! Natural ingredients like vinegar, baking soda, and lemon juice offer powerful DIY solutions for stain removal. These eco-friendly options not only save you money but also give you the freedom to clean safely at home. Just mix, apply, and let nature do the work—easy, effective, and gentle on fabrics and the planet.
How to Prevent Stains From Setting Permanently?
To prevent stains from setting permanently, act fast—treat spills immediately for effective stain prevention. Blot, don’t rub, to avoid pushing stains deeper. Use cold water first, as heat can set stains. Always check fabric care labels before applying cleaners, ensuring you don’t damage the material. Regularly maintain your clothes to keep fabrics fresh and stain-free. Quick action combined with proper fabric care guarantees your freedom from stubborn, permanent stains.
Are Stain Removers Safe for All Fabric Types?
Using stain removers on all fabrics is like trying to fit a square peg in a round hole—it doesn’t always work. You need to check fabric compatibility first, as some ingredients can damage delicate materials like silk or wool. Always read labels carefully and test a small hidden area before applying. This way, you’ll protect your clothes and enjoy the freedom of cleaning without fear of ruining your favorite pieces.
What Household Items Can Substitute Commercial Stain Removers?
You can easily substitute commercial stain removers with household items like baking soda and vinegar solution. Sprinkle baking soda directly on the stain, then pour a little vinegar solution over it to create fizz that lifts dirt. Let it sit for 15 minutes before scrubbing gently and rinsing with cold water. This method is budget-friendly, chemical-free, and gives you the freedom to tackle stains without harsh products.
How to Treat Stains on Delicate or Vintage Clothing?
Think of delicate fabrics and vintage textiles like fragile butterflies—you want to handle them gently. First, test a small, hidden area with cold water and mild detergent. Avoid harsh scrubbing; instead, dab stains lightly with a soft cloth. Use cool water to rinse, never hot, to protect fibers. Air dry flat, away from sunlight. This careful approach keeps your treasured pieces free and fresh without damage.


