How to Clean up a Flooded Bathroom
To clean up a flooded bathroom, start by gathering tools like a wet/dry vacuum and disinfectant solutions. Verify your safety by wearing gloves and boots, and turn off the power. Use the vacuum to extract standing water, then clean all surfaces with disinfectant. Open windows or use fans to promote drying, and monitor for mold growth. Regular maintenance and preventive measures can help keep the bathroom clean. You can easily discover more essential tips and techniques for effective cleanup.
##
When faced with a flooded bathroom, it’s crucial to know the steps you should take to effectively handle the situation and restore your space. This article provides a comprehensive guide on how to respond quickly and efficiently to minimize damage, assess the impact, and initiate the restoration process. From shutting off the water supply and removing standing water to evaluating for mold and structural damage, you’ll find all the necessary information to navigate this challenging scenario. Additionally, we will cover how to document the damage for insurance purposes and ensure a thorough drying process, helping you prioritize safety and functionality in your bathroom restoration. By the end of this article, you’ll be well-equipped to tackle a flooded bathroom and return it to its former glory.
Preparation For Cleaning
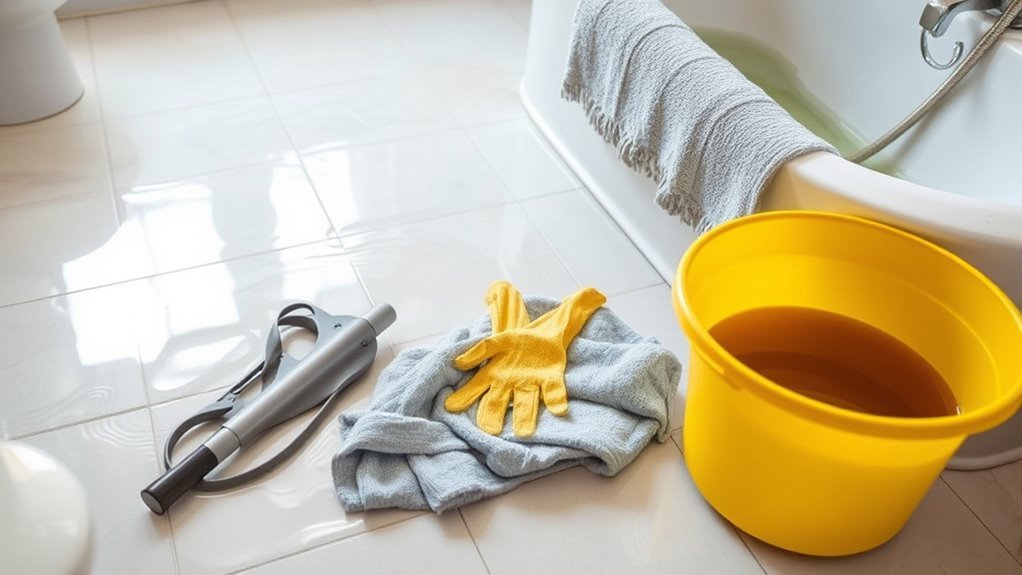
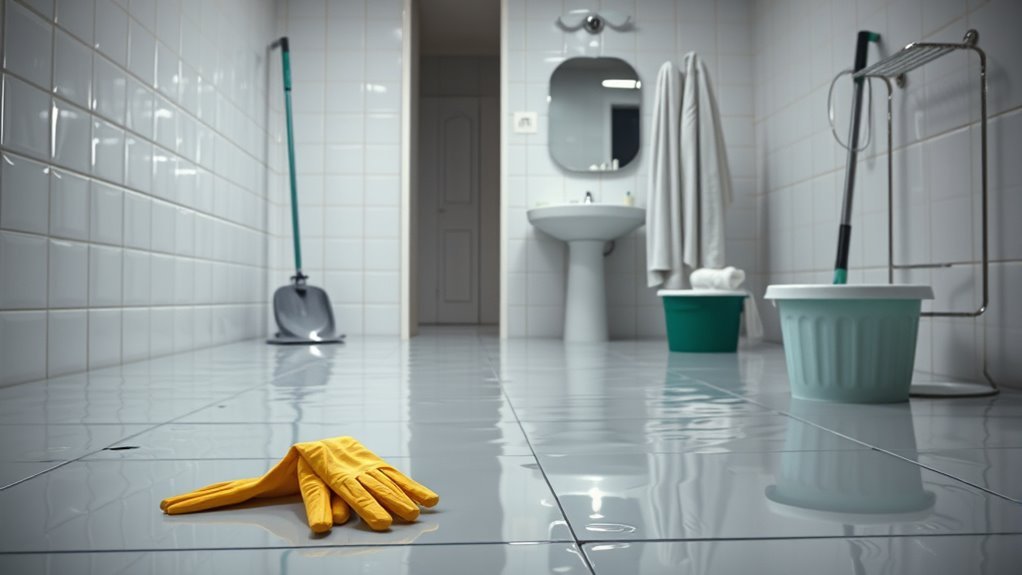
Before you begin the cleaning process, it’s essential to gather the necessary tools and materials to guarantee an efficient and safe restoration. Start with a thorough flood assessment to determine the extent of the damage and prioritize your water removal efforts. You’ll need a wet/dry vacuum or a sump pump for effective water extraction, along with mops and buckets for residual moisture. Don’t forget to wear protective gear like gloves and boots to safeguard against contaminants. Make certain you have fans and dehumidifiers ready to promote drying after the bulk of the water is removed. Finally, prepare your cleaning solutions to tackle mold and bacteria, which can develop quickly in wet environments. Always ensure floodwaters have receded before entering the bathroom to maintain safety during cleanup.
Tools and Chemical Required
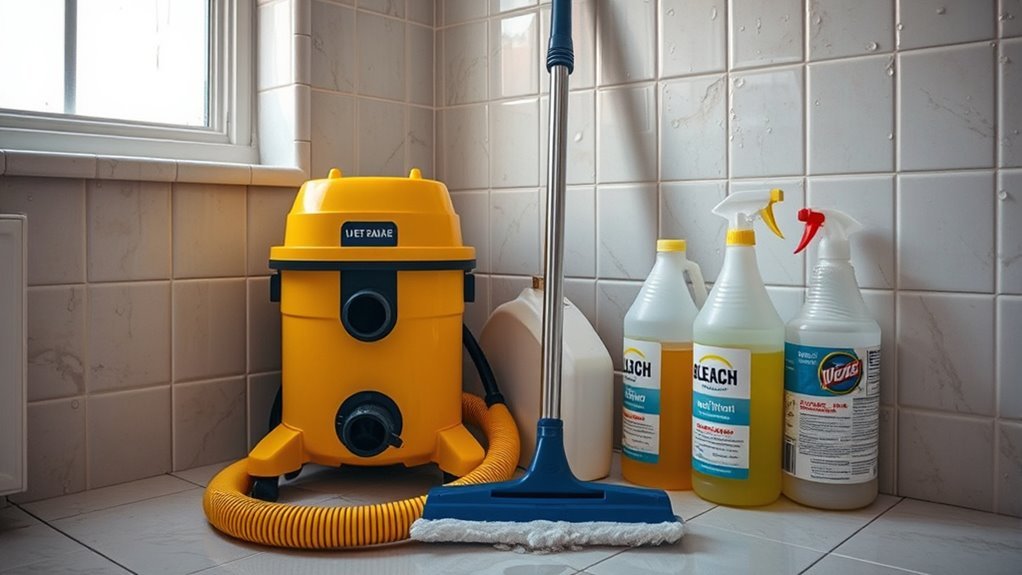
To effectively clean a flooded bathroom, you’ll need a combination of specialized tools and chemical solutions that tackle both water removal and sanitization. Here’s a quick guide to the essential tools and cleaning agents you’ll require:
| Tools | Cleaning Agents |
|---|---|
| Wet/dry vacuum | Disinfectant solution |
| Mop types (string, sponge) | Mold remover |
| Buckets | All-purpose cleaner |
| Squeegee | Bleach |
Using the right mop types will help absorb excess water efficiently, while cleaning agents will guarantee surfaces are sanitized and safe. Make certain to choose products that suit your bathroom’s materials and always follow safety instructions on labels. In addition, prioritizing the disinfection of high-touch surfaces in your bathroom is crucial to reduce the risk of germs after flooding.
How to Clean:

Step 1: Gather Necessary Tools and Cleaning Agents
- Ensure you have the following items ready:
- Wet/dry vacuum
- Buckets
- Mops and brooms
- Disinfectant solution
- Mold prevention spray
- Towels or rags
- Gloves and masks for protection
Step 2: Remove Standing Water
- Use the wet/dry vacuum to extract standing water from the flooded bathroom.
- Focus on corners and low areas where water tends to settle.
- If necessary, use buckets to scoop out excess water before vacuuming.
Step 3: Assess Flood Damage
- Once the area is dry, carefully inspect for any flood damage.
- Check for warped flooring, damaged drywall, or compromised fixtures.
- Make a note of any areas that may require repair or replacement.
Step 4: Clean All Surfaces
- Prepare a mixture of water and disinfectant according to the manufacturer’s instructions.
- Use a mop or cloth to wipe down all surfaces, including:
- Floors
- Walls
- Fixtures
- Pay special attention to grout and caulking, as these areas are prone to mold growth.
Step 5: Ventilate the Space
- Open windows to allow fresh air to circulate throughout the bathroom.
- If the weather does not permit, use fans to aid in drying the area.
- Ensure that moisture is removed to prevent mold growth.
Step 6: Apply Mold Prevention Spray
- After cleaning and drying the area, apply a mold prevention spray to vulnerable areas.
- Focus on corners, grout lines, and anywhere moisture may accumulate.
- Follow the instructions on the spray for effective application and drying time.
For ongoing maintenance, establish a cleaning schedule to ensure consistent prevention of mold and grime buildup.
Safety Consideration
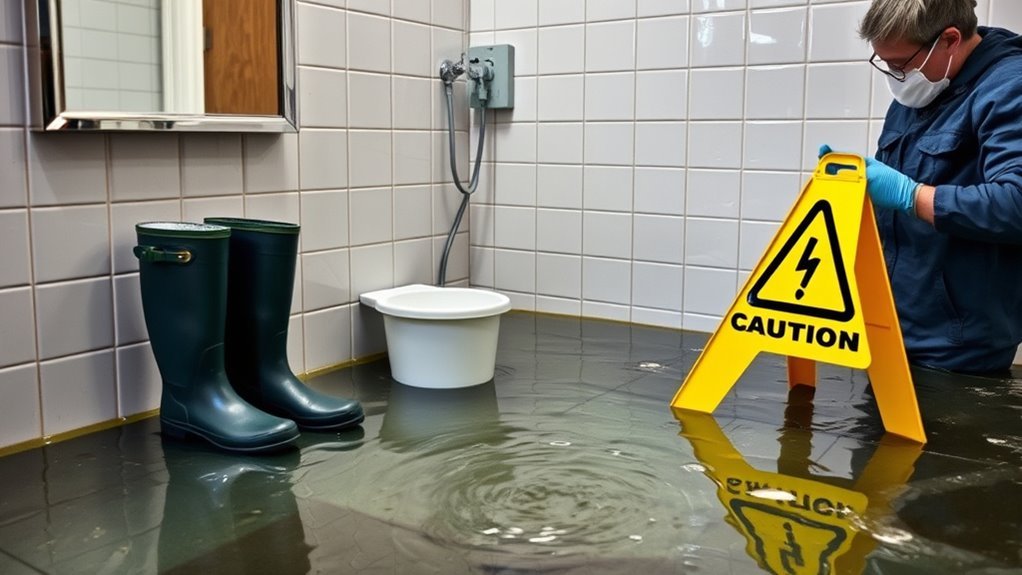
Cleaning a flooded bathroom involves various risks that must be addressed to secure your safety. Be aware of potential water damage and electrical hazards that can occur during the cleanup process. Here are some critical safety considerations:
- Confirm the power is turned off at the circuit breaker before entering the flooded area.
- Wear waterproof gloves and boots to protect against contaminants and sharp objects.
- Use a wet/dry vacuum designed for water removal to minimize risks associated with standing water.
- Monitor for mold growth as damp conditions can lead to health issues.
- Establishing a consistent cleaning routine after the flood helps prevent mold and maintain hygiene.
Tips to keep clean for long time
While maintaining a clean bathroom may seem intimidating, implementing a few simple strategies can greatly extend the cleanliness of your space. Start by establishing regular maintenance routines—clean surfaces weekly and deep clean monthly. Utilize preventive measures like placing mats outside the shower to absorb water and installing a ventilation fan to reduce humidity. Encourage air circulation by keeping windows open when possible. Invest in quality, mildew-resistant products to minimize mold growth. Wipe down faucets and mirrors regularly to prevent water spots. Finally, organize toiletries and cleaning supplies to streamline your cleaning process, making it quicker and more efficient. By incorporating these practices, you’ll considerably reduce the time and effort needed to keep your bathroom looking pristine. Scheduling routine inspections can help catch small issues before they escalate, ensuring your bathroom stays clean longer.
Frequently Asked Questions
What Should I Do if the Water Is Contaminated?
If you suspect the water’s contaminated, prioritize water safety immediately. Avoid contact with it, and don’t attempt to clean it yourself. Assess the contamination risks; it could harbor harmful pathogens or chemicals. Contact local authorities or a professional clean-up service to handle the situation safely. They’ll have the right equipment and expertise to manage the contamination and restore your space effectively, ensuring you and your environment stay safe from any health hazards.
How Long Will It Take to Dry Out the Bathroom?
It can take anywhere from a few hours to several days to dry out your bathroom, depending on the drying techniques you use and the humidity levels in your area. Employing fans, dehumidifiers, and opening windows can greatly speed up the process. If humidity levels are high, it may take longer, so monitoring the environment is essential. Ensuring proper ventilation will help maintain ideal conditions for drying and prevent further issues.
Can I Use a Regular Vacuum to Remove Water?
No, you shouldn’t use a regular vacuum for water removal. Standard vacuums aren’t designed for liquid and could get damaged or pose an electrical hazard. Instead, consider using a wet/dry vacuum, which is specifically designed for such tasks. It efficiently handles water removal and can tackle various cleanup jobs. Make certain to follow safety precautions and check your vacuum type to confirm it’s suitable for the job at hand.
Should I Notify My Insurance Company About the Flooding?
Absolutely, you should notify your insurance company about the flooding. It’s ironic how we often think we’re invincible until water decides otherwise. By reporting the incident, you can explore your flood coverage and potentially file insurance claims to recover costs. Your policy might have specific provisions for such events, so don’t hesitate. Taking this step not only guarantees you’re protected but also gives you the freedom to tackle repairs without financial worry.
How Can I Prevent Mold Growth After Cleaning?
To prevent mold growth after cleaning, focus on mold prevention and humidity control. Make sure the area is thoroughly dried, using dehumidifiers or fans to reduce moisture levels. Keep humidity below 50% by ventilating the space and sealing any leaks. Regularly check for dampness and use mold-resistant products when possible. Finally, consider applying a mold inhibitor to surfaces, which can further safeguard your bathroom against future infestations.


