How Do You Clean Vesda Low Airflow Fault
To clean a Vesda system with low airflow faults, start by powering down the system and gathering your safety gear. Inspect and remove the sampling pipe for obstructions, using a vacuum with a HEPA filter to clear loose debris. Clean filters as per the manufacturer’s instructions and gently wipe the interior surfaces with a soft cloth. Reassemble components securely and monitor airflow readings before powering up. For ongoing performance, consider routine maintenance practices that can enhance longevity.
##

In this article, we will delve into the essential steps for addressing a Vesda low airflow fault, ensuring you have a clear understanding of the necessary information to effectively troubleshoot and resolve the issue. We will cover the importance of conducting thorough airflow diagnostics, assessing airflow sensors, and maintaining system integrity to prevent future faults. By focusing on key aspects such as inspecting sampling pipes and filters, you will gain valuable insights into how to keep your Vesda system operating at its best, ultimately providing optimal protection and performance. Stay tuned as we guide you through the process, equipping you with the knowledge to tackle airflow issues with confidence.
Preparation For Cleaning
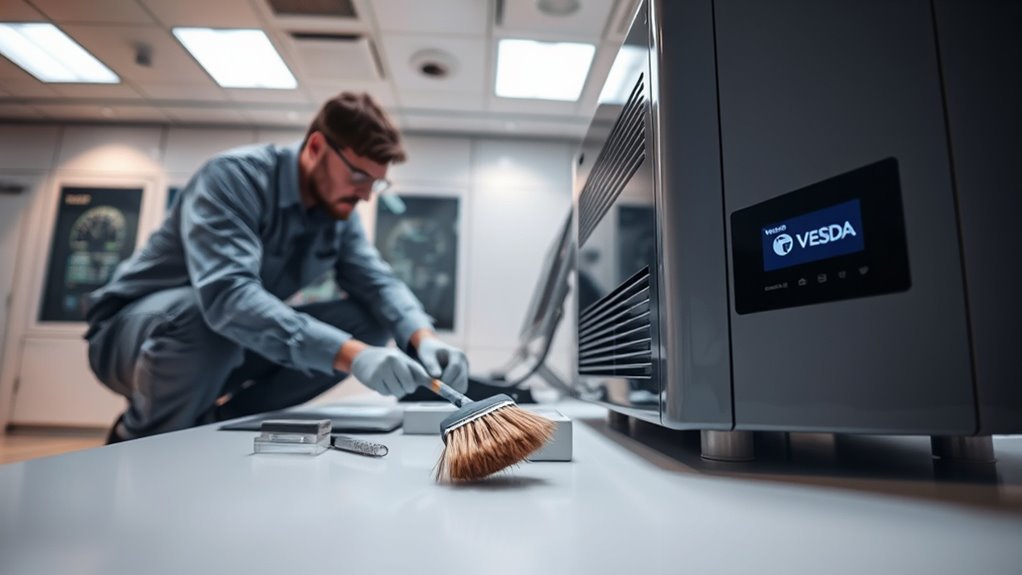
Before you begin the cleaning process for your Vesda system, it’s crucial to gather the necessary tools and materials to guarantee an efficient and effective operation. Start by reviewing the cleaning procedures outlined in your system’s manual, making sure you’re familiar with the specifics of your model. You’ll want to have access to appropriate safety gear, such as gloves and goggles, to protect yourself during equipment maintenance. Additionally, prepare a clean work area to prevent contamination. Identify potential areas of airflow obstruction and verify you have the right tools to address these issues. By taking these preparatory steps, you’ll streamline the cleaning process, reduce downtime, and enhance the overall performance of your Vesda system. Proper maintenance and cleaning routines, similar to how regular care of bedding prolongs its lifespan, help ensure your system functions optimally over time.
Tools and Chemical Required
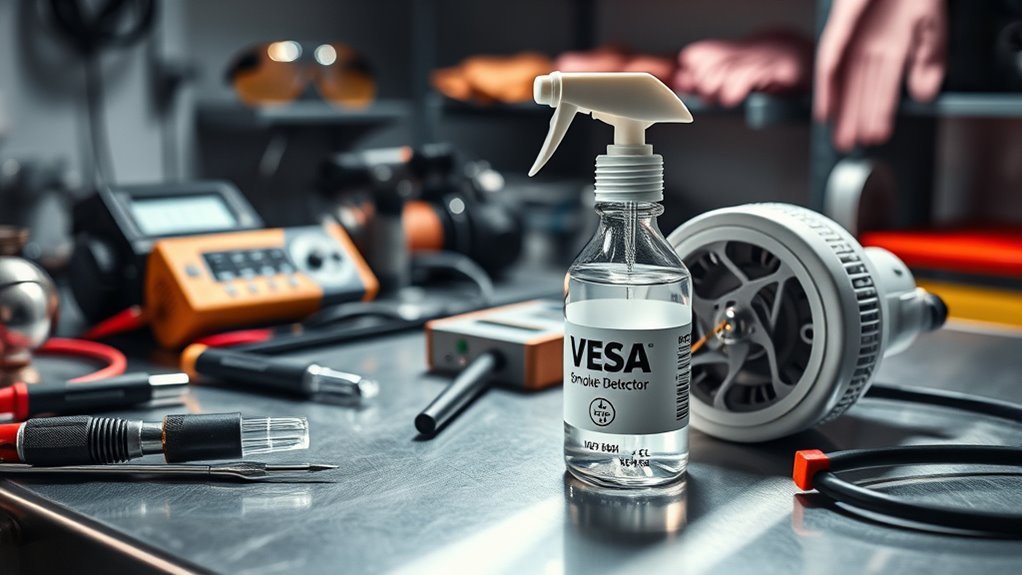
To effectively clean your Vesda system and resolve low airflow faults, having the right tools and chemicals is essential. You’ll need specific cleaning supplies and maintenance tools to guarantee a thorough job.
| Tools | Chemicals |
|---|---|
| Soft brush | Isopropyl alcohol |
| Compressed air canister | Non-corrosive cleaner |
| Vacuum with a HEPA filter | Anti-static solution |
Utilizing these tools and chemicals not only aids in restoring airflow but also prolongs the life of your Vesda system. Confirming you have the right equipment empowers you to take control of your fire safety measures, granting peace of mind while maintaining system efficiency.
How to Clean:
Step-by-Step Guide to Cleaning Your Vesda System
Cleaning your Vesda system is essential for maintaining optimal performance and preventing faults. Follow these detailed steps to ensure a thorough cleaning process.
Step 1: Power Down the System
- Ensure Safety: Before starting any maintenance, power down your Vesda system to guarantee safety and prevent potential damage.
- Unplug the System: Disconnect from the power source to avoid any accidental activation.
Step 2: Address Low Airflow Faults
- Identify Issues: Check for any low airflow faults indicated by the system.
- Prepare for Cleaning: Gather necessary cleaning tools such as a vacuum, compressed air, and a soft cloth.
Step 3: Remove the Sampling Pipe
- Access the Pipe: Carefully detach the sampling pipe from the unit.
- Inspect for Obstructions: Look for any visible blockages that may be affecting airflow.
Step 4: Clear Debris
- Use a Vacuum: Employ a vacuum to remove loose debris from the sampling pipe.
- Compressed Air: For stubborn obstructions, use compressed air to blow out dust and particles.
Step 5: Clean the Filters
- Refer to Guidelines: Follow the manufacturer’s instructions for cleaning the filters.
- Thorough Cleaning: Ensure that filters are free of dust and contaminants, as this will improve system efficiency.
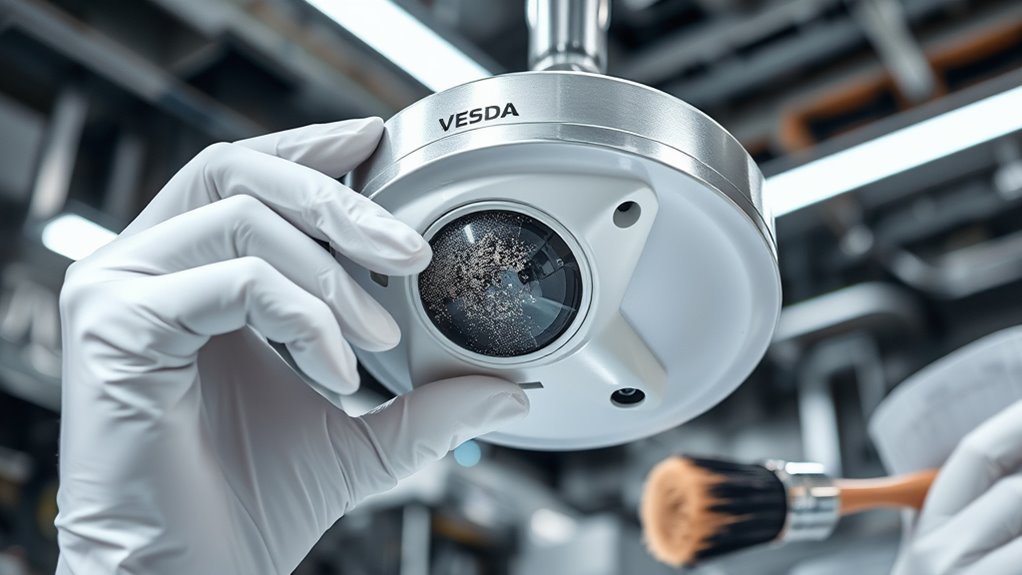
Step 6: Inspect the Detector Chamber
- Check for Dust Accumulation: Open the detector chamber and look for any dust buildup.
- Gently Wipe: Use a soft cloth to gently wipe the interior surfaces, ensuring not to damage any components.
Step 7: Reassemble Components
- Secure All Parts: Carefully reattach the sampling pipe and ensure all components are securely fastened.
- Double-Check Connections: Verify that all connections are tight and properly aligned.
Step 8: Power Up the System
- Reconnect Power Source: Plug the Vesda system back into the power source.
- Turn On the System: Power up the unit and ensure it starts correctly without any errors.
Step 9: Monitor Airflow Readings
- Check Readings: After cleaning, monitor the airflow readings on the system display.
- Confirm Functionality: Ensure that everything is functioning correctly and that airflow is back to normal levels.
Step 10: Schedule Regular Maintenance
- Prevent Future Issues: Establish a regular maintenance schedule to keep your Vesda system in peak performance.
- Documentation: Keep records of cleaning dates and any issues encountered for future reference.
Safety Consideration
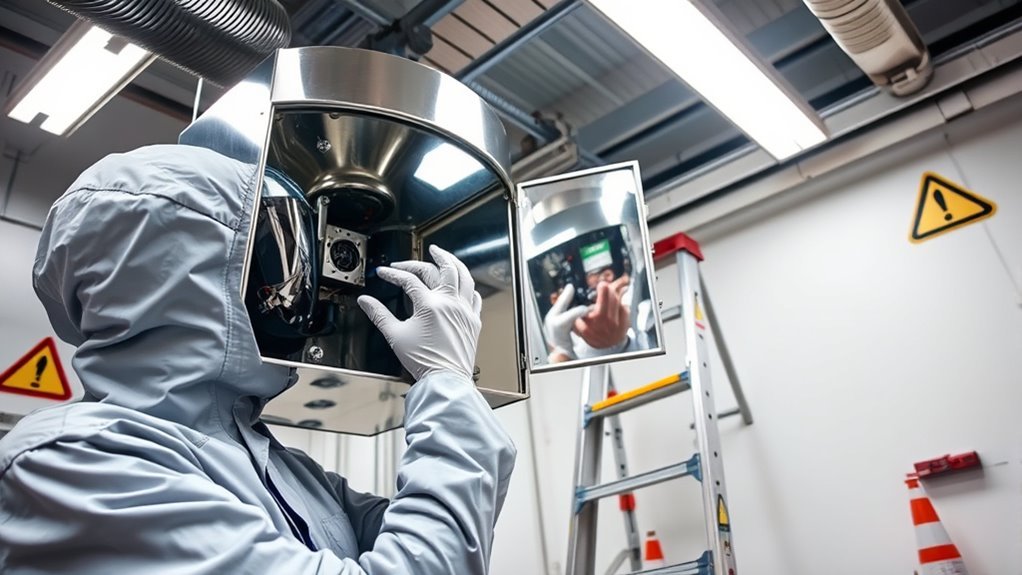
While maintaining your Vesda system is essential for its performance, safety considerations must take precedence throughout the cleaning process. Before starting, make certain you’re equipped with appropriate personal protective equipment (PPE), including gloves, goggles, and masks to shield against dust and contaminants. Familiarize yourself with equipment handling protocols to minimize risks. Always disconnect power before cleaning to prevent accidental activation, and handle components carefully to avoid damage or injury. If you encounter any hazardous materials during the cleaning, follow your facility’s safety guidelines for proper disposal. Finally, make certain that the workspace is well-ventilated, as stale air can lead to respiratory issues. Prioritizing safety not only protects you but also enhances the longevity and functionality of your Vesda system.
Tips to keep clean for long time
Maintaining the cleanliness of your Vesda system is essential for guaranteeing its long-term efficiency and reliability. To achieve this, implement a routine of preventive maintenance that includes regular inspections and cleaning of the sampling pipes and detectors. Airflow monitoring is vital; verify you regularly check for blockages that could impede airflow and trigger false alarms. Additionally, consider using filters to capture particulates before they enter the system. Keep the surrounding environment free from dust and debris that can affect performance. Document all maintenance activities, as this will help you track patterns and identify potential issues early. Regular maintenance also helps ensure effective removal of harmful particles that can degrade system performance. By following these tips, you not only enhance the system’s functionality but also extend its lifespan, assuring your peace of mind.
Frequently Asked Questions
How Often Should I Clean the VESDA System?
You should clean your Vesda system at least once a year as part of your maintenance schedule. Regular cleaning guarantees peak system efficiency and prevents issues like low airflow faults. However, if your environment is particularly dusty or prone to contaminants, you might want to increase the frequency to every six months. Staying proactive with maintenance not only extends the lifespan of the system but also keeps it running effectively, giving you peace of mind.
What Are the Signs of a Low Airflow Fault?
You’ll notice signs of a low airflow fault through specific airflow indicators like decreased sensitivity in smoke detection, persistent alarms, or irregular readings on the system’s display. Additionally, fault detection may highlight airflow anomalies, leading to potential false positives. It’s vital to monitor these indicators closely, as they can affect the system’s performance and reliability. Regular checks and maintenance can help prevent issues before they escalate, ensuring ideal operation.
Can I Clean the System Myself?
They say, “A stitch in time saves nine.” Yes, you can clean the system yourself, but be cautious. Proper system maintenance is essential for peak performance. DIY cleaning requires knowledge of the components and techniques to avoid damage. Make certain you have the right tools and follow the manufacturer’s guidelines closely. If you’re unsure or the issue persists, it’s wise to consult a professional. Your system’s efficiency depends on meticulous care and attention.
What Happens if I Ignore a Low Airflow Fault?
If you ignore a low airflow fault, the system performance can degrade considerably. You’ll risk compromised detection capabilities, which could delay response to fire hazards. Fault consequences may include increased false alarms or, worse, failure to detect smoke altogether. This not only jeopardizes safety but can also lead to costly damages or liabilities. It’s crucial to address airflow issues promptly to maintain peak performance and guarantee the system functions as intended.
Are There Specific Cleaning Products to Avoid?
You should avoid using abrasive cleaning agents like bleach or ammonia on your VESDA system. For instance, if you used ammonia to clean components, it could corrode delicate sensors, leading to malfunction. Instead, focus on maintenance tips that recommend mild detergents or alcohol-based cleaners, ensuring they’re compatible with the materials in your system. Always refer to the manufacturer’s guidelines for the best practices to maintain ideal airflow and prevent damage.