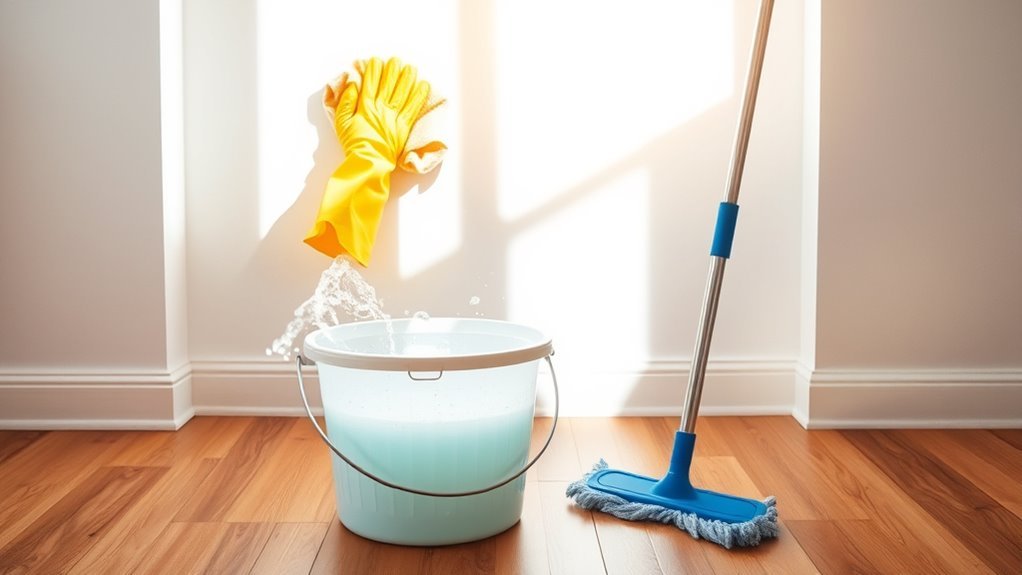
How to Clean Walls Floors
To clean your walls and floors effectively, start by choosing supplies suited to each surface—soft cloths for painted walls, gentle brushes for textured areas, and pH-neutral cleaners for hardwood floors. Dust and debris should be removed first with microfiber cloths or vacuums. For walls, use mild soap or vinegar solutions carefully, and for floors, avoid excess water and mop appropriately. Taking these steps helps protect surfaces and prolong their appearance. With some simple strategies, you can keep your home fresh and inviting.
Choosing the Right Cleaning Supplies
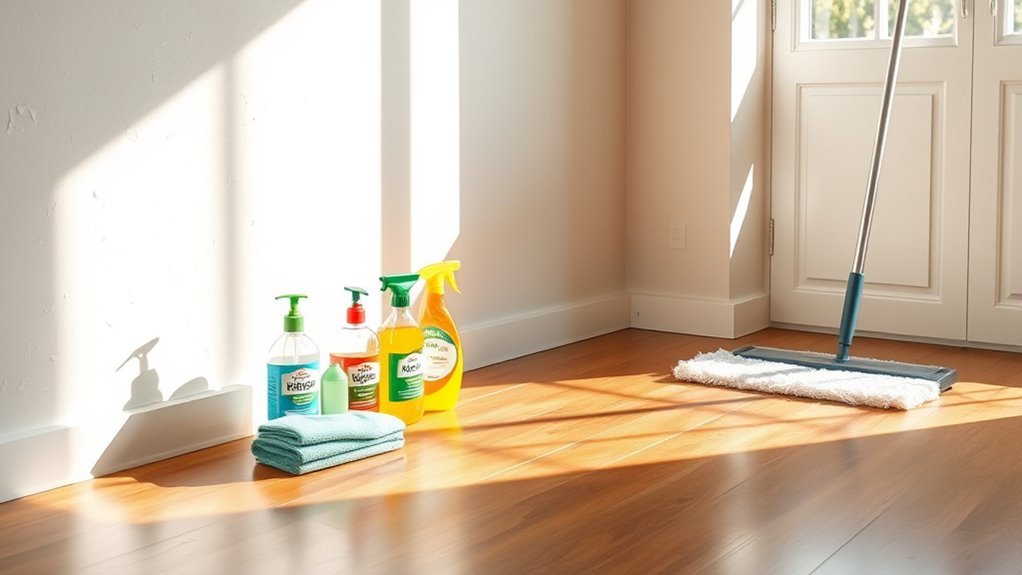
When it comes to choosing the right cleaning supplies, you’ll want to take into account the type of surface you’re tackling. Not all cleaning tool types work equally well on every wall or floor, so picking the right ones lets you clean effectively without damage. You might opt for soft microfiber cloths on delicate paint or gentle brushes on textured surfaces. If freedom means caring for your home and planet, consider eco friendly options like biodegradable soaps and reusable tools. These choices help you maintain a cleaner space without compromising your values. By selecting supplies tailored to your surfaces and eco friendly options, you’re empowered to clean with confidence and responsibility, giving you the freedom to enjoy a fresh, healthy living environment.
Preparing Walls and Floors for Cleaning
Before you start scrubbing, it’s important to prepare your walls and floors properly to guarantee the best results. Using effective wall preparation techniques and floor preparation tips sets the stage for a thorough clean. Focus on clearing obstacles and inspecting surfaces for damage. Here’s a quick guide to get you started:
| Task | Walls | Floors |
|---|---|---|
| Clear Area | Remove pictures, fixtures | Move furniture, rugs |
| Inspect Surface | Check for cracks, holes | Look for stains, damage |
| Protect Surroundings | Cover outlets, switches | Use floor protectors where needed |
Removing Dust and Loose Dirt
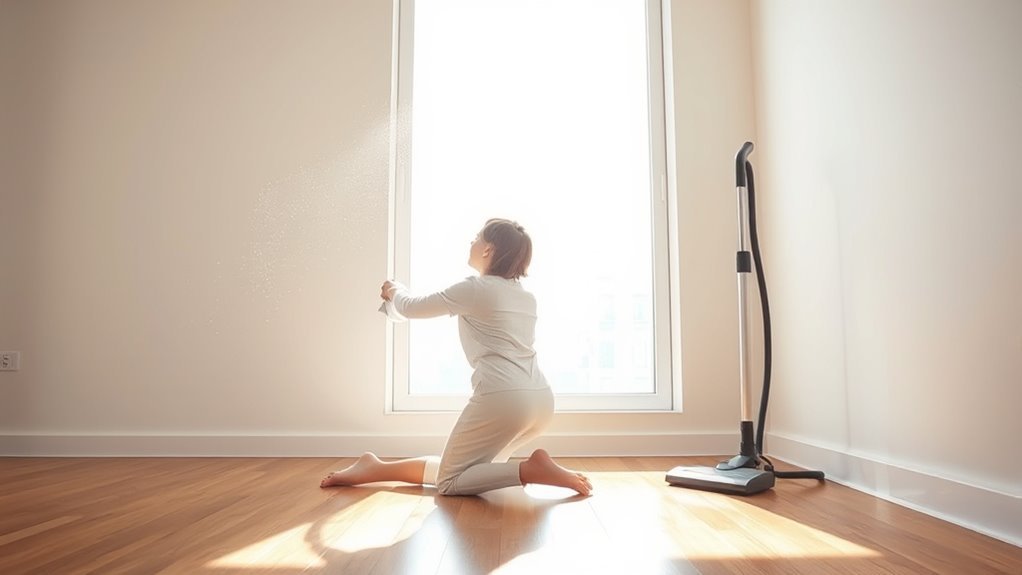
Before you start scrubbing, it’s important to remove dust and loose dirt using the right tools like microfiber cloths or dusters. You’ll want to do this dry to avoid spreading dirt around. Keeping up with regular dusting helps prevent buildup and makes deep cleaning easier.
Dusting Tools Selection
Choosing the right dusting tools makes all the difference in removing dust and loose dirt effectively. You want tools that give you freedom to move quickly without missing spots. Start with understanding duster types: feather dusters are light and flexible but don’t always trap dust well. Microfiber cloths, on the other hand, cling to dirt and are perfect for walls and floors because they clean without scratching. You can use them dry or slightly dampened, depending on the surface. Extendable dusters help reach high corners without ladders, saving time and effort. By picking the right combination of these tools, you stay efficient and in control, making dusting less of a chore and more about enjoying a clean, open space.
Dry Dust Removal
Once you’ve picked the right dusting tools, the next step is to tackle dry dust removal. Start by gently wiping your walls and floors to lift dust and loose dirt without damaging wall textures. Use microfiber cloths or electrostatic dusters—they trap particles effectively and reduce airborne dust. If dust allergies are a concern, avoid feather dusters that can spread allergens. Instead, opt for tools that capture dust firmly, helping maintain cleaner air and a healthier home. Work from top to bottom, ensuring you don’t miss corners or crevices where dust tends to gather. This simple step frees your space from dirt buildup, making your walls and floors ready for deeper cleaning or just to enjoy a fresher, more open environment.
Frequency of Cleaning
Regularly removing dust and loose dirt is key to keeping your walls and floors looking fresh and preventing buildup that can be harder to clean later. To maintain that sense of freedom in your space, stick to a weekly schedule for quick dusting and sweeping. This small commitment prevents dirt from settling into corners and crevices, saving you effort down the line. Beyond weekly upkeep, plan a seasonal deep cleaning to tackle stubborn grime and refresh your surfaces thoroughly. This approach balances regular maintenance with occasional intensive care, giving you control without feeling trapped by endless chores. By staying consistent, you guarantee your home stays inviting and easy to manage, letting you focus on what truly matters—living freely in a clean, comfortable environment.
Cleaning Painted Walls Without Damage
When cleaning painted walls, you’ll want to pick solutions that won’t strip or dull the finish. Using gentle methods helps you tackle stains without causing damage. Let’s explore how to keep your walls spotless and safe.
Choosing Safe Cleaning Solutions
Choosing the right cleaning solution is essential for preserving your painted walls’ finish and color. You want to avoid harsh chemicals that strip paint or leave streaks. Eco friendly options and homemade solutions offer gentle yet effective cleaning without sacrificing freedom from toxins. Here’s a quick guide:
| Solution Type | Ingredients | Best For |
|---|---|---|
| Mild Dish Soap | Water + a few drops | General dirt and fingerprints |
| Vinegar Solution | Water + white vinegar | Greasy spots or smudges |
| Baking Soda Paste | Baking soda + water | Stubborn marks |
| Commercial Eco Cleaners | Plant-based ingredients | Quick, safe cleaning |
Stick to these safe options, and you’ll keep your walls vibrant without worry.
Gentle Techniques for Stains
Although stains on painted walls can be frustrating, you can remove them without causing damage by using gentle techniques. Start with a mild cleaning solution like diluted dish soap and warm water. Dip a soft cloth or sponge into the mixture, wring it out well, and gently scrub the stained area. Avoid harsh chemicals or abrasive tools that might strip paint or leave marks. For tougher stains, try a baking soda paste applied with gentle scrubbing motions. Always test your method on a small, hidden spot first to verify it won’t harm the finish. By focusing on gentle scrubbing and safe stain removal methods, you keep your walls looking fresh and intact—letting you enjoy a clean home without sacrificing the freedom to care for your space as you see fit.
Tackling Stains on Wallpaper
How do you effectively remove stains from wallpaper without damaging it? First, understand your wallpaper types, as delicate materials need gentler care. Embrace stain prevention by acting quickly and avoiding harsh chemicals. Here’s a simple approach:
Effectively remove wallpaper stains by knowing your wallpaper type, acting fast, and avoiding harsh chemicals.
- Test a small hidden area with mild soap and water to avoid color loss.
- Gently dab the stain with a soft sponge; never rub.
- For stubborn marks, try a wallpaper cleaner suited to your wallpaper type.
- Dry the spot immediately with a clean cloth to prevent moisture damage.
Effective Techniques for Tile Floor Cleaning
When you tackle tile floor cleaning, using the right methods can make a big difference in keeping your floors spotless and damage-free. Start by sweeping or vacuuming to remove loose dirt and debris. Next, choose mopping techniques that suit your tile type—microfiber mops work great for lifting grime without scratching. For a deep clean, steam cleaning is your best friend; it loosens tough dirt and disinfects without harsh chemicals, giving you freedom from residues. Avoid soaking the floor, as excessive water can seep into grout and cause damage. After mopping or steam cleaning, dry your floors promptly to prevent slippery surfaces. By combining these techniques, you maintain your tile floors’ beauty and durability while enjoying a fresh, clean space that feels truly free.
Maintaining Hardwood Floors After Cleaning
Since hardwood floors require special care to stay looking their best, maintaining them after cleaning is just as important as the cleaning itself. You want your floors to shine and last, so here are some essential hardwood maintenance tips:
Proper maintenance after cleaning is key to keeping hardwood floors shining and durable.
- Use a high-quality, pH-neutral floor care product designed specifically for hardwood.
- Avoid excess water—wipe spills immediately to prevent warping or staining.
- Place protective pads under furniture to prevent scratches and dents.
- Maintain consistent humidity levels in your home to prevent wood from expanding or contracting.
Dealing With Grout and Floor Seams
Taking care of hardwood floors is just one part of keeping your home’s surfaces looking great. You can’t forget about grout cleaning and floor seams, which often trap dirt and grime. To tackle grout, grab a stiff brush and a mixture of baking soda and water or a gentle grout cleaner. Scrub those lines firmly but carefully to avoid damage. For floor seams, especially between tiles or planks, vacuum or sweep out any debris first. Then, wipe down with a damp cloth and mild detergent. If you notice gaps or cracks, consider applying sealant to protect against dirt buildup. By staying on top of grout and floor seams, you’ll keep your floors looking fresh and extend their life without feeling trapped by endless chores.
Preventative Tips to Keep Walls and Floors Clean Longer
Although regular cleaning is essential, adopting preventative measures can greatly reduce how often you need to scrub your walls and floors. By taking simple steps, you’ll enjoy more freedom from constant upkeep.
- Install wall protection like chair rails or washable panels in high-traffic areas to prevent scuffs and stains.
- Use floor mats at entrances to trap dirt, moisture, and grit before they hit your floors.
- Encourage removing shoes indoors to minimize tracked-in debris and spills.
- Regularly dust and wipe surfaces with a microfiber cloth to stop buildup before it becomes stubborn grime.
These easy habits protect your space, keeping walls and floors cleaner longer, so you can focus on what matters most — enjoying your home without worry.
Frequently Asked Questions
How Often Should I Deep Clean My Walls and Floors?
You might find that the best time to deep clean your walls and floors coincides perfectly with seasonal cleaning. Following frequency guidelines, aim for a thorough scrub at least twice a year—spring and fall are ideal. This routine keeps your space fresh without tying you down. It’s all about balancing freedom and upkeep, so you can enjoy a clean home without feeling trapped by endless chores.
Can Cleaning Walls and Floors Improve Indoor Air Quality?
Absolutely, cleaning your walls and floors can boost indoor air quality. Over time, indoor pollutants like dust, pet dander, and allergens accumulate, making the air stale and unhealthy. By maintaining a regular cleaning frequency, you’re actively removing these irritants, freeing your space from trapped particles. This not only freshens your home but also supports your well-being, giving you the freedom to breathe easier and enjoy a cleaner environment every day.
What Are the Best Natural Cleaning Alternatives?
You might imagine eco friendly solutions as nature’s own cleaning crew, working gently yet effectively. When you opt for homemade cleaners like vinegar, baking soda, and lemon juice, you’re choosing freedom from harsh chemicals and toxins. These natural ingredients not only clean but also refresh your space, giving you peace of mind. So, why not embrace these simple, powerful alternatives that respect both your health and the planet?
How Do I Remove Mold From Walls and Floors?
To remove mold from walls and floors, you’ll want effective cleaning solutions like a mix of vinegar and baking soda or hydrogen peroxide. Spray the affected area, scrub gently, then let it dry completely. For mold prevention tips, keep your space well-ventilated and control moisture levels. You’ve got the freedom to create a healthier environment by tackling mold head-on with these natural, powerful methods that keep your home fresh and safe.
Are There Specific Cleaning Methods for Pet Stains?
Imagine your home as a canvas, where every pet stain is like an unplanned splash of paint. You don’t want to just cover it up—you want to restore the masterpiece. For pet stains, specific cleaning techniques like enzymatic cleaners break down odors and stains at the source, freeing your space from unwanted reminders. Using vinegar and baking soda also works wonders, giving you the freedom to enjoy a fresh, clean home without harsh chemicals.


