How to Clean Water Stains From Headliner
To clean water stains from your headliner, gather a soft-bristle brush, microfiber cloth, and a gentle upholstery cleaner. Test the cleaner on an inconspicuous area first. Using the brush, scrub the stained spot in a circular motion, then wipe with a damp cloth to remove any residue. Make sure to dry the area thoroughly to prevent mold growth. For longer-lasting cleanliness, consider proper maintenance tips that can help preserve your headliner’s condition.
##

Cleaning water stains from your vehicle’s headliner can initially seem daunting, particularly if you’re unsure of where to begin. This article will guide you through the process, offering practical tips and insights to help you effectively tackle those unsightly stains. By understanding the materials used in headliners, you’ll learn how to choose the right cleaning products and techniques to restore your vehicle’s interior without causing damage. From selecting gentle cleaners to applying protective sprays for future prevention, this guide will equip you with the knowledge needed to maintain a fresh and clean headliner, ensuring your driving experience remains enjoyable and clutter-free. Using gentle, non-abrasive cleaners is essential to protect delicate headliner fabrics while removing stains effectively.
Preparation For Cleaning
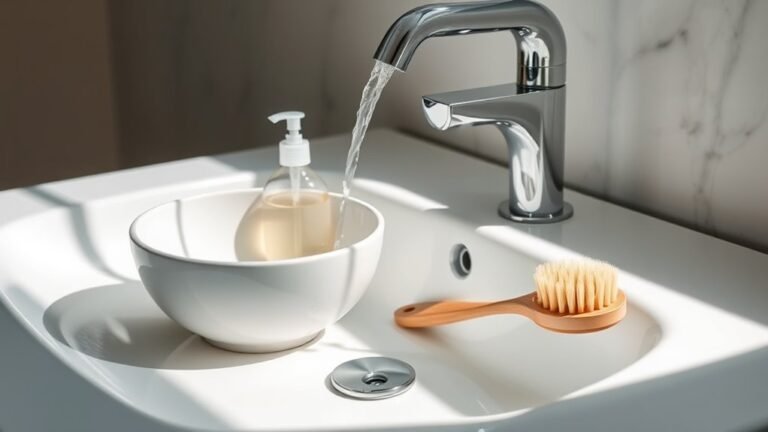
Before you plunge into the cleaning process, it’s essential to gather everything you’ll need to guarantee the task goes smoothly. Preparing properly not only saves time but also makes certain you respect the delicate headliner materials.
Here’s a quick checklist to get you started:
- Soft-bristled brush – Ideal for gently loosening dirt without damaging the fabric.
- Microfiber cloth – Perfect for applying cleaning solutions without leaving lint.
- Gentle cleaning solution – Choose a solution specifically designed for headliner materials to avoid discoloration.
- Spray bottle – For even application of your cleaning solutions.
Ensuring proper ventilation during cleaning helps prevent moisture buildup and protects your headliner from potential mold growth.
Tools and Chemical Required

Once you’ve gathered your cleaning supplies, it’s time to focus on the specific tools and chemicals that will aid in efficiently removing water stains from your headliner. Here’s a quick overview of what you’ll need:
| Tool/Chemical | Purpose | Example |
|---|---|---|
| Soft-bristle brush | Loosens dirt and debris | Toothbrush or detailing brush |
| Microfiber cloth | Absorbs moisture and residue | Any lint-free cloth |
| Cleaning solution | Breaks down stains | Upholstery cleaner |
| Stain remover | Targets tough stains | Specific fabric stain remover |
| Spray bottle | Allows controlled application | Any lightweight spray bottle |
These tools and cleaning solutions will help you tackle those stubborn water stains effectively.
How to Clean:
Step 1: Choose the Right Cleaner
– Select a gentle upholstery cleaner that is specifically safe for headliners. Look for products that are free from harsh chemicals and are designed for delicate fabrics to avoid damage during the cleaning process.
Step 2: Test a Small Area
– Before applying any cleaning method to the entire stained area, it’s crucial to test the cleaner on an inconspicuous spot of the headliner. Apply a small amount of the cleaner and gently scrub with a soft cloth to ensure it does not harm or discolor the fabric. Wait a few minutes to observe any adverse reactions.
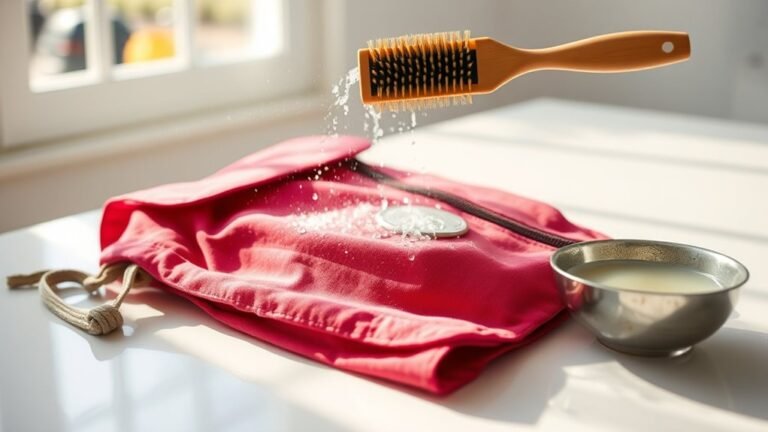
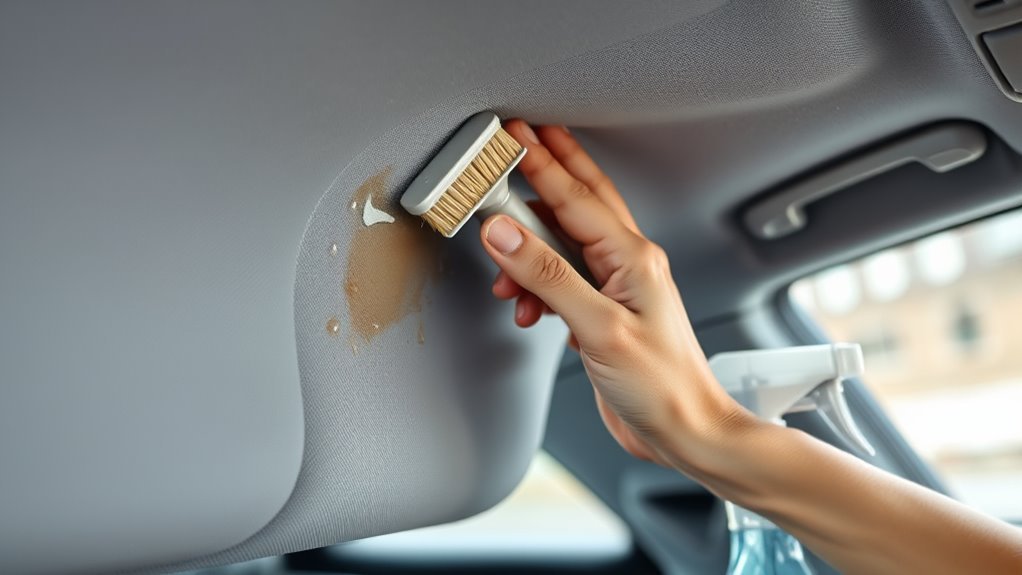
Step 3: Use a Soft Brush
– Take a soft-bristled brush and gently scrub the stained area in a circular motion. This helps lift the stain without causing damage to the headliner material. Use light pressure to avoid fraying or tearing the fabric while ensuring that you cover the entire affected area.
Step 4: Rinse and Wipe
– After scrubbing, dampen a clean cloth with water and gently wipe the area to remove any cleaner residue. Make sure the cloth is not too wet to avoid soaking the headliner. This step is essential to ensure that no cleaner remains on the fabric, which could attract more dirt over time.
Step 5: Dry Thoroughly
– Once the cleaning is complete, it’s important to dry the area thoroughly. Use a dry, clean cloth to blot excess moisture and allow for air circulation. If possible, leave the windows open or use a fan to help speed up the drying process. Ensuring the area is completely dry will help prevent mold or mildew growth.
Safety Consideration

How can you guarantee safety while cleaning your vehicle’s headliner? Start by wearing protective gear, including gloves and a mask, to shield yourself from potential chemical irritants and dust. This minimizes health risks associated with cleaning agents. Additionally, make certain proper ventilation during the cleaning process; open windows and doors to allow fresh air circulation. This step is critical to disperse any fumes that may arise from cleaning products, promoting a safer environment. If you’re using a steam cleaner or any heated device, be cautious of burns. By prioritizing your safety through protective gear and recognizing ventilation importance, you can confidently tackle headliner cleaning while minimizing health hazards and making certain a comfortable experience. Your freedom to maintain your vehicle should never compromise your safety. Remember to use cleaning products as directed and avoid overuse of disinfectants to ensure maximum effectiveness and reduce exposure risks.
Tips to keep clean for long time
While maintaining a clean headliner might seem challenging, implementing a few simple strategies can considerably prolong its pristine condition. By taking proactive steps, you’ll not only enhance your vehicle’s interior but also enjoy a sense of freedom on the road. Here are some effective preventive measures and maintenance tips:
- Regular Vacuuming: Keep dirt and dust at bay by vacuuming the headliner weekly.
- Avoid Excess Moisture: Use a dehumidifier in your car, especially in humid climates.
- Park in the Shade: Protect your headliner from UV damage by parking under cover whenever possible.
- Use Fabric Protectants: Apply a fabric protector to repel stains and make cleaning easier.
- Using a HEPA filter vacuum can help capture allergens and dust effectively during cleaning.
Frequently Asked Questions
Can I Use Vinegar Instead of Commercial Cleaners?
Yes, you can use vinegar instead of commercial cleaners. Vinegar’s benefits include being a natural disinfectant and stain remover, making it an excellent cleaning alternative. Its acidity helps break down mineral deposits and grime without harsh chemicals, giving you a safer, eco-friendly option. Just mix equal parts water and vinegar, apply carefully, and blot the area. Always test a small spot first to verify it won’t damage the material. Enjoy your cleaner surfaces!
Will Cleaning Damage My Vehicle’s Headliner Material?
Cleaning your vehicle’s headliner materials can potentially cause damage if you don’t use the right cleaning methods. It’s vital to choose gentle, non-abrasive products and avoid excessive moisture, which can weaken the adhesive or cause sagging. Always test any cleaner on a hidden area first to guarantee compatibility. With careful attention and the right approach, you can maintain your headliner without compromising its integrity, allowing you to enjoy your vehicle to the fullest.
How Often Should I Clean My Headliner?
You should aim for headliner maintenance every six months to a year. Picture your vehicle’s interior sparkling under the sun, free from dust and stains. Regular cleaning prevents dirt buildup, ensuring your headliner stays fresh and vibrant. If you notice any spills or stains, address them immediately to avoid permanent damage. Remember, consistent cleaning frequency not only enhances aesthetics but also prolongs the life of your vehicle’s interior, giving you that freedom to enjoy every ride.
Can I Remove Old Water Stains Effectively?
Yes, you can effectively remove old water stains using various stain removal techniques. Start by lightly cleaning the area with a mild upholstery cleaner and a soft cloth, avoiding excess moisture. For tougher stains, consider using a mixture of white vinegar and water. Regular headliner maintenance, like addressing spills promptly, can help prevent future stains. With patience and care, you can restore your headliner’s appearance and enjoy a cleaner, fresher interior.
What Should I Do if Stains Persist After Cleaning?
If stains persist after your initial cleaning, it’s time to explore advanced stain removal techniques. You might try using a fabric-safe upholstery cleaner or a mixture of vinegar and water for a deeper clean. Alternatively, consider steam cleaning, which can effectively lift stubborn stains. Always test any method on a small, inconspicuous area first. If all else fails, consulting a professional detailing service can provide the freedom of a fresh, clean headliner.