How to Clean Your Grout in 10 Minutes
To clean your grout in 10 minutes, first gather a brush, baking soda, vinegar, spray bottle, and gloves. Mix baking soda with water to make a paste, then apply it to grout lines. Spray vinegar over the paste and let it fizz for 5–10 minutes. Scrub gently with a stiff brush, rinse with warm water, and dry thoroughly. This quick method lifts dirt effectively, and with a few extra tips, you can keep your grout looking fresh and protected longer.
Gather Your Cleaning Supplies
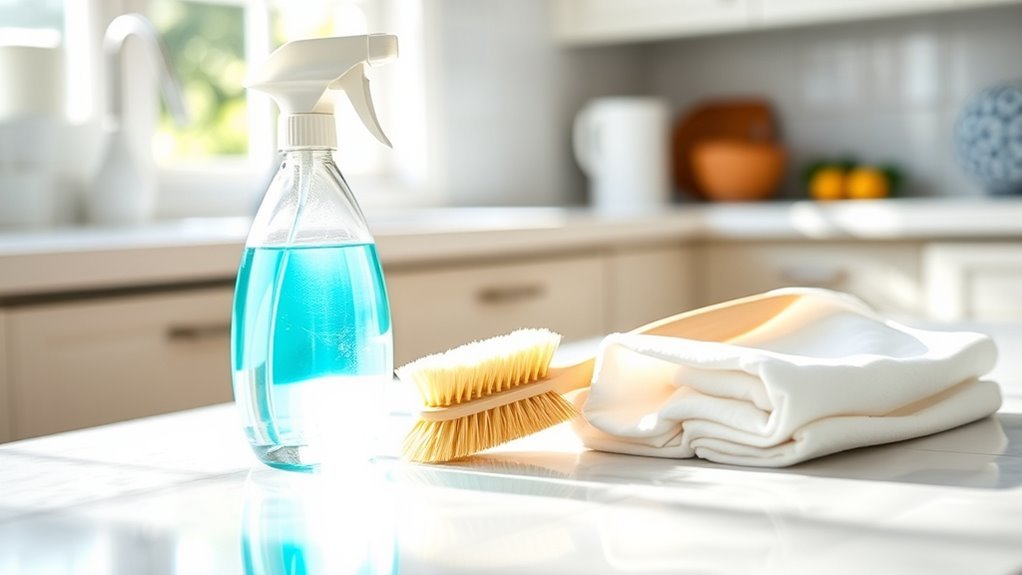
To effectively clean grout, you’ll need a few essential supplies. Start by gathering your cleaning supplies, including a stiff-bristled brush designed for grout lines. This is one of the essential tools that’ll help you work efficiently and avoid damage. Next, have a spray bottle filled with water or a mild cleaning solution ready to loosen dirt. Don’t forget gloves to protect your hands and a microfiber cloth to wipe away residue afterward. A small bucket for mixing any cleaning solutions is helpful, too. By organizing these essential tools beforehand, you’ll save time and avoid interruptions during the cleaning process. With the right cleaning supplies in hand, you’re set to tackle grout cleaning swiftly and effectively, giving you the freedom to enjoy your fresh, clean space. Knowing your grout type also helps in selecting the most effective cleaning method and products.
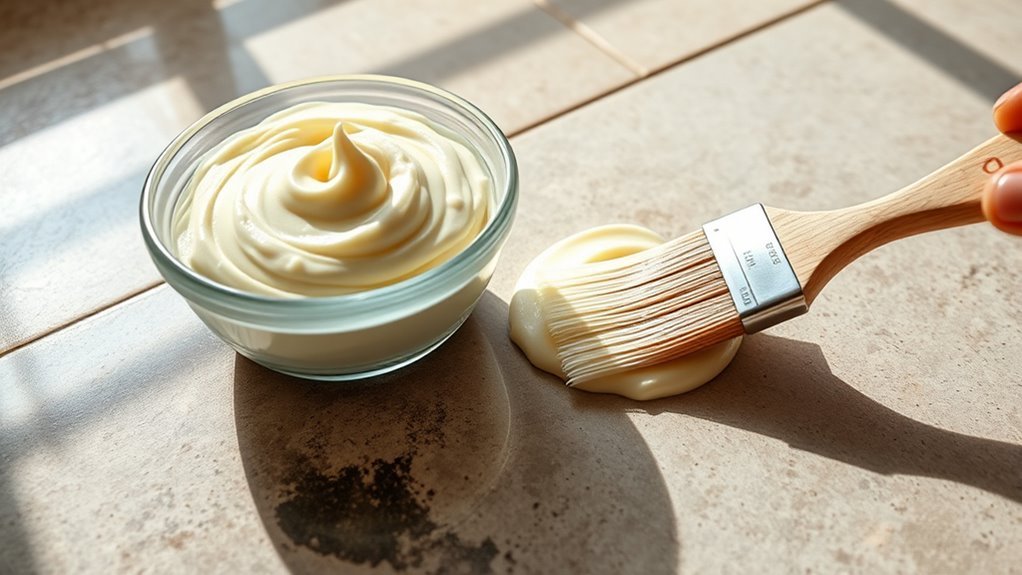
Prepare a Baking Soda Paste
To prepare a baking soda paste, you’ll need baking soda and water. Mix three parts baking soda with one part water until you get a thick, spreadable consistency. This paste will help lift dirt and stains from your grout effectively. For enhanced cleaning, you can combine this paste with a mixture of equal parts white vinegar and water to utilize vinegar’s natural acidity for effective stain removal, as vinegar acts as a natural deodorizer.
Ingredients Needed
Although cleaning grout might seem intimidating, preparing a simple baking soda paste makes the process much easier. To get started, you’ll need just two effective cleaning agents: baking soda and water. Baking soda serves as a gentle abrasive, breaking down dirt and grime without damaging your grout. Water helps you achieve the right paste consistency, ensuring easy application and maximum contact with grout lines. These ingredients are essential in grout cleaning techniques because they’re safe, affordable, and readily available. Avoid harsh chemicals; this natural combo offers a powerful yet gentle option. By gathering these simple ingredients, you’re setting yourself up for quick, efficient grout cleaning that frees you from stubborn stains and tedious scrubbing. Keep it straightforward, and you’ll be surprised at the results you can achieve.
Mixing Instructions
Once you have your baking soda and water ready, you’ll want to mix them into a thick paste that’s easy to apply. This simple step is essential for effective cleaning techniques and ongoing grout maintenance. Follow these steps:
- Measure 1/2 cup of baking soda into a bowl.
- Gradually add 3 tablespoons of water.
- Stir thoroughly until the mixture forms a spreadable paste.
- Adjust consistency by adding more water or baking soda if needed.
This paste will cling well to grout lines, helping you tackle dirt and stains efficiently. Preparing it correctly guarantees you get the most out of your grout cleaning routine without wasting time or materials. With this straightforward paste, you’re set for quick, effective grout maintenance that keeps your tiles looking fresh and clean.
Apply the Paste to the Grout Lines
Spread the paste evenly along the grout lines using a small brush or an old toothbrush. This targeted application guarantees the cleaning agents penetrate deeply, tackling dirt and stains specific to your grout type. Different grout types—whether sanded, unsanded, or epoxy—respond better to certain cleaning methods, so applying the paste carefully maximizes effectiveness. Avoid smearing the paste onto tiles to prevent residue buildup. Work in manageable sections to maintain control and guarantee thorough coverage. Precision here means you won’t waste product or effort, and your grout will absorb the paste where it’s needed most. This step sets the foundation for a deep clean, so take your time and focus on each grout line with care. Additionally, using a baking soda and water paste is an effective household ingredient that helps lift dirt from grout lines without harsh chemicals.
Spray Vinegar for Extra Cleaning Power
After applying the paste, enhancing your grout cleaning with a vinegar spray can boost results considerably. Vinegar benefits include breaking down grime and loosening dirt efficiently, making it a top choice in natural cleaning techniques. Here’s how to maximize its power:
- Fill a spray bottle with equal parts white vinegar and water.
- Evenly spray the vinegar solution over the paste-covered grout lines.
- The acidic nature of vinegar reacts with the baking soda in the paste, creating a fizzing action that lifts dirt.
- This combination penetrates deeper, reducing the need for harsh scrubbing.
Using vinegar this way accelerates grime removal and saves time, giving you cleaner grout with less effort. It’s a simple, effective step that enhances your cleaning freedom. Remember to wear protective gloves to shield your hands during cleaning.
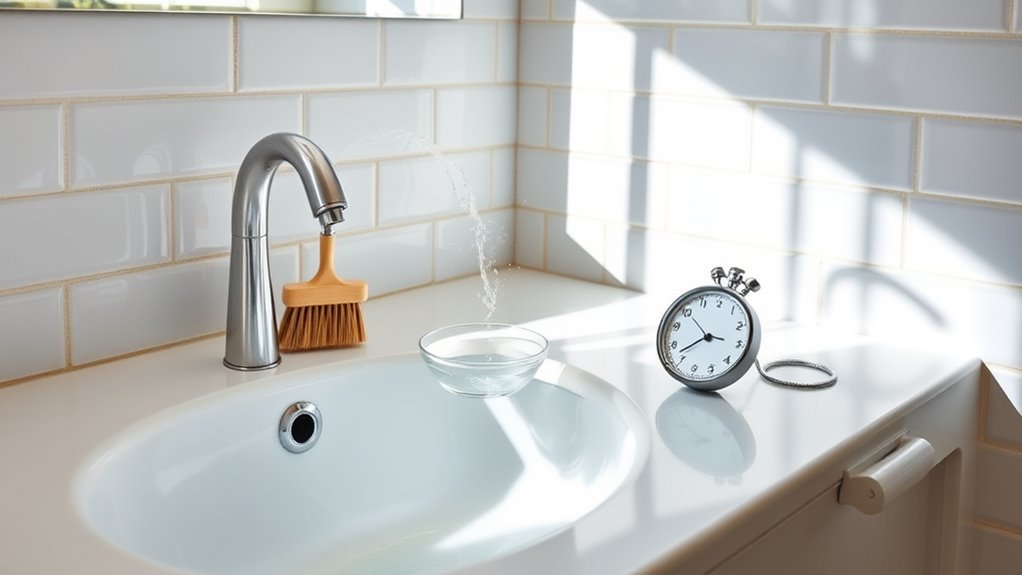
Let the Solution Sit for a Few Minutes

Give the vinegar and baking soda mixture about 5 to 10 minutes to work its magic on the grout. This pause lets the cleaning solutions penetrate deep, loosening dirt and grime for effective grout maintenance. Resist the urge to rush—this wait is essential for ideal results. Since grout is porous and easily absorbs dirt, allowing the solution to sit helps reach into those tiny gaps for a thorough clean with grout cleaning solutions.
| Time Passed | Effect on Grout |
|---|---|
| 0 Minutes | Solution applied |
| 3 Minutes | Starts fizzing, breaking dirt |
| 5 Minutes | Deep penetration begins |
| 10 Minutes | Grout ready for scrubbing |
Scrub the Grout With a Brush
Grab a stiff-bristled brush and start scrubbing the grout lines firmly. Mastering grout brush techniques is key for effective scrubbing and restoring your grout’s appearance quickly. Here’s how to get it right:
- Apply steady pressure to loosen dirt without damaging grout.
- Use small, circular motions to reach deep into grout pores.
- Focus on stained or discolored spots for thorough cleaning.
- Keep the brush angled to maximize contact with grout lines.
Regular cleaning with a stiff-bristled brush helps prevent grout from absorbing stains and odors, maintaining its appearance over time.
Rinse the Area With Warm Water
Once you finish scrubbing, rinse the grout with warm water to effectively remove loosened dirt and cleaning residue. Warm water helps open grout pores, ensuring a thorough clean without leaving soap behind. Use a sponge or cloth to apply the water evenly, rinsing multiple times if needed for the best results.
Benefits of Warm Water
One key benefit of rinsing grout with warm water is that it effectively loosens dirt and cleaning residue without damaging the surface. Using the right warm water temperature enhances your cleaning efficiency while protecting grout integrity. Here’s why warm water benefits your grout cleaning routine:
- Warmer water softens grime, making it easier to remove without harsh scrubbing.
- It helps dissolve cleaning agents thoroughly, ensuring no residue remains.
- Warm water prevents grout from becoming brittle or cracked, preserving its longevity.
- It accelerates drying time, reducing the chance of mold or mildew growth.
Proper Rinsing Technique
While rinsing your grout with warm water, you’ll want to use a gentle, steady flow to remove loosened dirt and cleaning agents without disturbing the grout itself. Proper rinsing is essential to avoid residue buildup that can attract more dirt over time. Start by using a clean sponge or cloth soaked in warm water, wiping in smooth, consistent strokes. Avoid harsh scrubbing or high-pressure sprays that might erode the grout. Effective techniques include frequently changing your rinse water to prevent re-depositing grime. Finish by drying the area with a microfiber cloth to prevent water spots and mold growth. Following these steps guarantees your grout stays clean and intact, giving you the freedom to enjoy fresh, lasting results without extra effort.
Dry and Inspect Your Cleaned Grout
After cleaning, allow your grout to dry completely—this usually takes several hours depending on ventilation and humidity. Proper drying techniques are essential to avoid mold and guarantee a thorough grout inspection. Here’s how to proceed:
Allow grout to dry fully to prevent mold and ensure a thorough inspection for lasting cleanliness.
- Increase airflow by opening windows or using fans to speed drying.
- Avoid walking on the grout until it’s fully dry to prevent dirt embedding.
- Once dry, visually inspect the grout for discoloration, cracks, or missed spots.
- Use a flashlight at an angle to spot uneven areas or residual stains.
This inspection lets you identify areas needing touch-ups or sealing. Taking time now gives you freedom from recurring grout issues later, guaranteeing your clean grout stays fresh and durable. Improving bathroom ventilation also helps reduce moisture that can cause damage or mold growth.
Frequently Asked Questions
Can I Use Bleach Instead of Vinegar for Grout Cleaning?
You can use bleach instead of vinegar for grout cleaning, but keep in mind bleach effectiveness comes with strong fumes and potential damage to colored grout. Vinegar benefits include being natural, less harsh, and safe for most grout types. If you want a powerful disinfectant, bleach works, but for regular cleaning that’s gentle and eco-friendly, vinegar’s a smarter choice. Always ventilate well and test a small area first to avoid surprises.
How Often Should I Clean My Grout to Prevent Mold?
You might think grout is just a background detail, but neglecting it can invite mold quickly. For effective mold prevention strategies, clean your grout at least once a month. Regular upkeep saves you from stubborn stains and costly repairs. Incorporate grout maintenance tips like wiping down wet areas and using a sealant. This way, you maintain freedom from constant scrubbing and keep your space fresh and healthy effortlessly.
Will Cleaning Grout Damage My Tiles?
Cleaning grout won’t damage your tiles if you consider grout types and tile materials first. Some grout is more porous or delicate, and certain tile materials like natural stone need gentle cleaners. Use pH-neutral solutions for sensitive tiles to avoid etching or discoloration. Avoid harsh scrubbing on softer tiles. When done right, regular grout cleaning keeps your tiles looking fresh without harm, giving you freedom from worry about damage.
Can Grout Be Sealed After Cleaning?
Yes, you can seal grout after cleaning, and it’s actually a smart move. Once you’ve used effective cleaning techniques to remove dirt and stains, grout sealing helps protect it from moisture, stains, and future damage. Just make sure your grout is completely dry before applying the sealant. This step lets you maintain your grout’s appearance longer and reduces the need for frequent deep cleanings, giving you more freedom and less hassle.
What Type of Brush Works Best for Grout Cleaning?
Imagine your grout as a hidden garden path—only the right tool can clear it without damage. For grout cleaning tools, a stiff nylon-bristle brush is your best ally; it offers effective scrubbing techniques without scratching tiles. Avoid wire brushes—they’re too harsh. Using this brush, you’ll maneuver freely between tight spaces, restoring brightness with precision. Choosing the right brush lets you reclaim your space’s clean, fresh feel quickly and confidently.


