How to Clean Your Home After Dryer
After each dryer use, start by emptying the lint trap to prevent buildup. Wipe down the dryer’s exterior and the surrounding area to clear dust and residue. Clean your dryer vent and ductwork regularly to guarantee proper airflow and safety. Vacuum meticulously around and beneath the machine to remove hidden lint. Don’t forget to wash any drum residue and thoroughly clean the laundry room floor. Organizing supplies and maintaining fresh air will keep your space efficient and safe. Discover deeper steps to maintain your laundry area’s cleanliness and performance.
Inspect and Empty the Lint Trap
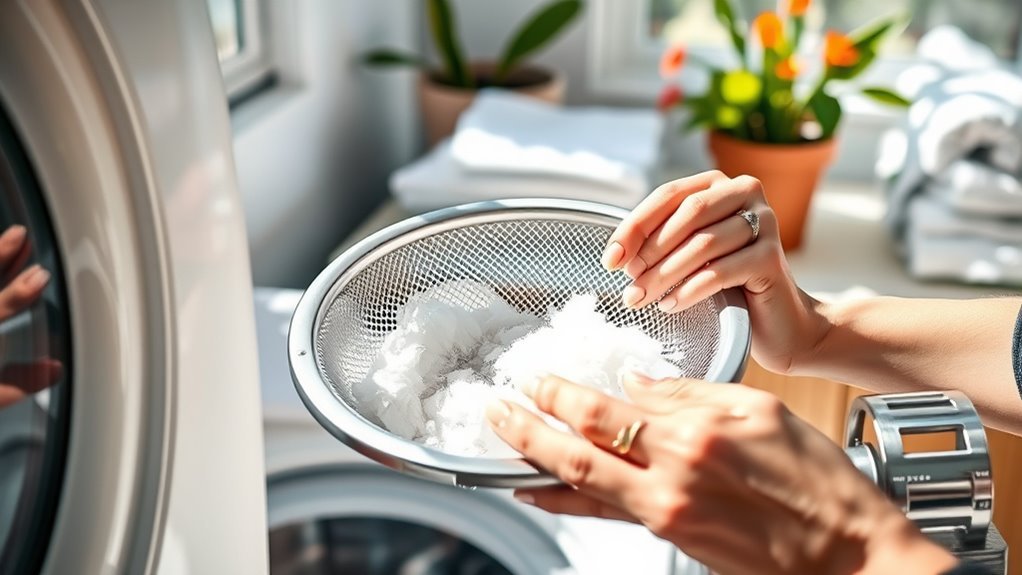
Before you begin cleaning the area around your dryer, you’ll want to inspect and empty the lint trap thoroughly. Start by pulling the trap straight out from its slot. Remove all visible lint by hand or with a soft brush, making sure no fibers remain stuck to the sides. Regular lint trap maintenance is vital—not only to maintain dryer efficiency but also to prevent fire hazards. After clearing the lint, examine the trap for tears or damage; a compromised trap can reduce airflow and increase risk. Replace it if necessary. This simple, methodical step enhances dryer safety and guarantees your appliance runs smoothly, giving you peace of mind and the freedom to enjoy a safer, cleaner home environment. Don’t skip this essential part of your routine. Additionally, maintaining clear airflow through the lint trap is crucial for preventing potential hazards and ensuring optimal dryer performance.
Wipe Down Dryer Exterior and Surrounding Area
You’ll want to start by carefully wiping down the dryer’s exterior with a damp cloth to remove dust and residue. Make sure to clean around buttons, knobs, and vents to prevent buildup. Don’t forget to clear any dust or lint from the surrounding area to maintain a clean and safe environment. Regular cleaning helps prevent dryer sheets residue buildup that can trap odors and affect dryer performance.
Cleaning Dryer Surface
Although the dryer’s exterior may not seem dirty at first glance, wiping down its surface and the surrounding area is essential to maintain a clean and efficient laundry space. Different dryer surface materials—such as stainless steel, plastic, or enamel—require specific cleaning techniques to avoid damage. Here’s how you can methodically clean your dryer surface:
- Identify the dryer surface material to choose the appropriate cleaner.
- Use a microfiber cloth dampened with mild detergent diluted in water.
- Gently wipe the entire exterior, paying attention to seams and control panels.
- Dry the surface immediately with a clean, dry cloth to prevent streaks or moisture buildup.
Clearing Nearby Dust
Two key areas often collect dust around your dryer: the top surface and the immediate surrounding floor and walls. To tackle dust accumulation effectively, start by wiping down the dryer exterior with a microfiber cloth slightly dampened with a mild cleaning solution. This prevents dust from spreading during cleaning. Next, focus on the floor and walls nearby—use a vacuum with a brush attachment to remove loose dust, then follow up with a damp cloth to catch any remaining particles. Employing these cleaning techniques regularly helps maintain a dust-free environment, reducing allergens and improving air quality. By methodically addressing these zones, you’ll keep your laundry space cleaner and safer, giving you the freedom to enjoy a fresh, well-maintained home without unnecessary dust buildup.
Clean Dryer Vent and Ductwork
Regularly cleaning your dryer vent and ductwork is essential to maintain efficiency and prevent fire hazards. Proper vent cleaning and duct maintenance guarantee your dryer runs smoothly and safely.
Here’s how to tackle it:
- Disconnect the dryer from power and pull it away from the wall carefully.
- Detach the vent hose and inspect for lint build-up or blockages.
- Use a vent cleaning brush or vacuum attachment to thoroughly clear the ductwork.
- Reconnect everything securely and test the dryer to confirm proper airflow.
To ensure a thorough cleaning, use non-abrasive cleaning tools that protect the duct material and maintain its integrity.
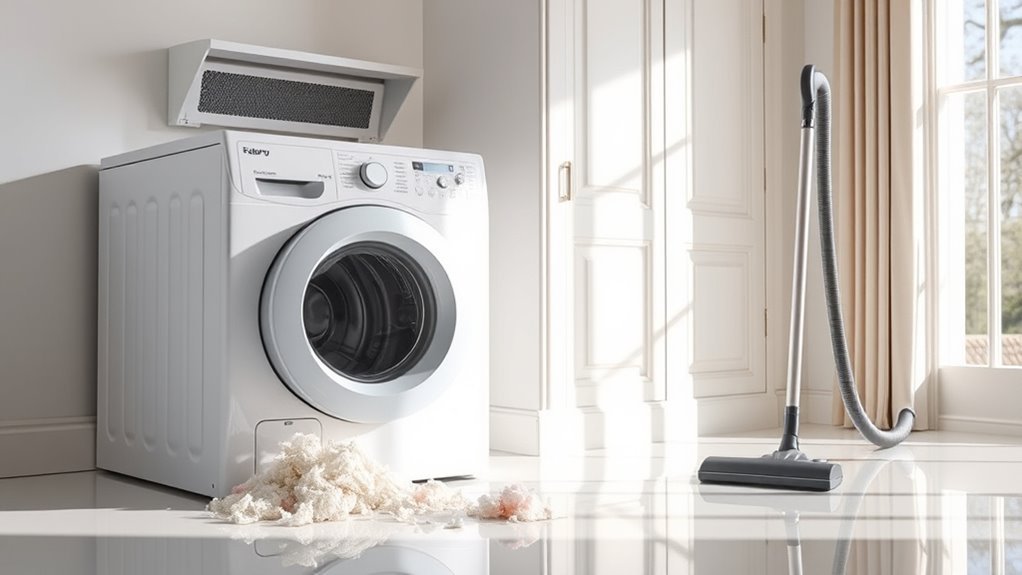
Vacuum Around and Under the Dryer
Once you’ve cleaned the vent and ductwork, you should vacuum thoroughly around and under the dryer to remove accumulated dust, lint, and debris that can affect air quality and appliance efficiency. Using effective dryer vacuuming techniques guarantees you reach tight spaces where lint hides. Pull the dryer out carefully, unplug it, and use a vacuum with a narrow nozzle attachment for precision. This step is essential for dryer maintenance tips that prevent fire hazards and extend your dryer’s lifespan. Regular cleaning and maintenance help prevent the buildup of debris that can lead to fire hazards.
| Area | Tool Needed | Purpose |
|---|---|---|
| Under the dryer | Narrow vacuum nozzle | Remove hidden lint and dust |
| Around dryer edges | Brush attachment | Dislodge debris from crevices |
| Behind the dryer | Flexible hose | Access tight, hard-to-reach spots |
| Dryer feet and base | Crevice tool | Clear lint buildup |
| Floor around dryer | Standard vacuum head | Clean surrounding dust |
Remove and Wash Dryer Drum Residue
You’ll first want to identify the types of residue inside your dryer drum, such as lint buildup, fabric softener, or grease. Choose appropriate cleaning materials like a soft cloth, mild detergent, and a non-abrasive scrubber. Then, follow a systematic cleaning process to remove and wash away all residue without damaging the drum’s surface.
Identify Residue Types
Because residue inside your dryer drum can vary in type and composition, it’s important to first identify what you’re dealing with before cleaning. You’ll want to carefully examine the drum to pinpoint the kind of buildup present. Common residue types include:
- Lint buildup: fine, fibrous particles accumulating from clothes, often visible and dusty.
- Dryer sheet residue: greasy or waxy films left behind from fabric softeners.
- Mineral deposits: white or chalky spots caused by water minerals, especially if you use steam dryers.
- Stains or scorch marks: darkened patches from overheating or fabric dyes.
Recognizing these types helps you choose the right cleaning approach and materials, ensuring you restore your dryer’s interior efficiently and maintain its performance without damage.
Select Cleaning Materials
After identifying the type of residue inside your dryer drum, the next step is to gather the appropriate cleaning materials tailored to each kind of buildup. For lint and dust, you’ll want a soft microfiber cloth to avoid scratching the drum’s surface. If you’re dealing with greasy or sticky residue, choose an eco friendly cleaner that’s safe for metal and won’t leave harmful chemicals behind. Avoid abrasive sponges or harsh chemicals that can damage the drum or release toxins. Have a spray bottle handy to apply your cleaner evenly, and additional microfiber cloths for rinsing and drying. Selecting these materials carefully guarantees an effective clean while preserving your freedom from harsh substances and protecting your home environment. Being methodical in this preparation sets you up for a smooth cleaning process.
Step-by-Step Cleaning Process
Once you’ve gathered all your cleaning materials, you can begin by carefully removing any loose lint or debris from the dryer drum using a dry microfiber cloth. This step is essential to prevent fire hazards and maintain peak dryer performance. Follow these dryer maintenance tips to clean the drum residue effectively:
- Dampen a cloth with a mixture of mild detergent and warm water.
- Wipe the entire drum surface, paying attention to sticky spots or fabric softener buildup.
- Rinse the cloth and wipe the drum again with clean water to remove detergent residue.
- Dry the drum thoroughly with a dry microfiber cloth before closing the dryer door.
Always observe laundry safety precautions by unplugging the dryer before cleaning to avoid electrical hazards.
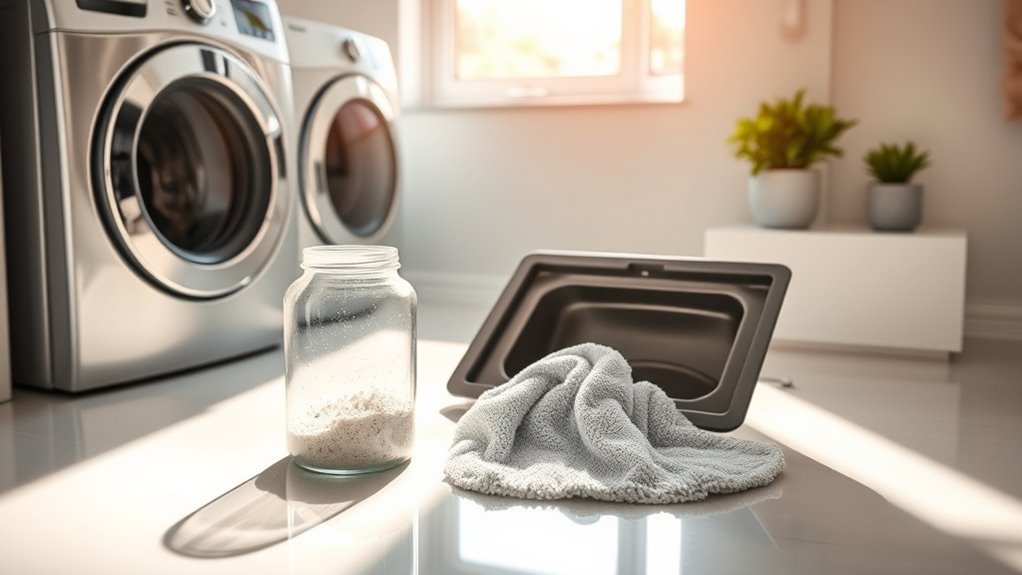
Check and Clean the Laundry Room Floor
While you’re focused on cleaning the dryer, don’t overlook the laundry room floor, as it often collects lint, dust, and detergent residue. Start by sweeping or vacuuming thoroughly, especially around the dryer’s base and corners where debris gathers. Next, mop the floor with a mild detergent solution, ensuring you remove sticky residues that can attract dirt. Pay attention to grout lines or textured surfaces to maintain cleanliness and prevent buildup. Regular floor maintenance not only supports a cleaner environment but also enhances your overall laundry organization by reducing clutter caused by dirt and spills. Keeping this area pristine creates a freer, more efficient space to manage your laundry tasks without distractions or hazards. A clean floor is foundational to a well-organized, functional laundry room. Additionally, using gentle cleaning products on your floors helps avoid damage and keeps surfaces looking their best over time.
Organize Laundry Supplies and Storage
Anyone tackling laundry room cleanup will find that organizing supplies and storage is essential for maintaining order and efficiency. To create a streamlined space, you need to organize baskets and label containers thoughtfully. Start by grouping similar items together for easy access. Here’s a precise approach:
Organize supplies and storage in your laundry room by grouping items and labeling containers for easy access and efficiency.
- Use sturdy baskets for sorting laundry by color or fabric type.
- Place frequently used detergents and softeners in labeled containers.
- Store less-used items on higher shelves, clearly labeled for quick identification.
- Keep a designated spot for small tools like lint rollers and stain removers.
Regularly wiping down storage areas helps prevent dust and maintains a clean environment, similar to maintaining humidity control in refrigerators.
Maintain Air Quality and Freshness in Laundry Area
Although the laundry area is often small, maintaining good air quality and freshness is essential to prevent mold, mildew, and lingering odors. Start by ensuring proper ventilation—open windows or install an exhaust fan to circulate air effectively. Use a dehumidifier or moisture absorber to maintain ideal moisture control, keeping humidity levels below 50%. Regularly clean the dryer vent and lint trap to reduce trapped moisture and improve airflow. Wipe down surfaces with a mild disinfectant to remove any mildew spores. Consider placing activated charcoal or baking soda containers nearby to absorb unwanted smells. By systematically managing moisture and promoting airflow, you’ll create a fresh, healthy laundry space that supports your freedom from musty odors and potential allergens. Establishing simple, effective cleaning routines in the laundry area further helps maintain a healthy environment over time.
Frequently Asked Questions
How Often Should I Deep Clean My Dryer Annually?
You should aim for a deep cleaning frequency of at least once a year to keep your dryer running safely and efficiently. Regular dryer maintenance tips include cleaning the lint trap after every use and inspecting the vent system periodically. This approach prevents fire hazards and improves drying performance. By sticking to this methodical routine, you free yourself from unexpected repairs and enjoy the freedom of a well-maintained appliance.
Can Dryer Sheets Cause Buildup Inside the Dryer?
You might think dryer sheets are harmless, but yes, they can cause dryer sheet residue to build up inside your dryer over time. This residue mixes with lint buildup, clogging vents and reducing efficiency. To keep your dryer running smoothly and maintain freedom from unnecessary repairs, you’ll want to clean the lint trap and interior surfaces regularly. This methodical approach helps prevent blockages and keeps your dryer performing at its best.
What Are the Signs of a Clogged Dryer Vent?
You’ll notice warning signs of a clogged dryer vent when your dryer takes longer than usual to dry clothes or feels unusually hot. If you spot lint buildup around the vent opening or smell a burning odor, those’re clear indicators. Also, your energy bills might spike because the dryer’s working harder. Regularly checking the vent guarantees safety and efficiency, giving you the freedom to enjoy hassle-free laundry days.
Is It Safe to Use Bleach Near the Dryer?
Did you know that nearly 15,000 home fires annually involve dryers? When it comes to bleach safety near your dryer, you should avoid using bleach directly around it. Bleach fumes can corrode metal parts and damage electrical components, posing risks. Instead, focus on regular dryer maintenance like cleaning lint traps and vents. This method preserves your dryer’s efficiency and keeps your home safer, giving you the freedom to enjoy worry-free laundry days.
How to Prevent Mold Growth in the Laundry Room?
To prevent mold growth in your laundry room, focus on humidity control by using a dehumidifier or ensuring your dryer vents properly outside. Improve ventilation by installing an exhaust fan or opening windows during and after laundry cycles to let moisture escape. Regularly clean and inspect hidden areas where dampness might linger. By methodically managing air flow and moisture, you’ll keep your space mold-free and maintain a fresh, breathable environment you’re free to enjoy.