
How to Clean Your Home After Fan
Start by gathering cleaning supplies like microfiber cloths, a vacuum with attachments, and all-purpose cleaner. First, turn off and unplug your fan to stay safe, then carefully remove and clean the blades with suitable solutions. Wipe down the housing and grills to eliminate dust buildup. Afterward, dust furniture, vacuum floors, and mop hard surfaces to clear dispersed particles. Finally, enhance air quality with purifiers or indoor plants. Follow this approach to fully refresh your space and minimize allergens effectively.
Gather Your Cleaning Supplies
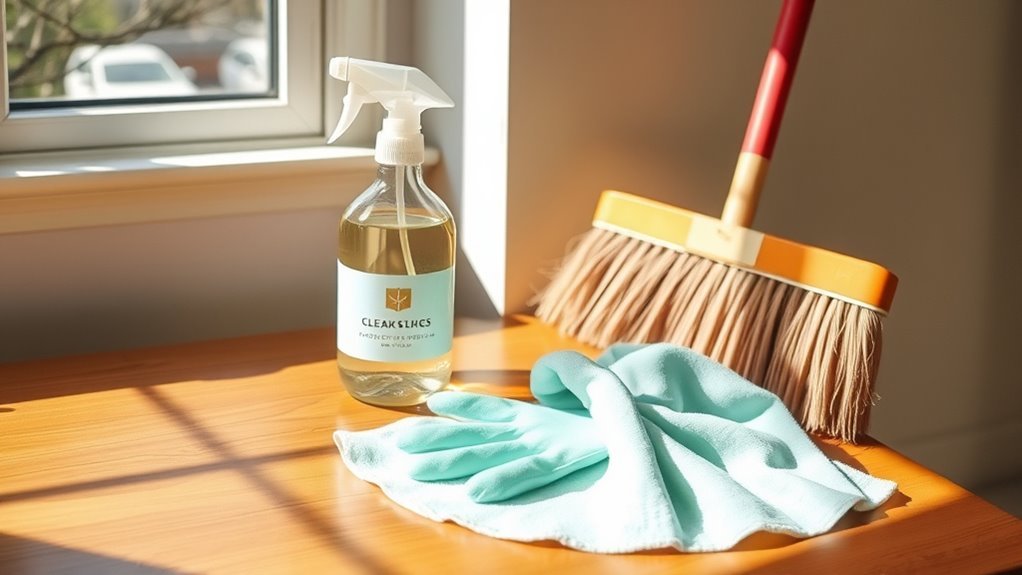
Before you begin cleaning, gather all the necessary supplies to guarantee the process goes smoothly. Start by creating a thorough cleaning checklist that outlines every essential supply you’ll need. This typically includes microfiber cloths, a vacuum with attachments, a soft brush, all-purpose cleaner, and a step ladder if your fan is ceiling-mounted. Don’t forget gloves to protect your hands and a dust mask to avoid inhaling particles. Organizing these essential supplies in one place saves time and keeps you focused. By preparing in advance, you’re setting yourself up for an efficient, hassle-free cleaning session. This methodical approach not only assures nothing is overlooked but also allows you to clean with freedom and confidence, knowing you have everything at your fingertips.
Turn Off and Unplug the Fan
With your cleaning supplies ready and organized, the next step is to confirm your safety by turning off and unplugging the fan. This critical action minimizes the risk of electrical hazards and assures your fan safety during cleaning. Here’s how to proceed methodically:
Ensure safety first by turning off and unplugging the fan before starting any cleaning.
- Switch off the fan using its power button or wall switch.
- Locate the power cord and gently unplug it from the outlet.
- Inspect the cord for any visible damage before unplugging.
- Avoid tugging on the cord; grasp the plug firmly instead.
- Keep the unplugged fan away from water or damp surfaces.
Remove and Clean Fan Blades

Start by carefully detaching the fan blades, as this allows for a more thorough cleaning. Identify the fan blade materials first—whether plastic, metal, or wood—since each requires a specific cleaning solution. For plastic or metal blades, use a mild detergent mixed with warm water to avoid damage. Wooden blades need a gentler approach; a damp cloth with a bit of vinegar or a wood-safe cleaner works best. Submerge plastic blades if removable, but wipe metal and wooden blades carefully to prevent warping or rust. Use a soft cloth or sponge to scrub away dust and grime, focusing on edges and corners. Once cleaned, dry the blades completely to prevent moisture buildup before reattaching. This methodical approach guarantees your fan blades are spotless and ready to circulate fresh air freely.
Wipe Down the Fan Housing and Grills
Although you’ve cleaned the fan blades, the fan housing and grills often collect dust and dirt that can hinder performance and air quality. To keep your fan running smoothly and your space fresh, focus on these fan maintenance tips when wiping down the housing and grills:
- Unplug the fan to guarantee safety before cleaning.
- Use a soft cloth or microfiber duster for gentle dust removal.
- Apply a mild cleaning solution suited for plastic or metal surfaces.
- Wipe thoroughly, paying attention to corners and crevices where dust accumulates.
- Dry the surfaces completely to prevent moisture buildup.
Dust Furniture and Surfaces
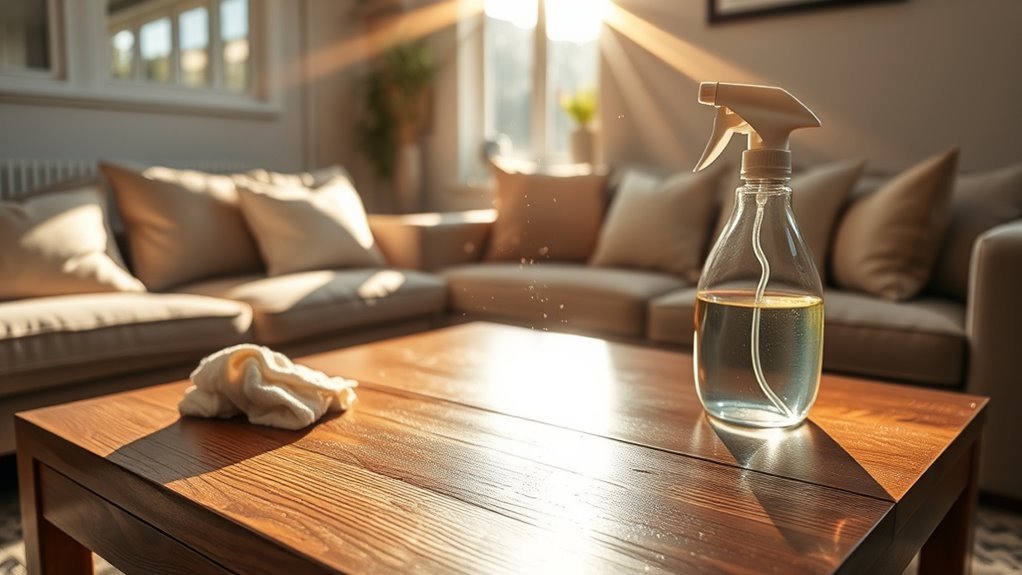
After ensuring your fan is clean, the next step is to dust your furniture and surfaces meticulously. Start by removing loose dust with a microfiber cloth, moving in consistent strokes to avoid spreading particles. Pay close attention to corners, crevices, and underneath objects where dust tends to accumulate. Once dusted, apply a quality furniture polish to wooden surfaces, enhancing their finish while protecting them. For other surfaces, use a surface disinfectant to eliminate lingering germs without damaging the material. Be sure to test any product in a small, inconspicuous area first. Work methodically, section by section, allowing each treated area to dry before moving on. This thorough approach not only keeps your home clean but also preserves your furniture’s condition, giving you the freedom to enjoy a fresh, healthy living space.
Vacuum Floors and Carpets
Move systematically across your floors and carpets with a high-quality vacuum cleaner to remove dust, dirt, and allergens that have settled after dusting. Tailor your approach based on carpet types—dense or plush carpets may need multiple passes. Don’t forget to use vacuum attachments for edges, corners, and upholstery, ensuring no hidden dirt remains. Here’s what to focus on:
- Select the right vacuum attachment for each surface
- Adjust suction settings depending on carpet thickness
- Vacuum in overlapping strokes for thorough coverage
- Pay special attention to high-traffic zones
- Empty the vacuum bin or replace bags promptly
Mop Hard Floors
Once you’ve thoroughly vacuumed your floors and carpets, it’s time to focus on mopping hard surfaces to remove any remaining dust and grime. Start by identifying your floor types—whether tile, hardwood, or laminate—as each requires specific mop techniques. For hardwood, use a damp mop with a gentle cleaner to avoid water damage. Tiles handle a more vigorous approach, allowing for a slightly wetter mop. Always wring out excess water to prevent puddles. Mop in straight lines or figure-eight motions to cover every inch systematically, ensuring no spots are missed. Change mop water regularly to avoid spreading dirt. By adapting your mop techniques to your floor types and cleaning methodically, you’ll restore your floors’ shine and freshness, giving you the freedom to enjoy a spotless home.
Improve Air Quality After Cleaning
How can you guarantee the air in your home stays fresh and healthy following a deep cleaning? Start by focusing on improving indoor air quality deliberately. Here’s how you can do it effectively:
- Use air purifiers equipped with HEPA filters to capture dust, allergens, and airborne particles.
- Open windows briefly to allow fresh air circulation, avoiding prolonged exposure to outdoor pollutants.
- Introduce indoor plants like spider plants or peace lilies, which naturally absorb toxins and release oxygen.
- Avoid harsh chemical cleaners that can leave lingering fumes; opt for natural or low-VOC products instead.
- Regularly clean or replace HVAC and fan filters to prevent recirculating dust and germs.
Frequently Asked Questions
How Often Should I Clean My Fan to Maintain Air Quality?
To maintain good air quality, you should clean your fan every two to four weeks. Regular fan maintenance tips include wiping blades with a damp cloth and using a vacuum for dust buildup. This prevents allergens from circulating and guarantees your space stays fresh. Staying consistent with these steps boosts air quality improvement and gives you freedom from sneezing or breathing issues while enjoying cool, clean air.
Can I Use a Dishwasher to Clean Fan Blades?
You want convenience, you want cleanliness, but you also want dishwasher safety. Using a dishwasher to clean fan blades isn’t generally recommended because the heat and detergent can damage the blades or their finish. For proper fan maintenance, it’s better to wipe blades with a damp cloth and mild soap, then dry thoroughly. This method preserves your fan’s integrity and gives you freedom from worrying about costly repairs or safety risks.
What Cleaning Products Are Safest for Fan Motors?
For safe cleaning of fan motors, you’ll want to stick with gentle products like a damp microfiber cloth and mild detergent, avoiding harsh chemicals or water sprays. Fan maintenance demands care—never saturate the motor to prevent damage. Compressed air can help remove dust without contact. By being methodical and thorough, you keep your fan running smoothly while ensuring your freedom from costly repairs or replacements. Always unplug before cleaning for safety.
How Do I Prevent Dust From Settling After Cleaning?
Keeping dust at bay is like trying to hold water in a sieve, but with dust prevention tips, you can make a difference. Start by improving air circulation techniques—open windows regularly and use air purifiers to trap particles. Clean surfaces with microfiber cloths to prevent dust from resettling. Maintain humidity levels around 40-50% to reduce airborne dust. Staying consistent with these steps lets you enjoy a fresher, freer living space without constant dust battles.
Is It Necessary to Clean the Fan Filter Separately?
Yes, you should clean the fan filter separately to guarantee ideal fan maintenance and maintain filter effectiveness. Removing and washing the filter thoroughly prevents dust buildup that can reduce airflow and strain the motor. Use mild soap and water, let it dry completely before reinstalling. This detailed approach extends your fan’s lifespan and keeps air quality fresh, giving you the freedom to enjoy a cleaner, healthier environment without constant dust settling.


