How to Clean Your Home After Glass
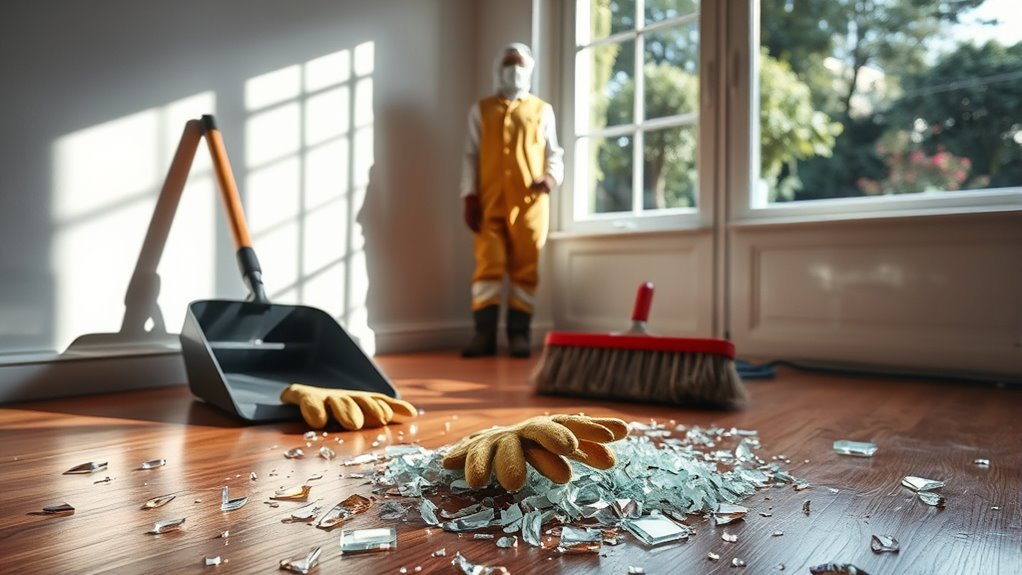
After broken glass scatters, first clear the area and wear thick gloves plus closed-toe shoes for safety. Gather a broom, dustpan, vacuum, and damp cloth. Sweep large pieces carefully into a rigid container, then vacuum slowly, focusing on corners. Use sticky tape or a damp cloth to pick up tiny shards. Dispose of all glass wrapped securely in newspaper. Finally, scan the entire space under furniture and edges to catch any missed fragments—taking these steps keeps your home safe and hazard-free. If you want to get even more thorough, there are additional tips to explore.
Assess the Area and Ensure Safety
Before you begin cleaning up glass, make sure you thoroughly assess the area to identify all shards and fragments. Start by scanning every corner, under furniture, and along pathways where glass might have scattered. This detailed area assessment is essential to prevent injuries later. Put safety precautions first—wear sturdy gloves and close-toed shoes before touching anything. Mark or block off the affected zone to keep pets and family members away, maintaining a safe environment. Use a flashlight at low angles to catch tiny, nearly invisible pieces. Your careful, methodical approach in this phase sets the foundation for efficient cleanup, giving you the freedom to handle the mess confidently and safely without unexpected hazards lingering around.
Gather Necessary Cleaning Supplies
Before you start cleaning, gather all the essential tools like a broom, dustpan, vacuum, and damp cloths to effectively capture glass shards. Don’t forget protective gear such as thick gloves and closed-toe shoes to prevent injuries. Having everything ready will make the cleanup safer and more efficient.
Essential Cleaning Tools
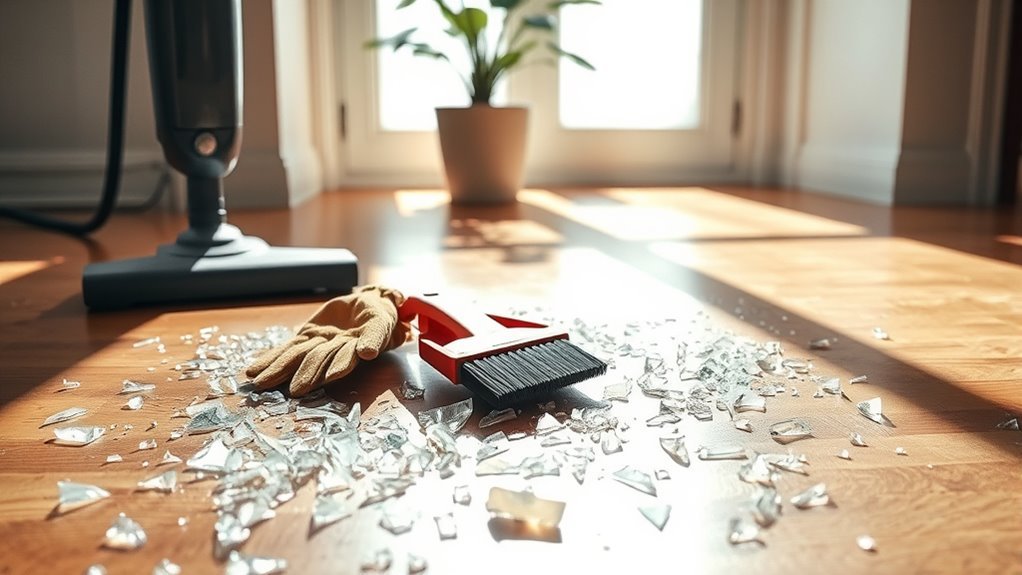
Although cleaning up broken glass requires care, having the right tools on hand will make the process faster and safer. Start by gathering a sturdy broom and dustpan to sweep up larger shards efficiently. Use a handheld vacuum or a vacuum with a hose attachment to pick up smaller fragments, ensuring thorough cleaning. Sticky tape or damp paper towels help capture tiny glass particles missed by sweeping or vacuuming. Keep a disposable container nearby to safely discard shards, minimizing injury risk. These essential tools align with proven cleaning techniques that prioritize glass safety, allowing you to clear debris confidently without lingering hazards. By preparing properly, you maintain control over the cleanup, freeing yourself from worry and ensuring your space is safe and glass-free.
Protective Gear Needed
Having the right tools is only part of the cleanup; protecting yourself during the process is just as important. Before you start, make sure to put on safety glasses to shield your eyes from tiny shards that can fly unexpectedly. Next, slip on heavy duty gloves to protect your hands from cuts, allowing you to handle broken glass confidently and without hesitation. Choose gloves that fit well and offer durability, so you can maintain a firm grip on all debris. These two pieces of protective gear create a barrier between you and injury, giving you the freedom to clean efficiently and safely. Don’t skip this step—your safety is the foundation of an effective cleanup after glass breaks in your home.
Remove Large Pieces of Glass Carefully

Before you start picking up large shards, make sure you’re wearing protective gloves to prevent cuts. Use a broom and dustpan to carefully sweep up the bigger pieces, keeping your movements controlled to avoid scattering glass further. This method helps you safely clear the area without risking injury.
Wear Protective Gloves
Start by putting on a sturdy pair of protective gloves to shield your hands from sharp edges as you remove large pieces of glass. Choose gloves that meet recognized safety standards and are made of durable glove materials like cut-resistant Kevlar or reinforced nitrile. This guarantees maximum protection and freedom of movement. Always inspect gloves for tears before use.
| Glove Material | Safety Standard |
|---|---|
| Kevlar | ANSI/ISEA Cut Level A4 |
| Reinforced Nitrile | EN 388 (Level 3 or higher) |
| Leather | Moderate cut resistance |
Wearing the right gloves minimizes injury risk and lets you work confidently. Don’t rush—careful, methodical removal keeps you safe while clearing glass effectively.
Use a Broom and Dustpan
A broom and dustpan are essential tools when removing large pieces of glass safely. To guarantee you clear the area efficiently, focus on proper broom techniques and selecting dustpan options that suit your floor type. Begin by sweeping glass shards toward one spot, using short, controlled strokes. When choosing a dustpan, opt for one with a rubber lip to prevent shards from slipping underneath. Remember to:
- Sweep slowly to avoid scattering glass.
- Use a dustpan with a flat edge for better collection.
- Always check and empty the dustpan carefully.
- Dispose of glass in a sturdy container for safety.
Use Protective Gear to Prevent Injuries
Anyone handling broken glass should equip themselves with the right protective gear to minimize the risk of cuts and injuries. Before you start, put on safety goggles to shield your eyes from shards that might flick unexpectedly. Next, slip on heavy duty gloves—these are essential to protect your hands as you pick up larger pieces. Choose gloves made from thick, cut-resistant material for maximum defense. Avoid using bare hands or thin gloves, which can easily tear. Make sure your clothing covers your arms and legs to reduce skin exposure. By methodically donning this gear, you maintain control and prevent mishaps, allowing you to clean efficiently without setbacks. Taking these protective steps is the first move toward reclaiming your space safely and confidently.
Vacuum and Sweep to Collect Smaller Shards
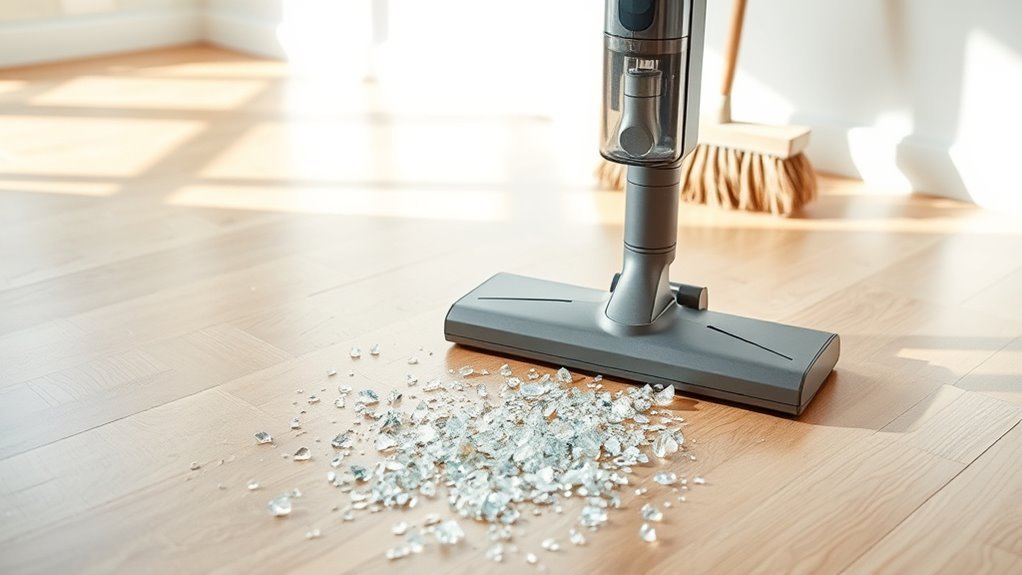
Once you’ve safely removed the larger glass pieces, you’ll need to focus on collecting the smaller shards that can easily be missed. Proper vacuum techniques are essential here; use a hose attachment to target corners and crevices where shards hide. Combine this with careful shard identification by inspecting the floor under bright light. Follow these steps to guarantee thorough cleaning:
- Sweep the area with a stiff broom to gather tiny fragments.
- Vacuum slowly, overlapping each pass for full coverage.
- Check the vacuum bag or canister afterward to see what’s collected.
- Repeat the process if needed, focusing on high-traffic zones.
Use Tape or a Damp Cloth for Tiny Fragments
Two simple tools can help you pick up the tiniest glass fragments that vacuuming and sweeping might miss: tape and a damp cloth. The tape technique works by pressing sticky tape gently onto the surface to lift shards effectively. Alternatively, a damp cloth traps minuscule pieces without scattering them. Both methods are quick and reduce risk.
| Tool | Best Use |
|---|---|
| Tape | Smooth surfaces, corners |
| Damp Cloth | Textured or uneven surfaces |
| Tape | Hard-to-reach spots |
| Damp Cloth | Floors and furniture |
| Tape | Final pass for thoroughness |
Dispose of Glass Safely and Securely
Handling broken glass requires careful disposal to prevent injury to yourself and others. When you’re ready to dispose of glass, follow these steps to stay safe and responsible:
- Wrap shards in thick newspaper or cloth to contain sharp edges.
- Place wrapped glass in a sturdy, labeled container to avoid accidental cuts.
- Check local guidelines for glass disposal to guarantee proper handling.
- Whenever possible, opt for glass recycling to reduce environmental impact.
Inspect Surrounding Areas for Missed Pieces
After you’ve securely disposed of broken glass, don’t assume the area is completely clear. Conduct a thorough surrounding area inspection to catch any missed pieces. Use glass detection techniques such as shining a flashlight at a low angle; this highlights tiny shards by reflecting light. Carefully run a damp paper towel or cloth over the floor and nearby surfaces, then inspect it under bright light for any glass fragments. Don’t forget corners, under furniture, and adjacent rooms connected to the spill zone. This methodical approach guarantees no sharp remnants threaten your safety or freedom to move freely. By efficiently applying these glass detection techniques during your surrounding area inspection, you’ll confidently reclaim a clean, hazard-free environment without lingering risks.
Frequently Asked Questions
Can I Use a Regular Vacuum Cleaner for Glass Shards?
When it comes to vacuum safety, you don’t want to bite off more than you can chew. Using a regular vacuum cleaner for glass shards isn’t the best idea—it can damage the machine and scatter shards, breaking your goal of effective glass containment. Instead, use a vacuum designed for tough debris or carefully pick up larger pieces first. This method keeps you safe and guarantees your space stays shard-free, letting you move freely without worry.
How Do I Prevent Glass Dust From Spreading During Cleanup?
To keep glass dust from spreading during cleanup, you should wear protective gear like gloves, goggles, and a mask to safeguard yourself. Use cleanup techniques that involve gently misting the area with water to keep dust settled. Avoid sweeping aggressively; instead, carefully pick up larger pieces first, then use a damp cloth or sticky tape to capture fine particles. Taking these steps guarantees a safer, cleaner process without spreading dust everywhere.
What Should I Do if I Get Cut by Broken Glass?
Imagine you accidentally cut your finger while cleaning shattered glass. First, prioritize first aid: rinse the wound under clean water to flush out glass shards. Apply gentle pressure with a clean cloth to stop bleeding. Use antiseptic to prevent infection and cover with a sterile bandage. Remember, glass safety means handling shards carefully and seeking medical help if the cut is deep or won’t stop bleeding. Staying calm guarantees quicker healing and freedom from complications.
Are There Eco-Friendly Disposal Methods for Broken Glass?
You can absolutely opt for eco-friendly disposal methods for broken glass. First, check local recycling options—many centers accept glass if it’s clean and sorted. Wrap shards securely in newspaper or a puncture-proof container to guarantee safe disposal and protect workers. Avoid mixing glass with regular trash or other recyclables. By following these steps, you’re responsibly managing waste while contributing to environmental freedom and sustainability.
How Often Should I Inspect My Home for Hidden Glass Pieces?
Though it may seem tedious, regular glass safety checks protect your freedom from injury. You should inspect areas prone to breakage—kitchen, windows, play areas—at least once a week. Inspection frequency increases after incidents involving glass. Methodically scan floors, furniture, and hidden corners with a bright light. This efficient routine helps you spot hidden shards early, ensuring your home remains a safe, open space where you can move freely without worry.


