How to Clean Your Home After Office Chair
To clean your home after using an office chair, start by evaluating the area for dust, debris, and stains. Remove loose particles with a soft brush or microfiber cloth, focusing on corners and under the chair. Vacuum thoroughly, adjusting settings for your floor type, and pay special attention to hidden spots. Clean the chair casters and upholstery with appropriate wipes or cleaners. Finally, freshen the air and set a consistent cleaning schedule. Following these steps guarantees a tidy space; more tips can help you go further.
Assess the Area Around the Chair
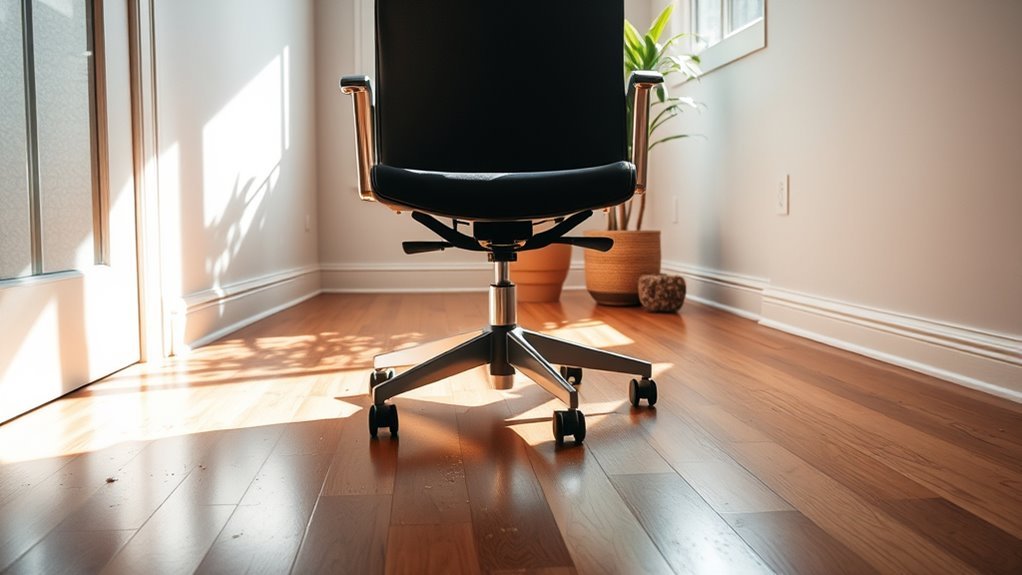
Before you begin cleaning, take a close look at the area around your office chair to identify any dust, debris, or stains that may have accumulated. Conduct a thorough area assessment by examining the floor surface, nearby furniture, and any hidden corners where dirt might settle. Pay special attention to the chair positioning; if your chair has been frequently moved or reclined, check for scuff marks or compressed carpet fibers. Note any spills or sticky residues that require targeted cleaning. This precise evaluation guarantees you won’t miss spots that compromise your space’s cleanliness and freedom. By methodically observing these details, you’ll prepare yourself for an efficient cleaning process, reclaiming control over your environment without unnecessary effort or oversight. Additionally, focusing on high-touch areas near the chair such as armrests and adjustment levers helps maintain hygiene and prevent germ buildup.
Remove Loose Debris and Dust
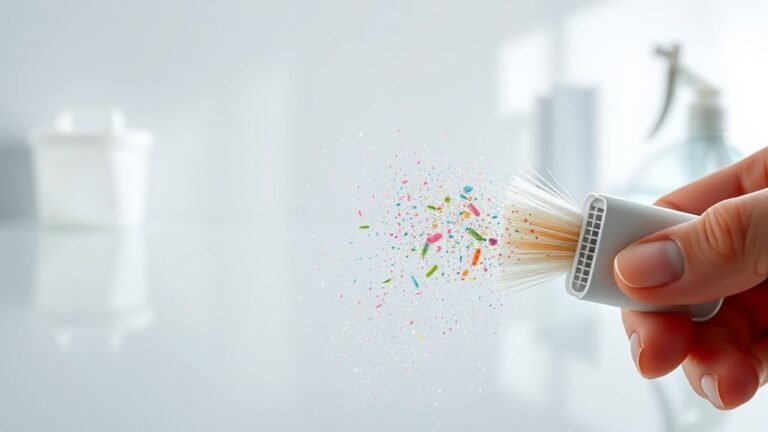
Start by removing all loose debris and dust from the area around your office chair to create a clean foundation for deeper cleaning. Begin with a soft brush or microfiber cloth to sweep away visible particles, focusing on corners and crevices where dust collection is most intense. Pay special attention to the chair’s wheels and base, as these spots accumulate hidden debris. For effective debris removal, gently lift the chair to access hard-to-reach areas beneath it. Collect all loose matter into a dustpan or container to prevent it from scattering. Taking these methodical steps guarantees you eliminate surface contaminants efficiently, paving the way for the next cleaning phase. This precise approach not only enhances cleanliness but also contributes to a freer, healthier living space. Using a shop vacuum can further improve the removal of fine dust and debris in tight spots around your chair.
Vacuum the Floor Thoroughly
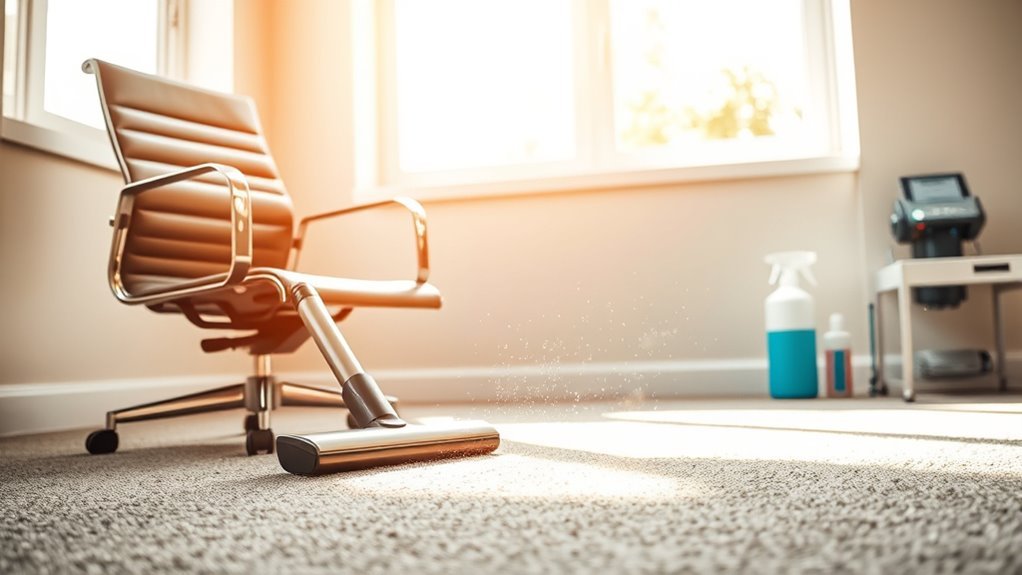
Once you’ve cleared away loose debris and dust, the next step is to vacuum the floor thoroughly around and beneath your office chair. To guarantee a deep clean that respects your floor types, follow these steps carefully:
- Adjust vacuum settings to match your floor type — use lower suction for delicate surfaces like hardwood and higher for carpets.
- Move the chair slightly to reach hidden areas where dust and crumbs accumulate.
- Vacuum in multiple directions to lift dirt trapped between fibers or in grooves.
Regular vacuuming as part of a consistent cleaning schedule helps prevent dirt build-up and keeps your floor looking fresh longer.
Clean the Chair Casters and Base
Although the floor beneath your office chair gets most of the attention, the casters and base also collect dust, hair, and debris that can affect mobility and cleanliness. Start by turning the chair upside down to access the casters easily. Use a pair of tweezers or a small brush to remove tangled hair and dirt from each wheel. For thorough caster maintenance, soak the casters briefly in warm, soapy water using gentle cleaning products. Rinse and dry them completely before reattaching. Wipe the base with a microfiber cloth dampened with a mild cleaning solution to remove grime without damaging the finish. Regularly performing these steps guarantees smooth movement and prolongs the life of your chair, freeing you from unexpected snags and keeping your workspace clean and efficient. Additionally, incorporating microfiber cloths for dusting ensures delicate surfaces remain scratch-free while effectively removing dirt.
Wipe Down the Chair Upholstery
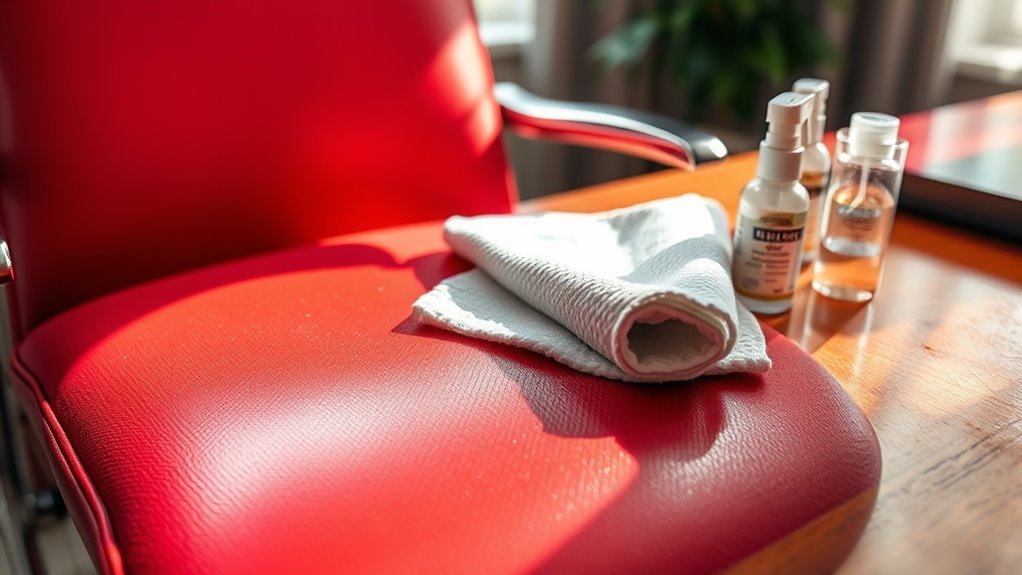
Before tackling the upholstery, make certain to identify the material type—whether it’s fabric, leather, or mesh—as this will determine the appropriate cleaning method. For fabric care, use a mild cleaning solution diluted with water to avoid damage. Leather requires specialized cleaners to maintain softness and prevent cracking. Mesh can be gently wiped with a damp cloth.
Follow these steps to clean upholstery effectively:
- Test your cleaning solution on a small, hidden area to confirm it won’t discolor or damage the material.
- Use a soft cloth or sponge, applying the cleaning solution sparingly to avoid saturation.
- Allow the upholstery to air dry completely before using the chair again. Remember to avoid excess water to prevent damage to both fabric and wood components.
Disinfect Frequently Touched Surfaces
While cleaning your office chair upholstery is essential, disinfecting frequently touched surfaces is equally important to maintain a hygienic workspace. Use disinfecting wipes or surface sanitizers to methodically clean areas like armrests, desk edges, and light switches. Focus on spots you often touch to reduce germs effectively. Using alcohol-based disinfectants is recommended for electronics and surfaces to ensure effective cleaning without causing damage.
| Surface | Recommended Product | Cleaning Tip |
|---|---|---|
| Armrests | Disinfecting wipes | Wipe thoroughly, front & back |
| Desk edges | Surface sanitizers | Spray, let sit 30 seconds |
| Light switches | Disinfecting wipes | Use a folded wipe for edges |
Regular disinfection keeps your environment safe, empowering you to work freely without worry.
Organize Nearby Items and Cables
After disinfecting the surfaces around your office chair, it’s important to turn your attention to organizing nearby items and cables. Effective cable management not only prevents tangles but also creates a cleaner, more efficient workspace. Start by evaluating what’s essential and discard unnecessary clutter. Follow these steps for ideal item organization:
Disinfect surfaces, then organize cables and items to create a cleaner, more efficient workspace.
- Group cables by function and secure them with reusable ties or clips.
- Arrange frequently used items within easy reach, storing others in designated containers.
- Label cables and storage boxes to simplify future adjustments and maintenance. Maintaining a system for easy access to supplies enhances overall efficiency and productivity.
Address Any Stains or Spills Immediately
Since stains and spills can set quickly, you’ll want to tackle them as soon as you notice them to prevent permanent damage or lingering odors. Start by blotting the spill gently with a clean cloth—don’t rub, as that can spread the stain. For liquid spills on fabric or carpet, use a mild detergent solution and apply it sparingly, then blot until the area is clean. For tougher stains, consider a specialized stain removal product suited to the material. Always test any cleaner on a hidden spot first to avoid discoloration. Consistently practicing spill prevention, like using coasters or protective mats, reduces future messes. By addressing stains immediately and methodically, you maintain your space’s cleanliness and freedom from stubborn blemishes, keeping your home as inviting and orderly as you want it to be. Proper ventilation during cleaning can also help reduce lingering odors and improve air quality, so be sure to open a window or turn on a fan for ventilation.
Freshen the Air in the Room
Once you’ve handled stains and spills, the next step is to focus on the air quality in the room. Fresh air promotes freedom and well-being, so you want to be methodical in your approach:
- Air purification: Use an air purifier with a HEPA filter to remove dust, allergens, and odors efficiently. Position it near your office chair area for targeted cleaning.
- Ventilation: Open windows regularly to allow fresh air circulation; this natural exchange helps eliminate stale odors trapped in the room.
- Scented candles: Choose high-quality scented candles with natural ingredients to subtly freshen the space without overwhelming your senses.
- Regularly wiping down surfaces and using disinfectants on handles nearby can help maintain a healthier environment by reducing bacteria buildup.
Establish a Routine Cleaning Schedule
Creating a consistent cleaning schedule is essential to maintain the cleanliness and comfort of your workspace. To do this effectively, determine the ideal cleaning frequency for each task, such as daily wiping of surfaces and weekly deep cleaning of the chair and floor. Set clear task reminders using your phone or calendar to guarantee nothing slips through the cracks. By breaking down chores into manageable intervals, you prevent buildup and reduce effort over time. Tailor this routine to fit your lifestyle, giving you the freedom to enjoy a fresh environment without stress. Sticking to your schedule methodically ensures your home stays inviting and your office chair remains in top condition, supporting your productivity and well-being effortlessly. Using a timer to keep cleaning sessions focused can help make this routine more manageable and efficient.
Frequently Asked Questions
What Cleaning Products Are Safe for Leather Office Chairs?
Ever wondered what cleaning solutions won’t damage your leather office chair? For best leather care, you’ll want to avoid harsh chemicals and use mild, pH-balanced cleaners specifically designed for leather. Products containing natural oils or conditioners keep the material supple and prevent cracking. Always test a small area first to verify compatibility. By choosing safe, gentle cleaning solutions, you maintain your chair’s look while enjoying the freedom of easy upkeep.
How Often Should I Deep Clean My Office Chair Upholstery?
You should aim for a deep cleaning frequency of your office chair upholstery every six months to maintain its appearance and durability. Regular upholstery maintenance also includes vacuuming weekly to remove dust and debris. If you use your chair extensively or notice stains sooner, adjust the deep cleaning schedule accordingly. This methodical approach helps you keep your workspace fresh and comfortable without feeling restricted by constant, unnecessary upkeep.
Can I Use a Steam Cleaner on My Office Chair?
You might think a steam cleaner could turn your office chair into a soggy mess, but it’s actually a powerhouse for deep cleaning! The steam cleaner benefits include killing germs and lifting dirt without harsh chemicals. Just be cautious with fabric considerations—some delicate materials can shrink or warp. Always check the chair’s cleaning code first, then use a gentle steam setting to refresh your chair while enjoying freedom from stubborn grime.
How Do I Prevent Mold Growth on Chair Fabric?
To prevent mold growth on your chair fabric, focus on mold prevention and fabric care by keeping the fabric dry and well-ventilated. Avoid leaving spills unattended; blot moisture immediately and use a fabric-safe cleaner if needed. Regularly vacuum to remove dust and debris that hold moisture. Position your chair where air circulates freely, and consider using a dehumidifier in humid environments. These steps help you maintain a fresh, mold-free fabric and enjoy your space freely.
What Tools Are Best for Cleaning Office Chair Wheels?
For effective wheel maintenance, you’ll want to grab a few key tools: a small brush or old toothbrush to dislodge dirt, a flathead screwdriver to pry off wheels if needed, and compressed air to blow out dust. Cleaning techniques should be methodical—start by removing debris, then wipe with a damp cloth and mild detergent. This approach gives your wheels freedom to roll smoothly, preventing buildup that restricts movement and prolonging their lifespan.