How to Clean Your Home After Walls
After finishing wall projects, start by gathering your cleaning supplies. Dust all surfaces, paying attention to baseboards and trim, then vacuum and mop floors thoroughly. Gently remove paint splatter using a plastic scraper and warm, soapy water—or rubbing alcohol for stubborn spots. Don’t forget to wash windows and freshen upholstery by vacuuming and spot cleaning. Properly dispose of waste and open windows to ventilate. Keep going, and you’ll uncover more handy tips to get your home spotless and fresh.
Gather Essential Cleaning Supplies
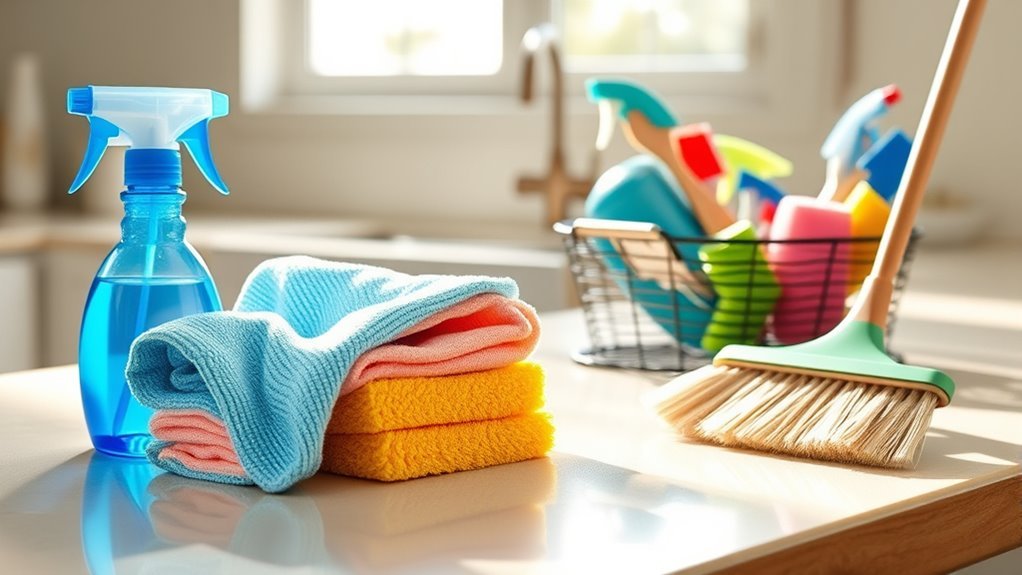
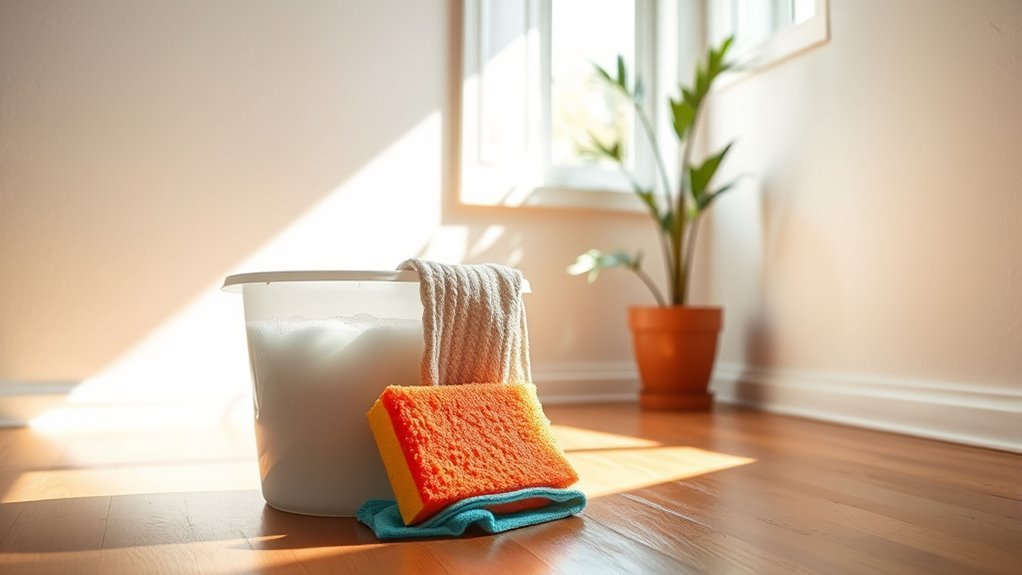
Before you plunge into cleaning, make sure you’ve gathered all the essential supplies. Having the right cleaning tools at your fingertips frees you from frustration and wasted time. Grab versatile brushes, microfiber cloths, and a reliable vacuum to tackle various surfaces effortlessly. Don’t forget organizing supplies like bins, labels, and storage baskets to keep everything in its place once you start. When your cleaning tools and organizing supplies are ready, you’ll move through the task with ease, not hindered by stops and starts. This preparation gives you control, turning cleaning from a chore into a liberating experience. So, set yourself up with what you need to clean effectively and organize smartly—this way, you reclaim your space and your time.
Remove Dust and Debris From Surfaces
With all your cleaning supplies at hand, you can now focus on removing dust and debris from surfaces. Mastering dusting techniques guarantees you clear away grime without scattering particles back into the air. Use microfiber cloths or electrostatic dusters to trap dust effectively. After dusting, surface sanitization is key to keep your space fresh and healthy. Here’s a quick guide:
| Surface Type | Dusting Technique | Sanitization Tip |
|---|---|---|
| Wooden furniture | Soft microfiber cloth | Use wood-safe disinfectant |
| Glass & mirrors | Electrostatic duster | Alcohol-based cleaner |
| Electronics | Compressed air + cloth | Avoid liquid sprays |
| Shelves & decor | Feather duster + cloth | Mild disinfectant wipe |
Stick to these steps, and your surfaces will shine with freedom from dust and germs.
Clean Baseboards and Trim
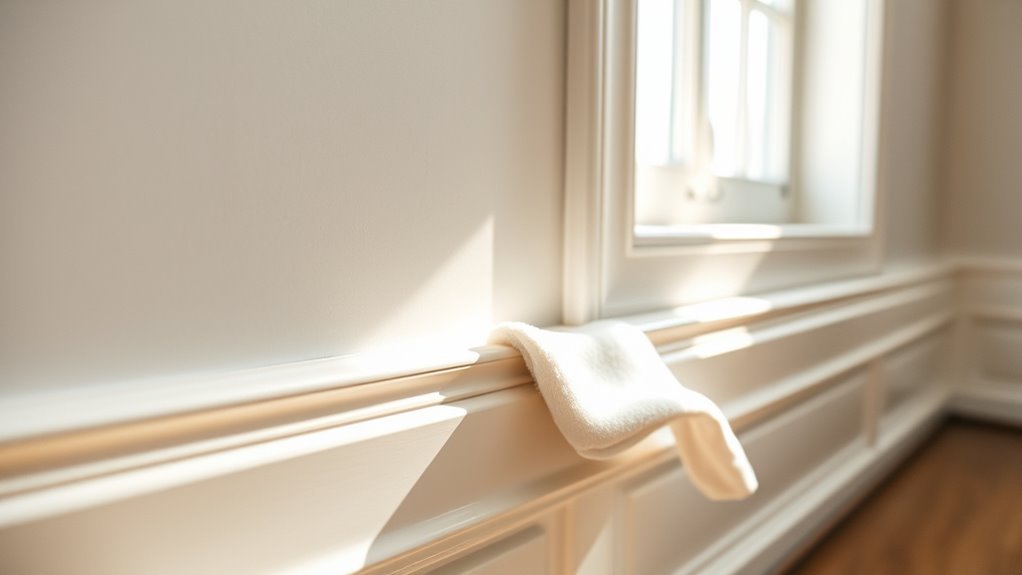
When cleaning your baseboards and trim, start by removing dust with a microfiber cloth or vacuum attachment. Choose a gentle cleaning solution, like diluted dish soap or vinegar, to avoid damaging the paint or wood. Be careful not to soak the surfaces, and dry them promptly to keep everything looking fresh.
Dust Removal Techniques
Although baseboards and trim often go unnoticed, they can quickly collect dust and grime, affecting the overall cleanliness of your home. To keep them spotless, you need effective dust removal techniques paired with the right dusting tools. Regular dusting not only refreshes these areas but also supports air purification, helping you breathe easier.
| Tool Type | Best Use |
|---|---|
| Microfiber Cloth | Traps dust without scattering |
| Vacuum Brush | Reaches tight corners |
| Electrostatic Duster | Attracts and holds dust particles |
| Compressed Air | Blows dust from hard-to-reach spots |
Choose tools that enhance your freedom to clean efficiently and keep your home fresh.
Cleaning Solutions Options
Since baseboards and trim are prone to accumulating dirt and grime, choosing the right cleaning solution is key to restoring their appearance. You don’t have to rely on harsh chemicals; eco friendly cleaners work wonders without compromising your space or health. If you prefer control over ingredients, homemade solutions are a fantastic option. A simple mix of white vinegar, water, and a few drops of essential oil can cut through buildup effectively. For tougher spots, a paste made from baking soda and water gives you gentle scrubbing power. These options let you clean freely, knowing you’re protecting both your home and the environment. Keep a spray bottle handy, and you’ll find keeping baseboards and trim fresh and vibrant much easier on your terms.
Preventing Damage Tips
Choosing the right cleaning solution helps protect your baseboards and trim from unnecessary wear. To guarantee wall protection, avoid harsh chemicals that can strip paint or damage finishes. Instead, opt for gentle cleaners or mild soap diluted in water. When cleaning, use a soft cloth or sponge to prevent scratches. Moisture control is key—excess water can warp wood or cause paint to peel. Wring out your cloth well before wiping and dry the surfaces promptly. Regularly dusting baseboards and trim prevents buildup that demands aggressive cleaning. By following these simple tips, you maintain the integrity and appearance of your walls while enjoying the freedom of a clean, damage-free home. Taking these small steps saves you time and money on repairs down the road.
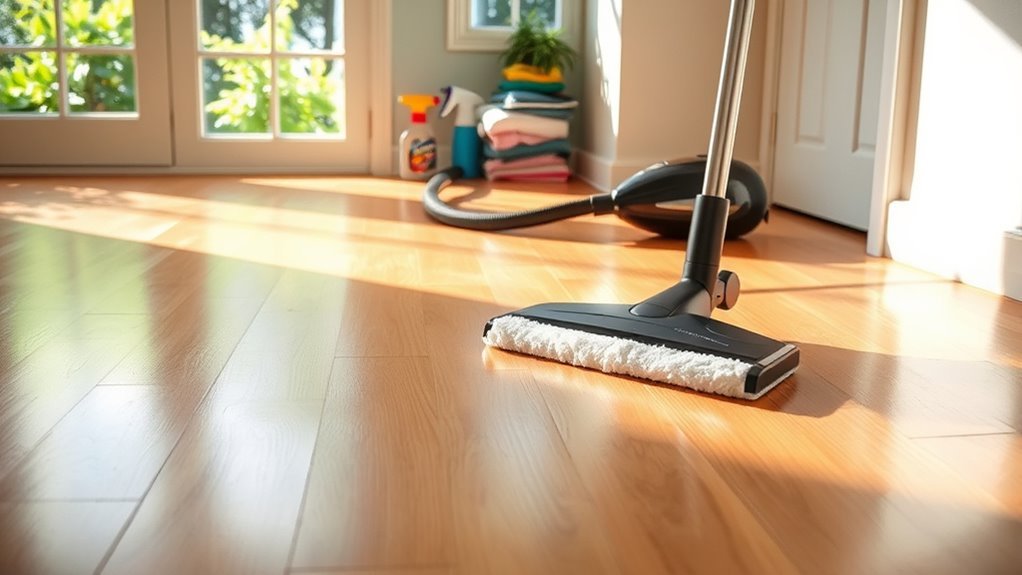
Vacuum and Mop Floors Thoroughly
When vacuuming, make certain you use the right attachments to reach corners and edges effectively. Pay special attention to those hard-to-reach spots where dust tends to gather. After vacuuming, choose a mop solution that’s suitable for your floor type to guarantee a thorough clean without damage.
Choose Appropriate Vacuum Attachments
Although vacuuming might seem straightforward, using the right attachments can make a big difference in how effectively you clean your floors. You’ll want to choose vacuum attachments designed for different surfaces—like a brush tool for hardwood and a motorized head for carpets. These specialized tools help you reach deeper dirt without damaging floors. Don’t forget that proper vacuum maintenance extends your vacuum’s life and keeps suction strong. Regularly check and clean attachments to avoid clogs or wear. By selecting the right vacuum attachments and keeping them in good shape, you gain the freedom to clean faster and more thoroughly, letting you spend less time on chores and more time enjoying your space.
Focus on Corners and Edges
Now that you’ve selected the right vacuum attachments and kept them in good condition, it’s time to pay special attention to corners and edges. These often-overlooked areas hold dust and debris, so mastering corner cleaning and edge detailing frees your home from hidden grime. Here’s how to do it effectively:
- Use a crevice tool to reach tight corners and baseboards.
- Vacuum along edges slowly to lift trapped dirt.
- After vacuuming, mop floors thoroughly, focusing on edges to remove lingering dust.
- For stubborn spots, gently scrub corners with a damp cloth or soft brush.
Select Suitable Mop Solutions
Anyone aiming for truly clean floors knows that choosing the right mop solution is essential. You want something effective yet gentle, so your floors stay pristine without harsh chemicals. Opt for floor safe solutions that won’t damage surfaces or leave residue. Eco friendly mops paired with biodegradable cleaners let you clean freely, knowing you’re protecting your home and the planet. Before mopping, make sure to vacuum or sweep thoroughly to remove dust and debris. Then, use your chosen solution with an eco friendly mop to glide smoothly across the floor, lifting dirt effortlessly. Selecting the right products empowers you to maintain a fresh, healthy space without sacrificing your values or freedom to live sustainably.
Erase Paint Splatter With the Right Techniques
When you notice paint splatters on your walls or floors, acting quickly can make removal much easier. You want to erase those pesky spots without damaging your surfaces. Here are effective paint removal techniques to free your space from unwanted marks:
- Gently scrape off excess paint with a plastic scraper or credit card.
- Dampen a cloth with warm, soapy water and blot the splatter—avoid rubbing hard.
- For stubborn spots, try a small amount of rubbing alcohol or a commercial paint remover designed for your surface.
- Always test any solution on a hidden area first to prevent damage.
Wash Windows and Window Sills
After tackling paint splatters, it’s a good idea to turn your attention to cleaning your windows and window sills. This step not only brightens your space but also brings in the fresh air and freedom you crave. Start by dusting off loose dirt from the sills to prevent grime buildup. When washing, use proven window cleaning techniques—like a microfiber cloth paired with streak free solutions—to avoid unsightly marks. Spray your cleaner generously, then wipe in a circular motion before finishing with vertical strokes. Don’t forget to reach every corner and crevice of the window sills, where dirt loves to hide. By mastering these steps, you’ll enjoy clear views and a home that feels open and inviting, just as it should be.
Freshen Upholstery and Fabrics
Though upholstery and fabrics can brighten your home, they also trap dust, odors, and stains over time. To keep your space feeling fresh and free, focus on effective upholstery cleaning and fabric freshening techniques. Here’s how you can do it:
- Vacuum thoroughly to remove dust and loose debris, paying close attention to crevices.
- Spot clean stains immediately using a mild detergent or a fabric-safe cleaner.
- Use a fabric freshener spray or homemade solution with essential oils to neutralize odors.
- Consider professional upholstery cleaning for deep refreshment and to extend fabric life.
Dispose of Waste and Ventilate the Room
Since clutter and waste can quickly undo your cleaning efforts, it’s important to dispose of trash properly and clear out any leftover debris. Effective waste management frees your space and mind, while room ventilation refreshes the air, preventing stale odors and promoting a healthier environment. Open windows or use fans to enhance airflow after cleaning. Here’s a quick guide to help you manage waste and ventilate efficiently:
| Task | Tip |
|---|---|
| Collect Waste | Use bins or bags for sorting |
| Dispose Properly | Follow local waste guidelines |
| Ventilate Room | Open windows, use fans |
| Maintain Airflow | Keep vents unobstructed |
Frequently Asked Questions
How Often Should I Deep Clean My Walls to Prevent Buildup?
Think of deep cleaning your walls like tuning a guitar—if you wait too long, the sound gets off. For ideal wall maintenance, aim for a deep clean every six months to prevent buildup. This cleaning frequency keeps your space feeling fresh and free, letting you enjoy your home without the weight of grime. If you have kids or pets, consider doing it quarterly to maintain that sense of freedom and cleanliness.
What Type of Paint Is Easiest to Clean off Walls?
If you want walls that’re easy to clean, you’ll love acrylic paints with washable finishes. These paints let you wipe away dirt or marks without damaging the surface, giving you freedom to keep your space fresh with minimal effort. Unlike traditional matte paints, washable finishes are more resistant to stains and scrubbing. So, choosing acrylic paints means you can enjoy your walls’ look while easily maintaining them whenever you want.
Can I Use Natural Cleaning Products on Freshly Painted Walls?
Imagine your freshly painted walls as delicate canvas, craving gentle care. You can absolutely use natural cleaners—they’re like a soft breeze, offering wall protection without harsh chemicals. These eco-friendly options let you maintain your space freely, without worry. Just make sure to test a small spot first, so your masterpiece stays vibrant and intact. Embracing natural cleaners means you’re nurturing both your walls and your freedom to live toxin-free.
How Long Should I Wait to Clean Walls After Painting?
You’ll want to wait at least 2 weeks after painting before cleaning your walls. That drying time guarantees the paint’s fully cured, so you won’t risk damaging the finish. While the surface might feel dry sooner, the paint needs this curing phase to harden properly. Taking it slow lets you enjoy your freshly painted space without worry, giving you the freedom to clean confidently without harming your walls.
What Are Safe Methods to Clean Wallpaper Without Damage?
When it comes to wallpaper care, you’ll want to use gentle cleaning techniques to avoid damage. Start by dusting with a soft cloth or vacuum using a brush attachment. For spot cleaning, try a damp sponge with mild soap and water—don’t soak it! Always test a small area first to make sure the wallpaper can handle moisture. With these simple steps, you’ll keep your walls looking fresh without restricting your freedom to enjoy your space.


