How to Clean Your Home for a Photoshoot
To get your home photo-ready, start by decluttering common areas, bedrooms, and bathrooms to keep spaces open and inviting. Deep clean key spots like the kitchen appliances, living room surfaces, and floors for a fresh look. Brighten rooms by maximizing natural light and cleaning windows. Add simple decorative touches and tidy outdoor areas for curb appeal. Finally, organize your gear and clear surfaces on photoshoot day for a smooth process. Keep exploring for tips to perfect every detail.
Declutter Common Areas
Start by clearing out the most visible common areas, like the living room and kitchen. When preparing for a photoshoot, your goal is to create open, inviting spaces that feel effortless and free. Use simple decluttering strategies: remove unnecessary items and store them away to avoid distractions. Focus on flat surfaces—clear coffee tables, countertops, and shelves to maintain a clean, spacious look. Common area tips include grouping essentials neatly and hiding wires or clutter that can draw unwanted attention. By keeping things minimal, you allow natural light and your home’s best features to shine. Remember, less is more; you want your space to feel open and welcoming, reflecting the freedom you value while making your photoshoot a success.
Deep Clean the Kitchen
Although the kitchen is often the heart of your home, it can quickly appear cluttered or messy in photos if not properly cleaned. To make your kitchen shine and showcase its true charm, focus on these essentials:
The kitchen, as your home’s heart, needs careful cleaning to avoid looking cluttered in photos.
- Deep clean kitchen appliances – Wipe down the exterior and interior of your oven, fridge, and microwave. Spotless appliances instantly elevate the space.
- Clear and organize countertops – Remove unnecessary items and arrange the essentials neatly. Good countertop organization creates an open, inviting feel.
- Scrub sinks and surfaces – Shine your sink and wipe down all surfaces to remove stains and watermarks, ensuring the kitchen looks fresh and cared for.
Taking these steps will help your kitchen look spacious, bright, and ready to impress in photos.
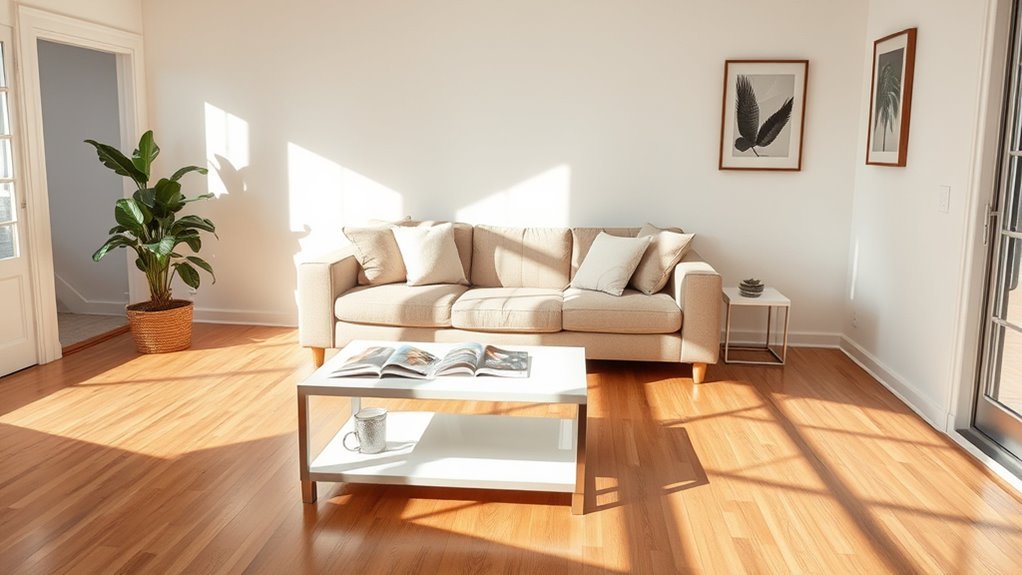
Refresh the Living Room
A well-kept living room sets the tone for your entire home in photos. Start by clearing clutter and dusting every surface to let your living room decor shine. Arrange your furniture to create open, inviting spaces that guide the eye naturally through the room. Don’t be afraid to shift pieces around—sometimes a fresh furniture arrangement can make your space feel larger and more welcoming. Keep decor simple and cohesive; too many items can distract from the room’s flow. Use natural light to your advantage by opening curtains or blinds, making your living room feel bright and airy. This approach highlights your space’s freedom and comfort, making it look effortlessly stylish and ready for the camera.
Organize Bedrooms and Closets
You’ll want to clear clutter from surfaces and floors to make bedrooms and closets look spacious. Take time to arrange your clothing neatly, whether folded or hung. Using smart storage solutions can help keep everything tidy and ready for the camera.
Declutter Surfaces and Floors
Cluttered surfaces and floors can distract from the overall look of your photos, so clearing them is essential. To achieve effortless surface organization and floor maintenance, follow these steps:
- Remove all unnecessary items from countertops, nightstands, and dressers to create a clean, open space that feels calm and inviting.
- Store or donate anything you don’t use frequently—this reduces visual noise and gives you freedom from chaos.
- Vacuum or sweep floors thoroughly, making sure to reach under furniture and corners, so your floors look pristine and inviting.
Arrange Clothing Neatly
Clearing surfaces and floors sets the stage for a tidy bedroom, but organizing your clothing is just as important for a polished look. When you arrange your clothes neatly, you create a sense of freedom in your space, making it easier to find what you need without stress. Start by folding or hanging items by type and color coordination—this not only looks visually appealing but also speeds up outfit selection. Group similar colors together to make mixing and matching effortless. Avoid piles or random stacks; instead, keep everything visible and accessible. This simple step helps your bedroom feel open and inviting, perfect for your photoshoot and daily life. A well-organized wardrobe lets you express yourself freely without clutter holding you back.
Utilize Storage Solutions
One of the best ways to keep your bedroom and closet looking sharp is by using smart storage solutions. When preparing for a photoshoot, you want freedom from clutter and an organized space that feels open and inviting. Here’s how you can achieve that:
- Use storage bins to tuck away smaller items like accessories or seasonal clothes. Clear bins work great so you can see what’s inside without opening them.
- Install creative shelving to maximize vertical space. Floating shelves or cubbies add style while keeping things off the floor.
- Invest in multi-functional furniture with built-in storage. Ottoman beds or benches with compartments offer hidden spots to stash belongings neatly.
Spruce Up Bathrooms
You’ll want to clear all clutter from bathroom counters to create a clean, open look. Make sure fixtures are shining brightly to catch the light perfectly. Don’t forget to refresh towels and mats with crisp, clean ones for a polished finish.
Clear Counter Clutter
A few minutes spent removing items from bathroom counters can make a big difference in how clean and spacious the space looks. Like kitchen organization, keeping your bathroom counters clutter-free elevates counter aesthetics and creates a sense of freedom in your home. Here’s how you can clear counter clutter effectively:
- Store essentials out of sight: Use drawers or cabinets to tuck away daily products, freeing up visual space.
- Limit decorative items: Choose one or two meaningful pieces instead of crowding surfaces.
- Use trays or organizers: Group similar items together to maintain order without sacrificing accessibility.
Shine Fixtures Brightly
Three simple steps can make your bathroom fixtures gleam and instantly elevate the space for your photoshoot. First, grab a microfiber cloth and a gentle glass cleaner to polish glass surfaces like mirrors and shower doors, removing smudges and streaks. Next, tackle the metals—faucets, handles, and drain covers—using a metal polish or a mixture of vinegar and water to brighten metals and restore their shine. Finally, wipe everything down with a dry cloth to eliminate residue and enhance the sparkle. By focusing on these details, you free your bathroom from dullness and let its true brightness shine through, making your photoshoot-ready space feel fresh, inviting, and effortlessly polished.
Refresh Towels & Mats
After making your fixtures sparkle, turn your attention to towels and mats, which can quickly show wear and dullness in photos. Revitalizing these elements can free your bathroom from a tired look and add vibrancy.
- Choose towel colors that complement your bathroom’s palette but avoid overly bright or faded hues. Fresh, neutral tones often photograph best.
- Launder towels with a fabric softener to restore softness and fluffiness, making them appear inviting and new.
- Inspect mat textures; replace any that look flattened or stained. Opt for mats with subtle patterns or natural textures to add depth without distraction.
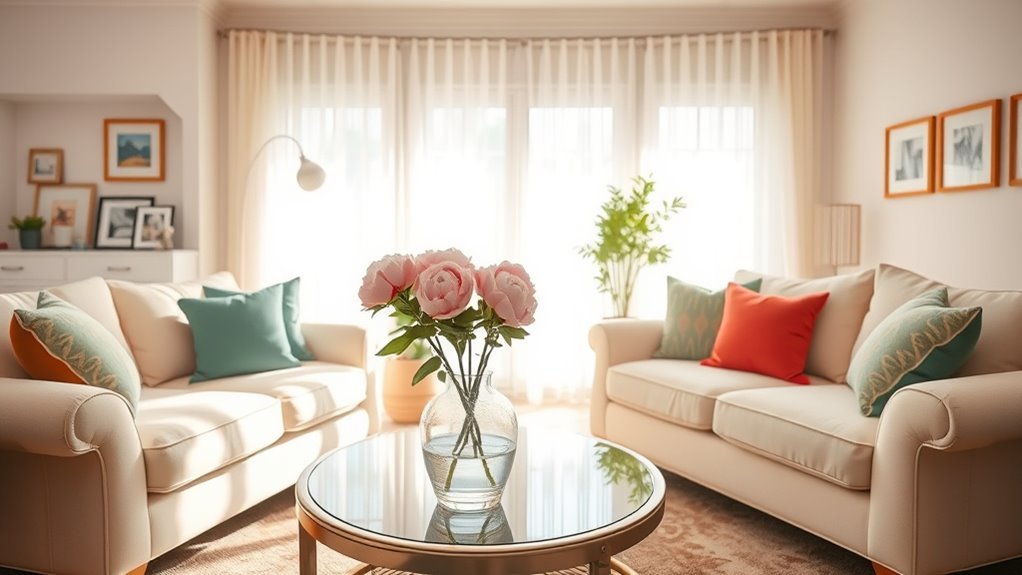
Enhance Lighting and Window Cleanliness
Because natural light can make or break your photoshoot, you’ll want to guarantee your windows are spotless and free of streaks. Take time to clean both sides thoroughly—smudges and dust can dull the glow and limit how much light floods your space. Next, consider your window treatments: open curtains or blinds fully to maximize sunlight, but if glare becomes an issue, opt for sheer fabrics that diffuse light gently without blocking it. This balance lets you harness natural light’s power to create bright, airy photos that feel inviting and free. By paying attention to window cleanliness and treatment choices, you’ll craft an environment where light plays beautifully with your décor, setting the perfect mood without feeling constrained or artificial.
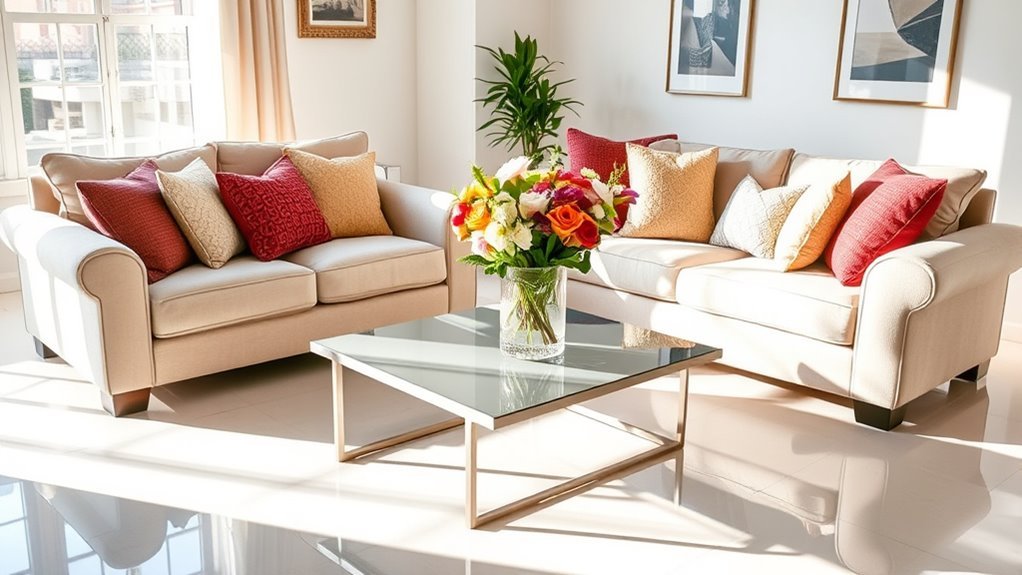
Add Decorative Touches
Once your lighting and windows are in top shape, it’s time to focus on the small details that bring warmth and personality to your space. Adding decorative touches can transform your home into a welcoming, free-spirited environment that shines in photos. Here’s how you can create striking aesthetic arrangements:
- Choose a few key decorative accents like vibrant cushions, unique vases, or art pieces that reflect your style without cluttering.
- Group items thoughtfully—balance height, color, and texture to draw the eye naturally around the room.
- Incorporate natural elements such as fresh flowers or greenery to add life and freshness to your setup.
These simple steps let your space tell a story of freedom and creativity, making your photoshoot truly stand out.
Prepare Outdoor Spaces
When getting your home ready for a photoshoot, don’t forget to prepare your outdoor spaces as well. A well-maintained landscape instantly boosts curb appeal and sets the tone for your entire shoot. Focus on simple landscape maintenance: trim overgrown bushes, mow the lawn, and sweep pathways to showcase clean, inviting areas. Remove clutter like garden tools or toys that distract from your home’s natural beauty. Outdoor staging is key—consider adding fresh potted plants or a tidy seating area to create cozy, appealing spots. By thoughtfully preparing these outdoor areas, you’re not just cleaning, you’re crafting a welcoming vibe that invites viewers to imagine themselves there. Keep it natural and effortless, and your outdoor spaces will shine just as brightly as your interiors.
Set Up for the Photoshoot Day
As photoshoot day approaches, you’ll want to organize your space to highlight its best features without distractions. Tackling photo shoot logistics early helps you stay relaxed and in control. Focus on:
- Equipment Preparation: Make sure all camera gear, lighting, and props are clean, charged, and ready to go. This avoids last-minute chaos and keeps the shoot flowing.
- Declutter Strategically: Remove personal items and anything that might draw attention away from your home’s charm. Keep surfaces clear and inviting.
- Lighting Check: Adjust curtains or blinds to maximize natural light. Set up additional lighting to enhance shadows and texture if needed.
Frequently Asked Questions
What Camera Settings Work Best for Indoor Home Photoshoots?
You want sharp, bright images but also dream of that soft, natural vibe—juxtaposing clarity with freedom. For indoor home photoshoots, start with aperture settings around f/2.8 to f/5.6 to let in ample light and create a cozy depth of field. Keep your shutter speed fast enough—around 1/60 or higher—to avoid blur but slow enough to embrace the room’s ambiance. Play with these to capture your unique style and freedom.
How Can I Prevent Glare From Mirrors and Glass Surfaces in Photos?
To prevent glare from mirrors and glass surfaces in photos, you’ll want to focus on strategic mirror placement and glare reduction techniques. Try angling mirrors away from direct light sources or windows to avoid harsh reflections. Using diffused lighting or softboxes can also help minimize glare. Remember, moving your camera slightly or adjusting the light’s position gives you freedom to capture clear, glare-free shots without compromising your creative vision.
Should I Use Natural or Artificial Lighting for the Shoot?
Did you know that 92% of people say natural light makes photos feel more inviting? You’ll want to embrace natural light whenever possible because it gives your images a warm, authentic vibe that artificial light often can’t match. But don’t feel boxed in—artificial light lets you control the mood and shoot anytime. So, mix both to capture your space’s true freedom and personality, adapting as the day unfolds.
What Time of Day Is Ideal for Capturing the Best Natural Light?
You’ll find the golden hour—right after sunrise or just before sunset—is perfect for capturing the best natural light. During this time, the sunlight is softer and warmer, creating a magical glow that enhances your photos. Pay attention to lighting direction; side lighting during golden hour adds depth and texture, making your shots feel alive. So, embrace these moments to bring freedom and warmth into your images effortlessly.
How Do I Handle Pets During a Home Photoshoot?
You want to manage pet preparation, minimize pet distractions, and maintain a calm atmosphere. Start by giving your pets plenty of exercise before the shoot, setting them up in a cozy spot away from the main area. You can use treats or toys to keep them entertained but out of the frame. This way, you’ll enjoy a smooth session, keep your pets happy, and capture stunning photos without interruptions.