How to Clean Your Keyboard in 10 Minutes
To clean your keyboard in 10 minutes, first unplug it and remove any loose debris by turning it upside down and using compressed air. Then, gently brush between the keys to clear dust and particles. Wipe the surface with a slightly damp microfiber cloth, avoiding excess moisture. For sticky keys, use cotton swabs with a bit of isopropyl alcohol. Once dry, reconnect your keyboard—it’ll look and feel much better. Keep going to discover easy maintenance tips for lasting cleanliness.
Gather Your Cleaning Supplies
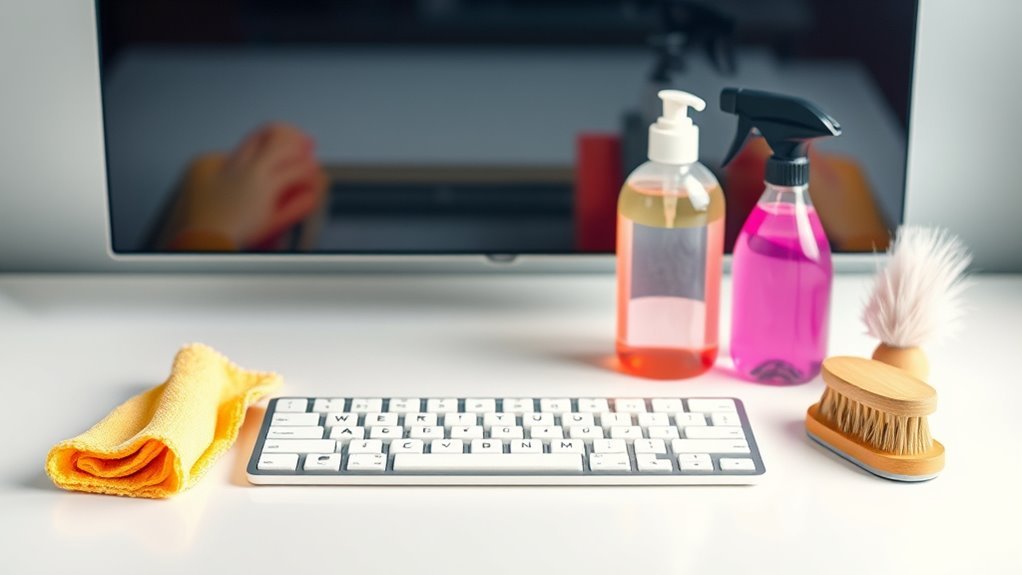
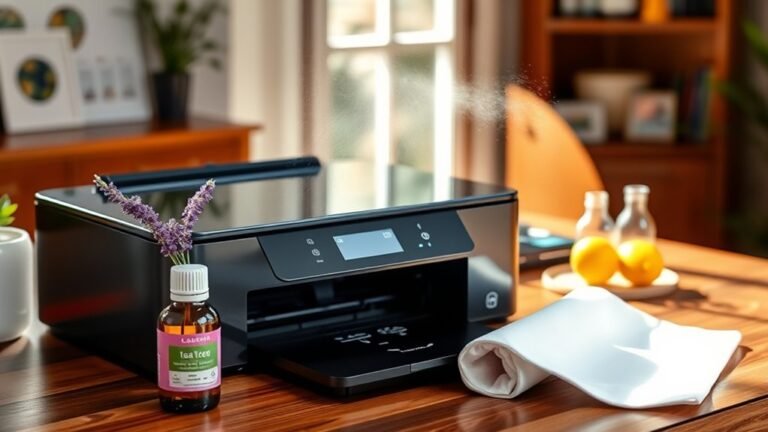
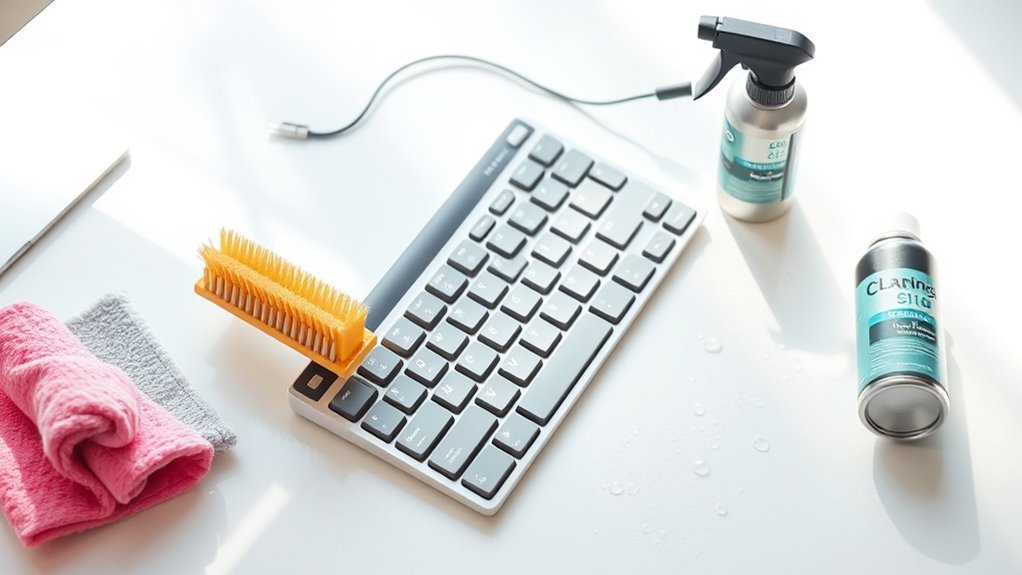
Before you start cleaning your keyboard, you’ll want to gather a few essential supplies to make the job easier and more effective. Grab some gentle cleaning solutions designed for electronics; avoid anything harsh that could damage your keys. Microfiber cloths are a must—they trap dust and grime without scratching surfaces, giving you a streak-free finish. You might also want a small brush or compressed air to reach between the keys, but your focus should be on supplies that offer freedom from sticky residue and buildup. Having the right tools ready means you can clean thoroughly and quickly, keeping your keyboard fresh without hassle. This way, you maintain control over your workspace, ensuring it stays clean and comfortable for your daily use.
Power Off and Unplug Your Keyboard
Once you’ve gathered your cleaning supplies, the next step is to make certain your keyboard is completely powered off and unplugged. Disconnecting your keyboard from all power sources is essential to avoid any electrical mishaps and keep you safe during cleaning. Whether it’s a wired connection or a wireless receiver, unplug everything before you start. Taking these safety precautions not only protects your keyboard’s internal components but also gives you the freedom to clean without worry. If your keyboard has batteries, remove them to cut off all power completely. This simple step guarantees you’re in full control and prevents accidental damage, letting you clean confidently and efficiently. Remember, a powered-down keyboard is a safe keyboard.
Remove Loose Debris and Dust
Now that your keyboard is powered off and unplugged, it’s time to get rid of loose debris and dust. You can gently shake out any particles, use compressed air to blow away dirt, or sweep the surface with a soft brush. These simple steps help keep your keyboard clean before a deeper cleaning.
Shake Out Particles
Start by turning your keyboard upside down and giving it a gentle shake to dislodge loose debris and dust. This simple step frees your keyboard from particles that settle between keys, preventing dust accumulation that hampers keyboard hygiene. You don’t need fancy tools—just your hands and gravity working together to reclaim your clean space. Shake confidently over a trash bin or cloth to catch what falls out. This quick action helps maintain your keyboard’s responsiveness and keeps germs at bay, promoting a healthier workspace. Keeping dust and crumbs from building up means fewer problems down the road and more freedom to focus on what matters. So, embrace this easy habit—it’s a small step with big benefits for your keyboard’s cleanliness and your peace of mind.
Use Compressed Air
Anyone looking to get rid of stubborn dust and debris trapped between your keyboard keys will find compressed air incredibly helpful. This tool is a quick, efficient way to liberate your keyboard from daily grime without dismantling it. For effective keyboard maintenance, follow these steps:
- Hold your keyboard at an angle to let debris fall out.
- Use short bursts of compressed air between the keys, moving systematically across the board.
- Avoid shaking the can to prevent moisture from escaping and damaging your keyboard.
Using compressed air gives you the freedom to maintain your keyboard’s cleanliness easily, extending its lifespan and enhancing your typing experience. It’s a simple, mess-free method that keeps your workspace fresh and functional.
Soft Brush Sweep
Sweep your keyboard gently with a soft brush to remove loose dust and debris that compressed air might miss. Choosing the right soft brush types—like a small paintbrush, makeup brush, or a dedicated electronics cleaning brush—ensures you don’t damage your keyboard while freeing it from grime. Focus on the spaces between keys and edges where particles hide. Using precise cleaning techniques, move the brush in short, controlled strokes to dislodge dust without pushing it deeper. This approach lets you maintain your keyboard’s freedom from dirt effortlessly, avoiding aggressive methods that risk harm. Regularly incorporating a soft brush sweep into your cleaning routine keeps your keyboard fresh, functional, and ready for action without sacrificing your time or peace of mind.
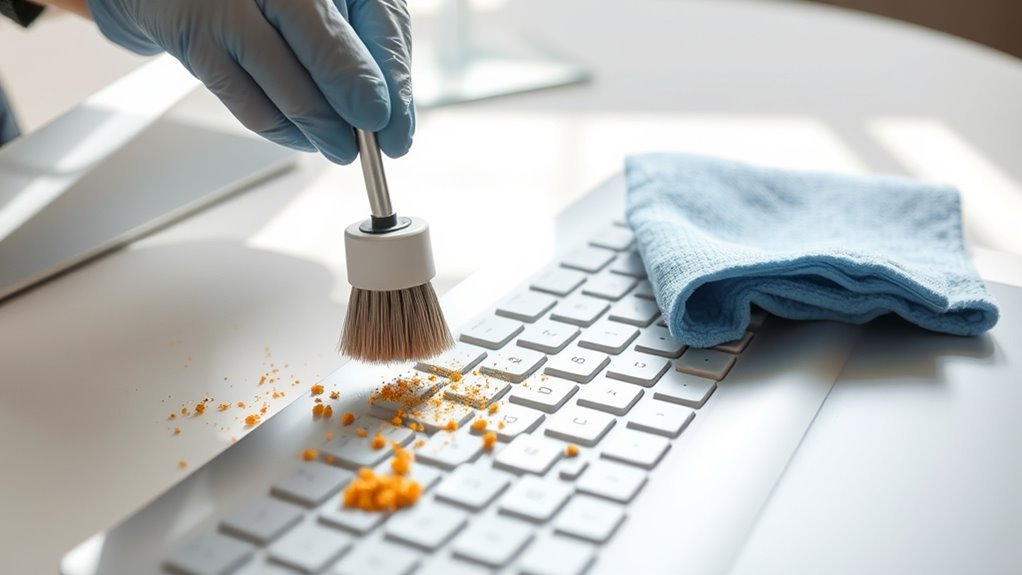
Clean Between the Keys With a Brush
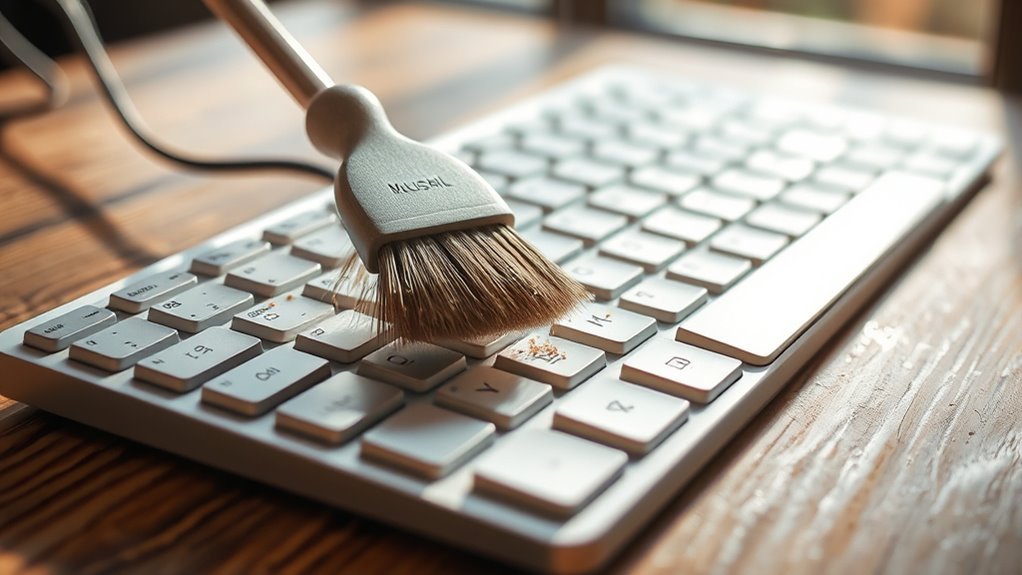
One of the most effective ways to remove dust and debris trapped between your keyboard keys is by using a small, soft brush. This simple step gives you freedom from sticky keys and keeps your keyboard performing smoothly. Mastering brush techniques is key for efficient keyboard maintenance. Here’s how to do it right:
Using a soft brush to clean between keys prevents sticky keys and ensures smooth keyboard performance.
- Choose a brush with soft bristles—like a paintbrush or a makeup brush—to avoid damaging your keys.
- Hold your keyboard at an angle, then gently sweep the brush between the keys to loosen dirt.
- Use short, controlled strokes to prevent debris from slipping deeper inside.
Wipe Down the Keyboard Surface
Grab a microfiber cloth and dampen it slightly with water or a gentle cleaning solution to wipe down your keyboard’s surface. This simple step is vital for maintaining good keyboard hygiene and guarantees surface sanitization without risking damage. Move the cloth in gentle, circular motions, covering every key and the surrounding frame. Avoid excess moisture to prevent liquid from seeping beneath the keys. Keeping your keyboard’s surface clean not only improves its appearance but also reduces germs and grime that accumulate through daily use. By regularly wiping down your keyboard, you reclaim control over your workspace’s cleanliness and protect yourself from potential contaminants. This quick surface sanitization routine helps you enjoy freedom from worries about bacteria lurking under your fingertips.
Clean Sticky or Stubborn Keys
If you notice a few keys sticking or not responding properly, it’s likely due to dirt or debris caught underneath them. Tackling sticky or stubborn keys frees you from frustration and keeps your typing smooth. Here’s how to reclaim that freedom:
- Gently pry off the problematic keycaps using a flat tool or your fingers, being careful not to damage the mechanism.
- Clean away any sticky residue with a cotton swab dipped in isopropyl alcohol, ensuring no moisture seeps into the keyboard.
- If a key remains unresponsive after cleaning, consider key replacement to restore full functionality without hassle.
Dry and Reassemble Your Keyboard
After cleaning sticky keys, you’ll want to make certain everything is completely dry before putting your keyboard back together. Moisture left behind can damage internal components or cause keys to stick again. Give your keyboard parts ample time to air dry or gently pat them with a lint-free cloth. Once dry, carefully start the keyboard assembly by placing each keycap back in its original position—this guarantees smooth function and avoids misalignment. Take your time; rushing can lead to damaged keys or improper fits. Proper keyboard maintenance includes this final step, which preserves your keyboard’s performance and longevity. By drying thoroughly and reassembling with care, you maintain your freedom to type effortlessly and confidently, keeping your workspace neat and your device reliable.
Tips for Maintaining a Clean Keyboard
Keeping your keyboard clean doesn’t have to be a chore. With the right keyboard hygiene tips and regular maintenance practices, you can keep your workspace fresh and functional without feeling trapped by constant upkeep. Here are three simple ways to maintain a clean keyboard:
- Set a schedule: Dedicate a few minutes weekly to wipe down keys and remove debris.
- Avoid eating near your keyboard: This prevents crumbs and spills that complicate cleaning.
- Use compressed air: Blow out dust and particles regularly to avoid buildup.
Frequently Asked Questions
Can I Use Compressed Air to Clean My Keyboard?
Yes, you can definitely use compressed air to clean your keyboard. Compressed air benefits you by easily blasting away dust and debris from hard-to-reach spots without taking keys off. It’s one of the best keyboard cleaning techniques if you want a quick, effective clean that frees you from sticky keys and grime. Just hold the can upright and spray between the keys to keep your keyboard fresh and functioning smoothly.
How Often Should I Deep Clean My Keyboard?
You should aim to deep clean your keyboard every few months to keep it in top shape. The cleaning frequency really depends on how often and where you use it, but regular keyboard maintenance prevents grime build-up and keeps things running smoothly. If you eat near your keyboard or share it, consider deep cleaning more often. Staying on top of this lets you enjoy a cleaner, more efficient workspace without feeling locked into a strict routine.
Are There Specific Cleaners to Avoid for Keyboards?
Did you know keyboards can harbor up to 400 times more bacteria than a toilet seat? When it comes to cleaning solutions, you’ll want to avoid anything with bleach or ammonia—they can damage your keyboard’s surface and electronics. Stick to gentle, alcohol-based cleaners or specialized keyboard wipes for effective keyboard maintenance. This way, you keep your gear fresh without risking harm, giving you the freedom to clean confidently and quickly.
Can I Clean a Mechanical Keyboard the Same Way?
You can clean a mechanical keyboard, but mechanical keyboard maintenance needs extra care. Unlike regular keyboards, you’ll want to avoid harsh liquids that damage switches. Cleaning techniques like using compressed air, a soft brush, or removing keycaps for a gentle wipe work best. This lets you keep your keyboard in top shape without risking damage, giving you the freedom to enjoy your gear longer and cleaner.
Is It Safe to Use Alcohol Wipes on Keyboard Keys?
You can use alcohol wipes for keyboard maintenance, but you’ve got to be careful. Isopropyl alcohol is generally safe for cleaning keys, but avoid over-soaking to prevent damage. If you want to keep things gentle, consider alcohol alternatives like microfiber cloths with a bit of water or specialized electronics cleaners. This way, you maintain your keyboard’s freedom to perform without risking any harm from harsh chemicals.