How to Clean Your Walls in 10 Minutes
To clean your walls in 10 minutes, gather a bucket, soft cloth, mild soap, and gloves. Mix warm water with a tablespoon of dish soap. Start by dusting from top corners downward with a microfiber cloth. Test the solution on a hidden spot, then wipe walls from top to bottom using gentle, circular motions. Quickly tackle stains without soaking the paint, then dry walls thoroughly with a cloth. Following these steps, you’ll keep your walls fresh—and there’s more to learn for stubborn grime and maintenance.
Gather Your Cleaning Supplies
Before you begin cleaning your walls, gather all necessary supplies to streamline the process. Start by selecting cleaning tools compatible with your wall materials—different surfaces like drywall, plaster, or wood demand specific care. You’ll need a soft sponge or microfiber cloth for delicate finishes and a sturdy brush for textured walls. Have a bucket ready to mix solutions if needed, and keep a step ladder nearby to reach higher areas safely. Gloves protect your hands, and a towel or drop cloth prevents floor damage. Confirm your tools won’t scratch or harm the surface; avoid abrasive scrubbers on painted walls. Organizing these supplies beforehand lets you work efficiently, freeing your mind from interruptions and ensuring a smooth, quick cleaning session. Using a microfiber cloth is especially effective for trapping dust and dirt on your walls without causing damage.
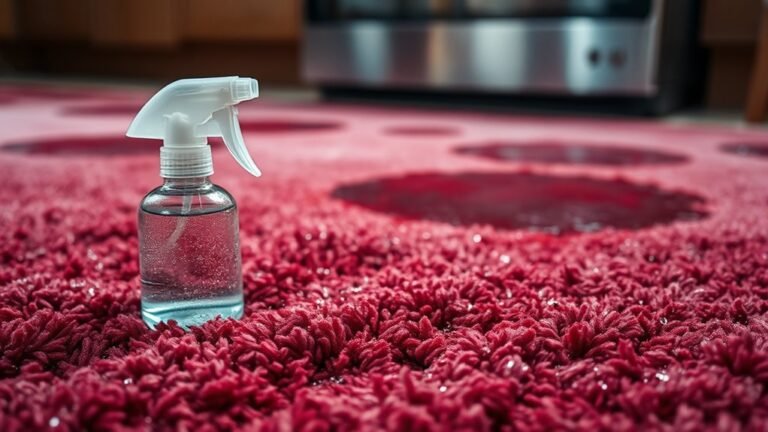
Prepare the Cleaning Solution
With your cleaning supplies ready, the next step is to prepare the right cleaning solution for your walls. Start by selecting gentle cleaning agents that won’t damage paint or wallpaper—mild dish soap or white vinegar are great choices. Mix the solution in a bucket using precise solution ratios: typically, one tablespoon of dish soap or half a cup of vinegar per gallon of warm water. Avoid harsh chemicals that can strip finishes or leave residue. Stir the solution thoroughly to guarantee even distribution of cleaning agents. If you’re dealing with stubborn stains, slightly increase the concentration but test a small area first. Preparing your cleaning solution carefully lets you clean efficiently while protecting your walls, giving you the freedom to enjoy spotless rooms without damage or extra work. It’s important to use gentle, non-abrasive cleaners to maintain the integrity of your wall surfaces.
Remove Dust and Cobwebs

Start by removing dust and cobwebs from your walls using a microfiber cloth or a soft-bristled brush. Work methodically from the top corners downward, focusing on areas prone to cobweb buildup like ceiling edges and behind furniture. Microfiber is ideal for dust removal as it traps particles without spreading them around. For stubborn cobwebs, gently brush them away, ensuring you don’t damage the paint or wallpaper. Regular dust removal not only keeps walls looking fresh but also supports cobweb prevention by disrupting spider habitats. Don’t rush this step; thoroughness now means less frequent cleaning later. Once all dust and cobwebs are gone, you’re set to tackle stains and grime with your cleaning solution, making the entire process efficient and freeing you from constant wall maintenance. Using microfiber cloths ensures effective trapping of dust particles, enhancing your cleaning results.
Test the Cleaning Solution on a Small Area
Before applying your cleaning solution to the entire wall, pick a hidden spot like behind a piece of furniture. Apply a small amount and wait a few minutes to check for any discoloration or damage. This step helps guarantee your solution won’t harm the paint or wallpaper.
Choose a Hidden Spot
One essential step in cleaning your walls is to test the cleaning solution on a small, hidden area first. Choosing the right hidden spot helps you avoid damaging visible surfaces and accounts for different wall textures that might react uniquely. Look for places like:
- Behind a light switch plate
- Inside a closet corner
- Along baseboards or molding edges
- Behind furniture edges
These hidden areas let you safely assess how the solution interacts with your wall’s paint or wallpaper without risking noticeable damage. Testing here gives you the freedom to adjust your cleaning approach confidently. Always remember: wall textures can absorb or repel cleaners differently, so a small trial run guarantees the best results before you tackle larger, more visible sections.
Observe for Discoloration
How can you be sure your cleaning solution won’t cause discoloration or damage? Before tackling the entire wall, apply the solution to a small, hidden area. This step is essential for discoloration prevention. Discoloration causes often include harsh chemicals reacting with paint or wallpaper finishes. After applying, wait at least 5 minutes, then observe closely. Look for changes in color, texture, or sheen. If you notice any fading, streaks, or blotches, stop immediately to avoid further damage. Testing this way lets you identify any adverse reactions without risking visible spots. If the test area remains unchanged, you can confidently proceed, knowing you’ve minimized the risk of discoloration. This methodical approach keeps your walls looking fresh and preserves your freedom to clean boldly.
Start From the Top and Work Down

Although it might seem easier to clean walls from the bottom up, starting from the top prevents dirt and grime from dripping onto already cleaned areas. This method guarantees your efforts aren’t wasted and maintains a streak-free finish. When applying cleaning techniques, always consider the specific wall materials to avoid damage. Here’s how to proceed:
Begin cleaning walls from the top down to avoid streaks and protect your hard work from dirt drips.
- Begin at the ceiling line or crown molding, moving horizontally.
- Use gentle, controlled motions to loosen dust and dirt.
- Work your way down systematically, section by section.
- Pay close attention to corners and edges where grime accumulates.
Additionally, using pH-neutral cleaners appropriate for your wall surface can help avoid damage and maintain cleanliness.
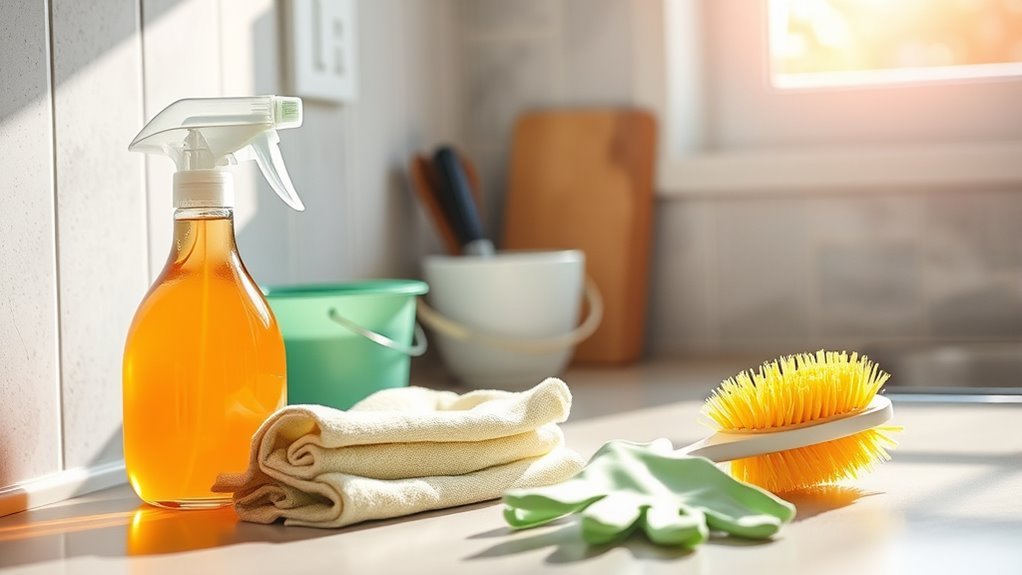
Use a Soft Cloth or Sponge
You’ll want to use a soft cloth or sponge to clean your walls, as these materials minimize the risk of damage. Avoid abrasive tools like scrub brushes or rough sponges that can scratch or strip paint. Selecting gentle cleaning tools guarantees you remove dirt effectively without harming the surface. It’s also important to use mild cleaning solutions that are tested on small areas first to protect your walls’ finish.
Choose Gentle Cleaning Tools
Selecting the right cleaning tools is essential to protect your walls from damage. You want to choose gentle, effective options that won’t strip paint or leave scratches. Opt for soft cloths or sponges designed specifically for wall-safe products. Consider eco friendly options that clean thoroughly without harsh chemicals, giving you freedom from toxic residues. When picking your tools, keep these in mind:
- Microfiber cloths: absorbent, reusable, and gentle
- Natural sponges: biodegradable and soft on surfaces
- Non-abrasive scrubbing pads: effective yet safe
- Eco friendly cleaning cloths: sustainable and durable
Avoid Abrasive Materials
Since harsh materials can easily damage your walls, it’s important to avoid abrasive tools when cleaning. Abrasive materials like steel wool, rough brushes, or scouring pads can scratch or strip paint, especially on delicate wall types such as drywall or plaster. Instead, use a soft cloth or sponge to gently lift dirt and grime without harming the surface. For textured or painted walls, this approach preserves the finish and prevents discoloration. Always test your cleaning method on a small, inconspicuous area first. By choosing non-abrasive materials, you maintain your walls’ integrity and extend their lifespan. This method gives you the freedom to clean effectively without fear of causing irreversible damage, ensuring your walls stay fresh and vibrant with minimal effort.
Focus on Stubborn Stains
Although regular cleaning removes most dirt, stubborn stains require a targeted approach to avoid damaging your walls. For effective stain removal while ensuring wall protection, follow these steps:
- Identify the stain type to choose the right cleaning agent.
- Test a small, hidden area to prevent discoloration or damage.
- Use a soft cloth or sponge with gentle, circular motions to lift the stain.
- Avoid excessive moisture that can weaken paint or drywall.
- Always act quickly when a marker stain occurs for the best outcomes to minimize permanent damage and health risks related to marker types.
Dry the Walls Thoroughly
After cleaning, you’ll need to dry your walls thoroughly to prevent moisture damage and mold growth. Proper humidity control is essential, especially since different wall materials absorb water differently. Use a dry microfiber cloth or a fan to speed up drying. Avoid closing windows to keep air circulating.
| Wall Material | Best Drying Method |
|---|---|
| Painted Drywall | Microfiber cloth + fan |
| Wallpaper | Air drying, avoid rubbing |
| Wood Paneling | Soft cloth, dehumidifier |
| Tile & Ceramic | Wipe dry with towel |
| Plaster | Gentle air flow |
Maintain Clean Walls Regularly
Keeping your walls clean on a regular basis prevents buildup and extends their lifespan. Effective wall maintenance relies on setting a consistent cleaning frequency tailored to your home’s needs. Here’s how you can maintain your walls effortlessly:
Regularly cleaning your walls prevents buildup and helps extend their lifespan with consistent care.
- Schedule light dusting every 1-2 weeks to avoid dirt accumulation.
- Perform a gentle wash with mild detergent monthly to remove stains.
- Inspect walls quarterly for damage or discoloration to address issues early.
- Use spot cleaning immediately on any marks or spills to prevent permanent stains.
- Regularly dusting with a microfiber cloth helps remove dust gently without damaging surfaces.
Frequently Asked Questions
Can I Use Vinegar to Clean Painted Walls?
You can definitely use vinegar to clean painted walls, but you should test a small area first to verify vinegar effectiveness without damaging the painted surface. Vinegar’s mild acidity helps break down grime and grease, making it a natural cleaner. Mix one part vinegar with three parts water, apply gently with a soft cloth, and avoid scrubbing harshly. This method keeps your walls fresh while respecting their finish.
How Often Should I Deep Clean My Walls?
In the spirit of a Victorian meticulousness, you should consider frequency recommendations for deep cleaning your walls at least twice a year. This methodical approach guarantees any grime or buildup doesn’t compromise your living space. Depending on wall cleaning methods—like gentle soap solutions or vinegar mixtures—you can adjust frequency if you have pets or kids. Staying consistent grants you the freedom to enjoy fresh, vibrant walls without overwhelming effort.
What Should I Avoid When Cleaning Wallpaper?
When cleaning wallpaper, you should avoid harsh cleaning solutions that can damage delicate wall types like vinyl or fabric-covered walls. Steer clear of excessive water and abrasive scrubbers, as they may cause peeling or discoloration. Instead, use mild, wallpaper-safe cleaning solutions applied gently with a soft cloth. Testing a small, hidden area first helps guarantee you don’t harm the wallpaper. This method keeps your walls fresh without risking damage or restrictive repairs.
Are There Eco-Friendly Wall Cleaning Products?
Coincidentally, you don’t have to sacrifice your values to keep your walls spotless. Eco-friendly wall cleaning products abound, made from natural cleaners like vinegar, baking soda, and lemon juice. If you prefer control, DIY solutions let you mix your own effective, toxin-free cleaners. Just combine these ingredients with water, apply gently, and rinse. This method keeps your home fresh while respecting the environment, giving you the freedom to clean responsibly and efficiently.
Can Wall Cleaning Remove Mold or Mildew?
Yes, wall cleaning can help with mold removal, but it’s just the start. You’ll need a cleaner designed to kill mold spores, like a mixture of vinegar and water or a commercial mold remover. After cleaning, focus on mildew prevention by keeping walls dry and ventilated to stop mold from coming back. Regular cleaning combined with moisture control gives you the freedom to enjoy a healthier, mold-free space.