How to Clean Your Washer in 10 Minutes
To clean your washer in 10 minutes, start by wiping the exterior and detergent dispenser with a damp microfiber cloth. Remove the dispenser tray to scrub away residue. Next, wipe down the rubber gasket, paying attention to crevices where mold gathers. Run a short hot water cycle adding two cups of white vinegar to sanitize and remove odors, followed by half a cup of baking soda to break down buildup. Leave the door open to air out. Follow these steps, and you’ll uncover more tips to maintain your washer’s peak performance.
Gather Your Cleaning Supplies
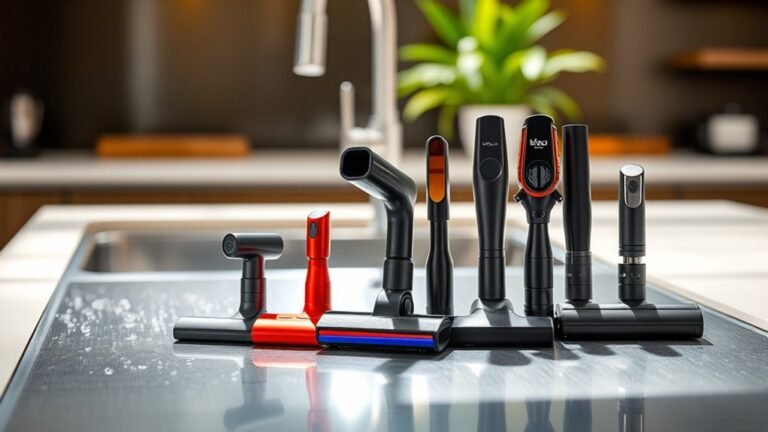
Before you begin cleaning your washer, make certain you’ve gathered all necessary supplies. Having the right cleaning tools and essential supplies on hand will streamline the process and guarantee effectiveness. You’ll need a microfiber cloth or sponge for wiping surfaces, a soft-bristle brush to reach crevices, and a measuring cup for accurate detergent use. Essential supplies include white vinegar or a specialized washing machine cleaner, baking soda to neutralize odors, and liquid detergent. Avoid abrasive cleaners that can damage the washer’s interior. Gloves are recommended to protect your hands. Assemble these items within easy reach to maintain momentum during cleaning. Prepping your cleaning tools and essential supplies beforehand grants you the freedom to complete the task efficiently and move on quickly to using your freshly cleaned washer. Regular cleaning also helps prevent mold buildup that can damage your machine and affect health.
Prepare the Washer for Cleaning
Although it may seem straightforward, properly preparing your washer is essential for an effective cleaning cycle. Follow this pre cleaning checklist to guarantee ideal results and maintain your freedom from frequent breakdowns. First, unplug the washer to avoid electrical hazards. Next, remove any laundry and clear the detergent dispensers of residue. Finally, inspect hoses and connections for leaks or damage as part of essential washer maintenance tips.
- Unplug the unit to guarantee safety
- Empty and clean detergent compartments
- Check hoses for wear or leaks
Completing these steps sets the stage for a thorough, efficient cleaning process. Skipping preparation compromises cleaning effectiveness and can lead to costly repairs down the line. Use this checklist every time to keep your washer running smoothly and extend its lifespan. Additionally, ensuring proper ventilation and avoiding moisture buildup can help prevent mold growth inside the appliance.
Wipe Down the Exterior Surfaces

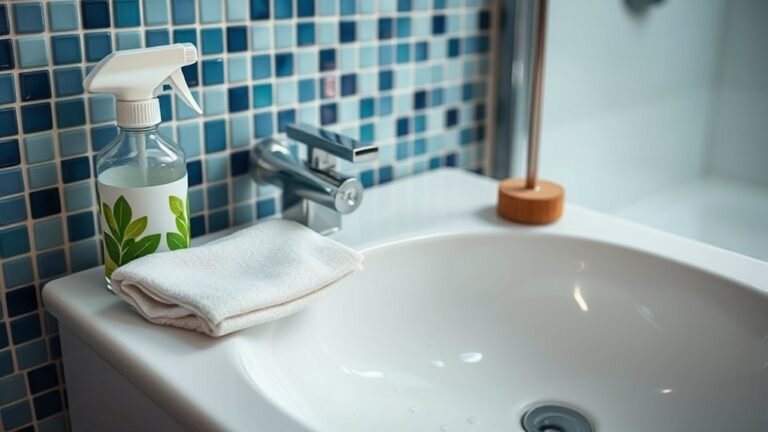
Once you’ve prepared your washer by unplugging it and clearing out detergent compartments, it’s important to address the exterior surfaces. Start by selecting a soft microfiber cloth to avoid scratches. Dampen it slightly with a mild all-purpose cleaner or a solution of equal parts water and white vinegar. Gently wipe down all exterior panels, knobs, and handles in smooth, circular motions. This removes dirt, grime, and detergent buildup that dulls the finish. After cleaning, use a dry cloth to buff the surfaces, enhancing the exterior shine. For long-term surface protection, avoid abrasive cleaners or harsh chemicals that can strip finishes. Regularly wiping down your washer’s exterior not only maintains its appearance but also preserves its integrity, giving you the freedom to enjoy a clean, well-kept appliance. Additionally, paying attention to regular cleaning techniques helps prevent grime accumulation and maintains optimal appliance performance.
Clean the Detergent Dispenser
Cleaning the detergent dispenser is essential to prevent residue buildup that can clog the compartment and affect your washer’s performance. Start by removing the dispenser tray carefully. Soak it in warm, soapy water to loosen detergent buildup. Use a small brush or toothbrush to scrub all crevices thoroughly. For dispenser cleaning inside the washer, wipe down the compartment with a damp cloth, guaranteeing no residue remains.
Here’s how to guarantee freedom from detergent buildup:
- Soak and scrub the dispenser tray to remove hardened detergent.
- Clean the compartment walls and corners with a cloth or brush.
- Rinse the tray and compartment with warm water to clear residue.
Regular dispenser cleaning maintains peak detergent flow and prevents blockages that affect wash quality.
Run a Hot Water Cycle With Vinegar
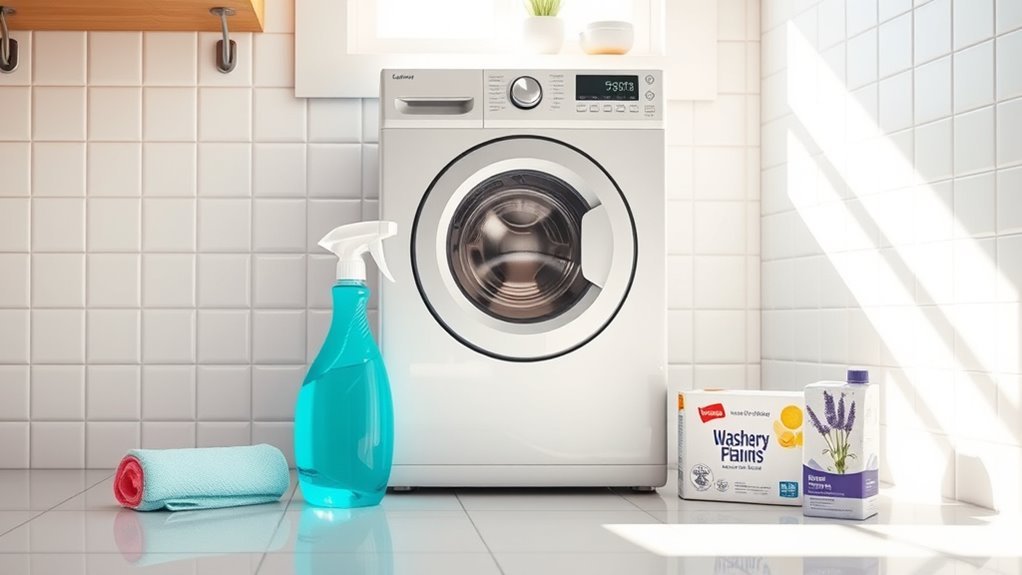
You’ll run a hot water cycle with vinegar to remove buildup and eliminate odors effectively. Start by adding two cups of white vinegar directly into the drum, then select the hottest and longest wash cycle available. This process disinfects, breaks down residue, and keeps your washer running efficiently.
Benefits of Vinegar
Although many cleaning agents are available, vinegar remains one of the most effective and affordable options for maintaining your washer. Using vinegar as a natural cleaner leverages its acidity to break down mineral deposits, soap scum, and mold buildup efficiently. The vinegar benefits include:
- Dissolving hard water residue that compromises washer performance
- Neutralizing odors caused by mildew or detergent buildup
- Preventing future buildup by maintaining a clean internal environment
Step-by-Step Instructions
To harness vinegar’s cleaning power, start by running a hot water cycle in your washer. First, set your machine to the hottest and longest wash cycle available. Next, pour two cups of white distilled vinegar directly into the drum or detergent dispenser. Avoid adding detergent during this cycle. As the washer fills, the vinegar will mix with hot water, breaking down mineral deposits, soap scum, and bacteria. Once the cycle completes, wipe down the drum, door, and rubber gaskets with a clean cloth to remove loosened residue. For peak washer maintenance, repeat this process monthly to prevent buildup and odors. These cleaning tips guarantee your machine operates efficiently, prolonging its lifespan and giving you the freedom to enjoy fresh, clean laundry without hassle.
Scrub the Drum and Door Seal
Start by wiping down the drum and door seal with a damp cloth to remove any loose debris or detergent buildup. Effective drum cleaning and seal maintenance prevent mold, odors, and residue accumulation. Next, prepare a mild cleaning solution with equal parts water and white vinegar or a gentle detergent. Dip a soft brush or cloth into the solution, then:
Begin by wiping drum and seal to remove debris, then clean with mild vinegar solution to prevent mold and odors.
- Scrub the drum surfaces gently to remove stains or buildup without damaging the metal.
- Clean the door seal thoroughly, focusing on folds where moisture collects.
- Wipe dry immediately to prevent water spots and mildew growth.
Regularly maintaining these components guarantees your washer stays efficient and odor-free, giving you the freedom to enjoy fresh, clean laundry without hassle. Additionally, cleaning door seals regularly helps prevent grime buildup and extends the lifespan of your appliance.
Clean the Rubber Gasket Thoroughly
You need to carefully remove any mold and mildew from the rubber gasket to prevent odors and damage. Inspect the gasket for tears or buildup that could affect the seal’s effectiveness. Use a cloth and a suitable cleaner to thoroughly wipe all folds and crevices. For best results and to avoid damage, use gentle, non-abrasive cleaners designed for delicate surfaces like rubber.
Remove Mold and Mildew
Although mold and mildew often hide in plain sight, cleaning the rubber gasket thoroughly is vital to prevent buildup and maintain your washer’s efficiency. For effective mold prevention and mildew removal, follow these steps:
- Apply a mixture of equal parts water and white vinegar to the gasket, allowing it to sit for 10 minutes to break down residues.
- Use a soft-bristle brush to scrub the gasket, focusing on folds and crevices where mold thrives.
- Wipe the gasket dry with a clean cloth, making sure no moisture remains to discourage future mold growth.
Perform this routine regularly, especially after washing heavy loads or damp items. Keeping the gasket dry and clean not only extends your washer’s lifespan but also guarantees your laundry stays fresh and free from unpleasant odors.
Inspect and Clean Seals
Maintaining the rubber gasket goes beyond removing mold and mildew; inspecting and cleaning all seals guarantees your washer operates effectively and prevents leaks. Start with a thorough seal inspection by gently pulling back the rubber gasket around the door. Look for tears, debris, or trapped moisture that promote mold buildup. Use a soft cloth dampened with a 1:1 vinegar and water solution to wipe down the entire gasket surface, paying special attention to crevices where mold hides. Avoid harsh chemicals that can degrade the rubber. After mold removal, dry the gasket completely to prevent future growth. Repeat this process monthly to maintain peak seal integrity and guarantee your washer remains leak-free and efficient, offering you the freedom to wash without worry.
Run a Second Hot Water Cycle With Baking Soda
After completing the initial cleaning cycle, run a second hot water cycle, adding half a cup of baking soda directly into the drum. This step leverages baking soda benefits to neutralize odors and break down residue, enhancing your washer’s cleanliness. The hot water cycle activates the baking soda’s natural cleaning power, loosening grime and disinfecting surfaces without harsh chemicals.
During this cycle, visualize:
- Hot water saturating the drum, dissolving stubborn buildup
- Baking soda reacting with residues, lifting dirt effectively
- Fresh, neutralized scents replacing musty odors
This process guarantees your washer stays efficient and odor-free, giving you more freedom from frequent deep cleans. Follow this routine regularly to maintain ideal performance and extend your washer’s lifespan. Adding natural cleaners like baking soda is an affordable and eco-friendly method to keep appliances fresh and chemical-free.
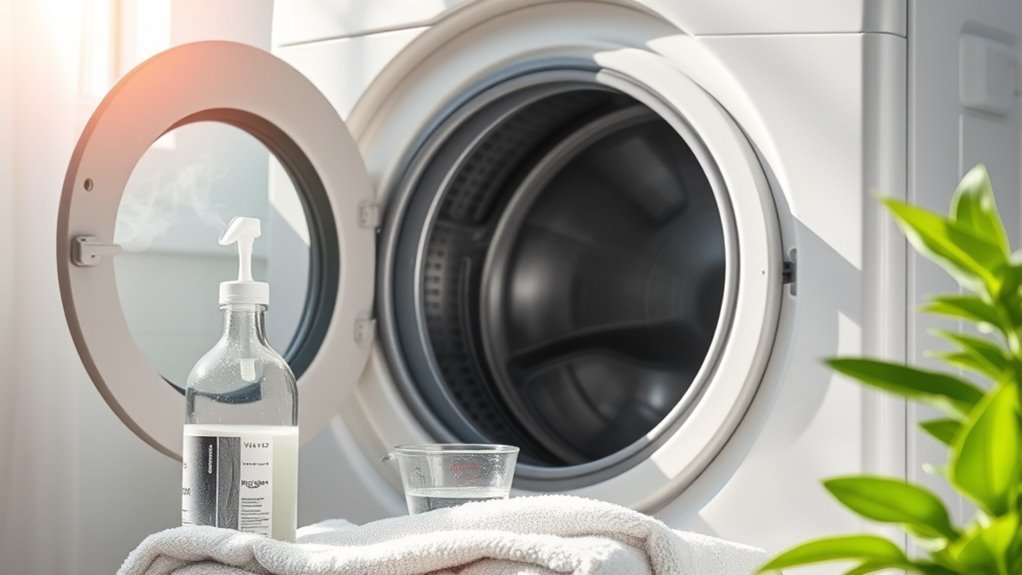
Dry the Washer Interior and Leave the Door Open
Once the cleaning cycles are complete, you should thoroughly dry the washer interior using a clean cloth to prevent moisture buildup. Moisture left inside encourages mold and mildew growth, compromising washer maintenance and air quality. Pay close attention to the drum, gasket, and detergent dispenser areas. After drying, leave the washer door open for several hours or overnight. This practice promotes airflow and helps evaporate residual moisture, enhancing door hygiene and reducing odor formation. Consistently drying and airing out the washer prevents bacteria proliferation and extends appliance lifespan. Incorporate this step into your routine to guarantee peak performance and hygiene. By maintaining a dry, well-ventilated interior, you free yourself from frequent deep cleans and protect your laundry investment. Using effective cleaning tools regularly will further maintain cleanliness and prevent buildup inside your washer.
Maintain Your Washer’s Freshness Regularly
Regularly running a cleaning cycle at least once a month helps keep your washer smelling fresh and operating effectively. To maintain your washer’s freshness regularly, integrate these essential washer maintenance tips into your freshness routine:
- Use washing machine cleaner or a vinegar-baking soda mix to break down residue and prevent mold buildup.
- Leave the door and detergent drawer open after use to allow air circulation and moisture evaporation.
- Wipe down seals and gaskets weekly to remove trapped debris and prevent odor-causing bacteria.
- Following a consistent routine ensures the long-term effectiveness and safety of your appliance.
Sticking to this freshness routine not only extends your washer’s lifespan but also frees you from unpleasant smells and costly repairs. Consistency in these simple steps guarantees your machine runs efficiently, giving you the freedom to focus on what matters most.
Frequently Asked Questions
Can I Use Bleach Instead of Vinegar for Cleaning My Washer?
You can use bleach instead of vinegar for cleaning your washer, but be cautious. Bleach effectiveness in removing mold and bacteria is high, yet it can be harsh on washer components if overused. Confirm washer safety by running a full rinse cycle after applying bleach to prevent damage or residue. Avoid mixing bleach with other cleaners. Vinegar is gentler but less powerful; choose based on your washer’s material and cleaning needs.
How Often Should I Deep Clean My Washing Machine?
You don’t want your washer turning into a science experiment! For ideal washer maintenance tips, aim for a deep cleaning frequency of once every one to three months. This keeps grime, mold, and odors at bay, ensuring your machine runs efficiently and lasts longer. If you use your washer heavily or notice funky smells, clean it more often. Regular deep cleaning frees you from costly repairs and keeps your laundry fresh and effortless.
Will Cleaning My Washer Improve Its Energy Efficiency?
Yes, cleaning your washer improves energy efficiency by removing residue that forces the machine to work harder. This leads to noticeable energy savings on your utility bills. Regular maintenance also prevents wear and tear, enhancing your machine’s longevity. By ensuring peak performance, you avoid unnecessary repairs and replacements, giving you the freedom to rely on your washer without interruptions while saving energy and extending its lifespan.
Can I Clean My Washer With Essential Oils?
You can clean your washer with essential oils as natural alternatives to harsh chemicals. Add a few drops of tea tree or eucalyptus oil to a hot water cycle; these oils have antimicrobial properties that help eliminate odors and bacteria. Avoid pouring oils directly onto rubber seals to prevent damage. This method keeps your washer fresh while preserving your freedom from synthetic cleaners, combining effectiveness with eco-friendly simplicity.
Is It Safe to Use Commercial Washing Machine Cleaners?
You can safely use commercial washing machine cleaners, as they’re designed for effective removal of grime, mold, and detergent buildup. However, be aware of safety concerns—always follow the instructions carefully, wear gloves if recommended, and guarantee proper ventilation. Their commercial cleaner effectiveness often surpasses homemade solutions, giving you freedom from stubborn residues. Just avoid mixing them with other chemicals to prevent hazardous reactions, keeping your washer clean without risk.