How to Clear a Trail in the Woods by Hand
To clear a trail in the woods by hand, start by evaluating the area for obstacles and hazards. Gather essential tools like a shovel, pruning shears, and a rake. Remove debris, overgrown vegetation, and any litter while keeping safety in mind—wear gloves and protective eyewear. Dispose of waste responsibly. To maintain the trail, conduct regular inspections and involve the community. With a little effort, you can create a welcoming path in nature, and there’s more to explore on this topic!
##
If you’re eager to embark on the rewarding journey of clearing a trail in the woods, you’re in the right place! In this article, we will guide you through the essential steps to effectively assess your surroundings before diving into trail maintenance. From identifying natural obstacles like fallen branches and rocks to understanding the terrain’s unique challenges, you’ll gain valuable insights that will aid in creating a safe and enjoyable path for all hikers. By the end of this guide, you’ll be equipped with the knowledge and strategies needed to transform a rugged trail into a welcoming pathway, ensuring a positive outdoor experience for yourself and fellow adventurers.
Before you grab your tools and head into the woods, it’s important to get yourself organized for the task ahead. Start with a thorough trail assessment; walk the area to identify obstacles, overgrowth, and any potential hazards. This’ll help you visualize your route and the work needed. Next, engage in route planning—decide the most efficient path to take and how to tackle tricky spots. Consider the flow of the trail; you want to enhance its natural beauty while ensuring it’s safe for others. Remember to take notes on your findings, as they’ll guide you during the clearing process. With a solid plan in place, you’ll be ready to embrace the freedom of the great outdoors and make that trail shine!
Tools and Chemical Required
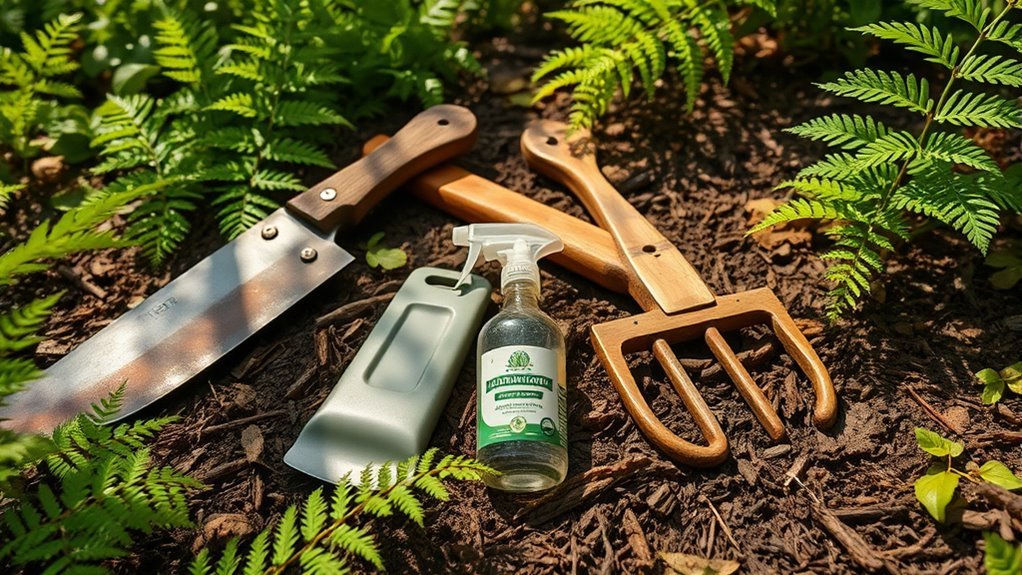
To effectively clear a trail, you’ll need a set of essential tools and, in some cases, chemicals that can aid in the process. Starting with hand tools, a sturdy shovel, pruning shears, and a rake are crucial for removing debris and shaping the trail.
Here’s a quick reference table to help you gather what you need:
| Tool | Purpose | Chemical Solution |
|---|---|---|
| Shovel | Digging and removing soil | N/A |
| Pruning Shears | Cutting overgrown branches | Herbicide (if necessary) |
| Rake | Leveling and smoothing ground | N/A |
How to Clean:
How to Clean a Trail: A Step-by-Step Guide
Cleaning a trail effectively requires a systematic approach, ensuring that you leave the path clear and safe for all users. Proper trail maintenance involves regular checks and debris removal. Follow these steps to clean your trail:
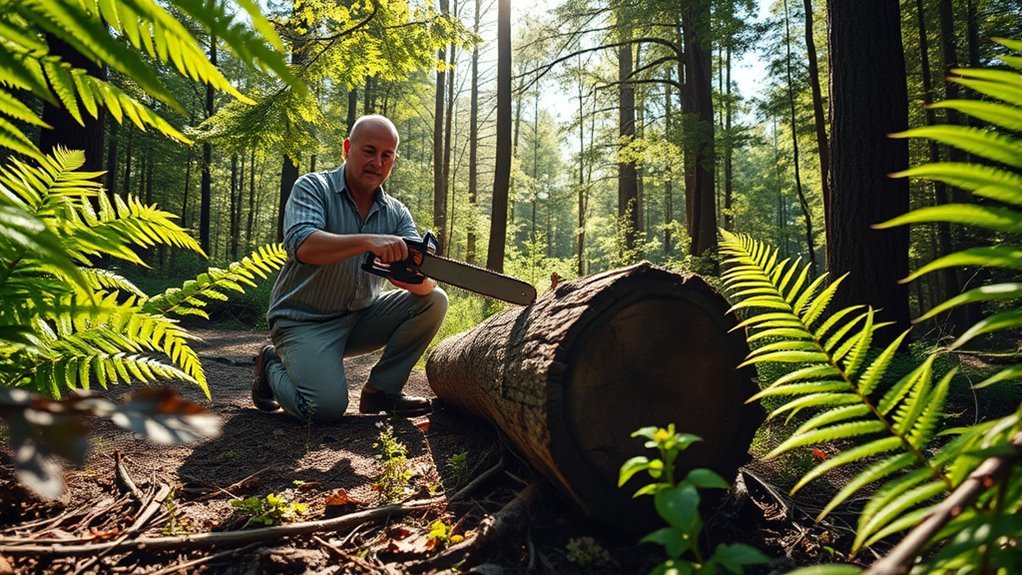
Step 1: Inspect the Area
- Walk the Trail: Begin by thoroughly walking the entire length of the trail to assess its condition.
- Identify Hazards: Look for fallen branches, loose rocks, overgrown vegetation, and any other obstructions that may pose a danger to users.
- Take Notes: Make a list of specific areas that require attention, so you can prioritize your cleaning efforts.
Step 2: Gather Tools
- Select Appropriate Tools: Collect the necessary tools to assist with trail cleaning:
- Loppers: For cutting back overgrown vegetation and branches.
- Rake: For gathering leaves, small debris, and for leveling the trail surface.
- Shovel: For moving larger debris or soil, especially in areas where erosion has occurred.
- Safety Gear: Don’t forget to wear gloves to protect your hands and sturdy boots for safety.
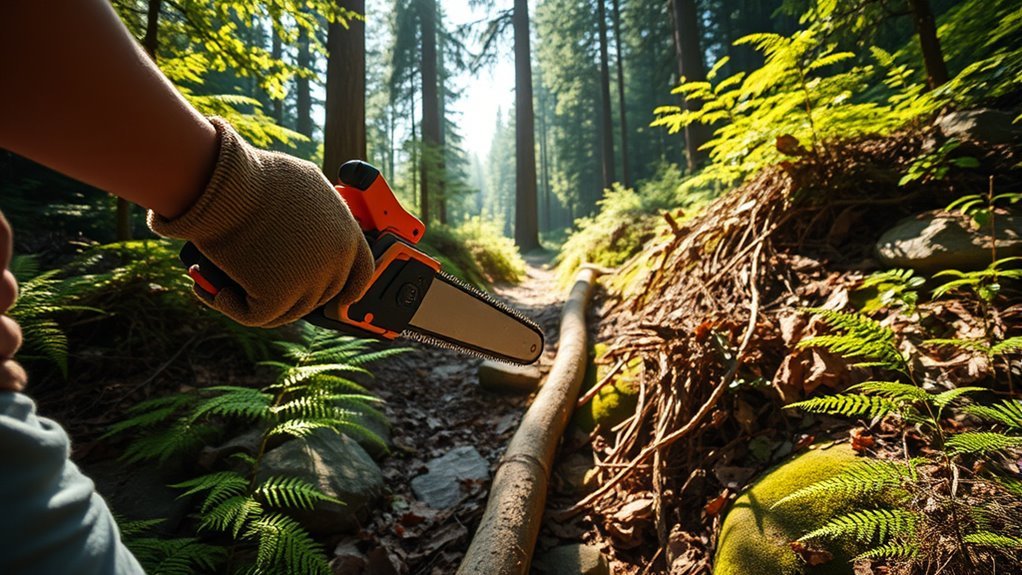
Step 3: Remove Debris
- Clear the Path: Start at one end of the trail and work your way to the other end, removing all identified debris.
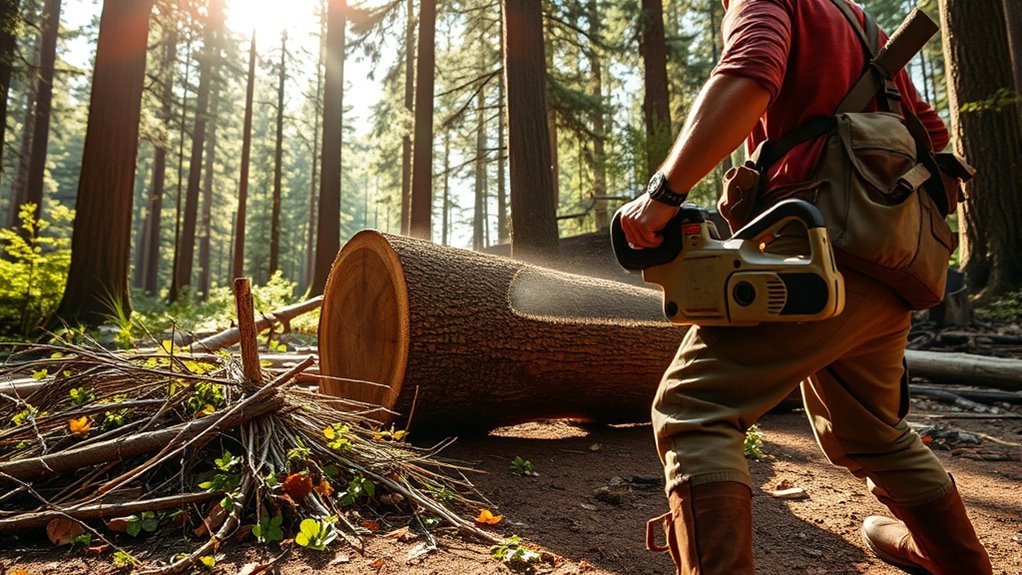
- Branches and Logs: Cut and remove any fallen branches or logs that obstruct the trail.
- Litter: Pick up any trash or litter that may have accumulated along the trail.
- Vegetation: Trim back any overgrown plants that encroach on the trail, ensuring it remains wide enough for all users.
- Leave No Trace: Dispose of the debris in a responsible manner, either by taking it with you or using designated disposal areas.
Step 4: Check Drainage
- Examine Drainage Features: Look for ditches, culverts, and natural drainage paths to ensure they are clear and functioning properly.
- Ensure Water Flow: Make sure that water can flow off the trail easily to prevent pooling and erosion.
- Fix Drainage Issues: If you find any blockages or areas where water tends to accumulate, use your shovel to redirect the flow and create a proper drainage channel.
Safety Consideration
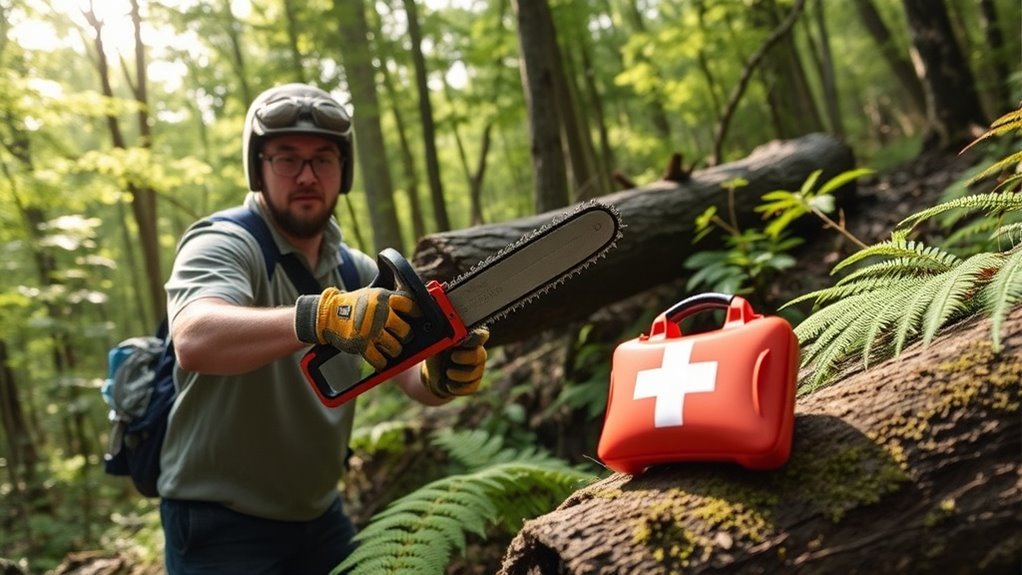
While you’re focused on clearing the trail, it is vital to keep safety at the forefront of your efforts. Always carry a basic first aid kit—accidents can happen when you’re swinging tools or maneuvering uneven terrain. Before you start, take a moment to assess your surroundings; be aware of your environment and any potential wildlife encounters. It’s important to maintain wildlife awareness, especially in areas where bears or snakes might be present. Make noise while working to avoid surprising any animals. Wear sturdy gloves and protective eyewear to safeguard against splinters or flying debris. Finally, let someone know your plans and estimated return time, so you’re not alone if something goes wrong. Your safety is as important as the trail you’re clearing!
Tips to keep clean for long time
Maintaining a clean trail for the long term requires a proactive approach to both your clearing efforts and ongoing maintenance. By incorporating eco-friendly practices and sustainable methods, you can keep your trail looking great while protecting the environment. Here are some tips to help you out:
- Regular Inspections: Walk the trail often to identify debris or erosion issues early.
- Natural Barriers: Use fallen branches or rocks to create natural barriers, preventing soil erosion.
- Community Involvement: Organize clean-up days with friends or local groups to foster a sense of responsibility.
- Educate Others: Share best practices with fellow trail users to encourage respectful usage of the space.
Frequently Asked Questions
How Do I Choose the Best Location for My Trail?
To choose the best location for your trail, consider the terrain types and desired trail width. Look for areas with stable soil, avoiding steep slopes or wetlands. Aim for a path that flows naturally with the landscape, minimizing disruption. Factor in accessibility and safety, ensuring it’s suitable for various users. By considering these elements, you’ll create a trail that invites exploration and freedom while respecting the environment. Happy trailblazing!
What Wildlife Should I Be Aware of While Clearing?
When you’re out there, clearing trails like a pioneer, be mindful of wildlife encounters. You might run into deer, bears, or snakes, so it’s smart to know your safety precautions. Keep your distance, make noise to avoid surprising them, and carry bear spray if you’re in bear territory. Always check for signs of animal activity along your path. Respecting their space guarantees both your safety and the well-being of the local ecosystem.
Can I Clear a Trail During Rainy Weather?
You can clear a trail during rainy conditions, but it’s essential to prioritize trail safety. Wet ground can make it slippery and unstable, increasing your risk of injury. If you decide to proceed, wear proper footwear and be cautious of your footing. Also, try to avoid damaging the soil, as muddy trails can lead to erosion. If the rain’s heavy, it might be better to wait for clearer skies to guarantee a safer experience.
How Often Should I Maintain the Trail After Clearing?
To keep your trail in tip-top shape, aim for regular maintenance every few months, especially after storms. Seasonal maintenance tips suggest checking for overgrowth in spring, clearing debris in summer, and ensuring drainage in fall. You’re not just preserving a path; you’re promoting freedom and accessibility for fellow adventurers. So, grab your tools and embrace the rhythm of routine. With dedication, your trail can thrive, welcoming wanderers year-round!
What Should I Do With Removed Vegetation?
When you remove vegetation, you’ve got a few options. First, consider composting. It’s a great way to recycle organic material, enriching the soil for future growth. If that’s not feasible, think about disposal methods like chipping or burning, but check local regulations first. You can also pile it up in a designated area for wildlife habitats. Whatever you choose, guarantee it aligns with your vision of maintaining a natural, free environment.