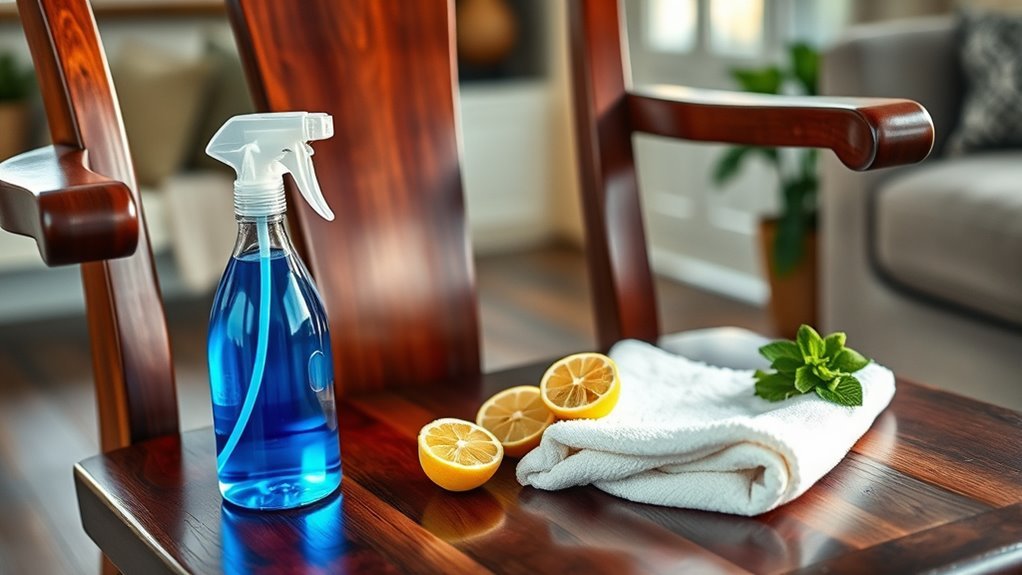
How to Make Homemade Chair Cleaner
You can make a homemade chair cleaner by mixing distilled water, white vinegar, and a teaspoon of liquid Castile soap in a spray bottle. For upholstery, dilute vinegar with water and always test on a hidden spot first to avoid damage. For leather, add mild soap to the water-vinegar mix and follow with a leather conditioner after cleaning. Sprinkle baking soda on stains before vacuuming for extra stain removal. Keep your solution airtight and use it sparingly. More tips on fabric-specific methods and testing come next.
Essential Ingredients for Homemade Chair Cleaner
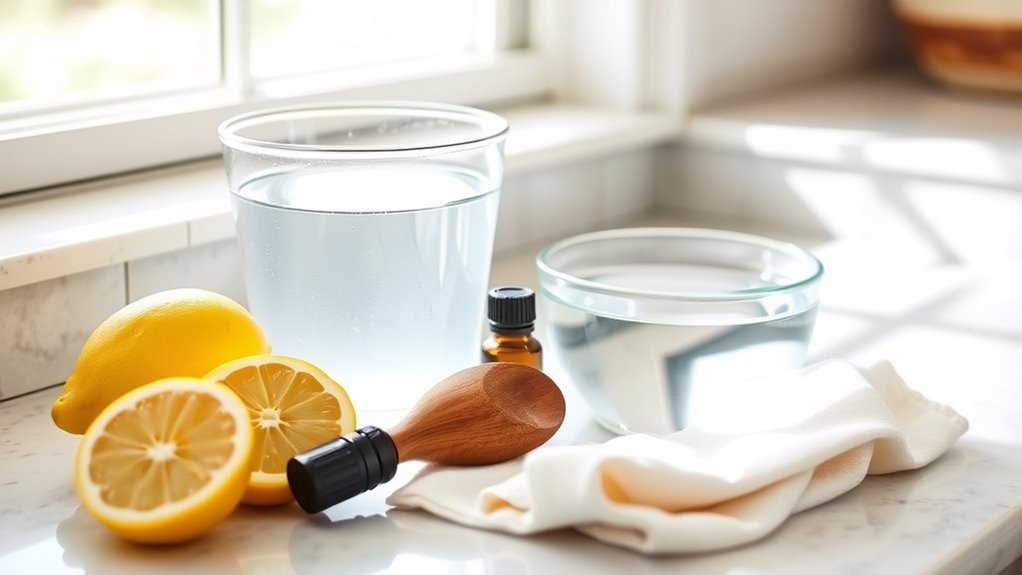
The essential ingredients for homemade chair cleaner are simple yet effective, allowing you to tackle dirt and stains without harsh chemicals. You’ll want to focus on natural ingredients known for their cleaning properties. White vinegar is a key component; its mild acidity helps break down grime and neutralize odors. Baking soda complements this by acting as a gentle abrasive and deodorizer. Castile soap, derived from natural oils, provides a safe cleansing agent without synthetic additives. Essential oils like tea tree or lavender not only add a pleasant scent but also offer antimicrobial benefits. Together, these ingredients form a balanced formula that respects your desire for freedom from commercial chemicals while ensuring thorough cleaning. Using these natural ingredients, you maintain control over what touches your furniture and environment.
Preparing a Basic All-Purpose Chair Cleaner
Start by gathering exactly one cup of distilled water, half a cup of white vinegar, and one teaspoon of liquid Castile soap. These ingredients form the foundation for your basic all-purpose chair cleaner. Follow these preparation methods:
- Pour distilled water into a clean spray bottle.
- Add white vinegar carefully to avoid spills.
- Mix in the liquid Castile soap gently.
- Secure the spray bottle cap and shake well to combine.
Using proper cleaning tools like a soft cloth or sponge will help you apply this solution effectively. This method guarantees a balanced, natural cleaner that frees you from harsh chemicals. You’re now equipped with a straightforward, reliable formula to refresh your chairs anytime, supporting your desire for practical, independent upkeep.
Crafting a Vinegar-Based Cleaner for Upholstered Chairs
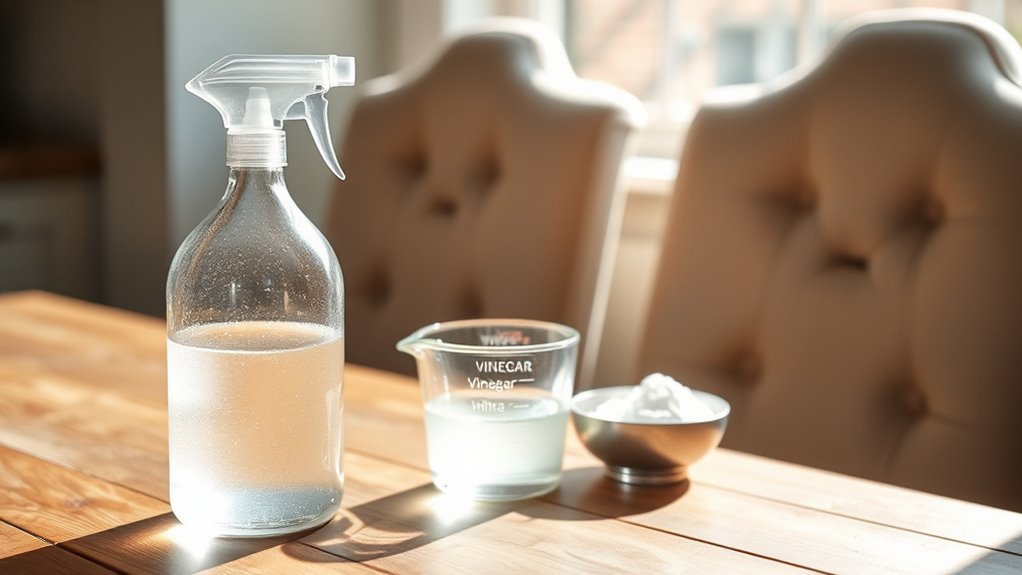
Although vinegar is a powerful natural cleaner, you’ll need to dilute it properly to avoid damaging your upholstered chairs. Start by mixing one part white vinegar with three parts water in a spray bottle. Before applying, test the solution on a hidden area to verify it won’t harm your fabric type, especially with vintage upholstery that might be more delicate. Lightly mist the surface, avoiding oversaturation, which can weaken fibers or cause discoloration. Use a soft cloth to gently blot stains, working from the outside in to prevent spreading. Allow the chair to air dry completely before use. This method frees you from harsh chemicals while preserving your chair’s fabric integrity, giving you control over a safe, effective cleaner tailored to your upholstery’s unique needs.
Making a Gentle Cleaner for Leather Chairs
When caring for leather chairs, you’ll want to use a cleaner that maintains the material’s natural oils while removing dirt and grime. Gentle cleaning techniques preserve the leather’s integrity and enhance its longevity, allowing you to enjoy freedom from constant worry about damage. Here’s how to make an effective, gentle cleaner:
- Mix equal parts distilled water and white vinegar to create a mild solution.
- Add a few drops of mild liquid soap to boost cleaning power without harsh chemicals.
- Test on a hidden area to verify no discoloration occurs.
- After cleaning, apply a leather conditioner to restore moisture and protect, highlighting leather conditioner benefits.
This method balances cleanliness with care, guaranteeing your leather chairs stay supple and vibrant.
Using Baking Soda for Stain Removal

You can use baking soda as a powerful yet gentle agent to lift stains from your chair’s fabric or leather. Start by sprinkling a thin, even layer directly onto the stain, then let it sit for at least 15 minutes to absorb oils and odors. Afterward, carefully vacuum or brush away the residue before evaluating if a second application is needed.
Baking Soda Benefits
Baking soda is a versatile and effective agent for removing stains from chairs, thanks to its mild abrasiveness and natural deodorizing properties. When you use baking soda as a cleaning agent, you’re harnessing its power to lift dirt gently without damaging fabric. Plus, it acts as a natural odor neutralizer, eliminating unpleasant smells rather than masking them.
Here’s why baking soda benefits your chair cleaning routine:
- Mild Abrasive: Gently scrubs away surface stains without harming fibers.
- Odor Neutralizer: Absorbs and neutralizes odors for a fresh scent.
- Non-Toxic: Safe for use around children and pets.
- Affordable & Accessible: Easy to find and budget-friendly.
Stain Removal Techniques
Although stains can seem stubborn, using baking soda offers a straightforward method to lift them effectively from your chair’s fabric. Different stain types—like grease, ink, or food—respond uniquely to cleaning methods, so it’s essential to identify the stain first. For most stains, sprinkle baking soda generously over the affected area and let it sit for 15 to 30 minutes. This allows the baking soda to absorb oils and loosen dirt. Then, gently brush off the powder with a soft cloth or vacuum it up. For tougher stains, mix baking soda with a small amount of water to create a paste, apply it carefully, and let it dry before removal. This method respects fabric integrity while maximizing stain removal, giving you control and freedom from harsh chemicals.
Application Tips
When applying baking soda to stains, it’s important to guarantee the fabric is dry, as moisture can reduce the powder’s effectiveness. To maximize your results, follow these application techniques carefully. First, sprinkle a generous, even layer of baking soda directly onto the stain. Second, let it sit for at least 15 minutes to absorb oils and odors. Third, gently vacuum or brush off the powder without rubbing it deeper into the fabric. Fourth, repeat the process as needed, but monitor your cleaning frequency to avoid fabric wear. By adhering to this methodical approach, you’ll maintain your freedom to enjoy clean chairs without harsh chemicals or complicated steps, achieving effective stain removal with minimal effort and maximum control.
Tips for Cleaning Different Chair Fabrics
How should you approach cleaning different chair fabrics to guarantee the best results without causing damage? Understanding fabric types and appropriate cleaning methods is essential. For delicate fabrics like silk, always use a gentle, water-free solvent. Cotton and polyester blends tolerate mild water-based cleaners and gentle scrubbing. Leather requires special conditioners instead of water-based cleaners to avoid cracking.
| Fabric Type | Recommended Cleaning Method |
|---|---|
| Silk | Dry clean solvent, no water |
| Cotton/Polyester | Mild soap solution, gentle scrubbing |
| Leather | Leather conditioner, avoid water |
How to Test Your Homemade Cleaner Safely
Before applying your homemade cleaner to the entire chair, always spot test it on a small, hidden area. Apply a small amount, wait at least 15 minutes, and observe for any discoloration or damage. This careful step guarantees your cleaner is safe for the fabric without risking visible harm.
Spot Test First
Although you’re keen to clean your chair, you should always perform a spot test to verify your homemade cleaner won’t damage the fabric. Spot testing confirms fabric compatibility, ensuring your solution is safe before full application. Follow these steps:
- Choose an inconspicuous area with the same fabric type.
- Apply a small amount of your cleaner and wait 10-15 minutes.
- Observe for any discoloration, texture change, or fabric weakening.
- If no adverse effects appear, proceed confidently with cleaning the rest of the chair.
This methodical approach prevents unintended damage and preserves your chair’s integrity, giving you the freedom to clean effectively without risk. Spot testing is a simple but crucial step to protect your furniture and enjoy the benefits of homemade cleaners safely.
Use Hidden Areas
Performing a spot test is just the start; to guarantee accuracy, focus on hidden areas of your chair when testing your homemade cleaner. Look for hidden compartments or less visible sections, such as under cushions or behind armrests, where damage might go unnoticed initially. These spots often reveal how the cleaner interacts with different materials or finishes without risking visible harm. Also, target cleaning crevices where dirt accumulates, as these tight spaces respond differently than broad surfaces. Apply a small amount of cleaner precisely, allowing you to observe any discoloration, fabric weakening, or residue buildup. Testing in these concealed zones gives you the freedom to refine your formula confidently, ensuring your homemade cleaner is both safe and effective before tackling the entire chair.
Wait and Observe
Once you’ve applied the cleaner to a hidden area, you’ll need to wait patiently and observe the spot closely over a period of time. This step guarantees your homemade solution won’t damage your chair’s fabric or finish. Use precise observation techniques to note any color changes, texture shifts, or residue buildup. Follow these cleaning intervals for effective testing:
- Check the spot immediately after application.
- Observe again after 15 minutes.
- Reassess after one hour.
- Conduct a final check after 24 hours.
Storing and Using Your Homemade Chair Cleaner Effectively
Because proper storage directly affects the effectiveness and longevity of your homemade chair cleaner, you’ll want to keep it in a clean, airtight container away from direct sunlight and extreme temperatures. Use a glass or BPA-free plastic bottle with a secure lid to maintain the solution’s potency and prevent contamination. For cleaner storage, label the container with the date you made it, so you can track its freshness. When using your cleaner, apply it sparingly with a soft cloth or spray bottle, targeting small sections to avoid over-saturation. Always test on a hidden area first to guarantee compatibility. Remember, consistent, precise application combined with proper cleaner storage guarantees your chair stays fresh without compromising your freedom to customize your cleaning routine.
Frequently Asked Questions
Can Homemade Cleaners Remove Pet Odors From Chairs?
You might wonder if homemade cleaners can truly tackle that stubborn pet odor clinging to your chairs. Surprisingly, with the right cleaning tips, they can. Start by sprinkling baking soda to absorb smells, then gently scrub with a vinegar and water solution. Let it air dry completely. This method is precise, effective, and frees you from harsh chemicals, giving your furniture a fresh scent while respecting your desire for natural, homemade solutions.
Are These Cleaners Safe for Antique or Delicate Chairs?
When dealing with antique wood or delicate fabrics, you’ll want to be extra cautious. Homemade cleaners can be safe, but always test a small, hidden area first to avoid damage. Avoid harsh ingredients like vinegar or baking soda on sensitive surfaces. Instead, opt for mild solutions like diluted castile soap with water. This approach lets you clean effectively while preserving your chair’s unique character and extends its life without risking harm.
How Often Should I Clean My Chairs With Homemade Solutions?
Imagine Sarah, who cleans her oak dining chairs monthly to keep them vibrant without damage. Your cleaning frequency really depends on chair materials—delicate fabrics might need gentler, less frequent cleaning, while sturdy wood handles more regular care. Generally, aim for a light clean every 1-2 weeks, with deeper cleaning monthly. This methodical approach guarantees your chairs stay fresh and intact, giving you the freedom to enjoy your space without worry.
Can I Use Essential Oils in My Homemade Chair Cleaner?
You can definitely use essential oils in your homemade chair cleaner. They not only add a pleasant cleaner fragrance but also bring essential oil benefits like antibacterial and antifungal properties. Just add a few drops to your mixture to enhance cleaning power and leave your chairs smelling fresh. Be sure to test a small area first to avoid any discoloration or damage, and choose oils that suit your scent preference and cleaning needs.
What Should I Do if the Cleaner Causes Discoloration?
If your chair cleaner acts like a bull in a china shop and causes discoloration, don’t panic. First, stop using it immediately. Next, perform fabric testing on a hidden area with mild soap and water to assess damage. For discoloration remedies, try diluted white vinegar or baking soda paste gently applied, then blot dry. Always rinse thoroughly and let air dry. This methodical approach helps you reclaim your chair’s freedom from stains safely.


