How to Make Homemade Kitchen Cleaner
You can make a natural kitchen cleaner using vinegar, baking soda, and lemon juice. Simply mix these ingredients in a spray bottle—vinegar cuts grease, baking soda scrubs stains, and lemon freshens with natural bleach. Use it on sealed surfaces like granite, stainless steel, and tile, spraying and wiping with a cloth. It’s eco-friendly, cost-effective, and safe for daily use. If you want tips on stubborn stains, scents, and storage, keep exploring for more ideas.
Essential Ingredients for a Natural Kitchen Cleaner
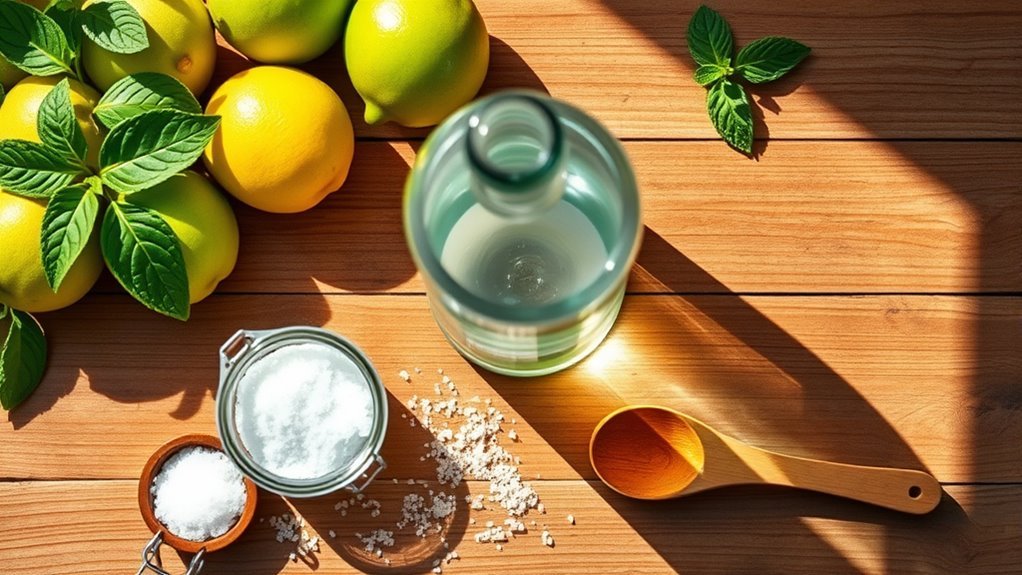
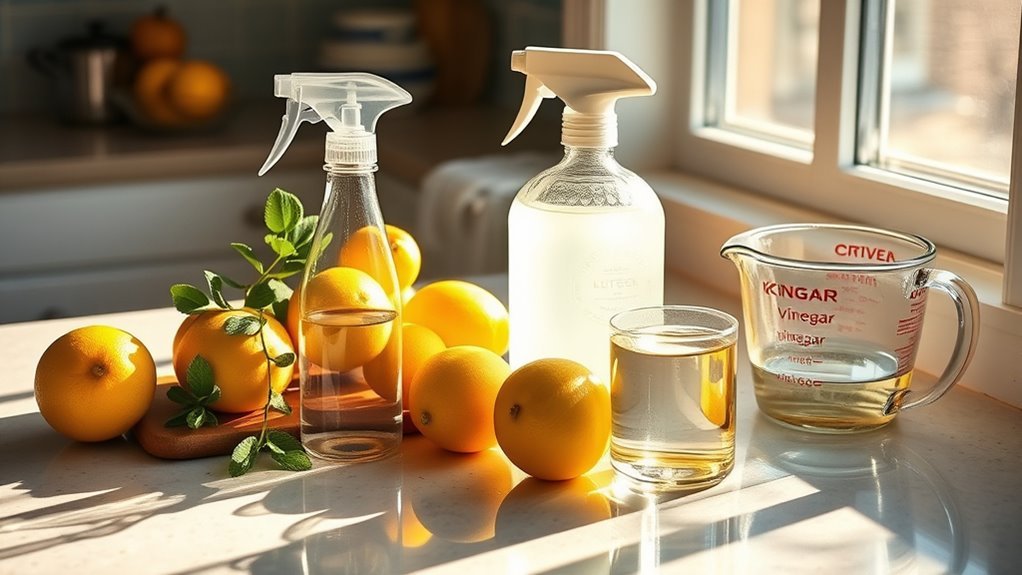
Before you start mixing your homemade kitchen cleaner, it’s important to know which ingredients work best for cleaning and are safe to use. You’ll want to harness the vinegar benefits first—vinegar is a natural disinfectant that cuts through grease and grime without harsh chemicals. It’s perfect for freeing your kitchen from stubborn residue. Baking soda is another must-have; it acts as a gentle abrasive that lifts stains and neutralizes odors, giving you a fresh and clean space. Together, these two ingredients create a powerful, eco-friendly cleaner that respects your freedom from synthetic products and toxins. By sticking to these essentials, you’ll craft a natural kitchen cleaner that’s effective, safe, and liberating to use every day.
Tools Needed to Prepare Your Cleaner
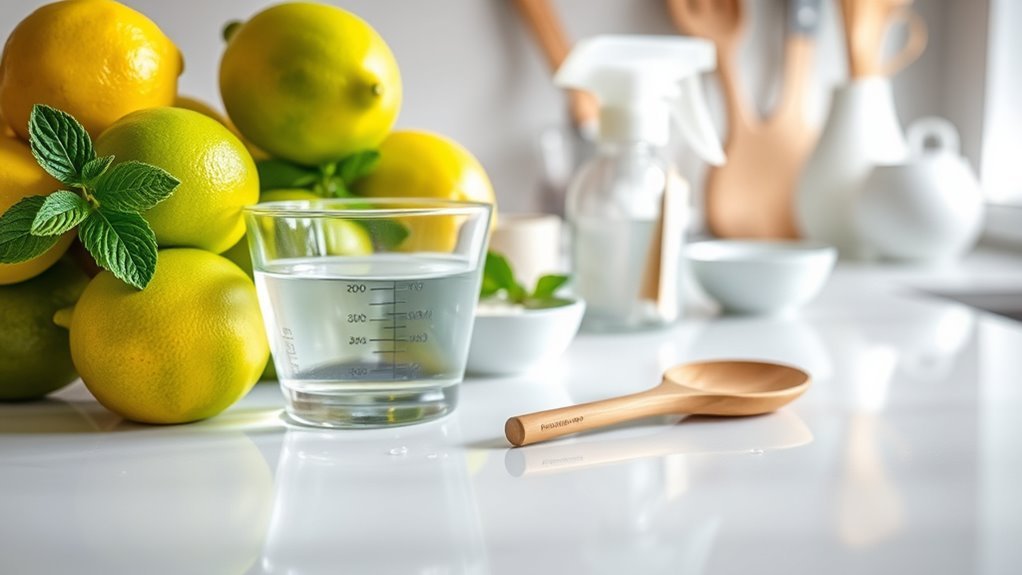
Gathering the right tools will make preparing your homemade kitchen cleaner quick and hassle-free. Start with clean mixing containers—glass jars or bottles with tight lids work best to store your solution safely. You’ll want measuring spoons and cups to guarantee you get the proportions just right, avoiding any guesswork. A funnel can be handy to transfer liquids without spills, keeping your workspace tidy. Have a sturdy spoon or whisk ready for mixing your ingredients evenly. Don’t forget your basic cleaning supplies like spray bottles to apply your cleaner efficiently around the kitchen. With these simple tools at hand, you’ll enjoy the freedom to create your own effective, natural cleaner without depending on commercial products.
Step-by-Step Guide to Mixing Your Cleaner
Mixing your homemade kitchen cleaner involves just a few simple steps that anyone can follow. To get started, you’ll want to master the right cleaning ratios and effective mixing techniques. This guarantees your cleaner is both powerful and safe to use. Here’s how to make it hassle-free:
- Measure ingredients accurately for consistent cleaning ratios
- Pour liquids slowly to avoid splashes
- Use a funnel to prevent spills
- Stir gently with a non-reactive spoon or stick
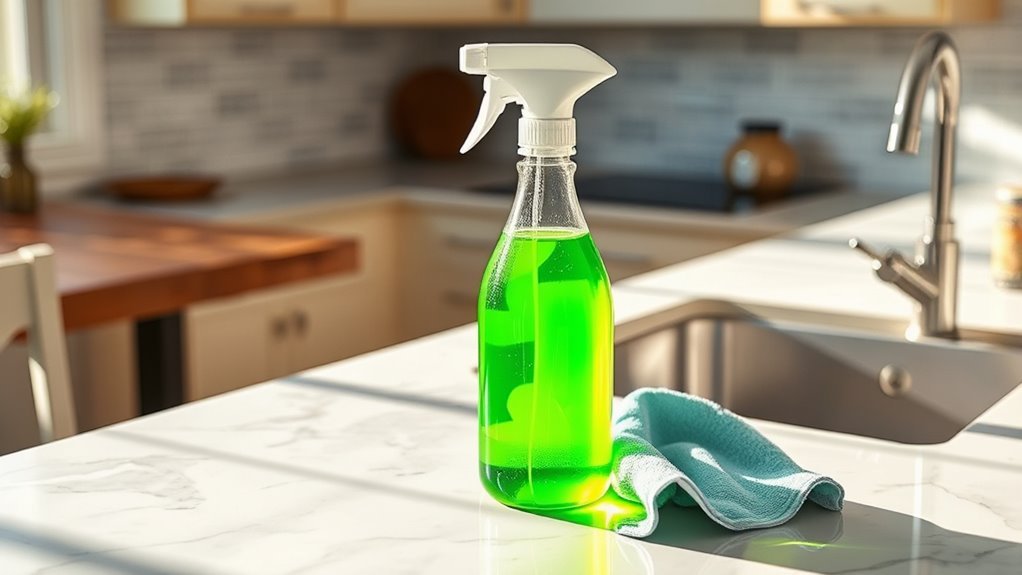
- Transfer to a spray bottle for easy application
Best Natural Ingredients for Stubborn Stains
Three natural ingredients stand out when tackling stubborn kitchen stains: baking soda, white vinegar, and lemon juice. You’ll love the baking soda benefits—it gently scrubs without scratching surfaces and neutralizes odors, making it perfect for grime and grease. White vinegar’s effectiveness lies in its acidity, breaking down mineral deposits and cutting through tough stains effortlessly. Lemon juice adds a fresh scent and natural bleaching power, brightening your kitchen without harsh chemicals.
Using these ingredients gives you control and freedom from commercial cleaners loaded with unknown additives. They’re safe, affordable, and easy to find. By choosing these natural options, you’re embracing a cleaner, healthier kitchen environment while staying true to your desire for simplicity and autonomy in your cleaning routine.
How to Use Your Homemade Cleaner on Different Surfaces
You’ll want to know which surfaces are safe to clean with your homemade solution and the best way to apply it. Using the right technique guarantees you get great results without causing damage. Let’s also cover some precautions and handy tips to keep your kitchen spotless and protected.
Safe Surfaces Overview
Before using your homemade kitchen cleaner, it’s important to know which surfaces it’s safe for. Understanding cleaning compatibility helps you avoid damage and enjoy freedom in your cleaning routine. Your cleaner works best on safe surfaces that can handle natural ingredients without harm.
Here are five safe surfaces where your homemade cleaner shines:
- Sealed granite and quartz countertops
- Ceramic and porcelain tiles
- Stainless steel appliances
- Glass surfaces and mirrors
- Laminated cabinets and shelves
Avoid using it on unsealed wood or delicate stone like marble unless you test first. Knowing these safe surfaces guarantees your cleaner is effective without risking damage, giving you confidence and control in maintaining a fresh, sparkling kitchen.
Application Techniques
Using your homemade kitchen cleaner effectively means tailoring your approach to each surface’s unique needs. For smooth countertops, spray your cleaner directly and wipe with a microfiber cloth using gentle circular motions to avoid streaks. When tackling stubborn grime on stovetops, apply the cleaner, let it sit briefly, then scrub with a soft brush—this application method loosens buildup without damaging surfaces. For stainless steel appliances, spray lightly and wipe in the grain’s direction to maintain shine. Don’t forget to adjust your cleaning techniques for porous surfaces like wood; apply the cleaner sparingly with a damp cloth to prevent moisture damage. By mastering these application methods, you gain the freedom to clean efficiently while protecting your kitchen’s variety of surfaces.
Precautions and Tips
Although homemade kitchen cleaners are generally safe, it’s important to take precautions to avoid damaging certain surfaces. To enjoy your cleaning freedom without mishaps, follow these essential safety precautions and cleaning tips:
- Test the cleaner on a small, hidden area first to spot any adverse reactions.
- Avoid using acidic ingredients like vinegar on natural stone surfaces such as granite or marble.
- Use soft cloths or sponges to prevent scratches on delicate surfaces.
- Rinse thoroughly after cleaning to remove any residue that might cause dullness or damage.
- Store your homemade cleaner in labeled containers away from children and pets.
Tips for Storing Your Kitchen Cleaner Safely
Keeping your homemade kitchen cleaner stored safely is essential to maintain its effectiveness and prevent accidents. Always use proper storage solutions like sturdy, airtight containers to keep your cleaner fresh and avoid leaks. Make sure to keep these containers out of reach of children and pets to guarantee safety. Labeling containers clearly is key—it helps you quickly identify what’s inside and prevents accidental misuse. Use waterproof labels or permanent markers for durability. Store your cleaner in a cool, dry place away from direct sunlight to preserve its potency. Avoid mixing different cleaners in one container, as this can cause dangerous reactions. By following these simple tips, you’ll enjoy the freedom of using your homemade cleaner confidently and safely every time.
Benefits of Using Homemade Kitchen Cleaners
When you make your own kitchen cleaner, you get to choose healthier ingredients that are safer for your family. It’s also a budget-friendly option that helps you save money over time. Plus, using homemade cleaners reduces your environmental footprint by cutting down on harsh chemicals and plastic waste.
Healthier Ingredients Choice
Choosing just a few simple, natural ingredients for your homemade kitchen cleaner can make a big difference in your health. When you opt for natural alternatives, you avoid harsh chemicals that can irritate your skin, lungs, or eyes. Plus, eco friendly options help you breathe easier and feel freer in your own space.
Here’s why you’ll love healthier ingredient choices:
- Reduced exposure to toxins and allergens
- Safer for kids and pets around the house
- Less risk of chemical residues on surfaces
- Supports a cleaner environment with biodegradable ingredients
- Empowers you to control what goes into your cleaning products
Cost-Effective Cleaning Solution
Natural ingredients not only protect your health but also save you money in the long run. By choosing homemade kitchen cleaners, you tap into budget friendly alternatives that empower your freedom from expensive, chemical-laden products. With simple DIY cleaning hacks, you control what goes into your cleaner, cutting costs without sacrificing effectiveness.
| Ingredient | Cost per Use | Benefits |
|---|---|---|
| Vinegar | $0.05 | Cuts grease, disinfects |
| Baking Soda | $0.03 | Scrubs, deodorizes |
| Lemon Juice | $0.10 | Brightens, removes stains |
Embracing these cost-effective solutions lets you clean smarter, not harder, while keeping your kitchen safe and your wallet happy.
Environmental Impact Reduction
Since homemade kitchen cleaners rely on simple, non-toxic ingredients, you reduce the amount of harmful chemicals released into the environment. Choosing eco friendly alternatives helps you embrace sustainable practices that protect the planet while keeping your space clean. By making your own cleaner, you regain control over what goes into your home and avoid unnecessary waste. Here’s how you contribute to environmental impact reduction:
- Minimize plastic waste by reusing containers
- Avoid synthetic fragrances and dyes
- Cut down on toxic runoff harming water systems
- Support renewable, natural ingredients
- Lower your carbon footprint by reducing manufacturing demand
Troubleshooting Common Cleaning Challenges
Even with the best homemade kitchen cleaner, you might encounter stubborn spots or lingering odors that don’t respond as expected. One common mistake is not letting the cleaner sit long enough on stubborn residue—patience can make all the difference. Another is using too little solution, which weakens its effectiveness. If greasy buildup persists, try applying a small amount directly and scrubbing gently with a soft brush. For lingering odors, verify you rinse surfaces thoroughly; sometimes, residue traps smells rather than removing them. Remember, even natural cleaners have limits, so tackling tough grime might require repeating the process or combining methods. Don’t get discouraged—troubleshooting these challenges helps you master your cleaner and enjoy a fresh, free kitchen environment.
Enhancing Your Cleaner With Essential Oils
How can you boost the effectiveness and aroma of your homemade kitchen cleaner? Adding essential oil blends is your key to accessing powerful cleaning with delightful fragrance properties. These oils not only improve cleanliness but also create an inviting atmosphere, giving you freedom from harsh chemicals and synthetic scents.
Try these essential oils to enhance your cleaner:
- Lemon: Cuts grease and leaves a fresh scent
- Tea Tree: Natural disinfectant and antifungal
- Eucalyptus: Clears odors with a crisp aroma
- Lavender: Soothes and refreshes your space
- Peppermint: Energizes with a cooling, minty fragrance
Mix and match these oils to customize your cleaner, making your kitchen shine while enjoying the liberty of natural, effective ingredients.
Frequently Asked Questions
Can Homemade Cleaners Be Used on Food Preparation Surfaces Safely?
Sure, you could just rub your counters with yesterday’s pizza grease and call it food safety—because who needs proper cleaning methods, right? But seriously, when you’re whipping up homemade cleaners, you’ve got to be cautious. Not all natural ingredients are safe for food prep surfaces. You want freedom, yes, but also to avoid a microbial party. Stick to approved recipes that guarantee your kitchen stays both clean and safe for your culinary adventures.
How Long Does Homemade Kitchen Cleaner Last Before It Loses Effectiveness?
You’ll find that the shelf life of homemade kitchen cleaner is usually around one to two weeks, depending on the ingredients you use. Its effectiveness duration can decrease quickly, especially if it contains natural elements like vinegar or citrus, which can lose potency over time. To keep your cleaner fresh and powerful, store it in a cool, dark place and make small batches—you’ll enjoy freedom from harsh chemicals with every spray.
Are Homemade Cleaners Safe to Use Around Pets and Children?
Just like a trusted fairy tale hero guarding the castle, you want to guarantee pet safety and child safety when using homemade cleaners. Luckily, these cleaners often use natural ingredients, reducing harmful chemicals lurking in typical products. But remember, even natural doesn’t mean risk-free—store them out of reach and avoid essential oils toxic to pets. With mindful use, you can enjoy freedom from harsh chemicals while keeping your loved ones safe and sound.
Can I Use Homemade Cleaner in a Dishwasher or Appliance?
You’ll want to be cautious about dishwasher safety when using homemade cleaners. Not all DIY mixtures are appliance compatible, and some ingredients might damage seals or leave residue. It’s best to check your dishwasher’s manual or manufacturer’s website before trying anything new. Sticking to products designed specifically for appliances guarantees your freedom to clean without risking costly repairs or voiding warranties. When in doubt, use homemade cleaners on surfaces, not inside machines.
What Are Eco-Friendly Alternatives to Vinegar in Kitchen Cleaners?
Imagine the sharp tang of lemon juice cutting through grime, while gentle baking soda lifts stains without harsh chemicals. If you’re seeking eco-friendly alternatives to vinegar, these two are your freedom fighters. Lemon juice offers natural acidity and a fresh scent, while baking soda provides mild abrasiveness and deodorizing power. Together, they let you clean boldly—free from synthetic toxins and full of natural punch. You’ve got options that respect both your space and the planet.


