How to Make Homemade Remote Cleaner
To make a homemade remote cleaner, mix 70% isopropyl alcohol with distilled water and a few drops of mild liquid soap in equal parts. Use a microfiber cloth dampened with this solution to wipe the remote’s surface carefully—avoid soaking it to prevent damage. Cotton swabs are great for cleaning tight button spaces safely. Always power off and remove batteries first. Following this method guarantees effective, safe cleaning, and there are additional tips and precautions to optimize your remote’s hygiene and longevity.
Essential Ingredients for Homemade Remote Cleaner

To create an effective homemade remote cleaner, you’ll need just a few essential ingredients that target dirt, oils, and bacteria without damaging electronic components. Start with isopropyl alcohol at 70% concentration, a proven natural cleaner that evaporates quickly and disinfects without leaving residue. Complement it with distilled water to dilute the solution, ensuring it’s safe for sensitive electronics. Add a few drops of mild liquid castile soap, a versatile cleaning alternative derived from plant oils, to break down grease effectively. Avoid harsh chemicals or abrasive agents, as they can damage buttons or circuits. Mixing these components in a spray bottle allows for controlled application. This combination offers a precise balance of cleaning power and safety, granting you the freedom to maintain your remote with confidence and minimal risk. Always ensure to power down and unplug your remote or device before cleaning to prevent accidental inputs or damage.
Tools Needed for Cleaning Your Remote
Now that you have the right ingredients prepared, gathering the appropriate tools will help you apply your homemade cleaner efficiently and safely. Proper cleaning supplies guarantee effective remote maintenance, preserving functionality and extending the device’s lifespan. Here’s a concise toolkit overview:
| Tool | Purpose | Notes |
|---|---|---|
| Microfiber Cloth | Gentle surface cleaning | Avoids scratches |
| Cotton Swabs | Targeted crevice cleaning | Ideal for button gaps |
| Small Brush | Dust and debris removal | Soft bristles recommended |
Using these tools, you’ll maintain your remote without risking damage. Each item plays a vital role in thorough cleaning, assuring you have freedom from sticky buttons and grime buildup. Equip yourself with these essentials before proceeding to use your homemade cleaner for peak remote maintenance results. Be sure to power down your device before cleaning to ensure safe cleaning practices.
Step-by-Step Guide to Preparing the Cleaner
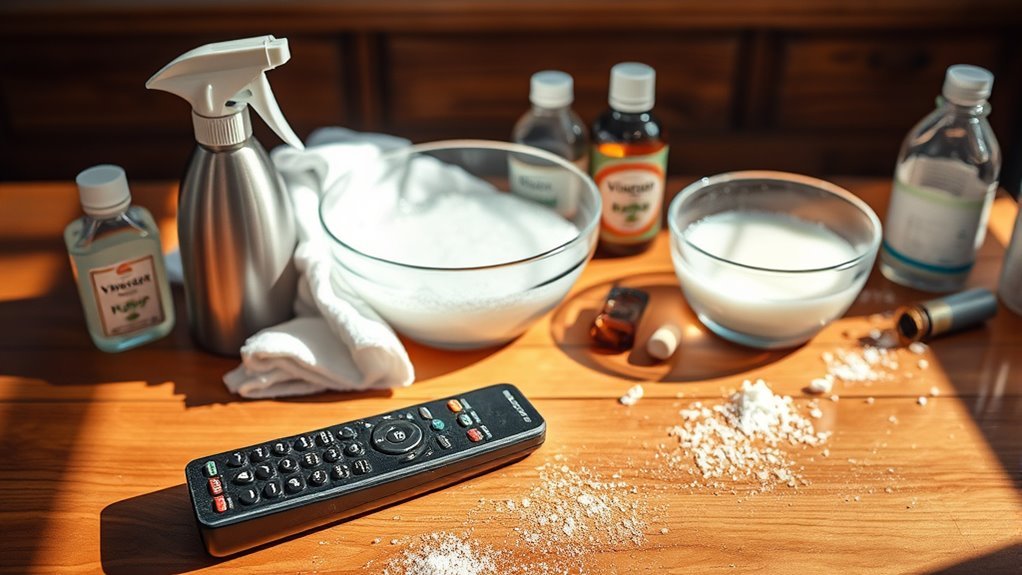
First, gather all necessary ingredients, such as isopropyl alcohol, distilled water, and a few drops of mild dish soap. Next, measure and combine these components in a clean container following the specified ratios to guarantee effectiveness. Finally, mix the solution thoroughly until it’s homogeneous and ready for use. Ensure to use isopropyl alcohol at least 70% concentration for safe and effective disinfectant cleaning.
Gather Necessary Ingredients
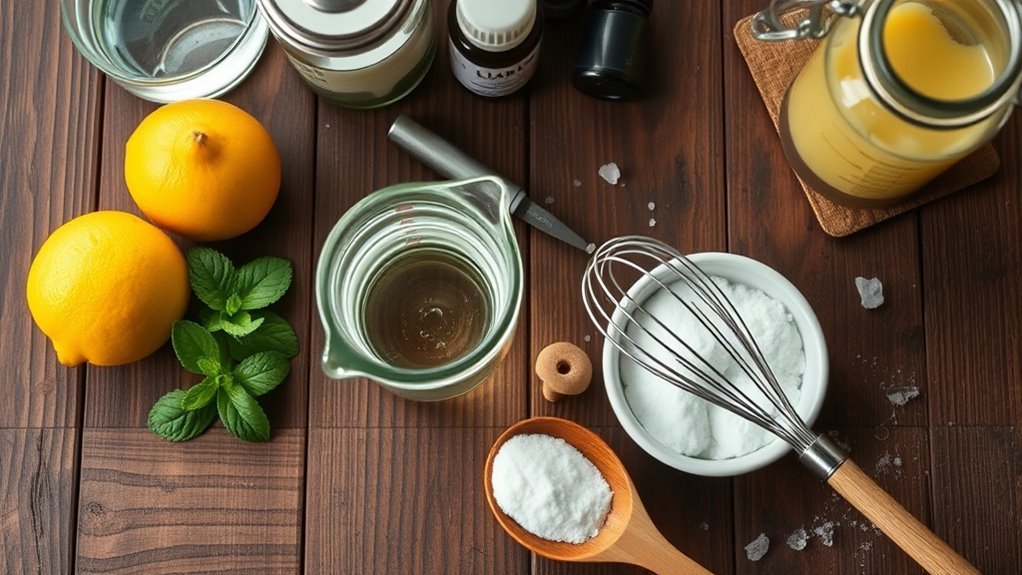
Although gathering the necessary ingredients may seem straightforward, selecting the right components is essential for an effective homemade remote cleaner. You’ll want to prioritize natural cleaning agents that are both safe and efficient. Start with isopropyl alcohol (70% or higher) as your primary disinfectant—it evaporates quickly and kills germs without damaging electronics. Next, include distilled water to dilute the alcohol, preventing harshness. To enhance cleaning power, add a few drops of eco friendly ingredients such as pure essential oils like tea tree or lavender, which offer antimicrobial properties while maintaining a natural profile. Avoid harsh chemicals or abrasives that could degrade your remote’s surface. By carefully choosing these elements, you maintain freedom from toxic substances while ensuring your cleaner is technically sound and environmentally responsible.
Mixing Instructions
To prepare the homemade remote cleaner, start by measuring one part isopropyl alcohol and one part distilled water to create a balanced disinfecting solution. Accurate mixing ratios guarantee effective cleaning without damaging remote surfaces. Use a clean container and employ gentle blending techniques, such as stirring, to combine ingredients thoroughly without creating excessive bubbles.
| Step | Detail |
|---|---|
| Measure | 1 part isopropyl alcohol |
| Measure | 1 part distilled water |
| Blend | Stir gently until uniform |
| Store | In a sealed spray bottle |
Following these steps grants you control over the cleaner’s potency and safety, empowering you with the freedom to maintain your devices effectively and responsibly.
Proper Technique for Cleaning Your Remote Control
To clean your remote control effectively, you’ll need essential tools like cotton swabs, microfiber cloths, and your homemade cleaner. Follow a step-by-step process that includes careful surface wiping and targeted cleaning between buttons. Pay special attention to delicate buttons by using gentle pressure and avoiding excess moisture to prevent damage. It’s also important to use isopropyl alcohol at the correct concentration to ensure effective disinfection without harming the device.
Essential Cleaning Tools
While cleaning your remote control might seem straightforward, using the right tools guarantees you remove dirt and germs effectively without damaging sensitive components. To confirm effective cleaning methods, gather essential cleaning supplies that are safe and efficient.
| Tool | Purpose |
|---|---|
| Microfiber Cloth | Removes dust without scratching surfaces |
| Isopropyl Alcohol | Disinfects and dissolves grime |
| Cotton Swabs | Reaches tight spaces and crevices |
Each tool plays a critical role in maintaining your remote’s functionality and hygiene. Microfiber cloths avoid abrasions, isopropyl alcohol confirms pathogen elimination without moisture damage, and cotton swabs access hard-to-reach spots. By selecting these essential cleaning supplies, you set the foundation for a thorough, safe cleaning routine, preserving your device’s longevity while maximizing cleanliness.
Step-by-Step Cleaning Process
Having gathered the right cleaning tools, you can now follow a systematic approach to clean your remote control effectively. First, power off the remote control and remove batteries to prevent damage. Apply a small amount of your chosen cleaning solutions onto a microfiber cloth—never directly onto the device. Gently wipe the surface, focusing on crevices and buttons to dislodge dirt and oils. Use a cotton swab dipped lightly in cleaning solutions to reach tight spaces. Avoid excess moisture to protect internal components. After cleaning, allow the remote control to air dry completely before reinserting batteries and powering it on. This precise method guarantees thorough sanitation without compromising device functionality, granting you the freedom to maintain your remote control confidently and efficiently.
Tips for Delicate Buttons
Although delicate buttons require extra care during cleaning, you can effectively maintain their functionality by using gentle techniques and appropriate tools. When dealing with delicate materials, avoid harsh chemicals and abrasive cloths to prevent damage. Instead, use a soft microfiber cloth slightly dampened with a mild homemade cleaner. Focus on button care by gently wiping around edges to remove dirt without dislodging or deforming the buttons.
| Tool | Purpose |
|---|---|
| Microfiber Cloth | Gentle dirt removal |
| Cotton Swab | Precision cleaning in crevices |
| Mild Cleaner | Safe cleaning solution |
Tips for Maintaining Remote Hygiene
Because remote controls are handled frequently and often shared, maintaining their hygiene is crucial to prevent the buildup of bacteria and grime. For effective remote maintenance, establish a routine cleaning schedule using appropriate homemade cleaners. Use microfiber cloths dampened with your solution to gently wipe surfaces, focusing on high-contact areas like buttons and edges. Avoid excessive moisture to protect internal electronics. Incorporate hygiene practices such as washing your hands before use and minimizing sharing when possible. Store remotes in clean, dust-free environments to reduce contamination. Regularly inspect the remote for debris accumulation and clean promptly to maintain peak function and extend lifespan. By integrating these precise hygiene practices, you guarantee your remote remains sanitary and fully operational without compromising your freedom to control your devices effortlessly. Additionally, removing the batteries before cleaning helps prevent electrical damage and corrosion.
Safety Precautions When Using Homemade Cleaners

When using homemade cleaners on your remote, you need to take specific safety measures to prevent damage to the device and avoid personal harm. First, always dilute ingredients properly to minimize chemical exposure, which can degrade electronic components or cause skin irritation. Use cotton swabs or soft cloths lightly dampened—not soaked—to avoid moisture seeping inside. If you have cleaning allergies, opt for hypoallergenic, fragrance-free ingredients to reduce the risk of reactions. Work in a well-ventilated area to disperse any vapors. Avoid harsh substances like ammonia or bleach, which can corrode plastic surfaces and harm your respiratory system. Finally, test your cleaner on a small, inconspicuous area before full application. These precautions guarantee your remote stays functional while you protect yourself from potential hazards. Incorporating microfiber cloths can enhance cleaning effectiveness while being gentle on electronic surfaces.
Frequently Asked Questions
Can I Use Homemade Cleaner on Other Electronics?
You can use homemade cleaner on other electronics, but you need to guarantee it contains safe materials that won’t damage sensitive components. For proper electronic care, avoid harsh chemicals, excessive moisture, or abrasive substances. Always power off devices before cleaning and apply solutions sparingly using a microfiber cloth. Testing on a small, inconspicuous area first helps confirm compatibility. By following these precautions, you maintain your gadgets’ longevity while enjoying the freedom of DIY cleaning solutions.
How Often Should I Clean My Remote Control?
Imagine the tiny dust and germs accumulating beneath your remote’s buttons like hidden shadows. For ideal remote hygiene, you should clean your remote control at least once a week. Establish a consistent cleaning schedule to prevent buildup and maintain device functionality. If multiple people use the remote or during flu seasons, consider increasing frequency to twice weekly. Regular cleaning guarantees your remote stays free from contaminants, supporting your freedom to use it worry-free.
Will Homemade Cleaner Damage Silicone Buttons?
When it comes to silicone button care, you need to be cautious with homemade cleaners. Some ingredients, like alcohol or harsh chemicals, can degrade silicone over time, causing stickiness or discoloration. For remote cleaning precautions, use a mild solution—diluted soap and water is usually safe—and apply it sparingly with a soft cloth. Avoid soaking the remote or using abrasive materials to preserve button functionality and extend your device’s lifespan.
Can I Store the Cleaner for Later Use?
You can store your homemade cleaner for later use, but proper storage tips are crucial to maintain cleaner longevity. Keep it in a sealed, airtight container away from direct sunlight and extreme temperatures to prevent degradation. Label the container with the date to track its freshness. Generally, homemade cleaners last up to a month when stored correctly. This guarantees you retain their effectiveness while enjoying the freedom of convenient, on-demand cleaning.
Is Vinegar Safe for All Remote Control Surfaces?
You shouldn’t assume vinegar is safe for all remote control surfaces due to its acidic vinegar properties, which can damage certain materials. While it effectively cleans some plastics, it may degrade rubber or painted finishes. To guarantee remote material compatibility, test a small, inconspicuous area first. If any discoloration or deterioration occurs, avoid vinegar and opt for milder alternatives to protect your device without compromising its surface integrity.