
How to Remove Bathroom From Laminate
To remove your bathroom fixtures from laminate safely, start by evaluating the fixture and laminate type to avoid damage. Gather soft cloths, gloves, and gentle tools. Prepare your workspace by clearing items and protecting surfaces. Shut off water and power before disconnecting plumbing and electrical lines. Carefully unscrew and pry fixtures, softening adhesives with warm water for easier removal. Inspect laminate afterward for damage or residue. If you want to handle this thoroughly and preserve your bathroom’s look, there’s more you should consider.
Assessing the Bathroom Fixtures and Laminate Condition
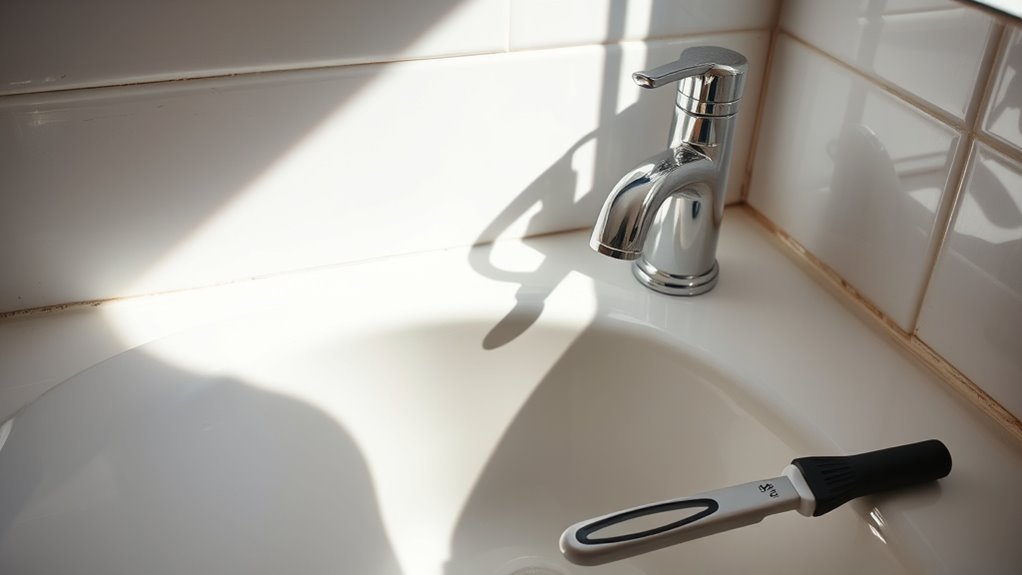
Before you begin tackling stains, take a close look at your bathroom fixtures and laminate surfaces. Knowing the fixture types you have—whether metal, plastic, or ceramic—helps you choose the right cleaning approach without damaging them. Equally, assess your laminate’s durability. Some laminates resist moisture and scratches better than others, so understanding this lets you avoid harsh cleaners that could erode its finish. By carefully examining these elements, you gain control over the cleaning process and protect your bathroom’s integrity. This awareness empowers you to act confidently and efficiently, preserving both style and function without restrictions. Your freedom to maintain a fresh space starts with this smart, informed step.
Gathering the Necessary Tools and Materials
Before you start cleaning, make sure you have all the essential tools like a soft cloth, sponge, and a gentle scrub brush. You’ll also need specific materials such as mild detergent, baking soda, or vinegar, depending on the stain type. Having everything ready will make the process smoother and more effective.
Essential Tools Checklist
Although tackling bathroom stains on laminate might seem straightforward, having the right tools and materials on hand makes the process much easier and more effective. To set yourself free from stubborn stains, you’ll need to prepare carefully by selecting the proper tool types and safety equipment. Here’s a quick checklist to get you started:
- Cleaning tools: Soft cloths, non-abrasive scrubbers, and a soft-bristle brush to avoid damaging the laminate surface.
- Safety equipment: Gloves and protective eyewear to shield your skin and eyes from cleaning agents.
- Application tools: Spray bottles or small containers to apply cleaning solutions precisely without waste or mess.
With these essentials, you’ll be ready to reclaim your laminate’s shine confidently and safely.
Required Material Types
Choosing the right cleaning materials is key to effectively removing bathroom stains from laminate surfaces without causing damage. Different laminate types require gentle cleaners, while stubborn stains might need specific adhesive options remover. Here’s a quick guide to what you’ll need:
| Material Type | Purpose | Recommended For |
|---|---|---|
| Mild Detergent | Safe general cleaning | All laminate types |
| Adhesive Remover | Breaking down residue | Tough stains, glue spots |
| Soft Cloth or Sponge | Gentle scrubbing | Avoids scratching laminate |
Make sure your materials suit your laminate type to maintain its finish. Using harsh chemicals or rough tools can ruin your freedom from stains by damaging the surface. Stick to recommended cleaners and adhesive options for a smooth, stain-free bathroom laminate.
Preparing the Workspace for Safe Removal
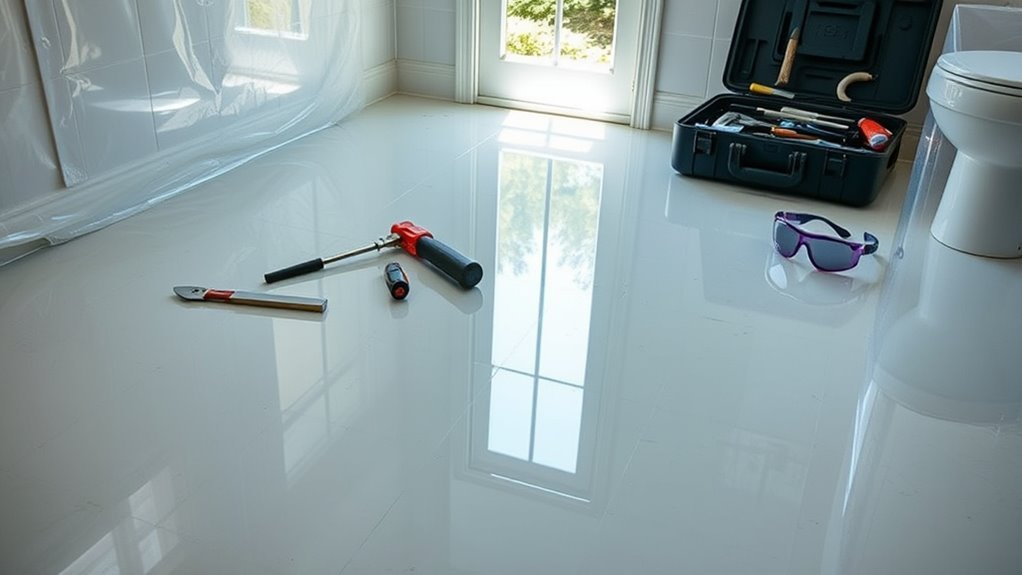
To get started with safely removing bathroom stains from laminate, you’ll want to clear the area of any items that could get damaged or obstruct your work. Prioritize workspace safety by organizing your tools and ensuring good ventilation. Don’t skip protective gear; gloves and goggles protect you from harsh cleaners and debris. Follow these steps to prepare:
- Remove all personal items, rugs, and furniture near the laminate to create a clutter-free zone.
- Lay down a drop cloth or plastic sheet to catch any spills or dust.
- Put on your protective gear to shield your skin and eyes during the cleaning process.
This prep gives you the freedom to work confidently and efficiently without worrying about accidents or damage.
Disconnecting Plumbing and Electrical Connections
Before you start removing stains, make sure to shut off the water supply to avoid leaks. You’ll also need to handle any electrical wiring with care to prevent shocks. Taking these precautions keeps the process safe and smooth.
Shutting Off Water Supply
One essential step in removing bathroom stains from laminate is shutting off the water supply. Before you begin, locate the valve location—usually near the sink, toilet, or under the bathroom cabinet. Turning off the water supply frees you from unexpected leaks and gives you control over the workspace.
- Identify the main valve location to guarantee complete water shutoff.
- Turn the valve clockwise until it stops to cut the water flow.
- Open faucets to drain remaining water and relieve pressure.
This simple act of shutting off the water supply empowers you to work confidently, avoiding potential water damage. With control over your environment, you’re one step closer to restoring your laminate’s pristine look.
Safely Handling Electrical Wiring
After shutting off the water supply, you’ll want to turn your attention to safely handling any electrical wiring connected to your bathroom fixtures. Electrical safety is essential here—never work on wiring without first cutting power at the breaker box. Use wiring diagrams to identify which circuits control your bathroom lights or outlets. This guarantees you disconnect the right connections without risk. When removing fixtures, gently pull wires free from terminals, avoiding damage. If you’re unsure about any step, don’t hesitate to consult a professional. Taking these precautions gives you the freedom to work confidently and protects you from electrical hazards while removing stains or fixtures near laminate surfaces. Stay safe and organized, and you’ll keep your project flowing smoothly.
Detaching Fixtures Without Damaging Laminate Surfaces
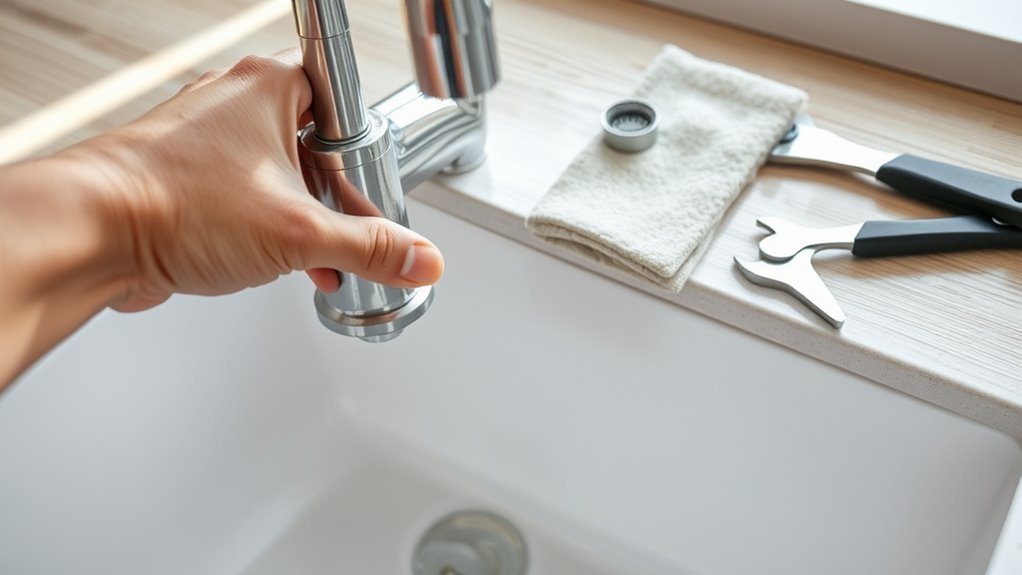
Although detaching fixtures may seem straightforward, doing so without harming your laminate surfaces requires careful attention. Different fixture types—like towel racks, soap holders, or light fittings—demand unique approaches to protect your laminate care efforts. To keep your freedom intact while working:
- Identify fixture types and locate screws or clips to avoid prying or forcing.
- Use proper tools like screwdrivers or gentle pry tools to minimize surface pressure.
- Work slowly and steadily, supporting the laminate near the fixture to prevent warping or cracking.
Removing Adhesives and Residue From Laminate
Several common adhesives and residues can stick stubbornly to laminate surfaces, but you don’t have to worry about damaging your flooring or countertops when removing them. Start by softening the adhesive with a little warm, soapy water applied gently using a soft cloth. For tougher spots, try a small amount of rubbing alcohol or a commercial adhesive removal product designed for laminate. Always test in an inconspicuous area first to verify it won’t harm the finish. Use a plastic scraper or your fingernail to lift the residue carefully—avoid metal tools that can scratch. Once the adhesive loosens, wipe the area clean with a damp cloth and dry it thoroughly. This approach keeps your laminate looking fresh while making surface cleaning and adhesive removal straightforward and safe.
Inspecting and Repairing Laminate After Fixture Removal
Once you’ve removed bathroom fixtures, you’ll want to carefully inspect the laminate for any damage or leftover debris. This step is essential to maintain your flooring’s longevity and prepare for future installations. Follow these laminate maintenance tips to keep your space free and clear:
After removing fixtures, inspect laminate for damage and debris to ensure lasting durability and smooth future installations.
- Look closely for scratches, dents, or water damage that might need repair before moving on.
- Clean the surface thoroughly, removing any adhesive remnants or dirt that could affect new fixture installation.
- Refer to fixture installation guidelines to guarantee the repaired laminate can support new fixtures without issues.
Frequently Asked Questions
Can I Replace Bathroom Fixtures Without Removing Laminate Flooring?
You can totally replace bathroom fixtures without removing laminate flooring, but you’ve gotta be careful with fixture installation. Make sure to protect your flooring by laying down a sturdy barrier like a drop cloth or cardboard to avoid scratches or water damage. Taking these steps gives you the freedom to update your bathroom without the hassle of ripping up floors. Just work slowly, and you’ll keep your laminate looking great while upgrading your fixtures.
How Do I Prevent Water Damage Under Laminate in Bathrooms?
To prevent water damage under laminate in your bathroom, you’ll want to use moisture barriers beneath the flooring to block any water seepage. Applying water resistant coatings on the laminate’s surface also helps keep moisture at bay. These steps give you the freedom to enjoy your space without worrying about damage. Remember, sealing edges and promptly cleaning spills will keep your laminate looking great and lasting longer in wet areas.
What Are Common Laminate Types Used in Bathrooms?
When picking laminate for your bathroom, you’ll often see luxury vinyl and engineered wood options. Luxury vinyl’s waterproof nature gives you freedom from worrying about moisture damage, making it perfect for wet areas. Engineered wood offers a stylish, natural look but usually needs extra sealing to handle humidity. You want something durable yet flexible, so you can enjoy your space without stressing over water issues or limiting your design choices.
How Long Does Laminate Typically Last in a Bathroom Environment?
You’ll find that laminate lifespan in a bathroom environment usually ranges between 10 to 20 years, depending on how well you manage bathroom humidity. Since bathrooms are naturally moist, keeping humidity in check is key to extending your laminate’s life. Using proper ventilation and quick clean-ups can help prevent warping or damage. With the right care, your laminate can stay looking great, giving you the freedom to enjoy a stylish, low-maintenance space.
Are There Waterproof Laminate Options Suitable for Bathrooms?
You’d think waterproof laminate options for bathrooms are as rare as a unicorn, but luckily, they do exist! These specialized laminates offer excellent bathroom suitability by resisting moisture and humidity better than standard types. When you choose waterproof options, you’re giving yourself the freedom to enjoy stylish floors without worrying about water damage. Just be sure to pick products labeled for wet areas and follow installation guidelines for the best protection.


