How to Remove Bike From Walls
To remove your bike from a wall mount, first clear the surrounding area and identify the mount type (hook, bracket, or rail). Support the bike securely, then methodically loosen any fasteners while holding the frame to prevent falls. Use proper lifting techniques—keep your back straight and grip firmly on balanced points like the top tube and handlebars. Protect both bike and wall with padding as you disengage. For detailed steps on minimizing damage and optimizing storage, explore further guidance.
Assessing Your Bike Storage Setup
Before you begin removing your bike from the wall, you need to carefully assess your storage setup to understand how your bike is secured. Examine the type of bike storage system installed—whether it’s a hook, bracket, or rail—and identify the attachment points on both the wall and bike. Confirm the wall safety by checking the integrity of the mounting hardware and the condition of the wall surface. Look for any signs of wear, looseness, or damage that could compromise stability. Verify the storage is rated to support your bike’s weight to prevent accidents during removal. Understanding these elements lets you plan a smooth, controlled removal, maintaining your freedom to move your bike safely without risking damage to the bike, wall, or yourself.
Clearing the Area Around the Bike
Once you’ve confirmed the security and condition of your bike storage, focus on creating a safe workspace by clearing the area around your bike. Begin by removing any items obstructing your access, clearing clutter thoroughly to prevent accidents or damage during removal. Organize space by relocating tools, boxes, or other objects to a designated zone away from the wall. Make sure the floor is clean and free of debris to maintain stable footing. Adequate lighting is essential; adjust it if needed to improve visibility. This preparation provides unrestricted movement, reducing the risk of injury or equipment harm. By methodically clearing clutter and organizing space, you set the foundation for a smooth, efficient bike removal process that supports your goal of regaining mobility and freedom. Regularly monitoring cleaning effectiveness in your workspace can further ensure safety and efficiency during tasks such as bike removal.
Identifying the Type of Wall Mount or Hook
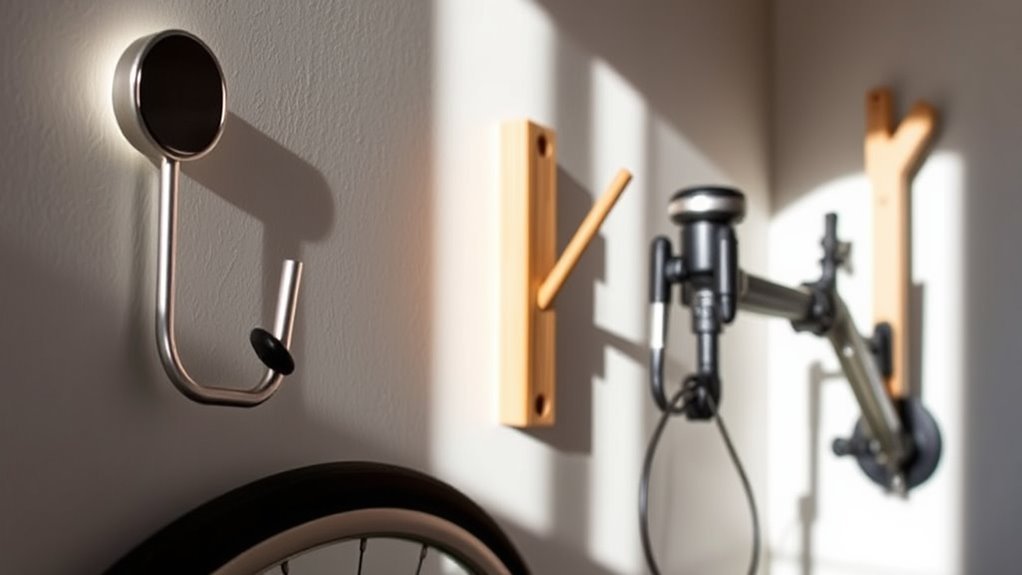
There are several common types of wall mounts and hooks used to hold bikes, and correctly identifying yours is essential for safe removal. Knowing the specific mount type allows you to apply the right technique without damage. Typical wall mounts include:
- Vertical Hooks: Simple hooks that hold the bike by the front or rear wheel.
- Horizontal Racks: Platforms where the bike rests on its frame or wheels.
- Clamp Mounts: Secure the bike’s frame with adjustable clamps.
- Rail Systems: Rails that support multiple bikes, often with sliding hooks.
Examine your wall mount closely—check for screws, clamps, or rails. Understanding these mount types empowers you to proceed confidently and liberate your bike without risking harm to your equipment or wall. Additionally, preparing your workspace with safety gear and ensuring a stable environment can prevent accidents during removal.
Preparing Your Bike for Removal
Before removing your bike, first confirm the specific wall mount type to determine the correct approach. Gather all necessary tools, such as screwdrivers or wrenches, based on the mount’s design. Then, securely hold or support the bicycle to prevent accidental drops during removal.
Assess Wall Mount Type
Although removing a bike from a wall may seem straightforward, identifying the specific type of wall mount securing it is crucial for a safe and efficient process. First, examine the mount types—common options include hook racks, clamp mounts, and bracket systems. Next, assess the wall materials: drywall, concrete, brick, or wood studs will dictate your approach. Then, note any visible fasteners—screws, bolts, or anchors—and their condition to anticipate removal difficulty. Finally, determine if the mount is fixed directly to the wall or attached to a panel or rail system. This precise assessment guarantees you approach removal without damaging the wall or your bike, giving you the freedom to proceed confidently with the next steps.
Gather Necessary Tools
Since each wall mount varies in design and installation, gathering the right tools is essential to guarantee a smooth and damage-free bike removal. Begin by identifying the tool types compatible with your specific mount—this often includes Allen wrenches, screwdrivers, or adjustable wrenches. Having a set of hex keys is advisable, as many mounts use hex bolts. Additionally, gather necessary equipment such as a flashlight for visibility in tight spaces and a small container to hold screws and bolts securely. Ascertain your tools are in good condition to avoid stripping screws or damaging the wall. By preparing the appropriate tool types and necessary equipment beforehand, you’ll streamline the removal process, maintain your bike’s integrity, and preserve your wall’s surface, granting you the freedom to relocate your bike effortlessly.
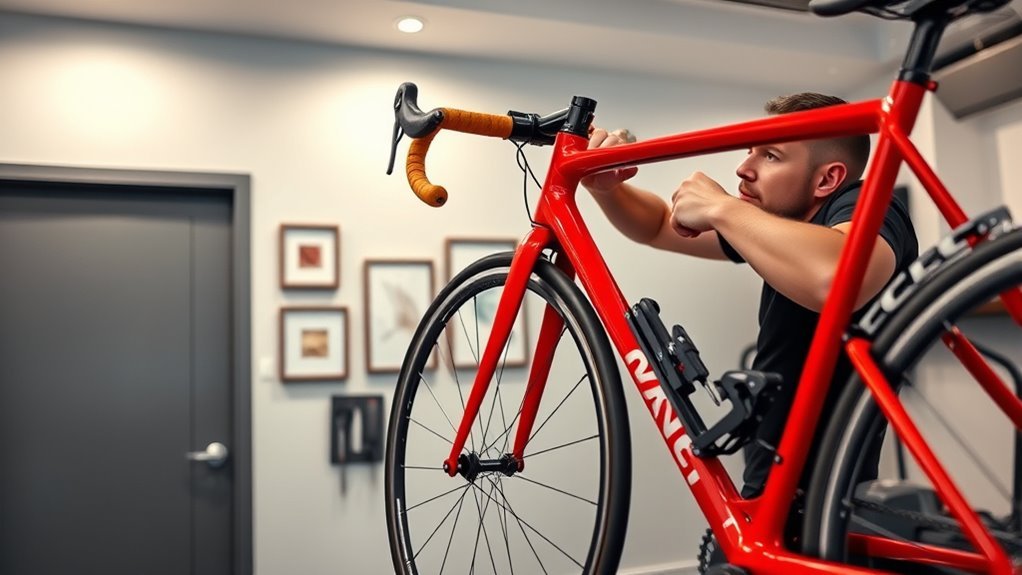
Secure the Bicycle Properly
With the right tools gathered, you can now focus on securing your bike to prevent damage during removal. Proper bike security guarantees the frame and components stay intact as you detach it from the wall. Follow these steps to handle your mounting options effectively:
- Assess the mounting system—identify hooks, brackets, or clamps holding your bike.
- Use padding or cloth to protect delicate parts like the frame and handlebars.
- Loosen fasteners methodically, supporting the bike’s weight to avoid sudden drops.
- If removable, detach wheels or accessories to reduce strain and facilitate easier handling.
Techniques for Lifting the Bike Safely
To lift your bike safely, start by positioning your hands firmly on the frame at balanced points to maintain control. Engage your legs to generate the lifting force, keeping your back straight to prevent strain. This technique minimizes injury risk and guarantees a steady removal from the wall.
Proper Hand Placement
One key aspect of lifting your bike safely off the wall is making certain your hands are positioned correctly to maintain balance and control. Proper grip and hand positioning reduce strain and prevent slipping. Follow these steps for effective hand placement:
- Place one hand firmly under the frame’s top tube, close to the center, for a balanced hold.
- Position your other hand near the handlebars, gripping the stem or the grips securely.
- Make sure your fingers wrap fully around the frame and handles for a proper grip, avoiding any sharp edges or loose components.
- Keep your wrists aligned with your forearms to maximize control and reduce fatigue.
This method gives you freedom of movement while securing your bike confidently during lifting.
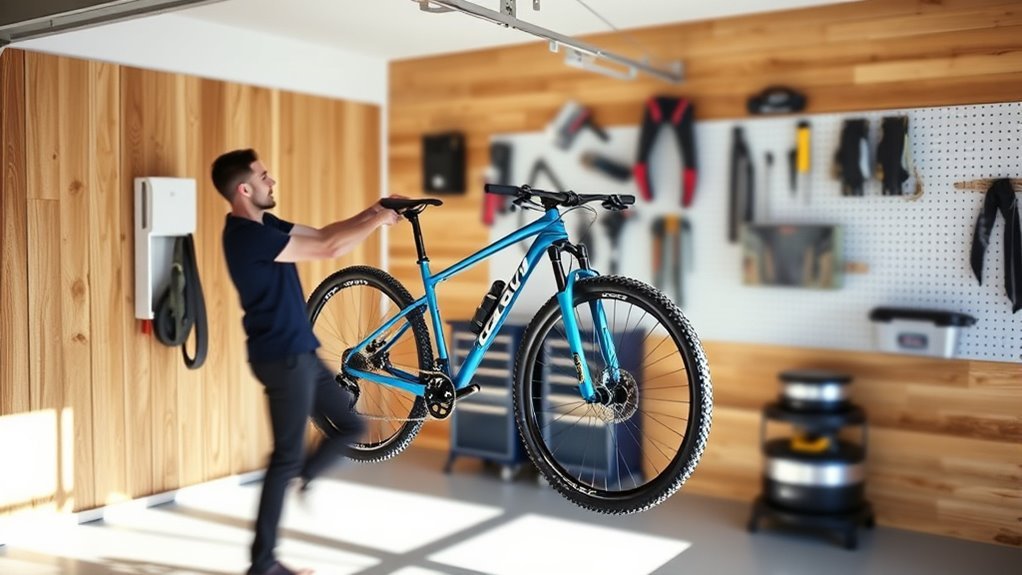
Using Leg Strength
Engage your legs when lifting the bike off the wall to minimize strain on your back and arms. Begin by positioning your feet shoulder-width apart to create a stable base. Bend your knees, not your waist, to lower yourself close to the bike. Grasp the frame firmly using proper hand placement. As you lift, extend your legs powerfully, using leg strength exercises such as squats or lunges to build the necessary muscle control and endurance. This technique shifts the workload from your back to your legs, reducing injury risk. Keep the bike close to your body to maintain balance and control. Incorporate these bike lifting techniques regularly to master safe removal and enjoy the freedom of effortless bike handling.
Using Assistance or Tools to Remove the Bike

A reliable method for removing a bike from walls involves using appropriate tools or seeking assistance to guarantee safety and prevent damage. Start by evaluating assistance options—having a partner can stabilize the bike and reduce strain. Next, focus on tool selection: a sturdy step stool or ladder can elevate your reach safely. Use a rubber grip pad to protect surfaces and improve hold. Follow these steps precisely:
- Position your helper to support the bike frame securely.
- Place the step stool firmly beneath the bike to access high points.
- Apply the grip pad between your hands and the bike or wall for control.
- Slowly lift and disengage the bike from its mount with coordinated effort.
This approach guarantees efficient removal while preserving your freedom to maneuver. Additionally, inspecting the bike for any damage before removal helps ensure a smoother and safer process, aligning with best practices for proper preparation.
Preventing Damage to Walls and Bike During Removal
After securing help and selecting the right tools for safe bike removal, focus shifts to minimizing damage to both the wall and your bike. Begin by applying adequate wall protection such as foam pads or thick fabric at contact points to prevent scratches and dents. Assure the bike’s frame is cushioned—wrap sensitive areas with bubble wrap or padded cloth to absorb shocks during detachment. Work slowly, maintaining steady pressure to avoid sudden movements that could scrape surfaces or damage components. Use rubber gloves for better grip, reducing the risk of dropping the bike. Finally, inspect mounting hardware carefully before loosening; this prevents unexpected detachment that might harm your wall or bike. By implementing these protective measures, you preserve freedom to move your bike without compromising its condition or your living space.
Storing Your Bike After Removal
Once you’ve safely removed your bike from the wall, you’ll need to choose an appropriate storage method that guarantees its protection and easy access. Effective bike storage and bike organization are key for maintaining freedom of movement and readiness. Consider these options:
- Vertical bike racks to save floor space and secure the bike upright.
- Ceiling hoists to keep the bike out of the way while protecting its frame.
- Freestanding bike stands that allow quick deployment and compact organization.
- Dedicated bike closets or cabinets that shield from dust and damage.
Each method supports ideal bike organization, preserving your bike’s condition and ensuring it’s ready when you want to ride. Evaluate your space and lifestyle to select the most functional storage solution for your needs.
Tips for Easy Future Bike Removal
When you want to remove your bike from the wall quickly and safely in the future, proper preparation is vital. Start by confirming your wall organization system is simple and accessible; use hooks or racks designed for easy release. Regular bike maintenance is important—keep your bike clean and lubricated to prevent snagging on wall mounts or nearby objects. Label hook positions or mark mounting points to maintain consistent placement, which speeds up removal. Avoid overcrowding the storage area; give yourself enough space to maneuver your bike freely. Before lifting, check that all fasteners and supports are secure but easy to disengage. By combining thoughtful wall organization with routine bike maintenance, you’ll guarantee that removing your bike remains a smooth, hassle-free process, preserving your freedom to ride whenever you choose. Additionally, ensuring your garage has proper lighting and ventilation can improve visibility and create a safer environment for bike removal.
Frequently Asked Questions
Can I Remove a Bike From a Wall Mount Without Damaging the Paint?
You can definitely remove your bike from a wall mount without causing paint damage. To guarantee effective paint damage prevention, first confirm the bike wall protection system is designed to minimize contact points and distribute weight evenly. Gently lift or tilt the bike to disengage hooks or clamps, avoiding sudden movements that could scrape the wall. Using soft padding on mounts also helps preserve your wall’s finish while giving you freedom to store and access your bike safely.
What Are the Best Wall Mounts for Heavy Mountain Bikes?
They say, “A stitch in time saves nine,” and choosing the right wall mount for your heavy mountain bike is no exception. You’ll want heavy duty options with reinforced steel construction and strong weight ratings to support your bike safely. Look for space saving designs like foldable or vertical mounts that keep your area uncluttered while providing secure support. Prioritize mounts with rubber padding to protect your bike’s frame and guarantee easy, damage-free access.
How Do I Clean My Bike After Removing It From Storage?
Once you’ve taken your bike out of storage, start with bike maintenance tips like gently rinsing off dirt using a low-pressure hose to avoid damaging components. Use a soft brush and bike-specific cleaner to scrub the frame and drivetrain, then dry thoroughly to prevent rust. Lubricate the chain and check tire pressure. These steps guarantee your storage solutions don’t compromise performance, keeping your bike ready for the freedom of the open road or trail.
Are There Specific Tools Needed for Different Wall Mounts?
When it comes to mount types, you’ll find that tool requirements can vary quite a bit—no one-size-fits-all here. For hook mounts, a simple wrench or screwdriver usually does the trick. Floating shelves might need a drill for anchors. Heavy-duty wall brackets often call for a stud finder, level, and power drill. Knowing your specific mount type lets you gather the right tools, so you’re free to remove your bike efficiently and safely without second-guessing.
How Often Should I Check the Wall Mount for Safety?
You should perform safety inspections on your wall mount at least every three months to guarantee ideal wall integrity. Regular checks help identify any loosening screws, cracks, or signs of wear that could compromise the mount’s strength. If you notice any issues, address them immediately to maintain safety. Staying vigilant lets you enjoy the freedom of confidently storing your bike without worrying about unexpected failures or accidents.


