How to Remove Chair From Kitchen
To remove a chair from your kitchen, first clear the surrounding area for easy movement and safety. Check the chair’s weight and material, and remove any cushions or loose parts to lighten it. Use proper lifting techniques—bend your knees and lift with both hands to protect your floor. If needed, disassemble the chair carefully using the right tools while wearing gloves and goggles. Navigate tight spaces slowly to avoid damage. Keep going to discover more helpful tips for a smooth removal.
Assessing Your Kitchen Space

Before you start moving anything, take a close look at your kitchen layout. Understanding how your space flows is key to freeing up room without chaos. You’ll want to identify tight spots and areas where chairs might be crowding your movement. By evaluating your kitchen layout carefully, you can spot opportunities for space optimization that make removing a chair easier and more effective. Think about how the current arrangement supports your daily routine and where you crave more freedom to move. This insight lets you plan your chair removal strategically, ensuring you don’t just shift clutter but actually enhance your kitchen’s openness. Taking this step first empowers you to create a more fluid, liberated kitchen environment.
Preparing the Area Around the Chair
Before you move the chair, make certain to clear the space around it to avoid bumping into anything. Protect your floors and walls by using pads or covers to prevent scratches or dents. Also, guarantee the area is well-lit so you can see clearly while working.
Clear Surrounding Space
Anyone moving a chair in the kitchen should start by clearing the space around it. This step is essential for smooth removal and preventing accidents. Begin by pushing aside items that crowd the area, practicing space organization to create a clear path. Tackling clutter reduction not only frees up physical room but also gives you mental clarity, letting you move with ease and confidence. Make sure there’s enough space to maneuver the chair without bumping into counters, appliances, or other furniture. By clearing the surrounding area, you avoid unnecessary obstacles and potential damage. Embracing this simple habit fosters freedom in your kitchen, making every move purposeful and efficient. It’s all about creating an environment where you can act swiftly and without restriction.
Protect Floors and Walls
A crucial step in removing a chair from the kitchen is protecting your floors and walls. You want to avoid scratches or dents while moving the chair, so lay down some reliable floor protection like a drop cloth, old blankets, or cardboard sheets. These create a smooth path and shield your flooring from damage. Don’t forget about your walls—if space is tight, applying removable wall coverings or foam pads can prevent scuffs from accidental bumps. Taking these precautions lets you move freely without worrying about ruining your kitchen’s surfaces. By preparing the area thoughtfully, you maintain your freedom to rearrange furniture without the stress of costly repairs, making the process smoother and more enjoyable.
Ensure Adequate Lighting
Two key factors make ensuring adequate lighting essential when removing a chair from your kitchen: safety and ease of movement. Before you start, check that all lighting fixtures are functioning properly to avoid any dark spots where you might trip or bump into furniture. If possible, open curtains or blinds to maximize natural illumination, giving you a clear view of the chair and surrounding space. Good lighting helps you gauge distances accurately and maneuver freely without hesitation. Don’t rely solely on overhead lights—consider adding portable lamps if shadows obscure critical areas. By setting up a well-lit environment, you empower yourself to move confidently, preventing accidents and making the removal process smoother. Remember, clear visibility equals freedom to act swiftly and safely.
Checking the Chair’s Weight and Material
Before you try moving the chair, take a moment to assess its weight and material. Understanding the chair materials and conducting a proper weight assessment will help you plan how to remove it effortlessly, avoiding strain or damage.
- Identify the chair materials: Is it made of solid wood, metal, plastic, or a combination? Each demands a different handling approach.
- Estimate the weight: Lift one side gently to gauge heaviness without risking injury.
- Consider the structure: Lightweight chairs may be easier to carry, while heavier or bulky ones might need additional help or tools.
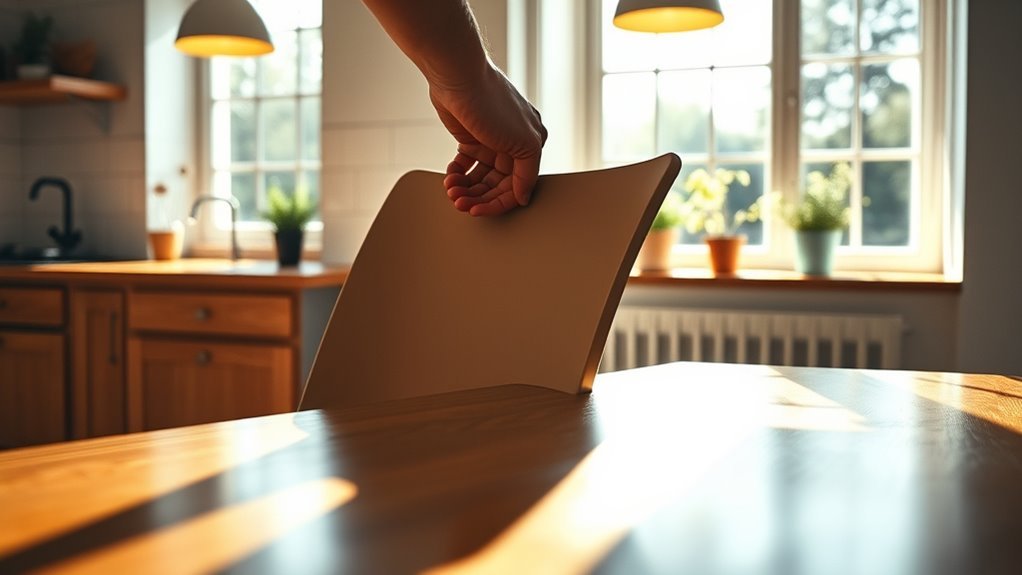
Removing Cushions and Loose Parts
Start by removing any cushions or detachable parts from the chair to make it lighter and easier to handle. Different cushion types—from foam pads to tufted or removable slipcovers—may require specific removal techniques. For foam or simple cushions, gently pull them off; for cushions with ties or Velcro, untie or detach carefully to avoid damage. If your chair has loose parts like detachable armrests or backrests, locate screws or clips securing them and remove using the appropriate tools. This step not only lightens the load but also prevents damage during transport. By mastering these removal techniques, you gain freedom to move the chair without hassle, ensuring a smooth shift from your kitchen to any new space. Keep cushions and parts safe for easy reassembly later.
Lifting Techniques to Avoid Floor Damage
Protecting your floors while moving a chair requires careful lifting techniques. You want to avoid scratches and dents that can limit your freedom to rearrange or enjoy your space. Here are three key lifting techniques for effective floor protection:
- Lift, don’t drag: Always pick up the chair to prevent scraping the floor surface.
- Use both hands: Balance the chair evenly by gripping it on opposite sides, reducing the risk of dropping or tilting.
- Bend your knees: Engage your legs instead of your back to lift safely, ensuring a steady hold and controlled movement.
Protecting Floors During Chair Removal
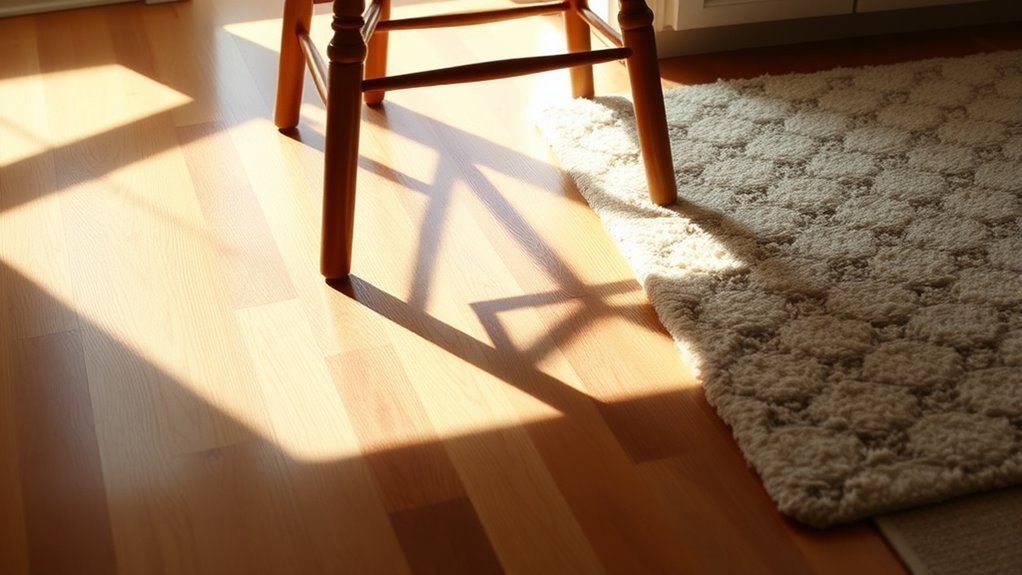
While removing a chair, you’ll want to take extra care to avoid any damage to your floors. To keep your freedom intact, start by placing furniture pads under the chair legs. These pads provide a smooth barrier that prevents scratches and scuffs as you move the chair. If you don’t have pads, try laying down a soft cloth or cardboard for temporary floor protection. Always lift the chair rather than dragging it, but if lifting isn’t possible, the pads will minimize friction and protect your floor’s finish. Taking these simple steps guarantees your kitchen floor stays flawless while you rearrange or remove chairs, giving you peace of mind and the freedom to change your space without worry.
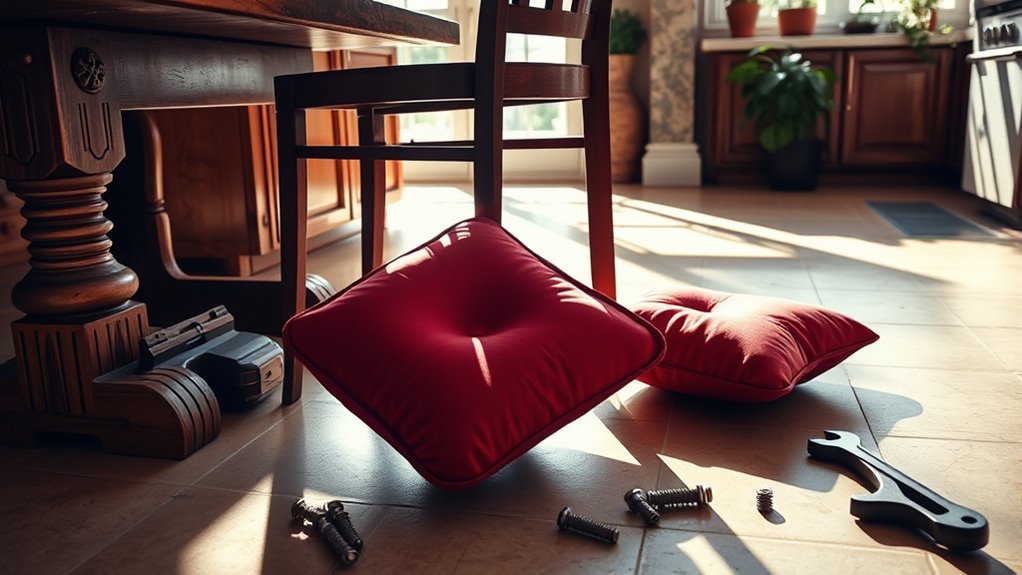
Disassembling the Chair if Necessary
If the chair feels too bulky or heavy to move safely, you might need to disassemble it first. Taking it apart can give you more freedom in maneuvering tight spaces and protecting your floors. To do this effectively, consider these key disassembly techniques and tool selection tips:
- Identify removable parts like legs, backrests, or cushions to reduce bulk.
- Choose the right tools—usually a screwdriver or Allen wrench—based on the chair’s fasteners.
- Keep all screws and small components organized in a container to avoid losing them.
Using Tools Safely for Removal
Before you start using any tools, make sure you’re wearing essential safety gear like gloves and goggles. Handling tools properly not only protects you but also makes the removal process smoother. Let’s look at how to use common tools safely to get that chair out without injury.
Essential Safety Gear
A key part of removing a chair from your kitchen is wearing the right safety gear to protect yourself during the process. You want to stay free from injury and handle everything confidently. Here’s what you should gear up with:
- Safety Goggles – Shield your eyes from dust, splinters, or unexpected debris when loosening screws or prying parts apart.
- Gloves Usage – Wear sturdy gloves to protect your hands from sharp edges, rough surfaces, and to get a better grip on tools and chair components.
- Closed-Toe Shoes – Protect your feet in case the chair or tools slip or fall.
Proper Tool Handling
Two tools you’ll likely use when removing a chair are screwdrivers and pry bars, so handling them properly is crucial for your safety and efficiency. Mastering tool usage means keeping a firm grip, applying steady pressure, and working deliberately to avoid slips. Regular tool maintenance, like cleaning and checking for damage, guarantees your tools perform well and last longer. Here’s a quick guide to safe tool handling for your freedom to work confidently:
| Tool | Handling Tip |
|---|---|
| Screwdriver | Use correct size, steady grip |
| Pry Bar | Apply force gradually |
| Gloves | Protect hands from slips |
| Workspace | Keep clear, well-lit |
| Inspection | Check tools before use |
Follow these tips to remove your chair safely and enjoy the freedom of DIY.
Moving the Chair Through Tight Spaces
When you need to maneuver the chair through tight spaces, you’ll want to plan your path carefully to avoid bumps and scratches. Start by measuring width along doorways and hallways to guarantee the chair fits without forcing. Then, focus on navigating corners by turning the chair at angles that minimize contact with walls. Finally, consider removing the chair’s cushions or detachable parts if possible to reduce bulk.
Plan your path, measure widths, angle turns carefully, and remove cushions to ease chair movement through tight spaces.
- Measure width of all narrow passages beforehand.
- Approach corners slowly, adjusting the chair’s angle as needed.
- Disassemble removable components to ease movement and protect surfaces.
Storing or Disposing of the Chair Properly
Once you’ve removed the chair, you’ll need to decide whether to store it or get rid of it. Consider your storage options, like a garage or basement, to keep it safe and out of the way. If you’re disposing of it, look into local recycling or donation programs to handle it responsibly.
Storage Options
Choosing the right storage option for your chair depends on how much space you have and whether you plan to keep or get rid of it. If you decide to keep the chair, exploring smart storage solutions will help maintain ideal organization while freeing up your kitchen space.
Here are three storage options to take into account:
- Under-bed or Loft Storage: Utilize under-bed containers or loft spaces to tuck away the chair, keeping it accessible without cluttering your kitchen.
- Closet or Garage Shelving: Store the chair on sturdy shelves in a closet or garage, maximizing vertical space and preserving your freedom to rearrange.
- Foldable Chair Storage: If your chair folds, stack or hang it on a wall-mounted rack for easy access and minimal footprint.
Choose what suits your lifestyle and space best!
Disposal Methods
There are several ways you can dispose of or store your kitchen chair responsibly, depending on its condition and your preferences. If the chair is still in good shape, donating it to local donation centers is a great way to give it new life. For worn-out chairs, explore recycling options to minimize waste. Alternatively, if you want to keep it, consider storage solutions that protect the chair from damage.
| Condition | Disposal Option | Benefits |
|---|---|---|
| Good | Donation Centers | Supports community, eco-friendly |
| Damaged | Recycling Options | Reduces landfill waste |
| Sentimental | Proper Storage | Preserves for future use |
Choosing wisely frees you from clutter while supporting sustainability.
Frequently Asked Questions
Can I Use a Dolly to Move a Heavy Kitchen Chair?
You can definitely use a dolly to move a heavy kitchen chair, but you’ll want to keep dolly safety in mind. Make sure the chair weight is balanced on the dolly to prevent tipping. Secure the chair if possible, so it doesn’t shift while you roll. Using a dolly lets you move heavy items easily, giving you the freedom to rearrange your space without straining yourself or risking injury.
How Do I Prevent Scratches on Wooden Chairs During Removal?
Oh sure, just go ahead and scratch those wooden chairs like it’s modern art—if you want a masterpiece of damage! But if you prefer freedom from regret, slap on some protective coverings or stick chair sliders under the legs. These little heroes let you glide your chairs effortlessly across floors without leaving battle scars. Protect your freedom to move without pain—your chairs will thank you, and so will your floor.
What Should I Do if the Chair Legs Are Glued, Not Screwed?
If the chair legs are glued, not screwed, you’ll want to approach glue removal carefully to avoid damage. Start by gently warming the glued joints with a hairdryer to soften the adhesive. Then, use a thin putty knife or a plastic scraper to slowly pry the legs apart. If you cause any damage, you can always do some chair repair afterward. Taking your time will give you the freedom to separate the parts without ruining your chair.
Are There Eco-Friendly Options for Disposing of Old Kitchen Chairs?
Think of your old kitchen chair like a well-loved book—passing it on lets its story continue. You can embrace freedom by choosing eco-friendly options like recycling furniture or donating to donation centers, where someone else can give your chair new life. This way, you’re not just tossing it away but freeing yourself from waste while helping the environment. It’s a simple, responsible way to let go and keep your space—and planet—clean.
How Do I Clean the Chair Before Storing It Away?
Before storing your chair, you’ll want to give it a good clean to keep it fresh and ready for later use. Grab some gentle cleaning solutions—like mild soap mixed with water—to wipe down all surfaces, paying attention to nooks and crevices. This simple step is key to chair maintenance, preventing dust buildup and potential damage. Taking a little time now means your chair stays in great shape, freeing you from future hassle.


