How to Remove Dishwasher From Garage
To remove a dishwasher from your garage, first measure the space and gather tools like a wrench and screwdrivers. Turn off power at the circuit breaker and shut off the water supply. Disconnect the water line and drain hose, then remove mounting brackets securing the dishwasher. Carefully detach electrical connections and slide the unit out, avoiding damage. Clean the area and decide whether to store or dispose of the dishwasher properly. Following these steps will help you handle the process smoothly and safely.
Assess the Dishwasher Location and Space
Before you begin removing the dishwasher from your garage, you’ll need to carefully assess its current location and the surrounding space. Start by measuring the dishwasher dimensions accurately, noting width, height, and depth. This data is essential for understanding clearance requirements and maneuverability. Conduct a thorough space assessment around the appliance, identifying tight spots, obstacles, or potential hazards. Pay close attention to doorways, pathways, and corners the dishwasher must pass through during removal. Confirm there’s enough room to work safely and to avoid damage to walls or the appliance itself. By completing a precise space assessment and knowing the exact dishwasher dimensions, you’ll streamline the removal process and maintain your freedom to move efficiently without unexpected challenges or constraints.
Gather Necessary Tools and Materials
While you prepare to remove the dishwasher from your garage, gathering the right tools and materials is essential to secure a smooth and efficient process. A detailed tools checklist and clear material requirements will keep you organized and prevent unnecessary delays.
Make certain you have the following items on hand:
- Adjustable wrench for disconnecting water lines
- Screwdriver set (Phillips and flathead) for removing mounting brackets
- Bucket and towels to catch water spills
- Flashlight to illuminate tight spaces
Having these tools ready guarantees you can work confidently and independently. Confirm that your tools checklist matches your dishwasher model’s specifications. This preparation empowers you to complete the removal safely and efficiently, freeing your garage space without hassle.
Turn Off Power and Water Supply
Since dishwashers operate on both electricity and water, you’ll need to turn off the power and water supply to prevent hazards and leaks during removal. Start by locating your home’s circuit breaker panel and switch off the breaker dedicated to the dishwasher. Confirm power is off by testing with a voltage tester or multimeter—never rely on the breaker label alone. Next, shut off the water supply valve feeding the dishwasher, usually found under the sink or near the appliance. These safety precautions are critical before using any power tools to detach the dishwasher. Cutting power eliminates shock risk, while stopping water flow prevents flooding. Taking these steps guarantees a controlled, hazard-free environment, giving you the freedom to proceed confidently with the removal process.
Disconnect the Water Line and Drain Hose
Once the power and water are securely shut off, you can proceed to disconnect the water line and drain hose. This step frees the dishwasher from its water source and waste outlet, enabling safe removal. Start by locating the water line connection, usually a braided stainless steel or plastic tube near the dishwasher’s base. Next, identify the drain hose attached to the sink’s drain or garbage disposal.
Shut off power and water before disconnecting the dishwasher’s water line and drain hose for safe removal.
- Use an adjustable wrench to carefully loosen the water line fitting.
- Place a bucket underneath to catch residual water.
- Loosen the clamp securing the drain hose and gently pull it free.
- Inspect both lines for damage or wear before detaching completely.
Disconnecting these lines cleanly prevents leaks and damage, allowing you to move the dishwasher without restriction.
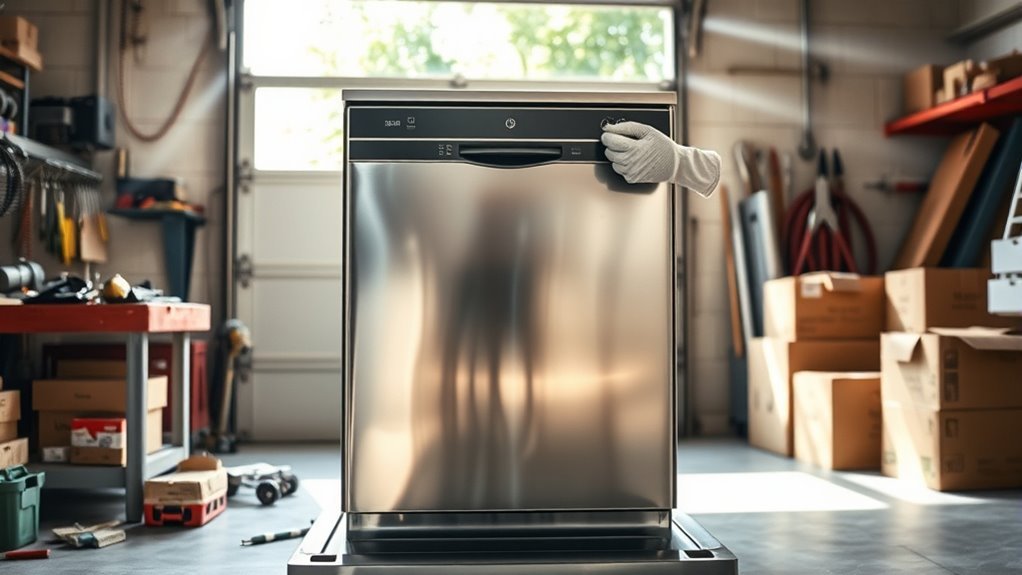
Remove the Dishwasher Mounting Brackets
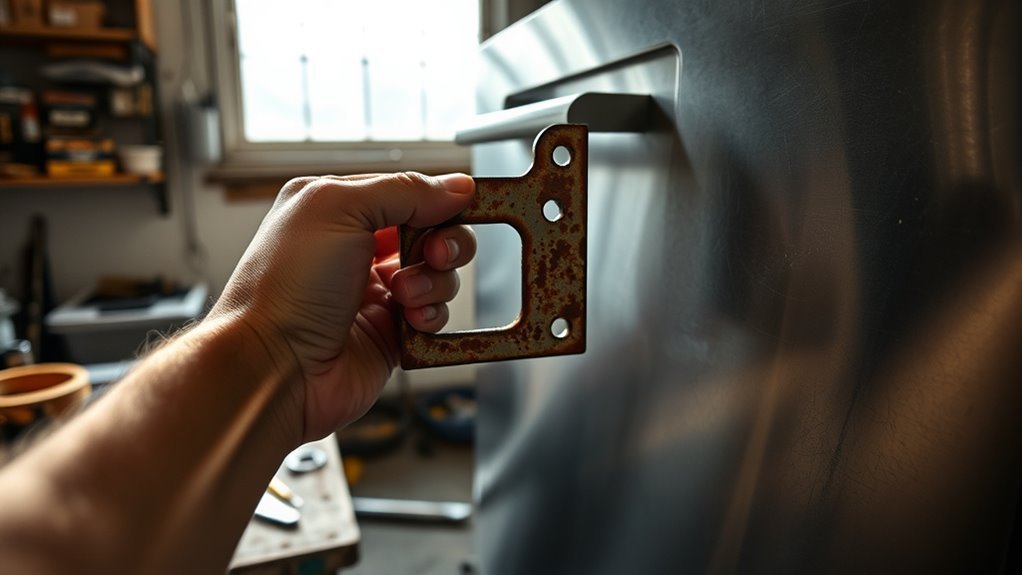
Locate and unscrew the mounting brackets securing the dishwasher to the countertop or cabinetry. These brackets hold the unit firmly in place, so removing them is vital for freeing the dishwasher. Use a suitable screwdriver or drill to carefully remove all screws without stripping them. Apply steady pressure and keep the tool aligned with each screw to avoid damage. Once the mounting brackets are detached, gently wiggle the dishwasher to confirm it’s no longer secured. Effective removal techniques focus on maintaining control, preventing injury, and protecting surrounding surfaces. By methodically removing these brackets, you eliminate the final mechanical constraint, allowing you to slide the dishwasher out smoothly. This step is essential before proceeding to disconnect electrical connections or fully extract the appliance from the garage.
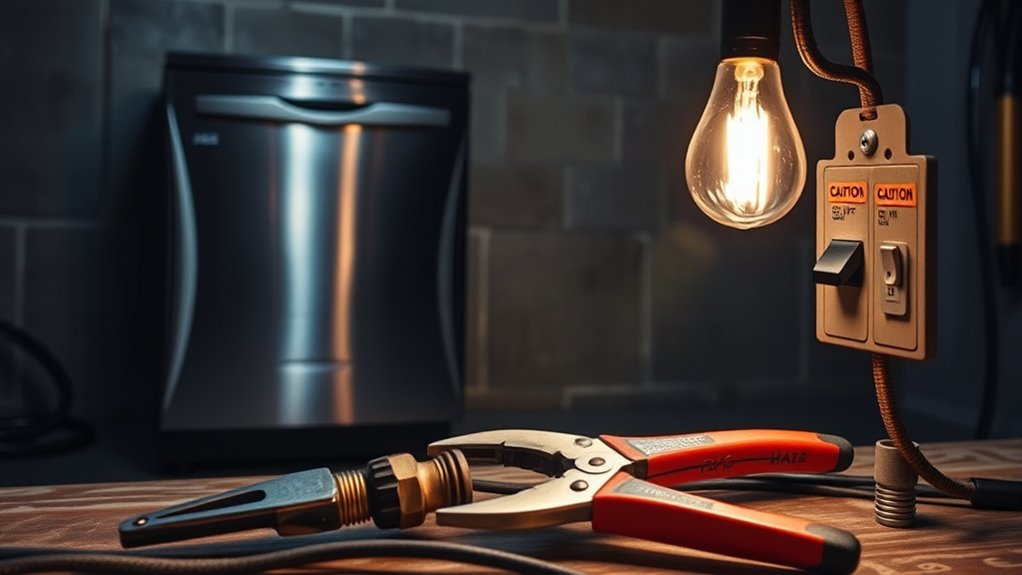
Detach the Electrical Connections
Before you can fully remove the dishwasher, you’ll need to detach its electrical connections safely. Prioritize electrical safety by turning off the power at the circuit breaker to prevent shocks. Identify the connection types—most dishwashers use either a hardwired junction box or a plug-in cord.
Always turn off the power at the breaker before safely disconnecting your dishwasher’s electrical connections.
- Confirm power is off with a voltage tester before touching wires
- Remove the access panel to expose the electrical junction box
- Carefully disconnect wire nuts or unplug the power cord
- Securely cap exposed wires with wire nuts or electrical tape
Handling these steps with care guarantees you avoid hazards and maintain freedom from injury. Once the electrical connections are detached, you’re one step closer to removing your dishwasher from the garage efficiently.
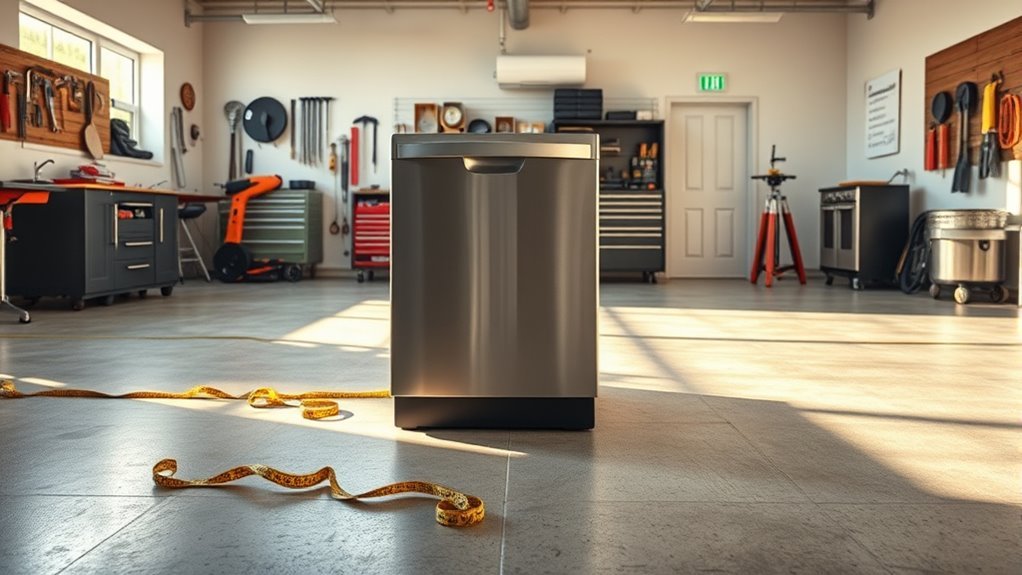
Slide the Dishwasher Out of Its Space
After detaching the electrical connections, you can focus on sliding the dishwasher out of its space. First, verify the dishwasher dimensions against the available clearance requirements to guarantee smooth removal without damage. Clear any obstructions around the unit—this includes securing loose hoses or cables. Grip the dishwasher firmly on both sides and gently pull it forward, keeping the appliance level to avoid strain on the water lines. If you encounter resistance, double-check for hidden screws or brackets. Maintaining proper clearance prevents scratches and allows for a controlled slide. Once the dishwasher is free from its cavity, carefully maneuver it out of the garage. This step requires steady hands and awareness of the unit’s size to preserve both your freedom and the integrity of surrounding surfaces. Using a microfiber cloth to wipe down nearby stainless steel appliances after removal can help prevent streaks and maintain their shine.
Inspect and Prepare the Area for Replacement
Before installing a new dishwasher, check the electrical outlets and plumbing connections to guarantee they’re in good condition and comply with local codes. Clear the surrounding space completely to allow easy access and proper fit for the replacement unit. This preparation helps prevent installation issues and potential damage.
Check Electrical and Plumbing
Although it might seem straightforward, checking the electrical and plumbing connections is essential to confirm a safe and efficient dishwasher removal. Before you proceed, make sure you follow strict safety precautions to avoid electrical shocks or water damage. Use appropriate plumbing tools to disconnect water lines properly.
- Confirm the dishwasher is unplugged or the circuit breaker is off.
- Inspect the water supply valve for leaks or corrosion.
- Use a wrench and bucket to carefully detach the water inlet hose.
- Examine the electrical cord and outlet for visible wear or damage.
Clear Surrounding Space
Once the electrical and plumbing connections are safely disconnected, focus on clearing the surrounding space around the dishwasher. Begin by removing any tools, boxes, or debris that may obstruct your access. Proper space organization is essential for a smooth removal process and to prevent damage. Sweep the area to guarantee no small objects interfere with your footing or the appliance’s movement. If you’re planning to replace the dishwasher, allocate enough room for the new unit and its installation. This step is integral to efficient garage cleanup, creating a safer and more functional workspace. By preparing the area thoroughly, you’ll save time and avoid complications during removal or replacement. Keep the workspace clear to maintain control and freedom throughout the project.
Properly Dispose of or Store the Dishwasher
Once you’ve removed the dishwasher, decide whether you’ll dispose of or store it. For disposal, consider recycling centers or authorized waste facilities to handle appliances safely. If you plan to store it, clean thoroughly, disconnect all parts, and keep it in a dry, temperature-controlled area to prevent damage.
Disposal Options Overview
Before you remove the dishwasher from your garage, you need to decide how you’ll handle its disposal or storage. Understanding your disposal methods and recycling options guarantees you comply with local regulations while minimizing environmental impact. You have several practical paths:
- Donate the dishwasher if it’s functional, giving it a second life.
- Recycle components like metal and plastics at designated facilities.
- Arrange for bulk trash pickup or specialized appliance removal services.
- Sell or trade the dishwasher for parts if it’s non-functional but salvageable.
Choosing the right disposal option maximizes resource recovery and frees your space responsibly. Assess your dishwasher’s condition, local guidelines, and convenience to select the most suitable method. This approach lets you maintain control over the process and align with sustainable practices.
Storage Preparation Tips
Deciding how to handle your dishwasher is just the first step; preparing it properly for storage or disposal guarantees safety and preserves its condition. First, disconnect all water and electrical connections, then drain any residual water to prevent mold or damage. Clean the interior thoroughly and allow it to dry completely. If storing, choose appropriate storage solutions like sturdy shelving or pallets to keep the dishwasher off the garage floor, protecting it from moisture and pests. Cover it with a breathable tarp or plastic wrap to minimize dust accumulation. Label the unit clearly for easy identification during garage organization. For disposal, follow local regulations to recycle or discard responsibly. Proper preparation makes certain your garage stays organized and your dishwasher remains in good condition until its next use or removal.
Frequently Asked Questions
How Do I Troubleshoot Dishwasher Drainage Issues Before Removal?
If your dishwasher’s drainage problems feel like a never-ending flood, don’t panic. Start with basic troubleshooting tips: check and clean the filter, inspect the drain hose for kinks or clogs, and make sure the garbage disposal is clear. Also, verify the drain pump is working properly. By systematically addressing these, you’ll regain control over your dishwasher’s drainage, avoiding messy backups and saving yourself from unnecessary removal or repairs.
Can I Install a Dishwasher in the Garage Myself?
You can install a dishwasher in the garage yourself by following clear DIY guidelines. Start by ensuring proper electrical and plumbing hookups meet local codes. Use installation tips like leveling the unit, securing water supply lines, and connecting the drain hose properly. Remember, garages may need extra insulation or moisture protection. With careful planning and the right tools, you’ll enjoy the freedom of a functional dishwasher without professional help.
What Are Common Dishwasher Brands Suitable for Garage Installation?
Brands boasting Bosch models and Frigidaire options bring reliable, rugged dishwashers perfect for your garage. You’ll want units with insulated panels and durable seals to handle temperature swings. Bosch models excel in energy efficiency and quiet cycles, while Frigidaire options offer practical, budget-friendly performance. Choosing washers built for varied environments guarantees longevity and freedom from frequent repairs. Always confirm compatibility with your garage’s plumbing and electrical setup before purchase.
How Do I Prevent Mold Buildup in a Garage Dishwasher?
To prevent mold buildup in your garage dishwasher, focus on mold prevention and humidity control. Keep the area well-ventilated by using exhaust fans or a dehumidifier to maintain low humidity levels. After each use, leave the dishwasher door slightly ajar to allow moisture to escape and dry out. Regularly clean the dishwasher’s filter and seals to avoid trapped moisture. These steps help you maintain a mold-free, functional appliance without restricting your garage’s freedom.
Are There Energy-Efficient Dishwashers Ideal for Garage Use?
You know what they say: “A stitch in time saves nine.” When choosing energy-saving models for your garage, look for dishwashers with garage compatibility certifications—they’re built to withstand temperature fluctuations and humidity. These units optimize water and power use, ensuring efficiency without sacrificing performance. By selecting a model designed for garage conditions, you’ll enjoy reliable operation and freedom from frequent repairs, keeping your utility costs low and your peace of mind high.