
How to Remove Dust From Keyboard
To remove dust from your keyboard, start by powering it off and unplugging it for safety. Use compressed air in short bursts to blow out dust between keys, then gently brush with a soft, fine-bristled brush to lift stubborn particles. Wipe the surface with a lightly damp microfiber cloth, avoiding excess moisture. For tricky spots, press cleaning gel onto the keys to extract debris. Keeping this routine helps your keyboard stay responsive and clean. If you want to get into more detailed cleaning tips, keep exploring these methods.
Gather Necessary Cleaning Supplies
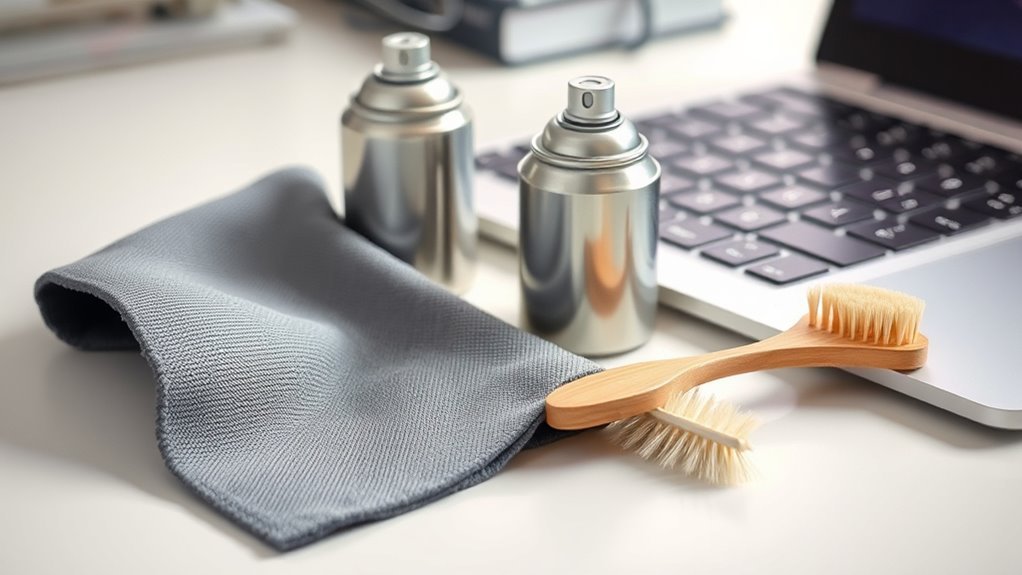
Before you begin cleaning your keyboard, you’ll need to gather a few essential supplies. Having the right cleaning supplies makes dust removal effective and straightforward. Start with a can of compressed air to blow dust from between the keys without causing damage. A soft-bristled brush or a small paintbrush helps sweep away stubborn particles. You’ll also want microfiber cloths, which are gentle and won’t scratch your keyboard’s surface. For deeper cleaning, prepare isopropyl alcohol (at least 70%) on a cloth or cotton swabs to remove grime. Avoid harsh chemicals that could harm your keyboard. Collect these tools so you can move through dust removal efficiently and regain control over your workspace’s cleanliness—freeing yourself from distractions caused by dirt buildup. Using compressed air canisters provides a contact-free way to clean tight spaces without moisture build-up.
Power Off and Unplug Your Keyboard
Two essential steps come before you start cleaning your keyboard: powering it off and unplugging it from your computer. This guarantees keyboard safety by preventing accidental key presses or electrical shorts during cleaning. First, shut down your device or put it to sleep, then turn off your keyboard if it has a power switch. Next, unplug the keyboard cable from your computer or disconnect any wireless receiver. Unplugging devices not only protects your equipment but also gives you the freedom to clean without restrictions. Avoid cleaning while the keyboard is still connected to avoid damage or data loss. Taking these simple precautions makes the cleaning process safer and more effective, allowing you to maintain your keyboard’s performance and longevity with ease.
Use Compressed Air to Dislodge Dust

You’ll want to pick a can of compressed air designed specifically for electronics to avoid moisture buildup. Hold the can upright and use short bursts to blow dust out from between the keys. Make sure to angle the air nozzle to reach hard-to-access spots without shaking the can. Regular cleaning supports a healthier environment and extends the lifespan of your keyboard.
Choosing the Right Can
Selecting the right can of compressed air is essential for effectively removing dust from your keyboard without causing damage. Not all keyboard cleaners are created equal, so choosing a reliable product guarantees efficient dust prevention and a longer-lasting keyboard. When picking your compressed air can, consider these factors:
- Look for cans labeled “keyboard safe” or “electronics safe” to avoid harsh chemicals.
- Choose a can with a narrow nozzle for precise air bursts that reach tight spaces.
- Avoid cans that spray liquid or have a freezing effect to prevent damage.
- Opt for reusable or environmentally friendly cans if you want to reduce waste and maintain freedom from frequent replacements.
With the right can, you’ll keep your keyboard dust-free and functioning smoothly.
Effective Air Blowing Technique
Once you have the right can of compressed air, it’s time to use it properly to dislodge dust trapped between your keyboard keys. Hold the can upright to avoid spraying any liquid. Position the nozzle about an inch or two above the keys. Use short bursts of air pressure, aiming at an angle to push dust particles out from beneath the keys. Move systematically across the keyboard, focusing on tight spaces where dust tends to accumulate. Avoid shaking the can, as this releases moisture that can damage your keyboard. Let the dust particles blow away naturally, and repeat if necessary. This technique frees your keyboard from debris without disassembly, giving you the freedom to keep it clean effortlessly and maintain peak performance.
Clean Between Keys With a Soft Brush
Choose a soft brush with fine bristles to avoid damaging your keyboard. Gently sweep between the keys using short, controlled strokes to lift dust and debris. Make sure to brush in multiple directions to reach all the hidden spots. For regular upkeep, using compressed air can also effectively remove dust and crumbs from your keyboard.
Choose Appropriate Brush Type
A soft brush is your best tool for reaching the tight spaces between keyboard keys without causing damage. When choosing your brush, consider both brush material and brush size carefully. You want something gentle yet effective.
Here’s what to look for:
- Brush material: Opt for natural or soft synthetic bristles to avoid scratching keys.
- Brush size: Choose a small to medium size that fits comfortably between keys.
- Handle design: A slim handle gives you better control and freedom of movement.
- Static resistance: Some brushes prevent static buildup, protecting sensitive electronics.
Brush Technique Tips
Two key techniques will help you effectively clean between your keyboard keys using a soft brush. First, focus on gentle, short strokes that dislodge dust without damaging the keys. Move the brush diagonally between keys to reach hidden debris. Second, maintain consistent brush pressure to avoid pushing dirt deeper. When it comes to brush selection, choose one with fine, soft bristles designed for electronics—this guarantees thorough cleaning without scratching. Proper brush maintenance is essential; regularly wash the brush with mild soap and water, then let it dry completely before use. Keeping your brush clean prevents dust buildup and cross-contamination. By mastering these techniques, you can effortlessly keep your keyboard dust-free, giving you the freedom to work or play without distraction or grime.
Wipe Down the Keyboard Surface

Before you start wiping, make sure your keyboard is unplugged or turned off to avoid any accidental key presses. Maintaining good keyboard hygiene means regularly surface cleaning to keep dust and grime at bay. Grab a soft, lint-free cloth slightly dampened with water or a mild cleaning solution. Then, gently wipe the keyboard surface, focusing on these key points:
Unplug your keyboard first, then gently wipe with a damp, lint-free cloth to keep dust and grime away.
- Wipe in straight, overlapping strokes for even cleaning
- Avoid excess moisture to prevent damage
- Pay attention to edges and spaces between keys
- Use a microfiber cloth to lift dust without scratching
For effective cleaning and disinfection, consider using isopropyl alcohol sparingly applied to your cloth.
Remove and Clean Individual Keys (If Possible)
If your keyboard allows it, you can remove individual keys to clean more thoroughly underneath. Start with keycap removal by gently prying up each key using a keycap puller or a flat tool, taking care not to damage the switches. Keep track of the keys’ original positions to make keycap replacement easier later. Once removed, clean the keycaps by soaking them in warm, soapy water and scrubbing gently with a soft brush. While the keycaps dry, use compressed air or a soft brush to clear dust and debris from the keyboard base. After everything’s dry, carefully snap each keycap back into place. This method gives you freedom to maintain your keyboard’s cleanliness and performance beyond simple surface wiping.
Use Cleaning Gel for Hard-to-Reach Areas
Cleaning gel is a handy tool you’ll want to keep around for those dust and debris trapped in tight spaces between keys. Its flexible texture molds perfectly into gaps, making it ideal for hard-to-reach areas. To make the most of cleaning gel benefits, follow these gel application techniques:
- Press the gel gently onto the keyboard surface, allowing it to seep into crevices.
- Lift the gel slowly to pull out dust, crumbs, and hair.
- Avoid pressing too hard to prevent residue sticking on keys.
- Store the gel in an airtight container to maintain its stickiness for future use.
Using cleaning gel saves time and effort, giving you freedom from stubborn dirt without dismantling your keyboard. It’s an efficient, mess-free way to keep your workspace clean. Remember to power down your keyboard before cleaning to ensure safety and prevent accidental inputs.
Maintain Keyboard Cleanliness Regularly
Though it might seem tedious, maintaining your keyboard’s cleanliness regularly prevents dust buildup and keeps it functioning smoothly. To stay ahead, establish keyboard hygiene habits that fit your routine. Set a regular cleaning schedule—weekly or biweekly works well for most users. Use a soft brush or compressed air to remove loose dust, and wipe keys with a microfiber cloth dampened slightly with isopropyl alcohol. Avoid eating near your keyboard to reduce debris accumulation. Consistency is key; by cleaning regularly, you reduce the risk of sticky keys and prolong your keyboard’s lifespan. These simple habits give you the freedom to enjoy a responsive, dust-free keyboard without hassle. Stick to your schedule, and your keyboard will thank you with reliable performance every day. Remember to use compressed air to blow out dust from hard-to-reach areas for a more thorough clean.
Frequently Asked Questions
Can Keyboard Dust Cause Health Problems?
You breathe in dust, you sneeze, you itch. Dust on your keyboard can trigger dust allergies, causing discomfort and even respiratory issues. Maintaining good keyboard hygiene isn’t just about cleanliness; it’s about protecting your health and freedom to work comfortably. Neglecting dust buildup risks aggravating allergies or spreading germs. So, keep your keyboard clean to safeguard your well-being and enjoy a healthier, more productive environment every day.
Is It Safe to Use a Vacuum Cleaner on Keyboards?
You can use a vacuum cleaner on your keyboard, but vacuum cleaner safety is key. Avoid strong suction or direct contact, which might damage delicate keys. Instead, use a handheld vacuum with a brush attachment for gentle cleaning. For keyboard maintenance tips, regularly shake out debris and use compressed air to keep dust at bay. This way, you keep your keyboard clean without risking damage, giving you freedom to work comfortably.
How Often Should Keyboard Dust Be Removed?
Think of your keyboard as a trusty steed that carries your digital adventures. To keep it galloping smoothly, follow keyboard maintenance tips by dusting it at least once a week. This ideal cleaning frequency prevents grime buildup that can slow your ride. If you use your keyboard heavily or eat nearby, clean it more often. Staying consistent frees you from sticky keys and guarantees your freedom to type without interruption or frustration.
Can Keyboard Dust Damage Internal Components?
Yes, keyboard dust can damage internal components if left unchecked. Dust accumulation effects include overheating, sticky keys, and potential short circuits. For better keyboard maintenance tips, regularly clean your keyboard to keep dust from building up. This simple habit helps maintain performance and extends your device’s life, giving you more freedom to work or play without interruptions caused by hardware issues. Keep your keyboard clean, and it’ll serve you well.
Are Mechanical Keyboards Harder to Clean Than Membrane Ones?
Cleaning mechanical keyboards can feel like untangling a knot, but it’s manageable once you know how. Mechanical cleaning usually involves removing individual keys, giving you deeper access to dust and debris. Membrane maintenance, on the other hand, is simpler since the keys aren’t removable, so you often just wipe or blow out dust. While mechanical keyboards take a bit more time, their modular design lets you clean thoroughly, offering more freedom for upkeep.