How to Remove Front Porch From Sink
To remove the front porch from your sink, start by turning off the water supply and clearing the area. Use an adjustable wrench and screwdriver to carefully loosen screws, bolts, or clips attaching the porch. Gently pry with a plastic tool to avoid damage, and slowly lift the section away. Wear gloves when handling adhesives, applying solvent to soften any sealant before scraping residue off. Follow proper cleaning and repair steps to restore the sink surface. More detailed guidance guarantees a seamless, damage-free removal.
Tools Needed for Removing a Front Porch From a Sink

Before you begin removing the front porch from your sink, you’ll need to gather a specific set of tools to guarantee the job goes smoothly. This tools overview focuses on vital equipment designed to give you control and precision. Start with a sturdy adjustable wrench to detach plumbing connections without damage. A flathead screwdriver is essential for prying off trim or securing fasteners. You’ll also need a utility knife to carefully cut any sealant or caulking around the porch. For loosening stubborn screws or bolts, include a ratchet set with appropriate sockets. Don’t forget safety gear—gloves and safety glasses—to protect yourself during the process. Having this vital equipment ready ensures you maintain freedom to work efficiently and confidently, reducing interruptions and preventing potential mishaps.
Preparing the Sink Area for Removal
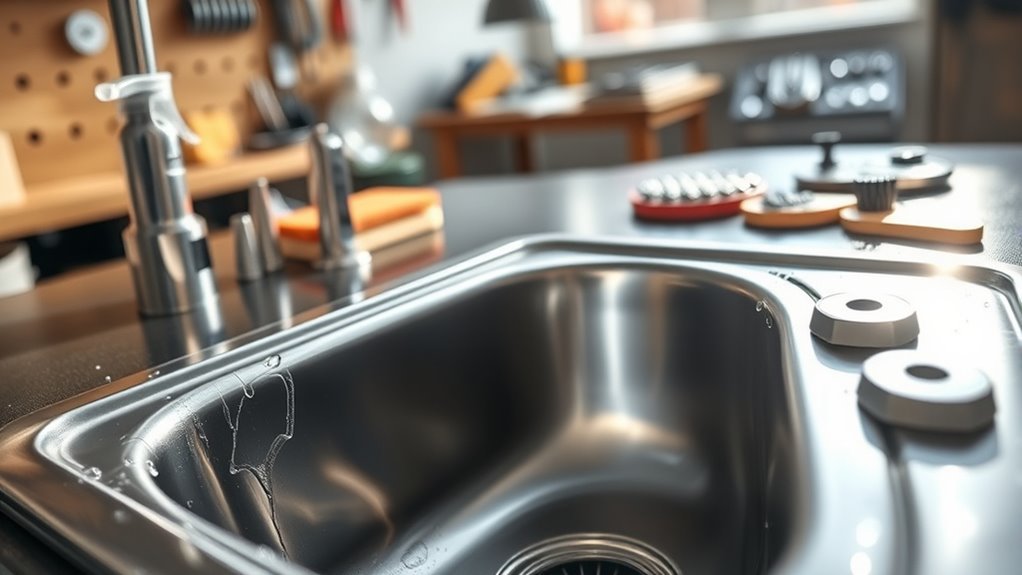
With your tools gathered and safety gear on, the next step is preparing the sink area for removal. Begin by consulting your pre removal checklist to verify all necessary materials and steps are accounted for. Turn off water supply valves to avoid leaks, and disconnect plumbing fixtures carefully. Clear the countertop and surrounding area to prevent damage and allow unrestricted access. Apply surface protection such as heavy-duty drop cloths or foam padding around the sink to safeguard adjacent surfaces from scratches or debris. Remove any detachable components near the front porch to streamline the process. Double-check that all electrical appliances are unplugged if nearby. This preparation guarantees a controlled environment, minimizes risk, and sets the stage for a smooth front porch removal without compromising your sink’s integrity. Wearing safety gloves and goggles during this process is essential to protect yourself from potential hazards.
Detaching the Front Porch From the Sink Surface
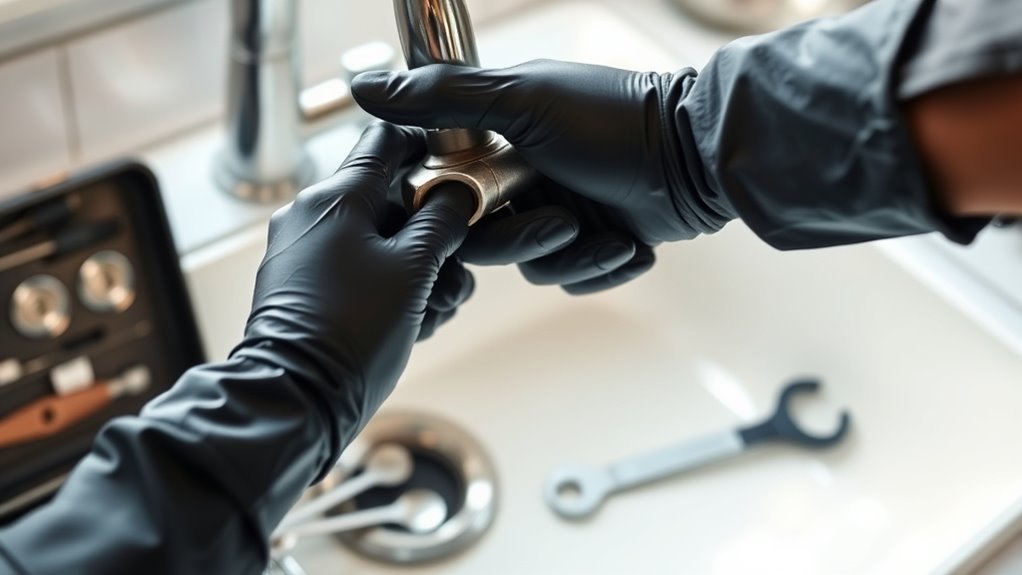
Once the sink area is fully prepped, you’ll want to carefully locate the attachment points securing the front porch to the sink surface. These could be screws, bolts, or clips, depending on the model. Use appropriate removal techniques—start by loosening fasteners with a screwdriver or wrench, guaranteeing you don’t scratch or damage the sink surfaces. If hidden fasteners are present, gently pry around edges with a plastic tool to avoid marring the finish. Work methodically, detaching each point to allow the front porch to separate evenly. Avoid forcing parts apart; controlled, incremental detachment reduces risk of cracks or chips. Once all connections are undone, lift the front porch straight away from the sink surface for a clean removal. This approach guarantees you maintain the integrity of your sink surfaces throughout the process.
Handling Adhesives and Sealants Safely
Before you start removing adhesives and sealants, make sure you wear gloves and eye protection to prevent skin irritation and chemical exposure. Use a solvent or adhesive remover that’s compatible with your sink material to avoid damage. Work in a well-ventilated area and apply products according to the manufacturer’s instructions for safe and effective removal.
Proper Protective Gear
Although removing adhesives and sealants from your sink’s front porch can be straightforward, you’ll need proper protective gear to avoid skin irritation, chemical burns, or inhalation hazards. Always wear chemical gloves and safety goggles to shield your skin and eyes from harsh substances. Using a respirator mask is also advised to prevent inhaling fumes. Select gear that fits well and is rated for chemical resistance.
| Protective Gear | Purpose | Key Feature |
|---|---|---|
| Safety Goggles | Eye protection | Impact, chemical safe |
| Chemical Gloves | Skin barrier | Nitrile or neoprene |
| Respirator Mask | Fume inhalation prevention | Activated carbon filter |
This gear grants you freedom to work safely without risking injury.
Effective Adhesive Removal Methods
When dealing with adhesives and sealants on your sink’s front porch, you’ll need to apply methods that effectively break down the material without damaging the surface. First, identify the adhesive types involved—silicone, epoxy, or construction adhesive—since each responds differently to solvents and tools. For silicone, a specialized silicone remover or isopropyl alcohol works well. Epoxy requires mechanical removal using a scraper, complemented by heat application to soften the bond. Construction adhesives often respond to acetone or adhesive removers, but always test a small area first. Use plastic scrapers to avoid scratches, and apply gentle heat to soften stubborn sealants. Remember to ventilate the area and wear gloves to handle chemicals safely. These removal techniques guarantee a clean surface while preserving your sink’s integrity.
Cleaning and Repairing the Sink After Removal
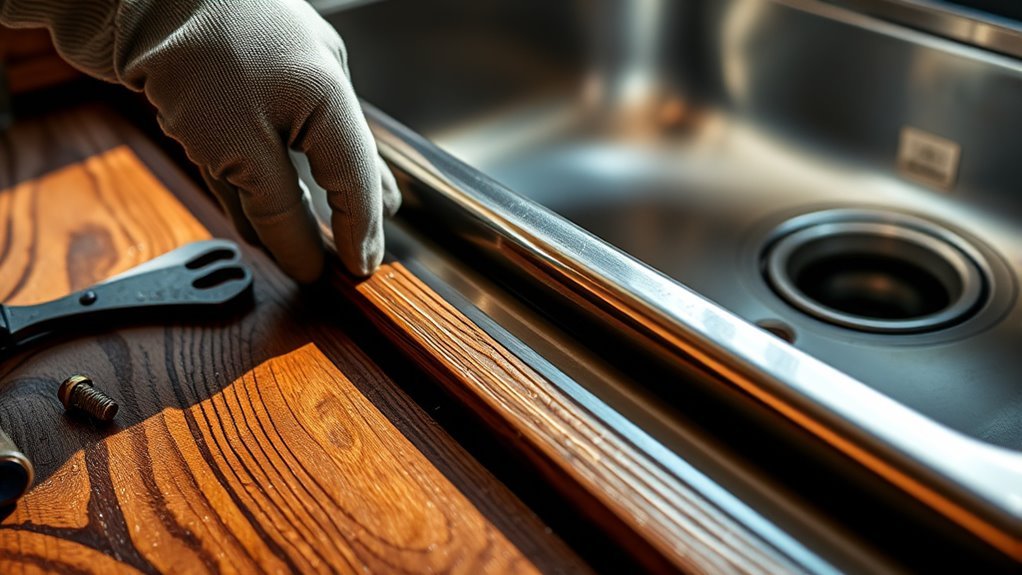
Once you’ve successfully removed the front porch from the sink, you’ll need to thoroughly clean the exposed surfaces to eliminate any adhesive residue, dirt, or debris that could interfere with repairs or reinstallation. Start by applying a solvent designed for adhesive removal, letting it sit to soften the residue. Use a plastic scraper to avoid scratching the sink. Next, clean the area with warm water and a mild detergent to remove remaining dirt. Inspect the sink for any chips, cracks, or damage caused during removal. Employ appropriate repair techniques such as epoxy fillers for minor cracks or professional refinishing for deeper damage. Proper sink maintenance after removal guarantees longevity and prepares the surface for any future modifications. This careful approach preserves your sink’s integrity and functionality. Additionally, regular cleaning with natural deodorizers like baking soda and vinegar can help maintain freshness and prevent odors in surrounding areas.
Tips for Installing a New Front Porch or Countertop Extension
When installing a new front porch or countertop extension, start by selecting durable materials that match both function and style requirements. You’ll need to measure carefully and plan the layout to guarantee a precise fit and proper alignment with existing surfaces. Finally, secure the extension firmly and apply a reliable sealant to prevent water damage and maintain stability.
Choosing Materials Wisely
Although selecting the right materials might seem straightforward, it requires careful consideration of durability, moisture resistance, and compatibility with your existing sink and countertop. You’ll want to evaluate material types such as granite, quartz, laminate, or solid surface. Each has distinct benefits: granite offers superior durability and heat resistance, while laminate is cost-effective but less durable. Pay close attention to moisture resistance—critical near sinks—to prevent warping or mold growth. Cost considerations should factor in not only initial purchase but also long-term maintenance and potential replacement. Matching the material’s thickness and edge profile with your current countertop guarantees a seamless fit. By balancing these technical factors, you maintain both functionality and aesthetics, giving you the freedom to create a lasting, effective front porch or countertop extension.
Measuring and Planning
Accurate measurements form the foundation of a successful front porch or countertop extension installation. When measuring dimensions, use a reliable tape measure and note every detail, including thickness and overhang. Planning layout means visualizing how the new addition fits with existing structures and traffic flow to guarantee seamless integration without limiting your freedom of movement.
| Step | Tool Needed | Key Detail |
|---|---|---|
| Measure Width | Tape Measure | Include edges & gaps |
| Measure Depth | Ruler or Laser | Account for countertop lip |
| Plan Layout | Sketch Pad | Mark utilities & clearances |
This precise approach assures your extension will feel like a natural part of your space, not a constraint.
Securing and Sealing
Since a secure and well-sealed attachment guarantees durability and prevents damage, you’ll need to focus on proper fastening techniques and high-quality sealants. Start by selecting mechanical securing methods like stainless steel brackets or screws that resist corrosion and provide firm anchoring. Drill pilot holes carefully to avoid material splitting, then tighten fasteners evenly for balanced pressure. For sealing techniques, apply a bead of waterproof silicone or polyurethane sealant along all joint edges, guaranteeing a continuous barrier that blocks moisture infiltration. Smooth the sealant with a damp finger or tool to create a neat finish and promote adhesion. Allow curing time as per manufacturer instructions before exposing the surface to water or stress. Mastering these securing methods and sealing techniques guarantees your new front porch or countertop extension stays robust and maintenance-free.
Frequently Asked Questions
Can Removing the Front Porch Affect My Sink’S Plumbing?
Plumbing pitfalls potentially plague your project when pondering alterations. Removing the front porch can certainly cause a plumbing impact that might compromise sink functionality if not handled properly. Pipes or connections hidden behind that section could be disturbed, leading to leaks or blockages. To preserve peak performance and avoid costly repairs, you’ll want to carefully assess plumbing layouts, consult technical diagrams, and possibly engage a professional plumber before proceeding with removal.
How Long Does the Entire Removal Process Typically Take?
The removal time for this kind of project typically ranges from a few hours to a full day, depending on complexity and your experience level. Effective project planning is essential—you’ll want to assess tools, workspace, and any plumbing considerations ahead of time. By organizing your steps and preparing for unexpected challenges, you can streamline the process and maintain control over your timeline, ensuring the removal goes smoothly and efficiently.
Will Removing the Front Porch Void My Sink’S Warranty?
Think of your sink as a finely tuned instrument—altering its parts can change its harmony. When you remove components like the front porch, you risk voiding the warranty policy. Manufacturers often specify that unauthorized modifications void coverage. To maintain your sink’s warranty and guarantee proper sink maintenance, check the terms carefully. If freedom to customize is your goal, consider consulting the manufacturer or a professional to avoid losing protection.
Are There Eco-Friendly Disposal Options for the Removed Materials?
You can definitely explore eco-friendly disposal options for your removed materials. Start by separating recyclable materials like metal, glass, or certain plastics and take them to local recycling centers. For organic debris, consider composting options if the material is biodegradable. This approach minimizes landfill waste and supports sustainability. Make sure you check local regulations and facilities to maximize recycling efficiency and compost quality, giving you freedom to dispose responsibly without harming the environment.
Can I Remove the Front Porch Without Professional Help?
Tackling a front porch removal on your own is like maneuvering through a maze—you need a clear plan. With proper DIY removal techniques, you can handle it safely. Start by gathering the right tools, then carefully dismantle materials in sections. Always prioritize safety precautions: wear protective gear, check for structural supports, and avoid electrical hazards. If you stay methodical and cautious, you’ll enjoy the freedom of completing this project yourself without professional help.


