How to Remove Laminate From Conference Table
To remove laminate from your conference table, start by clearing and cleaning the surface. Use a heat gun to soften the adhesive carefully, avoiding damage to the underlying wood. Then, gently pry up the laminate with a thin putty knife in small sections. After removal, scrape off any remaining glue and smooth the surface with fine sandpaper. If you want to restore or replace the finish, understanding the proper refinishing steps will guarantee a quality result.
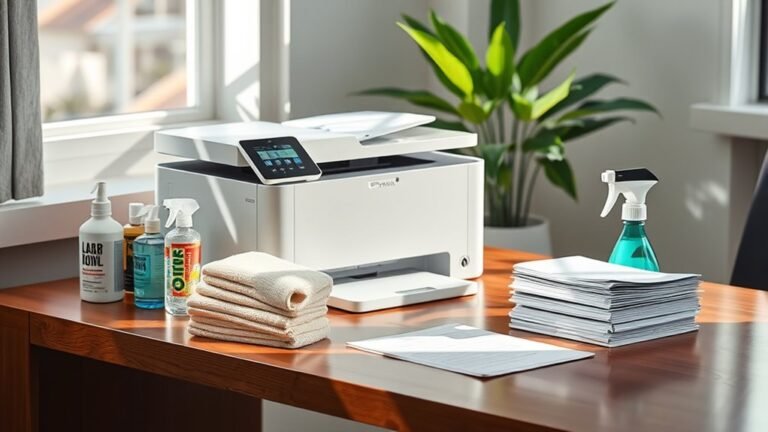
Tools and Materials Needed for Laminate Removal
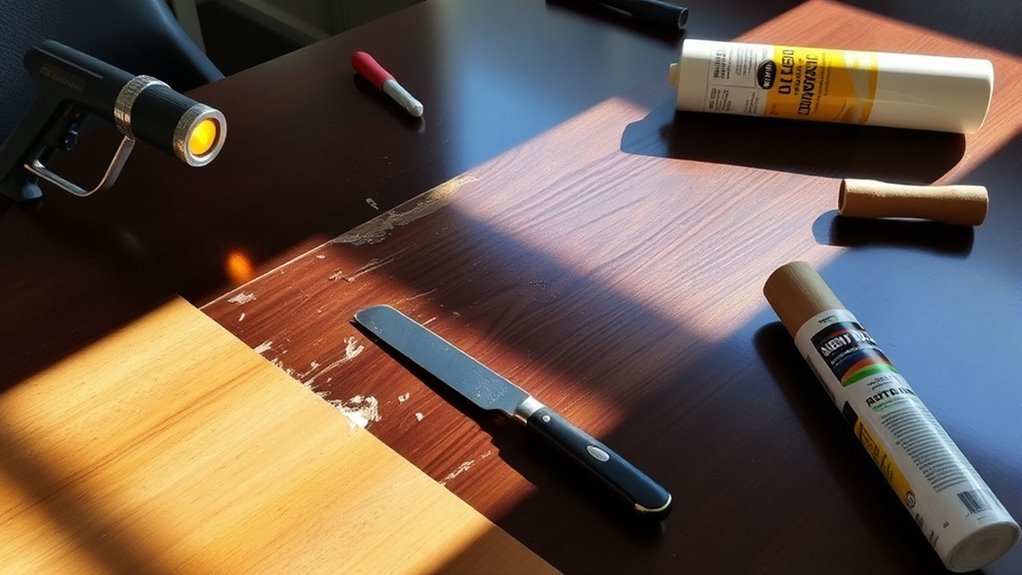
To effectively remove laminate from your conference table, you’ll need a specific set of tools and materials designed for precision and safety. Start with a heat gun to soften adhesive properties unique to various laminate types such as high-pressure or decorative laminates. A putty knife or scraper with a thin, flexible blade allows you to lift laminate edges without damaging the substrate. Protective gloves and safety glasses shield you during the process. Additionally, adhesive removers tailored for industrial-grade glue guarantee thorough cleaning. A solvent-resistant cloth helps wipe residues without harming the surface. Understanding laminate types and their adhesive properties will guide your choice of tools and techniques, granting you the freedom to remove layers efficiently while preserving the underlying table structure. Always prioritize tools that maximize control and minimize surface damage. Using non-abrasive cleaners ensures that the surface remains protected during the final cleaning stage.
Preparing the Conference Table for Laminate Stripping
Before you start stripping the laminate, make sure to clear the entire table surface of any objects or debris. This will give you unobstructed access and prevent damage to items. Also, gather all the necessary tools within reach to streamline the removal process.
Clear Table Surface
A completely clear table surface is essential for safely and effectively removing laminate from your conference table. Start by removing all objects, including chairs, office supplies, and decorative items. This prevents damage and allows unobstructed access to the laminate. Next, clean the surface thoroughly to eliminate dust, grease, or residues that could interfere with laminate removal tools or adhesives. Proper surface preparation guarantees better control and reduces the risk of damaging the underlying wood or veneer. Inspect the table for any screws or fasteners that may secure the laminate; loosening them supports a smoother removal process. Maintaining a clear, clean workspace reflects good table maintenance practice and sets the stage for efficient, precise laminate stripping without unnecessary complications or delays.
Gather Necessary Tools
Effective laminate removal hinges on having the right tools at hand. Your tool selection should be guided by the adhesive types used to bond the laminate to the table surface. Typically, you’ll need a heat gun or hairdryer to soften heat-sensitive adhesives. A putty knife or scraper helps lift laminate edges without damaging the substrate. For stubborn adhesive residues, chemical adhesive removers or solvents might be necessary, but verify they’re compatible with your table’s material. Additionally, protective gloves and safety glasses are essential to safeguard against chemical exposure and debris. You may also consider a belt sander or orbital sander for smoothing the surface after laminate removal. Preparing your workspace with these precise tools guarantees an efficient, controlled, and damage-free removal process, granting you the freedom to refinish or repurpose your conference table confidently.
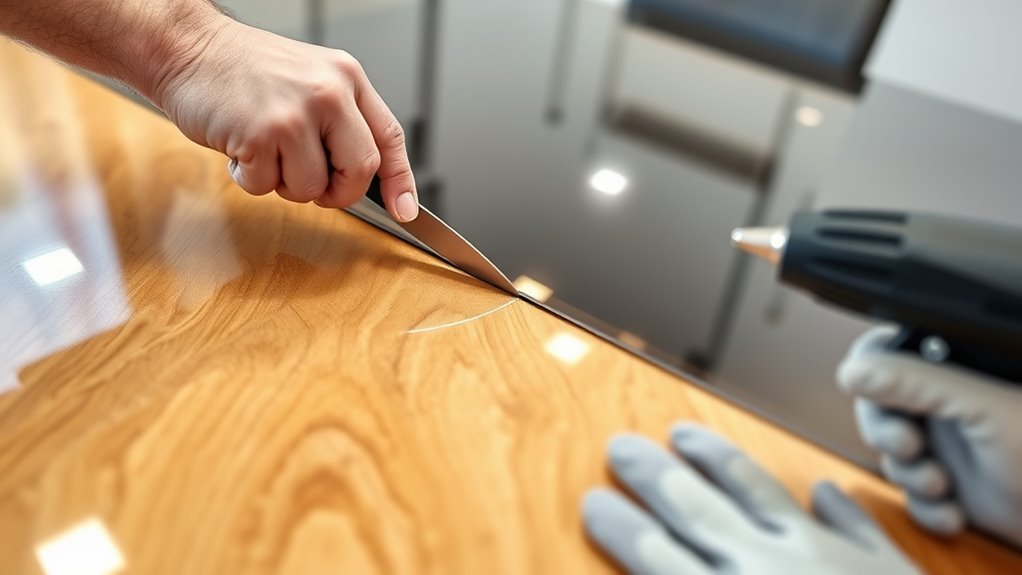
Methods for Softening Laminate Adhesive
To effectively soften the laminate adhesive, you’ll need to apply controlled heat using a heat gun or steam to weaken the bond. Alternatively, certain solvents can chemically break down the adhesive, but you must select one compatible with your table’s material. Mechanical tools like scrapers or putty knives can then assist in lifting the laminate once the adhesive is softened.
Heat Application Techniques
Several heat application techniques can help you soften the adhesive holding laminate to a conference table, making removal easier. Choosing the right heat sources and maintaining precise temperature control are key to avoid damaging the substrate. Here’s how you can proceed:
- Heat Gun: Use with adjustable temperature settings; keep it moving to prevent scorching.
- Infrared Heater: Provides even heat distribution, ideal for larger surfaces.
- Electric Iron: Place a protective cloth between the iron and laminate; use medium heat.
- Hair Dryer: Suitable for small areas; less intense but effective for gentle softening.
Solvent Options Overview
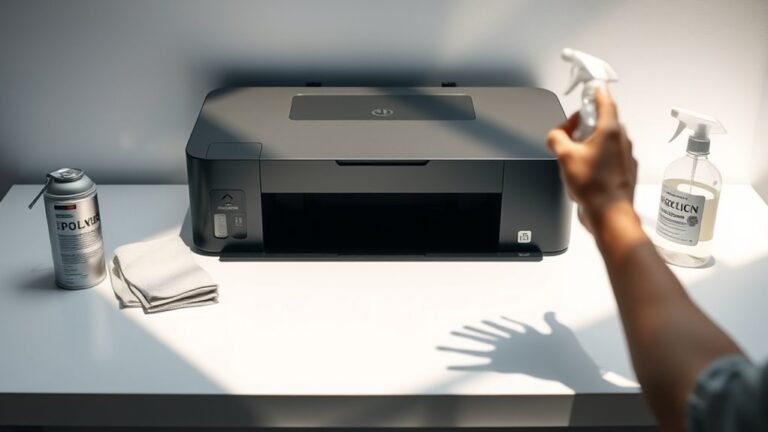
While heat can soften the adhesive beneath laminate, certain solvents are often necessary to break down the bond more thoroughly. Understanding solvent types is vital, as different adhesives respond uniquely based on their chemical properties. For instance, acetone and methylene chloride effectively dissolve many common laminate adhesives by penetrating and weakening their polymer structure. Alternatively, citrus-based solvents offer a less toxic option, though they may require longer dwell times. You’ll want to match the solvent to the adhesive properties—whether it’s a strong epoxy or a pressure-sensitive glue—to maximize effectiveness. Always test a small area first to avoid surface damage. Using the right solvent type allows you to gain control over the removal process, reducing effort and preserving the underlying table surface for your freedom to restore or refinish.
Mechanical Softening Tools
Leverage mechanical softening tools to weaken laminate adhesive before removal, making the process more manageable. Mechanical scrapers combined with effective adhesive removers help break down the bond, reducing effort and preserving the table surface. Here’s how to proceed:
- Apply a suitable adhesive remover evenly, allowing it to penetrate and soften the glue.
- Use a mechanical scraper with a sharp, flat edge to gently lift and peel the laminate without gouging the substrate.
- Work methodically in small sections, reapplying adhesive remover as needed to maintain softness.
- Clean residue with a scraper and solvent to guarantee a smooth surface ready for refinishing or new laminate.
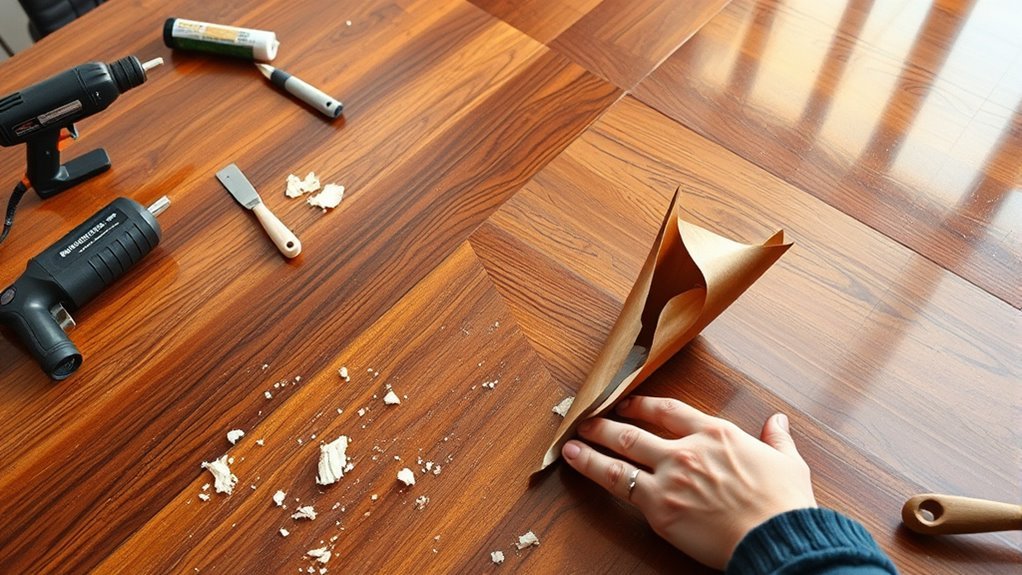
Techniques for Safely Removing Laminate Sheets
A careful approach is essential when removing laminate sheets from a conference table to prevent damage to the underlying surface. First, identify the laminate types—whether high-pressure or low-pressure—as their adhesive properties vary, affecting removal techniques. Use a heat gun to soften adhesives on high-pressure laminates cautiously, avoiding overheating that can warp the substrate. For low-pressure laminates with weaker adhesives, gently prying with a putty knife or scraper often suffices. Always work slowly, lifting the laminate in small sections to reduce stress on the table. Avoid excessive force, which risks gouging or delamination of the core material. Understanding these technical distinctions allows you to adapt your method effectively, ensuring a clean removal while preserving the table’s structural integrity and maximizing your freedom to refinish or replace the surface.
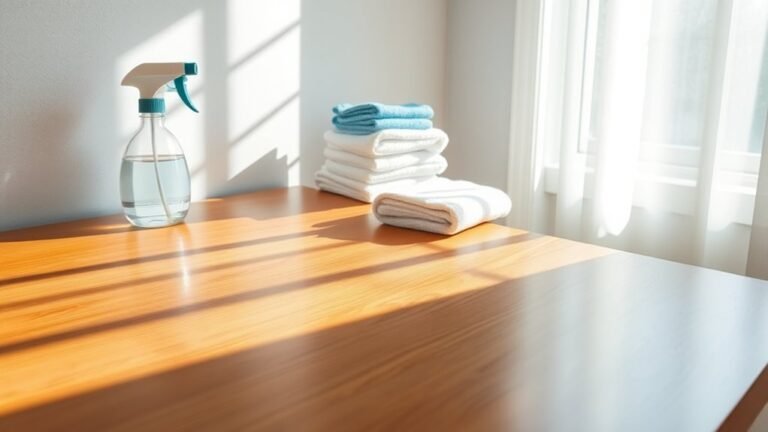
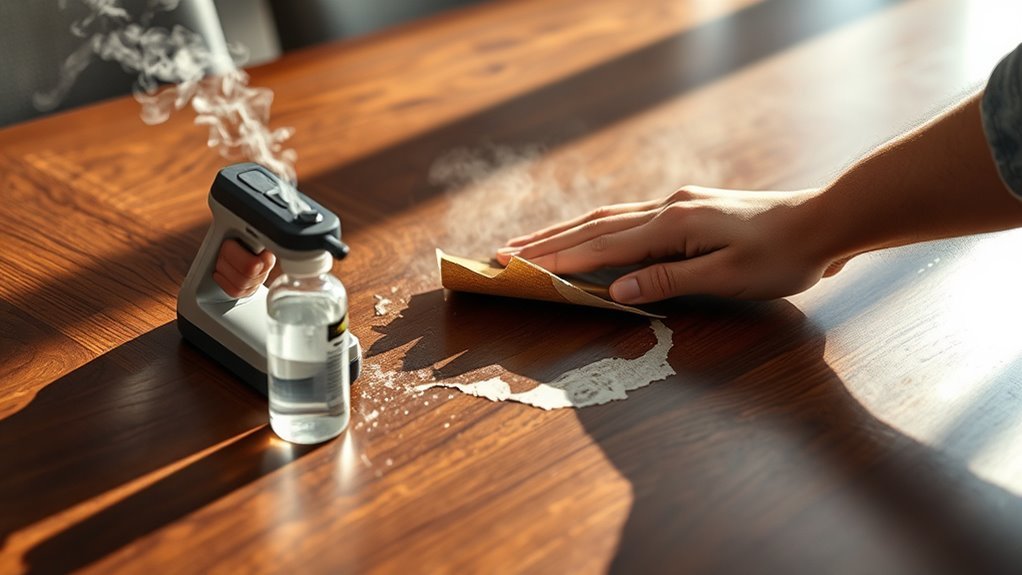
Cleaning and Smoothing the Table Surface Post-Removal
Once you’ve removed the laminate, you’ll need to thoroughly clean the table surface to eliminate adhesive residue, dust, and debris that could interfere with refinishing or applying a new covering. Proper surface preparation is essential for a smooth finish. Follow these steps:
- Use a putty knife or scraper to gently remove any remaining adhesive.
- Apply a solvent like mineral spirits to break down stubborn residue, then wipe clean with a lint-free cloth.
- Employ progressive sanding techniques—start with 120-grit sandpaper to level the surface, then move to 220-grit for a smoother finish.
- Vacuum and wipe the surface with a tack cloth to remove all dust particles before proceeding.
- Be sure to avoid using abrasive cleaners during cleaning to prevent damage to the underlying surface.
Tips for Refinishing or Re-Laminating the Conference Table
Before you start refinishing or re-laminating the conference table, verify the surface is completely clean and smooth to confirm proper adhesion and a professional result. Use fine-grit sandpaper to eliminate any residual imperfections without damaging the substrate. When selecting laminate, consider durability, finish, and compatibility with your table’s use to guarantee longevity. For refinishing techniques, apply a high-quality primer followed by an appropriate sealant to protect the surface and enhance adhesion. If opting for re-lamination, use contact cement evenly on both surfaces, allowing it to dry before carefully aligning and pressing the laminate to avoid bubbles. Work methodically to maintain control and precision. Proper laminate selection combined with meticulous refinishing techniques will result in a durable, professional conference table that meets your functional and aesthetic needs. Additionally, using eco-friendly cleaning solutions to prepare the surface ensures effective cleaning while maintaining a healthy environment.
Frequently Asked Questions
Can I Remove Laminate Without Damaging the Wood Underneath?
You can remove laminate without damaging the wood underneath by using careful laminate removal techniques like applying heat with a heat gun to soften the adhesive and gently prying the laminate off with a putty knife. To guarantee wood preservation, work slowly and avoid excessive force. Additionally, wood preservation methods such as sanding and refinishing can help restore any minor surface damage, giving you freedom to maintain the table’s original quality.
How Long Does Laminate Removal Typically Take?
The time estimation for laminate removal typically ranges from a few hours to a full day, depending on your experience and tools. For precise project planning, factor in surface area, adhesive strength, and drying times. You’ll want to allocate extra time to avoid rushing, which risks damaging underlying materials. By planning efficiently, you maintain control and freedom throughout the process, ensuring a smooth, damage-free removal experience.
Is It Safe to Remove Laminate Without Professional Help?
Sure, taking on laminate removal solo sounds like a breeze—no need for safety precautions or proper DIY tools, right? In reality, it’s essential you wear protective gear, use the right tools like scrapers and heat guns, and work methodically to avoid damage or injury. If you value freedom and control, prepping well guarantees you safely reclaim your table’s surface without costly mistakes or professional help.
What Are Common Mistakes to Avoid During Laminate Removal?
When removing laminate, avoid rushing the laminate adhesive removal process—residual glue can ruin your surface. Don’t skip proper surface preparation techniques like cleaning and sanding before applying new materials. Also, don’t use excessive force that could damage the substrate. Taking your time guarantees a smoother finish and preserves the table’s integrity, giving you the freedom to refinish or repurpose it without structural issues or unsightly blemishes.
Can I Recycle or Reuse Removed Laminate Sheets?
Don’t throw the baby out with the bathwater—laminate recycling options exist, but they’re limited due to mixed materials. While true recycling can be tricky, you can explore repurposing laminate sheets for crafts, shelf liners, or protective surfaces. If you want freedom from waste, consider donating usable sheets to schools or makerspaces. Always check local recycling guidelines to see if specialized facilities accept laminate materials to minimize environmental impact.