How to Remove Oven From Mirror
To remove your oven from a mirror, start by turning off the circuit breaker and confirming power is off with a tester. Next, clear the area and gather tools like screwdrivers and protective gear. Carefully disconnect any wiring and unscrew mounting hardware holding the oven. Use suction cups or plastic scrapers to gently separate adhesive without damaging surfaces, getting help to support weight as you lift. After removal, clean and inspect both items for damage. Following these steps guarantees a safe, precise process; more detailed guidance will help you avoid pitfalls.
Assessing the Oven and Mirror Setup
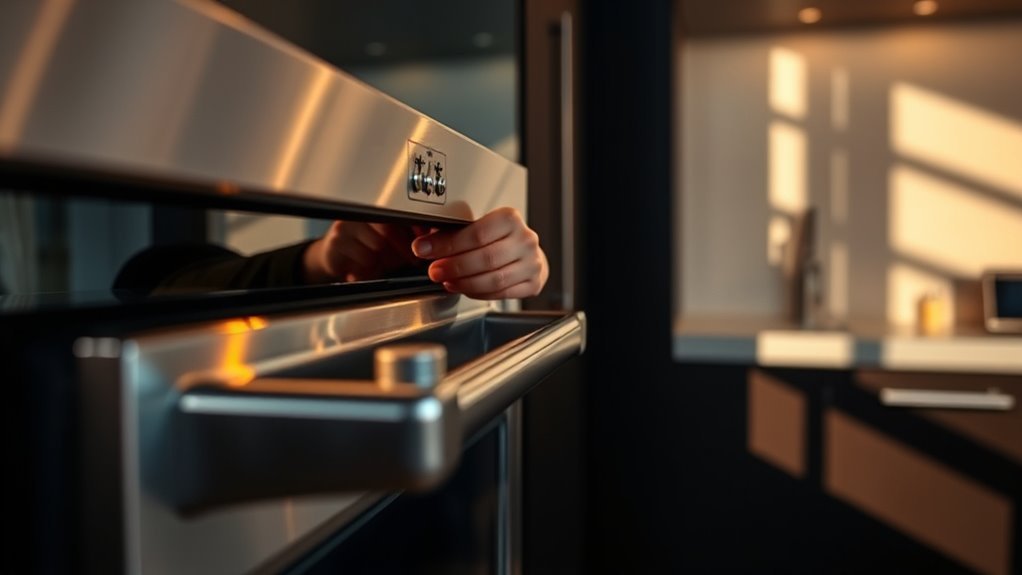
Before you begin removing the oven from the mirror, you’ll need to carefully evaluate how the two are connected and secured. Start by inspecting the mirror installation for any brackets, screws, or adhesive materials that might be holding the oven in place. Check if the oven is integrated into the mirror frame or simply mounted against it. Understanding this connection is vital for safe removal without damaging either component. Examine the oven maintenance history if available, as some models have hidden fasteners or require specific steps to detach. Look closely for wiring or ventilation systems that link the oven to the mirror setup. This assessment lets you plan a methodical approach, ensuring you maintain freedom to proceed confidently without causing structural damage or impairing oven functionality.
Preparing the Area and Gathering Tools
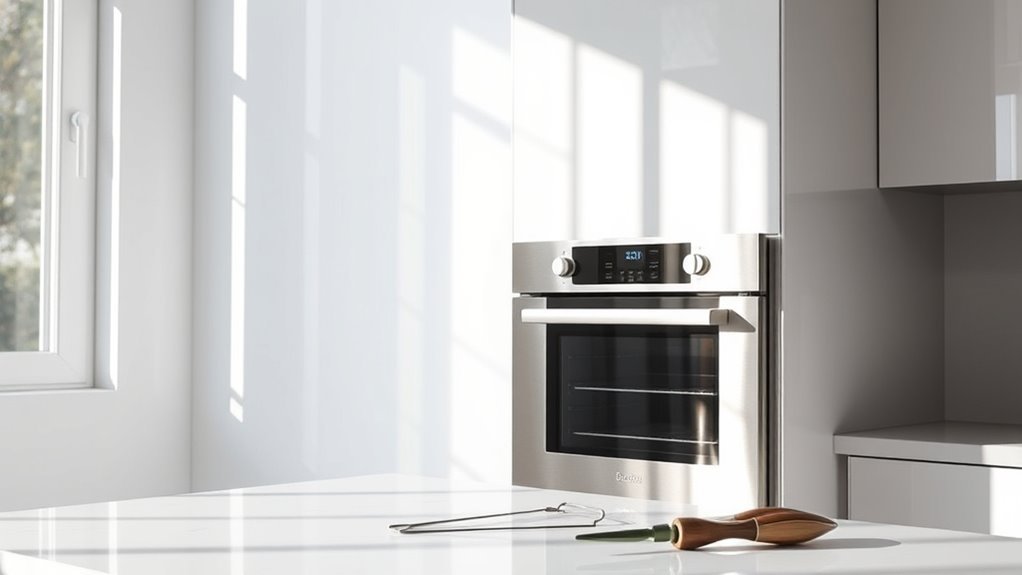
Once you’ve thoroughly assessed how the oven is attached to the mirror and identified any fastening elements or wiring, the next step is to prepare your workspace and assemble the necessary tools. Prioritize safety precautions by clearing the area of clutter and guaranteeing stable footing. Organize your workspace to prevent accidents and streamline the removal process. Gather tools tailored to the oven’s mounting type to avoid unnecessary strain or damage.
Assess the oven’s attachment, clear your workspace, and gather appropriate tools for a safe, efficient removal process.
Key items to have on hand include:
- A set of screwdrivers (Phillips and flathead) for various fasteners
- A utility knife or wire cutters to handle any adhesive or wiring
- Protective gloves and safety goggles to guard against sharp edges and debris
Proper preparation guarantees efficiency and reduces risk during the oven removal.
Disconnecting Power and Detaching Oven Components
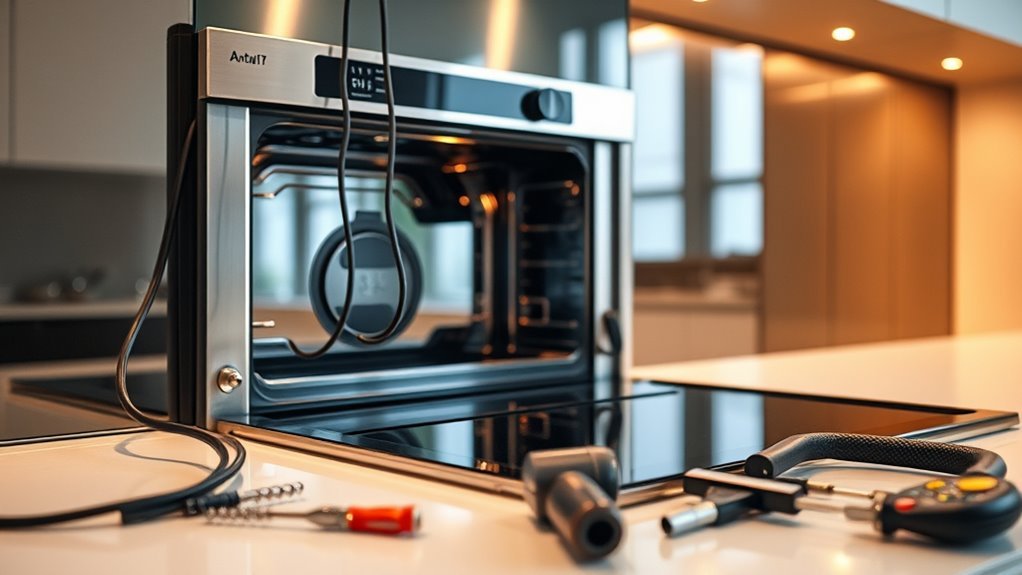
Although it might seem straightforward, disconnecting the oven’s power source requires meticulous attention to avoid electrical hazards. Begin by switching off the circuit breaker controlling the oven’s power supply to guarantee no current flows. Verify with a voltage tester that the power is completely off before touching any oven components. Next, carefully detach any visible connections, such as wiring harnesses or grounding wires, securing the oven to its power supply. Remove screws or brackets holding oven components like control panels or trim pieces, which may obstruct removal. Label wires and fasteners if needed to facilitate reassembly. Taking these steps methodically guarantees your safety and preserves the integrity of the oven components, giving you the freedom to proceed confidently with the next stage of removing the oven from the mirror.
Carefully Removing the Oven From the Mirror Surface
With the oven fully disconnected and any obstructing components removed as outlined previously, you’re ready to detach the oven from the mirror surface. Prioritize safety precautions to prevent damage to both the oven and the delicate mirror. Use steady, controlled removal techniques to maintain control throughout the process.
Here’s how to proceed:
- Use suction cups or padded grips to evenly distribute force and avoid scratching the mirror.
- Gently pry around the edges with a plastic scraper to loosen any adhesive, avoiding metal tools that can cause damage.
- Enlist a helper to support the oven’s weight as you lift it away slowly, ensuring no sudden movements that could crack the mirror.
- To protect the finish, consider using gentle, non-abrasive cleaners on any residue left behind after removal.
Cleaning and Inspecting the Mirror and Oven After Removal
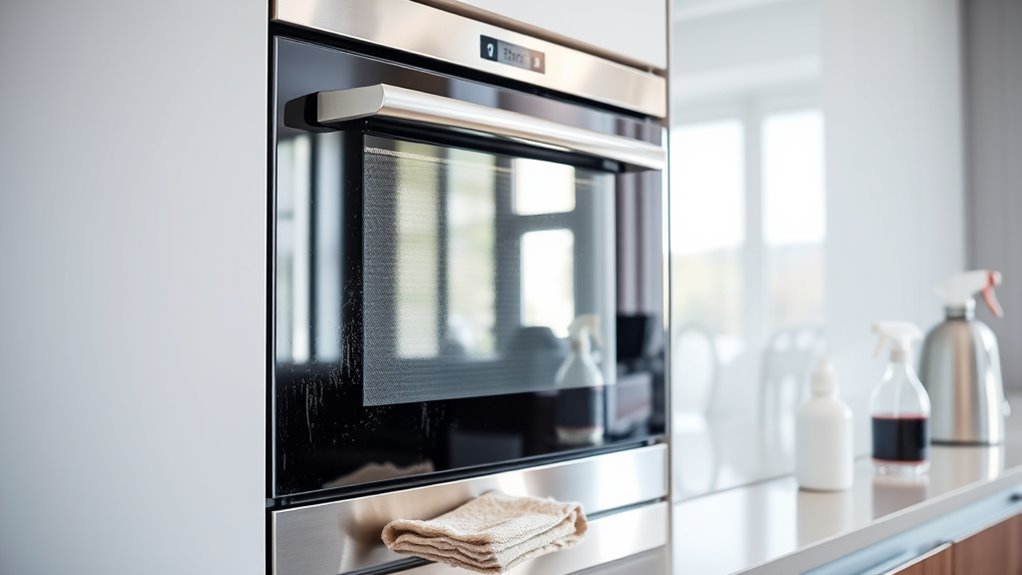
After you’ve carefully removed the oven, you’ll need to thoroughly clean both the mirror surface and the oven itself to remove any adhesive residue, dust, or debris that could affect future installations or functionality. Begin mirror maintenance by using a non-abrasive cleaner and a soft cloth to avoid scratching the glass. Inspect the mirror for cracks, chips, or any damage that might compromise its integrity. For oven inspection, check the back and sides for any bent or broken mounting brackets, and verify electrical connections remain intact and undamaged. Remove any leftover adhesive with a suitable solvent, taking care not to damage surfaces. Completing these steps guarantees both components remain in prime condition, allowing you the freedom to reinstall or repurpose without unexpected issues. It is also important to ensure electrical safety before handling the oven to prevent any risk of electrical shock.
Frequently Asked Questions
Can I Remove the Oven Without Professional Help?
You can remove the oven without professional help if you follow proper removal techniques and DIY tips carefully. First, verify the power supply is disconnected to avoid hazards. Then, check for screws or brackets securing the oven in place. Use appropriate tools like screwdrivers or pliers to detach it safely. Take your time to avoid damaging surrounding areas. With patience and the right approach, you’ll gain the freedom to handle this yourself efficiently.
What Safety Gear Should I Wear During Removal?
Oh, who needs gloves usage or eye protection when you’re basically just wrestling metal, right? But seriously, you’ll want sturdy gloves to protect your hands from sharp edges and heat, plus reliable eye protection to guard against flying debris or accidental splashes. These basics give you the freedom to work safely and confidently, ensuring you can handle the job without unnecessary injuries—because freedom’s best enjoyed with all limbs intact.
How Long Does the Removal Process Typically Take?
The removal process typically takes between 30 minutes to an hour, depending on the complexity and your familiarity with removal techniques. If you’ve prepped properly and have the right tools, you’ll move faster. Time estimates vary based on adhesive type and mirror size, so plan accordingly. Taking your time guarantees you avoid damage, giving you the freedom to reuse or reposition components without stress or rushed mistakes.
Can Removing the Oven Damage the Mirror Permanently?
Like walking on thin ice, removing an oven near a mirror demands caution. Different mirror types—tempered, laminated, or standard glass—react uniquely to oven impacts such as heat, pressure, or adhesive removal. If you’re careful, permanent damage is unlikely, but careless handling may cause cracks or delamination. To protect your freedom from costly repairs, always use proper tools and gentle techniques tailored to your mirror’s specs, ensuring safe, damage-free removal.
What Should I Do With the Oven After Removal?
After removal, you’ve got several disposal options for the oven. You can recycle it at a local facility specializing in appliances, ensuring hazardous materials are handled properly. If it’s still functional, consider donating it or selling it secondhand. For creative repurposing, transform parts into furniture or art—oven racks make great shelving, and the door can become a unique tabletop. This way, you extend the oven’s life while minimizing waste.


