How to Remove Scratches From Glass Tabletops
If your glass tabletop has scratches, first check their depth by running your fingernail over them—if it catches, they’re deeper. For light scratches, try buffing with non-gel toothpaste or a baking soda paste using a soft cloth. For better results, polish with cerium oxide powder. Deep scratches may need a glass repair kit with resin and UV curing. Taking steps to prevent future damage can help maintain shine. Keep going to uncover more effective repair and care tips.
Identifying the Type and Depth of Scratches
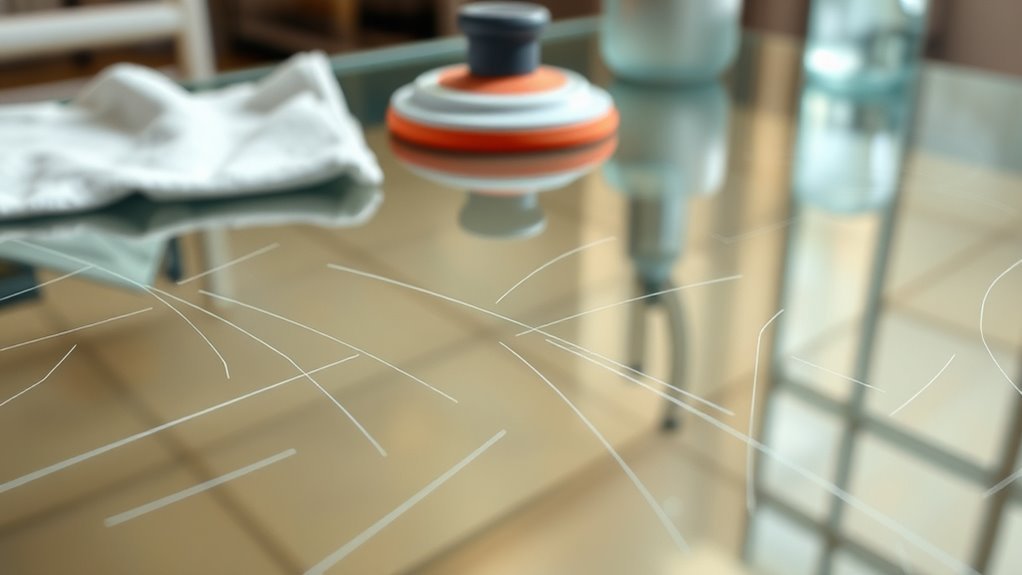
Before you can fix scratches on your glass tabletop, you need to figure out what kind they are and how deep they go. Scratch types vary—from light surface marks to deep gouges—and understanding this helps you choose the right approach. Run your fingernail gently over the scratch; if it catches, you’re likely dealing with a deeper scratch. Light scratches usually only affect the surface and can often be polished away, while deeper ones might require more effort or professional help. Knowing the scratch depth is vital because it determines whether a simple buffing will restore your glass or if more intensive repair is necessary. Taking this step guarantees you don’t waste time on fixes that won’t work, giving you freedom to restore your tabletop effectively.
Essential Tools and Materials Needed
Though knowing the type and depth of your scratches is essential, having the right tools and materials on hand makes all the difference when it comes to repairing your glass tabletop. To achieve effective glass repair and promote scratch prevention, you’ll want to gather a few key items. Here’s a simple list to get you started:
Having the right tools and materials is key to effectively repairing and preventing scratches on your glass tabletop.
- Cerium oxide powder – a popular polishing compound for smoothing out scratches.
- Microfiber cloths – gentle on glass and perfect for applying polish without causing new damage.
- Protective gloves and goggles – to keep you safe during the repair process.
With these essentials, you’ll be ready to tackle scratches confidently, restoring clarity and freedom to your glass surface.
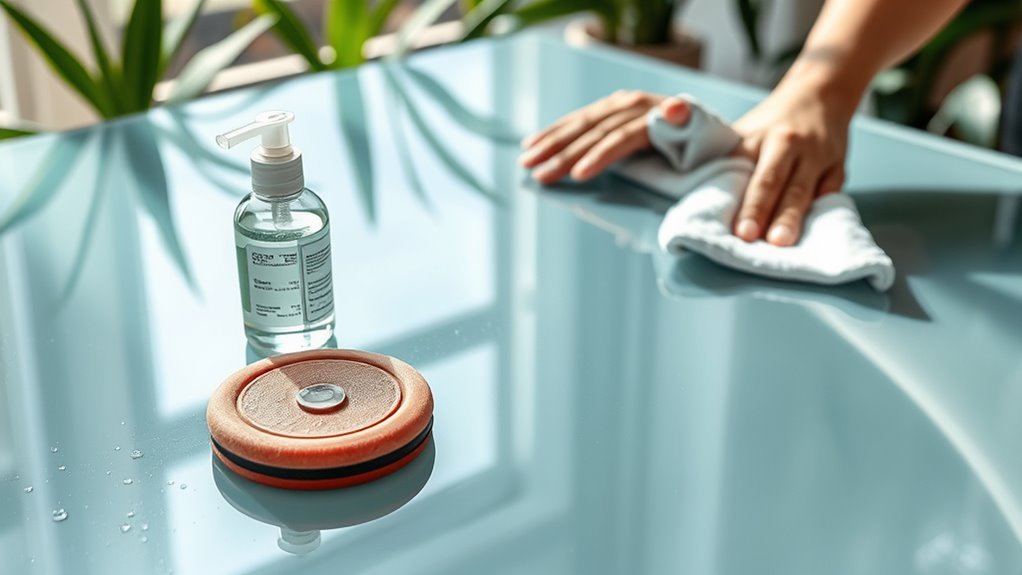
Cleaning the Glass Surface Before Repair

Before you start fixing those scratches, you’ll want to clean the glass thoroughly using the right cleaner to avoid any damage. Make certain to remove all dust and debris, so nothing interferes with the repair process. Finally, dry the surface properly to guarantee the repair materials stick well.
Choosing the Right Cleaner
Since any residue or dirt can interfere with the repair process, choosing the right cleaner is crucial for preparing your glass tabletop. You want a product that effectively cleans without damaging the surface. When selecting a cleaner, consider these three key points:
- Cleaner Types: Opt for glass-specific cleaners or mild solutions like diluted dish soap. Avoid abrasive or acidic cleaners that can worsen scratches.
- Surface Compatibility: Verify the cleaner is safe for glass; some products designed for other surfaces may leave residues or cause etching.
- Residue-Free Finish: Choose cleaners that evaporate quickly without leaving streaks or films, so your repair materials adhere properly.
Removing Dust and Debris
To get the best results when removing scratches from your glass tabletop, you’ll want to start by thoroughly removing all dust and debris. Begin with simple dust removal techniques like using a microfiber cloth or a soft brush to gently sweep away loose particles. Avoid harsh materials that could create new scratches. Next, consider debris prevention methods such as wiping the surface with a damp cloth dipped in a mild cleaner to lift stubborn dirt. This guarantees a pristine surface, free from anything that might interfere with your repair work. Taking these steps not only protects your glass but also gives you the freedom to work confidently, knowing your tabletop is perfectly clean and ready for scratch removal.
Drying Techniques for Glass
After clearing away dust and debris, you’ll want to confirm your glass surface is completely dry before starting any scratch repair. Proper drying prevents moisture from interfering with the repair process and guarantees better results. Here are three effective drying methods you can use:
- Air Drying: Let the glass sit in a dry, well-ventilated area for 15-30 minutes. This natural drying time is simple but requires patience.
- Microfiber Cloth: Gently wipe the surface with a clean, dry microfiber cloth to absorb any remaining moisture quickly without scratching.
- Hair Dryer: Use a hair dryer on a low heat setting to speed up drying time, moving it evenly across the surface to avoid overheating.
Choose the method that fits your pace, but never rush—drying time is vital for a flawless finish.
Using Toothpaste to Buff Out Minor Scratches

Try using toothpaste to buff out minor scratches on your glass tabletop—it’s a simple and cost-effective method you can do at home. Toothpaste effectiveness lies in its mild abrasives, which gently polish the glass surface without causing damage. To start, apply a small amount of non-gel toothpaste directly onto the scratch. Using a soft, lint-free cloth, employ circular buffing techniques to rub the area for about two minutes. The friction helps smooth out the scratch, blending it into the surrounding glass. After buffing, wipe off the excess toothpaste with a damp cloth and dry the surface. If needed, repeat the process for better results. This method gives you the freedom to restore your glass tabletop’s clarity without costly repairs or special tools.
Applying Baking Soda Paste for Scratch Removal
You’ll start by mixing baking soda with water to create a thick paste. Then, gently apply the paste to the scratches and use a soft cloth to buff the area. Finally, wipe the surface clean to see the results.
Preparing the Baking Soda Paste
Although baking soda might seem like an unlikely solution, it’s actually a gentle abrasive that can help buff out scratches on your glass tabletop. To prepare the baking soda paste, you’ll want to focus on getting the right paste consistency—thick enough to stick to the glass but not so dry that it crumbles.
Here’s how you do it:
- Start with two parts baking soda in a small bowl.
- Add one part water slowly, mixing as you go.
- Adjust by adding more baking soda or water until you get a smooth, spreadable paste.
This simple mix gives you control and freedom to tackle those scratches without harsh chemicals or expensive products. Remember, the key is that perfect paste consistency for effective scratch removal.
Applying Paste to Scratches
Once your baking soda paste is ready, it’s time to apply it directly onto the scratches. Use a soft cloth or your fingertip to gently spread the paste over each scratch, ensuring full coverage. Don’t rush—take your time so the paste can work its magic. You might be tempted to speed things up by applying wax immediately, but hold off until the paste has had a chance to settle. If you want to boost the effect, you can lightly dab a bit of vinegar on the paste before spreading it; the mild acidity helps break down scratch residues. Remember, the goal here is to let the baking soda and vinegar combo loosen the scratches without damaging your freedom to enjoy a clear, smooth glass surface.
Buffing and Cleaning Surface
To start buffing the surface, gently rub the baking soda paste into the scratches using a soft, circular motion with a microfiber cloth. This method lets you control the pressure and prevents further damage. Remember, the right buffing techniques can make all the difference in restoring your glass tabletop’s clarity. After buffing, follow these steps to clean the surface effectively:
- Rinse the area with warm water to remove any residue from the paste.
- Apply a gentle cleaning solution designed for glass to wipe away remaining particles.
- Dry the surface thoroughly with a clean microfiber cloth to avoid streaks.
Polishing With Cerium Oxide Powder
When you’re ready to tackle deeper scratches, polishing with cerium oxide powder is one of the most effective methods. This powerful compound works by gently abrading the glass surface, smoothing out imperfections without causing further damage. To start, mix cerium oxide with water to create a paste, then apply it to the scratched area using a felt polishing pad attached to a rotary tool or by hand. Move the pad in circular motions, maintaining consistent pressure to guarantee even scratch removal. Keep the surface wet to avoid overheating and check your progress frequently. With patience and care, cerium oxide can restore your glass tabletop’s clarity, giving you the freedom to enjoy a flawless surface once more.
Repairing Deeper Scratches With Glass Repair Kits
If polishing with cerium oxide doesn’t fully erase those deeper scratches, glass repair kits offer a practical next step. These kits are designed to restore clarity and smoothness using specialized scratch repair techniques you can easily apply at home. Here’s how to get started:
- Clean the glass surface thoroughly to remove dust and oils.
- Apply the resin from the kit directly to the scratch, filling it completely.
- Cure the resin with the provided UV light or by placing the glass in sunlight, solidifying the repair.
Using glass repair kits gives you the freedom to fix those stubborn scratches without professional help. By following the instructions carefully, you’ll enjoy a near-flawless finish and keep your glass tabletop looking fresh and clear.
Preventive Measures to Avoid Future Scratches
Although repairing scratches can restore your glass tabletop, preventing them in the first place is always the best strategy. You want to enjoy a clear, flawless surface without constant worry. Start by applying scratch resistant coatings; these create a protective barrier that resists everyday wear. Also, consider the proper placement of your tabletop—away from high-traffic zones or where sharp objects are frequently used. Using coasters and placemats further minimizes risks.
| Preventive Measure | Benefit |
|---|---|
| Scratch resistant coatings | Shields from minor abrasions |
| Proper placement | Reduces accidental damage |
| Use of coasters | Prevents surface contact |
| Soft cleaning materials | Avoids new scratches |
| Regular maintenance | Keeps protective layers intact |
With these simple steps, you gain true freedom from constant repair worries.
When to Consult a Professional for Glass Repair
Taking steps to prevent scratches can save you time and effort, but sometimes damage still happens beyond what DIY fixes can handle. Knowing when to seek professional help is key to preserving your glass tabletop’s beauty and integrity. You should consider a professional evaluation if:
Prevent scratches early, but know when professional help is needed to protect your glass tabletop’s beauty and integrity.
- Scratches are deep or extensive, risking further cracking or shattering.
- DIY methods haven’t improved the appearance or have made it worse.
- You want to guarantee the repair maintains the glass’s strength and safety.
A glass repair expert can assess the damage accurately and recommend the best solution, whether it’s polishing, resin filling, or glass replacement. Don’t hesitate to consult a professional—protecting your freedom to enjoy your space means trusting the right expertise when it matters most.
Frequently Asked Questions
Can Scratches on Glass Tabletops Affect Touch Sensitivity?
Did you know that over 60% of users notice a difference in touch sensitivity when their devices have surface damage? Scratches on glass tabletops can indeed impact touch sensitivity, especially if they’re deep or numerous. While glass durability helps protect against damage, it’s not foolproof. If you want to keep your touch experience smooth and free, maintaining your glass surface is key. Scratches can interfere with how your touch registers, limiting your freedom to interact effortlessly.
Are There Natural Alternatives to Commercial Glass Repair Kits?
You’re looking for natural alternatives to commercial glass repair kits? You’ve got options! Try using a baking soda paste—mix baking soda with water to form a thick paste, then gently rub it on the scratch. Another method is a vinegar solution; dilute vinegar with water and apply it carefully to clean and brighten the glass. These natural remedies give you freedom from harsh chemicals while still helping reduce those scratches.
How Long Does Each Scratch Removal Method Typically Take?
Think of scratch removal techniques like tuning a guitar—some methods take longer to hit the right note. Polishing with toothpaste or baking soda paste usually takes about 10-15 minutes per scratch, giving you quick freedom from minor marks. For deeper scratches, using cerium oxide can take 30 minutes or more, depending on severity. Buffing with a drill attachment might shave off time but requires care. Your choice shapes your timeline and results.
Will UV Light Help in Curing Glass Repair Products?
Yes, UV light plays a significant role in the curing process of many glass repair products. When you apply these products, UV light helps harden and set them quickly, making the repair more durable. If you want your repair to last and cure properly, exposing it to UV light is often vital. So, make sure you have access to a UV light source or sunlight to speed up and complete the curing process effectively.
Can Scratched Glass Tabletops Be Recycled or Repurposed?
You can definitely recycle scratched glass tabletops, as they often become part of recycled glass materials used in new products. If you’re not ready to toss them, consider repurposing the glass into unique furniture pieces—think custom shelves or decorative tabletops with character. Embracing recycled glass and repurposed furniture lets you break free from waste, giving your space a creative edge while supporting sustainability. You’ve got options to stay eco-friendly and stylish.


