How to Remove Stubborn Stains From Bathroom
To remove stubborn bathroom stains, first identify the stain type—soap scum, hard water, mold, or rust. Use a mix of white vinegar and water for soap scum, and gently scrub hard water deposits with vinegar or lemon juice. For mold, apply a bleach solution to grout and caulk. Rust stains need a specialized remover and scrubbing. Regular maintenance and proper tools like brushes and microfiber cloths guarantee best results. Understanding these basics prepares you to tackle deeper cleaning challenges effectively.
Identifying Common Bathroom Stains

How do you know which cleaning method to use if you can’t identify the stain? Start by examining the stain’s location and appearance. In the toilet bowl, dark rings typically indicate hard water mineral buildup or rust, while greenish stains suggest algae or mold. On your shower curtain, yellowish or brown spots usually come from soap scum or mildew. If the stain is slimy or fuzzy, it’s likely mold or mildew, requiring a different approach than mineral deposits. Recognizing these common stains helps you choose the right cleaner, avoiding wasted effort and ensuring effective removal. By accurately identifying stains on your toilet bowl and shower curtain, you regain control over your bathroom’s cleanliness and enjoy the freedom of a fresh, stain-free space. Understanding stain types empowers effective cleaning strategies tailored to your bathroom’s specific needs.
Essential Cleaning Tools and Supplies
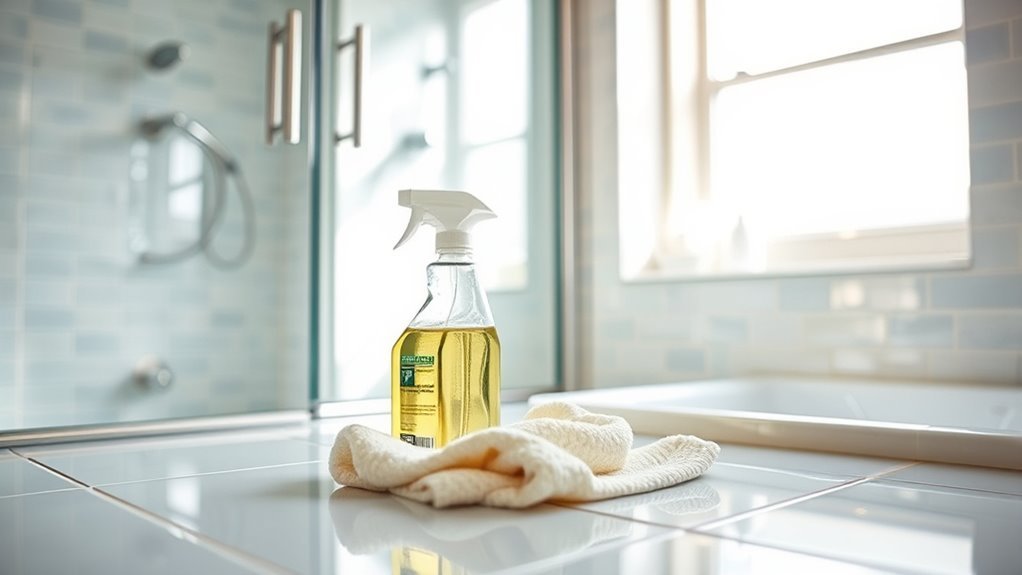
Before tackling stubborn bathroom stains, you’ll need the right tools and supplies at hand. Essential cleaning tools include a sturdy scrub brush, microfiber cloths, and a reliable spray bottle. These help you apply and agitate cleaning agents effectively without damaging surfaces. For essential supplies, stock up on a quality bathroom cleaner, baking soda, white vinegar, and a non-abrasive sponge. These items target various stains without harsh chemicals, giving you control over your cleaning process. Gloves are also a must to protect your hands while working. Having these cleaning tools and essential supplies organized and ready empowers you to take on tough stains confidently and efficiently, freeing you from frustration and time-consuming chores. Prepare wisely, and your bathroom will shine with less effort. Organizing your supplies in a cleaning caddy can save time and reduce stress during the cleaning process.
Removing Soap Scum From Shower Doors and Tiles
Tackling soap scum on shower doors and tiles requires a targeted approach to break down the stubborn buildup effectively. You want cleaning techniques that save time and deliver results without harsh chemicals. Follow these steps for a spotless finish:
- Mix equal parts white vinegar and water in a spray bottle.
- Spray the solution generously on affected surfaces and let it sit for 10 minutes.
- Scrub gently with a non-abrasive sponge or brush to loosen soap scum.
- Rinse thoroughly with warm water and dry with a microfiber cloth to prevent new buildup. Regular maintenance, such as wiping down glass with a squeegee or microfiber cloth daily, helps prevent soap residue from hardening and makes cleaning easier.
Tackling Hard Water Deposits on Fixtures
You’ll recognize hard water deposits by their chalky, white buildup on your fixtures. To remove these stubborn stains, use effective cleaning solutions like vinegar or specialized descaling products. Applying the right cleaner and letting it sit will break down the mineral deposits for easy removal. For best results, wipe with a microfiber cloth following the grain of the steel to avoid streaks and protect your fixtures.
Identifying Hard Water Deposits
Although hard water deposits might seem like just tough stains, they’re actually mineral buildups that can damage your fixtures if left untreated. To identify these deposits and understand hard water effects, look for:
- White or chalky residue on faucets, showerheads, and sinks.
- Rough, crusty patches where water frequently collects.
- Reduced water flow caused by mineral buildup inside fixtures.
- Stains that resist regular cleaning and appear dull or cloudy.
Recognizing these signs allows you to act before permanent damage occurs. By spotting mineral buildup early, you maintain your bathroom’s freedom from costly repairs. Don’t let hard water effects dictate your fixtures’ lifespan—know what to watch for and take control of your cleaning routine.
Effective Cleaning Solutions
Now that you can spot hard water deposits early, it’s time to address them effectively before they cause lasting damage. Start by choosing the right cleaning solution. Natural cleaning solutions like white vinegar or lemon juice work wonders by breaking down mineral buildup without harsh chemicals. Apply them directly to fixtures, let sit for 10-15 minutes, then scrub gently with a soft brush. For tougher stains, commercial cleaning products designed specifically for hard water deposits can save time. Always follow the manufacturer’s instructions and wear gloves to protect your skin. After cleaning, rinse thoroughly and dry fixtures to prevent new deposits. Regular maintenance using these methods guarantees your bathroom fixtures stay spotless and free from stubborn hard water stains, giving you the freedom to enjoy a pristine space with minimal effort.
Eliminating Mildew and Mold in Grout and Caulk
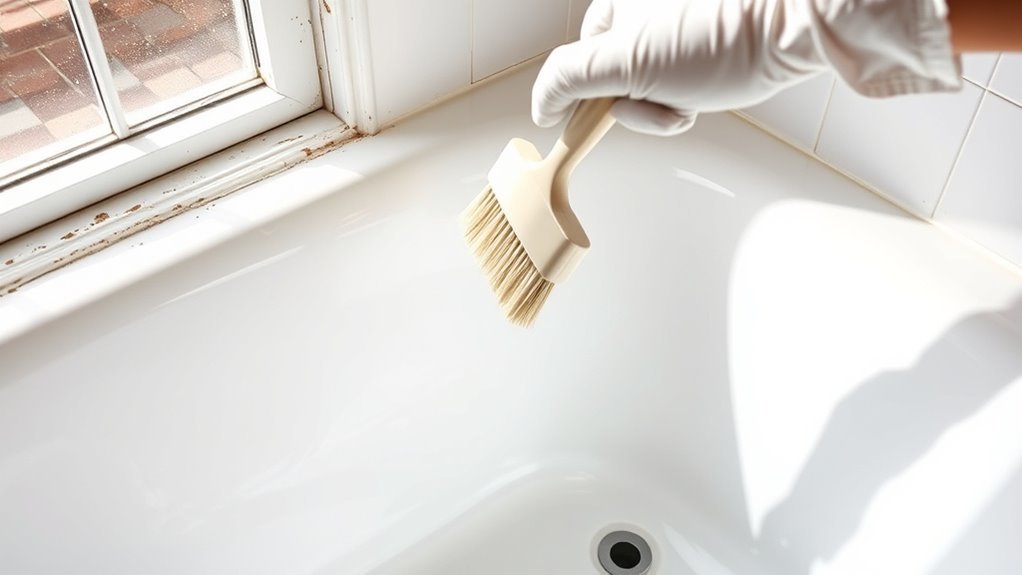
When mildew and mold settle into grout and caulk, they can quickly spread and cause discoloration as well as potential health issues. To tackle this effectively, follow these steps:
- Scrub affected areas with a mixture of bleach and water to kill mold spores.
- Use a toothbrush or grout brush to reach tight spots without damaging surfaces.
- Rinse thoroughly and dry completely to prevent moisture buildup.
- Apply grout sealing after cleaning to create a barrier that supports mold prevention.
Regularly maintaining dry conditions and sealing grout lines gives you the freedom to enjoy a clean bathroom without recurring mildew. Don’t let mold take over—handle it promptly and protect your surfaces for lasting cleanliness and a healthier environment. Wearing N95 respirators and gloves during cleaning can help protect you from inhaling mold spores and skin irritation.
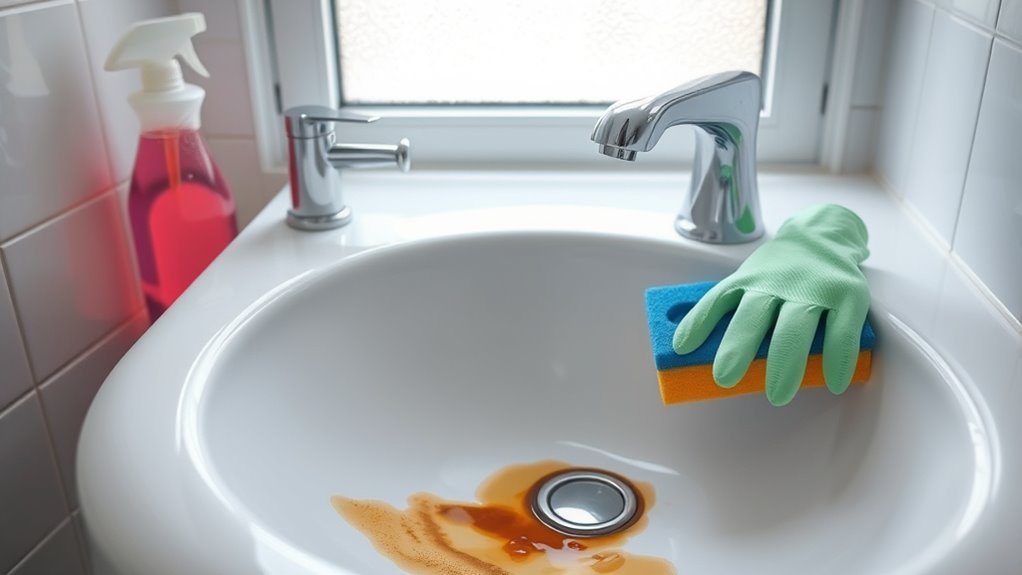
Getting Rid of Rust Stains on Sinks and Bathtubs
Rust stains on your sinks and bathtubs usually come from iron in the water or metal fixtures. You’ll need the right removal methods, like specific cleaners or natural solutions, to tackle these stubborn marks effectively. Plus, taking steps to prevent future rust will keep your bathroom surfaces looking clean and fresh.
Causes of Rust Stains
Stains caused by iron deposits in water or corroded pipes can leave unsightly marks on sinks and bathtubs. Understanding rust stain sources is key to effective prevention strategies. You’ll want to identify the root causes to keep your bathroom surfaces spotless.
- Iron-rich water supply: High iron content oxidizes, causing reddish-brown stains.
- Aging pipes: Corroded metal pipes release rust particles into water.
- Metal fixtures: Damaged or low-quality fixtures can corrode over time.
- Standing water: Prolonged moisture encourages rust formation on surfaces.
Effective Rust Removal Methods
Identifying the sources of rust gives you a clear advantage in tackling the problem effectively. To remove rust stains on sinks and bathtubs, start with proven rust removal techniques. Apply a paste of baking soda and water directly to the stain, let it sit for 15 minutes, then scrub gently with a non-abrasive brush. For tougher stains, natural rust removers like white vinegar or lemon juice work well; soak a cloth in the solution, place it on the stain, and leave it for 30 minutes before scrubbing. Always rinse thoroughly afterward to prevent residue buildup. Avoid harsh chemicals that can damage surfaces. Using these straightforward methods, you’ll regain your bathroom’s clean look while maintaining freedom from toxic cleaners.
Preventing Future Rust Stains
Although removing rust stains is essential, preventing them from recurring will save you time and effort in the long run. To maintain rust-free sinks and bathtubs, focus on rust prevention and surface protection. Here’s how:
- Keep surfaces dry: Rust thrives in moisture. Wipe down sinks and tubs after use to eliminate standing water.
- Apply a protective coating: Use sealants or wax designed for bathroom fixtures to create a barrier against rust.
- Fix leaks promptly: Dripping faucets or pipes increase moisture, accelerating rust formation.
- Use rust-resistant materials: Consider replacing old fixtures with stainless steel or plastic alternatives for long-term rust prevention.
Cleaning Stubborn Stains on Toilet Bowls
When you notice discoloration or buildup in your toilet bowl, tackling it promptly can prevent permanent damage. Start by applying a toilet bowl cleaner with stain removal properties directly under the rim and let it sit for 10-15 minutes. Use a sturdy toilet brush to scrub the entire bowl, focusing on stubborn areas. For mineral or rust stains, apply a pumice stone gently to avoid scratching the porcelain. If stains persist, try pouring a cup of white vinegar or baking soda into the bowl, allowing it to fizz and break down deposits before scrubbing again. Flush to rinse thoroughly. Regular attention to stain removal keeps your toilet bowl fresh and prolongs its lifespan, giving you the freedom to enjoy a clean, hygienic bathroom without hassle. Incorporating toilet bowl maintenance into your routine helps prevent stains from becoming persistent and difficult to remove.
Preventative Tips to Keep Bathroom Surfaces Stain-Free
To keep your bathroom surfaces stain-free, you’ll need to adopt consistent cleaning habits and use protective measures. Preventive maintenance is key to avoiding stubborn stains that limit your freedom to enjoy a clean, fresh space. Follow these steps:
- Perform regular inspections of all surfaces to catch early signs of staining or damage.
- Wipe down wet areas immediately after use to prevent water spots and mold buildup.
- Use sealants on porous surfaces like natural stone to create a protective barrier.
- Choose cleaning products suited for your surfaces and avoid harsh chemicals that may cause damage.
- Incorporate regular ventilation to reduce moisture and inhibit mold growth.
Frequently Asked Questions
Can Natural Cleaners Damage Bathroom Surfaces?
You might think natural cleaners are always safe, but they can damage bathroom surfaces if you’re not careful. It’s vital to check surface compatibility before using them, especially on delicate materials like marble or wood. Always test a small area first to avoid discoloration or etching. Using the right natural cleaner lets you keep your space fresh without risking damage, giving you freedom to clean effectively and safely.
How Often Should Deep Cleaning Be Performed?
Like tending a secret garden, maintaining your bathroom’s sparkle requires regular care. You should set a deep cleaning frequency of once a month to keep grime and buildup at bay. Incorporate this into your bathroom maintenance schedule alongside weekly surface cleaning. This routine not only preserves your sanctuary’s freshness but also grants you the freedom to enjoy a spotless space without constant worry or effort. Stay disciplined, and your bathroom will thank you.
Are Commercial Stain Removers Safe for Septic Systems?
You’ll want to check commercial cleaner ingredients carefully to guarantee septic system safety. Many commercial stain removers contain harsh chemicals that can disrupt the natural bacteria in your septic tank, leading to costly issues. Opt for products labeled “septic-safe” or those with biodegradable formulas. If you’re unsure, test small amounts or consider natural alternatives. Protecting your septic system means choosing cleaners that clean effectively without compromising its function.
What Are Eco-Friendly Alternatives to Bleach?
If you’re looking for eco-friendly alternatives to bleach, you’ll love baking soda benefits and vinegar solutions. Baking soda acts as a gentle abrasive and deodorizer, perfect for scrubbing without harsh chemicals. Vinegar solutions break down grime and kill bacteria naturally. Mix equal parts water and white vinegar for an effective cleaner. These options give you powerful cleaning freedom while being safe for your home and the environment.
How to Protect Bathroom Surfaces From UV Damage?
To protect your bathroom surfaces from UV damage, you need UV protection, surface coatings, and regular maintenance. Apply UV-resistant surface coatings designed for bathroom materials to block harmful rays. Choose clear, waterproof sealants that preserve your surfaces without altering their look. Reapply coatings as recommended to maintain effectiveness. With these steps, you safeguard your bathroom’s beauty and durability, giving you the freedom to enjoy a fresh, vibrant space longer.


