
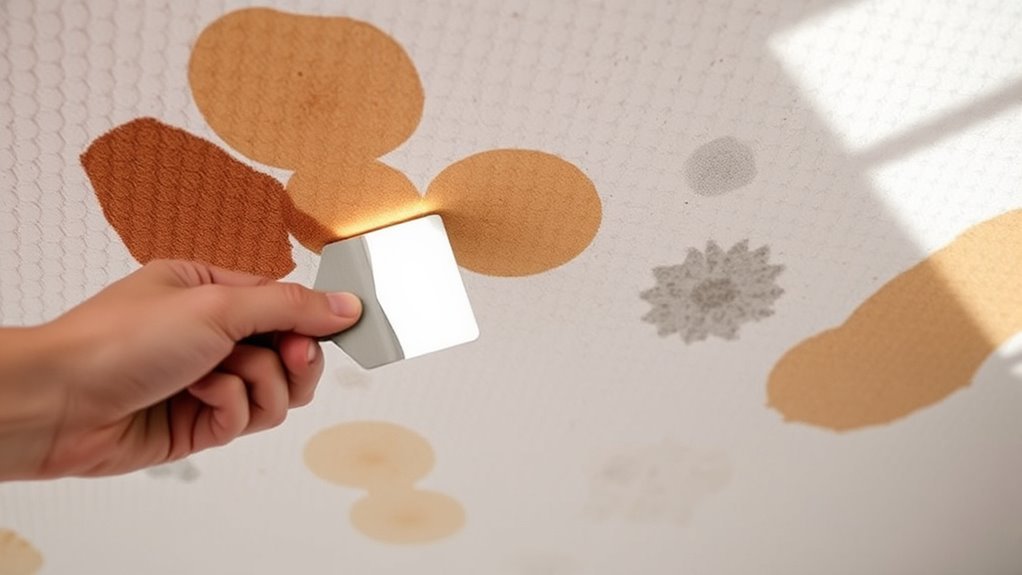
How to Remove Stubborn Stains From Ceilings
To remove stubborn stains from your ceiling, first identify the stain type—water, smoke, mold, or grease. Gather mild detergent, white vinegar, or a gentle bleach solution, along with soft sponges and gloves. Always test your cleaner on a small spot and avoid soaking the ceiling to protect its surface. Gently dab the stain, rinse with water, and dry thoroughly. Taking steps to prevent future stains helps too. There’s plenty more you can do to keep your ceiling spotless and fresh.
Identifying the Type of Ceiling Stain
Before you can effectively remove a stain from your ceiling, you need to identify what caused it. Different ceiling materials react uniquely to various stain causes, so knowing your ceiling’s composition—whether it’s drywall, plaster, or tile—helps you choose the right approach. Water stains might look yellowish or brown, hinting at leaks or moisture issues. Smoke or grease stains often appear darker and can cling stubbornly, especially on textured surfaces. Mold stains could show as black or green spots, signaling humidity problems. By pinpointing these causes, you gain the freedom to address the root problem, not just the surface blemish. Understanding your ceiling materials and the stain’s origin empowers you to tackle the stain efficiently without risking damage or endless trial and error.
Preparing Your Cleaning Supplies
Since tackling ceiling stains requires the right tools, gathering your cleaning supplies carefully is essential. Start by assembling effective cleaning tools like a sturdy ladder, soft sponges, microfiber cloths, and a spray bottle. Choose a gentle stain removal solution suitable for your ceiling type—this could be a mild detergent mix or a specialized cleaner. Avoid harsh chemicals that might damage surfaces or limit your freedom to clean safely. Don’t forget gloves to protect your hands and a bucket for mixing solutions. Having everything ready lets you move freely and confidently when it’s time to clean. With the right cleaning tools and stain removal products in hand, you’ll be set to restore your ceiling’s look without hassle or restraint.
Safety Precautions Before Cleaning
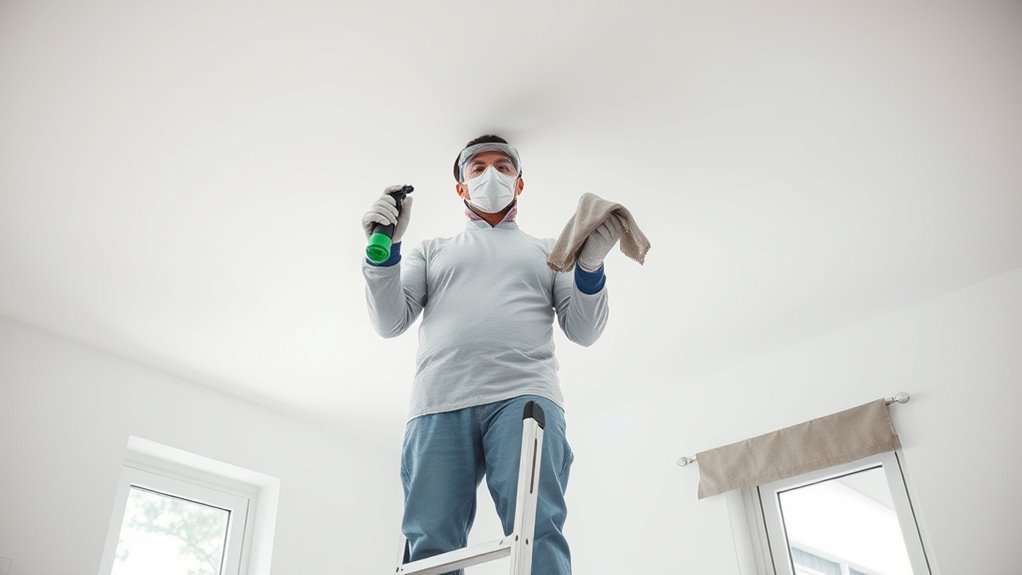
Before you start cleaning, make certain you wear protective gear like gloves and goggles to keep yourself safe. You’ll also want to ventilate the area well to avoid inhaling fumes from your cleaning solutions. Finally, always test your cleaning product on a small spot to guarantee it won’t damage your ceiling.
Wear Protective Gear
Wearing the right protective gear is essential when tackling stubborn ceiling stains to keep yourself safe from harsh cleaning chemicals and debris. You don’t want irritants in your eyes or skin, so make certain you grab your protective goggles and safety gloves before you start. These simple items let you work freely without worry.
| Gear Type | Purpose | Tips for Use |
|---|---|---|
| Protective Goggles | Shield eyes from splashes | Ensure a snug fit |
| Safety Gloves | Protect skin from chemicals | Choose durable materials |
| Mask (optional) | Prevent inhaling fumes | Use if chemicals are strong |
| Long-sleeve Shirt | Guard arms against debris | Wear breathable fabric |
Suit up smartly, and you’ll enjoy the freedom to clean confidently and safely.
Ventilate the Area
Once you’ve put on your protective gear, the next step is to make sure the area is well-ventilated. You want fresh air circulating freely because the airflow importance can’t be overstated—it helps prevent buildup of fumes from cleaning products and keeps your space safe. Open windows and doors wide to create a natural breeze that pushes stale air out and pulls fresh air in. If you have fans, use them to boost circulation and maintain a steady airflow. Keep an eye on room temperature too; a moderate temperature helps cleaning solutions work effectively without causing discomfort or excess humidity. Proper ventilation isn’t just about safety—it gives you the freedom to clean confidently, knowing you’re protecting your health while tackling those stubborn ceiling stains.
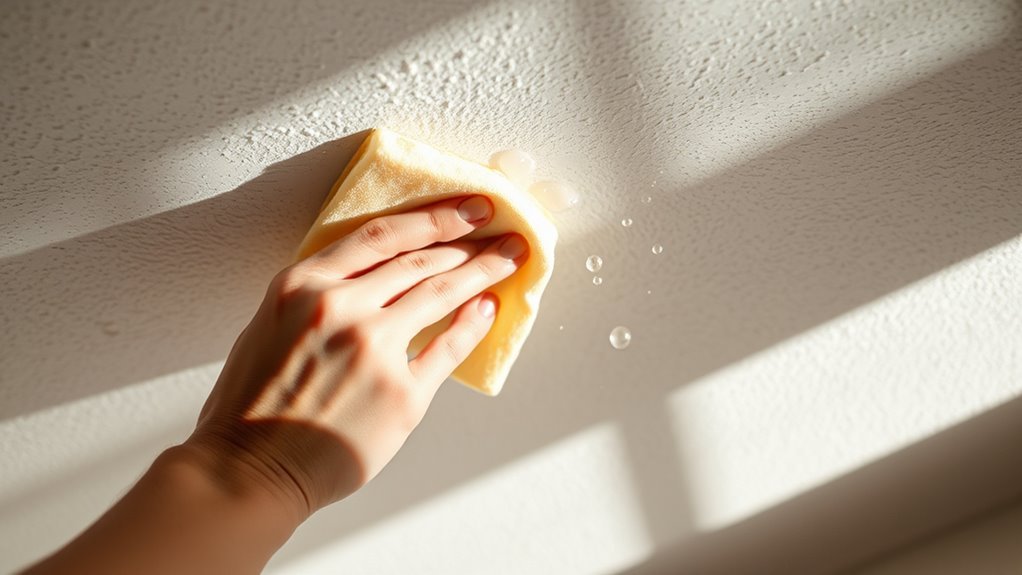
Test Cleaning Solutions
How can you be certain a cleaning solution won’t damage your ceiling or worsen the stain? The answer lies in taking a simple, yet essential safety step: test cleaning solutions first. Choose a small, inconspicuous spot on your ceiling and apply a tiny amount of the cleaner. Wait a few minutes to see if there’s any discoloration or damage. This quick test helps you avoid bigger problems and guarantees your stain removal efforts won’t backfire. Always remember, not every solution suits every ceiling type. Testing gives you freedom to experiment safely and confidently, making certain the product works effectively without causing harm. By taking this precaution, you protect your ceiling while maximizing your stain removal success.
Using Mild Detergent Solutions
Although stubborn stains on ceilings can be frustrating, using a mild detergent solution is often an effective way to tackle them without damaging the paint or surface. The mild detergent benefits include gentle cleaning power that lifts grime while preserving your ceiling’s finish. To get the best results, mix a small amount of detergent with warm water—avoid harsh chemicals that can cause discoloration. When it comes to detergent application techniques, use a soft sponge or cloth, gently dabbing the stained area rather than scrubbing aggressively. This approach lets you control the cleaning process and prevents peeling or streaks. Afterward, rinse with a clean damp cloth to remove any residue, and let it dry fully. This method gives you freedom to refresh your space safely and efficiently.
Tackling Water Stains Effectively
Mild detergent solutions can handle many stains, but water stains often need a different approach because they tend to leave behind discoloration and sometimes even mold. When tackling water damage, you’ll want to choose cleaning methods that not only remove the stain but also address any underlying issues to prevent recurrence. Here’s a quick guide to effective solutions:
| Cleaning Method | Best For |
|---|---|
| Bleach Solution | Mold and mildew removal |
| Vinegar and Water | Light discoloration |
| Baking Soda Paste | Deodorizing and scrubbing |
| Commercial Stain Remover | Tough, set-in stains |
| Primer and Paint | Sealing after cleaning |
Use these methods carefully, and you’ll restore your ceiling’s freedom from stains and damage.
Removing Smoke and Soot Residue
If you’ve noticed dark, greasy patches on your ceiling, you’re likely dealing with smoke and soot residue. You’ll want to use the right cleaning solutions to break down these stubborn stains without damaging the surface. Plus, taking steps to improve ventilation can help prevent future buildup.
Identifying Smoke Stains
When you notice dark, powdery patches or a persistent yellowish tint on your ceiling, you’re likely dealing with smoke stains. These marks often come from common smoke sources like cigarettes, fireplaces, or cooking fumes. To confidently tackle the problem, start with stain identification—recognizing the difference between water damage, mold, and smoke residue is key. Smoke stains usually have a greasy feel and cling stubbornly to surfaces, unlike other stains that might flake away or discolor differently. Knowing exactly what you’re up against frees you to choose the best removal approach without wasting effort. By pinpointing these telltale signs, you gain control over restoring your ceiling’s clean, fresh look and reclaiming your space from the grip of stubborn smoke damage.
Effective Cleaning Solutions
Once you’ve identified smoke stains on your ceiling, the next step is choosing the right cleaning solution to tackle that greasy residue and stubborn soot. You want something effective but gentle, especially if you prefer natural cleaning options that keep your space fresh and chemical-free. A mixture of warm water, white vinegar, and a few drops of liquid dish soap works wonders for stain removal. Dip a soft sponge into the solution, wring it out, and gently scrub the affected area. Avoid soaking the ceiling to prevent damage. For tougher spots, baking soda added to the mix can boost your cleaning power. With these natural cleaning methods, you’ll reclaim your ceiling’s brightness and enjoy a stain-free space without feeling trapped by harsh chemicals.
Preventing Future Residue
Although cleaning stubborn stains is essential, preventing future smoke and soot residue is just as important to keep your ceiling looking fresh. You can embrace preventive measures that give you freedom from constant scrubbing. Start by improving ventilation and using air purifiers to reduce airborne particles. Establish routine maintenance by gently dusting your ceiling monthly to stop buildup before it starts.
| Preventive Measures | Routine Maintenance | Benefits |
|---|---|---|
| Use HEPA air filters | Monthly dusting | Keeps air clean & ceilings clear |
| Increase ventilation | Inspect for leaks | Prevents moisture & soot stains |
| Avoid indoor smoking | Clean vents & ducts | Reduces lingering smoke residue |
Taking these steps empowers you to protect your ceilings effortlessly and enjoy a cleaner, fresher home environment.
Dealing With Mold and Mildew on Ceilings
Since mold and mildew thrive in damp environments, your ceilings can become prime targets, especially in areas with poor ventilation. To tackle mildew growth, start by improving airflow and reducing humidity in the room. Use a dehumidifier or exhaust fan to keep moisture levels low—this is essential for effective mold prevention. When cleaning, wear gloves and a mask, then apply a mixture of water and white vinegar or a mild bleach solution to the affected spots. Gently scrub with a soft brush, rinse, and dry thoroughly. Remember, addressing the root cause—excess moisture—is just as vital as cleaning visible stains. By staying proactive with mold prevention, you’ll protect your ceilings and enjoy a fresher, freer living space without stubborn stains holding you back.
Cleaning Stains From Textured or Popcorn Ceilings
When dealing with textured or popcorn ceilings, you’ll find that stains require a gentler approach than flat surfaces. These ceilings are delicate, so scrubbing aggressively can damage the texture or cause bits to fall. Start by mixing a mild detergent with water and gently dabbing the stained area using a soft sponge or cloth. Avoid soaking the ceiling to prevent weakening the texture. For tougher stains, try a solution of diluted white vinegar, which can break down grime without harsh chemicals. Always test your cleaning method on a small, hidden spot first. Patience is key—you want to lift the stain without disturbing the unique look of your textured ceilings or popcorn ceilings, keeping your space fresh without sacrificing its character.
Preventing Future Ceiling Stains
To keep your ceilings looking clean, it’s important to take steps that prevent stains from forming in the first place. One of the best ceiling maintenance tips is controlling moisture—use exhaust fans in kitchens and bathrooms to reduce humidity that causes mold and mildew stains. Regularly inspect your roof and plumbing for leaks since even small drips can lead to stubborn stains. Applying a stain-resistant primer before painting is another effective stain prevention technique. Also, avoid smoking indoors and limit cooking smoke exposure to protect your ceiling’s finish. By staying proactive with these simple habits, you’ll save yourself from tedious cleanups and keep your ceilings fresh and stain-free, giving you the freedom to enjoy a clean, inviting space without worry.
Frequently Asked Questions
Can Ceiling Stains Cause Health Problems?
You bet ceiling stains can cause health problems, especially if they’re linked to mold growth. Mold releases spores that can trigger allergies, respiratory issues, and other health risks, limiting your freedom to breathe easy at home. If you notice stubborn stains, it’s smart to check for mold and address it quickly. Taking control of your space means tackling these risks head-on, so you can enjoy a healthier, freer environment.
How Long Should I Wait After Painting Before Cleaning?
You should wait at least two weeks after painting before cleaning to guarantee the paint drying process is fully complete. This gives the paint enough time to cure and harden, preventing damage when you use cleaning techniques. Rushing to clean too soon might cause smudges or peeling. Patience lets you enjoy a flawless finish without worries, giving you the freedom to maintain your space confidently and effectively.
Are Professional Cleaning Services Worth It for Ceiling Stains?
Oh sure, why not let someone else fight your ceiling stains while you binge-watch shows? But seriously, when weighing professional cleaning services, do a cost analysis. They use fancy cleaning methods you might not have, but is it worth shelling out? If you love freedom and DIY pride, tackling stains yourself can be just as effective and way cheaper. Just don’t blame me if your ceiling ends up looking like abstract art!
Will Ceiling Stain Removers Damage Ceiling Paint?
You might worry if ceiling stain removers will damage your ceiling paint, but most are designed to be safe when used properly. Just be sure to test a small, hidden spot before fully applying any stain removal product. That way, you can enjoy a fresh, clean ceiling without risking peeling or discoloration. With the right approach, you’ll keep your ceiling paint intact and your space looking free and bright.
How Do I Remove Stains From Ceiling Tiles?
You want your ceiling tiles looking fresh, not worn down by stubborn stains. For ceiling tile maintenance, start by gently wiping with a damp cloth and mild detergent—avoid harsh scrubbing that can damage texture. Stain prevention tips include controlling humidity and fixing leaks promptly, so stains don’t settle in. By taking simple steps, you keep your space feeling open and free from the burden of unsightly marks, letting your creativity soar.


