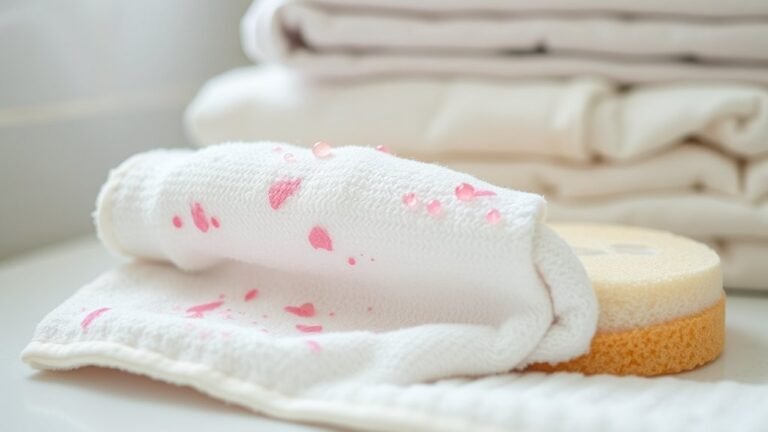
How to Remove Stubborn Stains From Tile
To remove stubborn stains from tile, first identify the stain type—like rust, mold, or grease—so you can pick the right cleaner. Try a baking soda paste with vinegar for many stains, or use specialized products for mold and grout. Always scrub gently with a stiff brush and rinse well. Regular cleaning and sealing your tiles help prevent stains in the future. If you want to tackle even tougher spots or specific stains, keep exploring proven methods and tips.
Identifying Different Types of Tile Stains

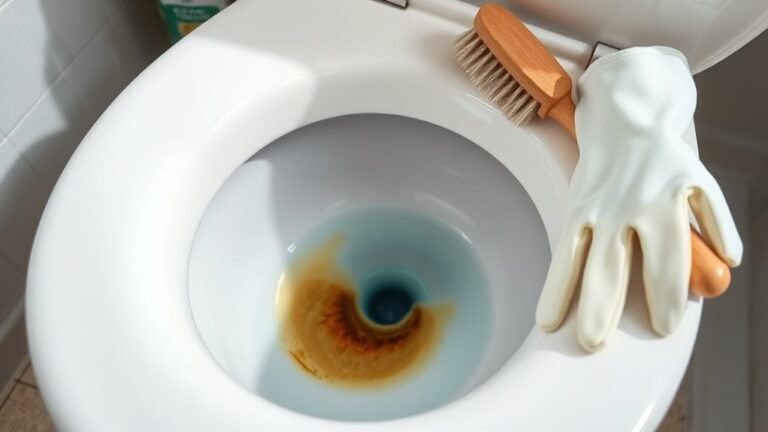
Before you can effectively remove stubborn stains from tile, you need to identify what type of stain you’re dealing with. Understanding tile discoloration causes is essential because each stain demands a different approach. Whether it’s rust, mold, grease, or mineral deposits, knowing the origin helps you tackle the problem confidently. Use a stain identification guide to match the stain’s color, texture, and location on your tile. For example, rust often appears reddish-brown, while mold shows up as black or green patches. Grease stains feel sticky and dark, whereas mineral deposits look chalky or white. Pinpointing the exact type gives you the freedom to choose the right cleaning method, saving time and effort. This clarity empowers you to restore your tile’s original beauty without guesswork.
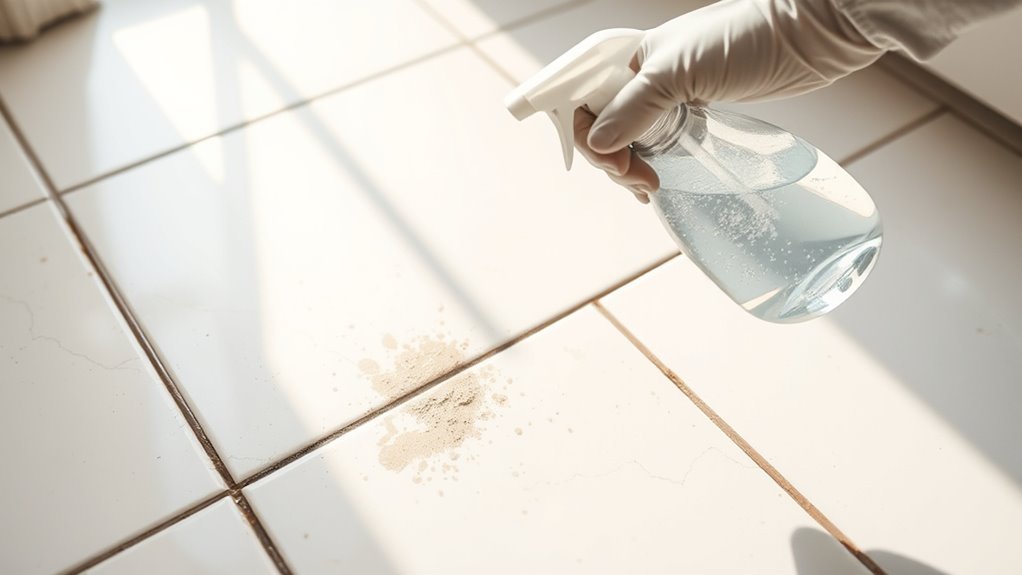
Essential Tools and Materials for Tile Cleaning
To tackle stubborn tile stains effectively, you’ll need the right cleaning supplies like scrub brushes, mild detergents, and stain removers. Don’t forget to protect yourself with gloves and a mask to avoid irritation from chemicals. Having these tools and gear ready will make the job safer and more efficient.
Must-Have Cleaning Supplies
Cleaning stubborn stains from tile requires the right supplies to get the job done effectively. You’ll want to stock up on specialized cleaners designed specifically for tile surfaces — these break down grime without damaging your floors or walls. If you’re aiming for freedom from harsh chemicals, eco friendly options are excellent; they clean thoroughly while being gentle on the environment and your health. Along with cleaners, grab a stiff-bristled brush or a non-abrasive scrubbing pad to tackle tough spots without scratching. A spray bottle helps apply solutions evenly, and microfiber cloths are perfect for wiping away residue without leaving streaks. Having these must-have cleaning supplies guarantees you’re ready to restore your tiles to their original shine with ease and confidence.
Protective Gear Essentials
While having the right cleaning supplies sets you up for success, protecting yourself during the process is just as important. You want to stay safe and free to tackle stains without worry. Focus on gloves selection first—choose durable, chemical-resistant gloves to shield your skin. Don’t forget eye protection; goggles prevent splashes from irritating your eyes. Other essentials help keep your freedom intact while cleaning:
- A respirator or mask to avoid inhaling fumes
- Long sleeves to protect your arms
- Non-slip shoes for stability on wet tiles
With these protective gear essentials, you’ll move confidently, knowing you’re guarded against hazards. This lets you clean stubborn stains efficiently and enjoy the freedom of a spotless space without compromising your well-being.
Using Baking Soda and Vinegar for Stain Removal
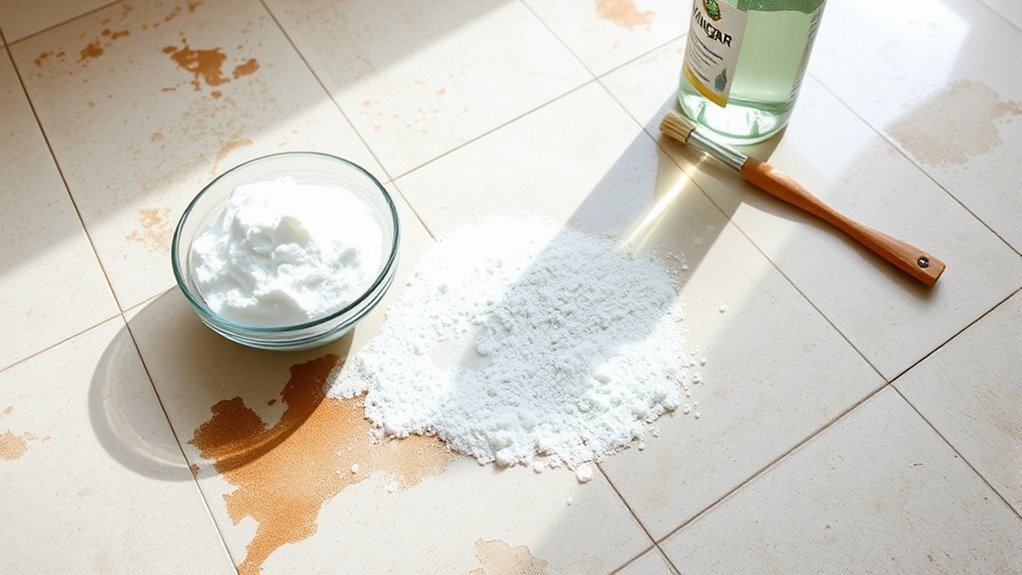
You can make a simple baking soda paste by mixing it with water to tackle stubborn tile stains. Applying vinegar afterward helps break down grime and lifts the stain more effectively. Just remember to let the mixture sit for a few minutes before scrubbing for the best results.
Baking Soda Paste
Mixing baking soda and vinegar creates a powerful paste that tackles stubborn tile stains with ease. You’ll love how this natural solution gives you the freedom to clean without harsh chemicals. Here’s how to make and use the baking soda paste for stain removal:
- Combine baking soda with just enough vinegar to form a thick paste.
- Apply the paste directly to the stained tile areas.
- Let it sit for 10-15 minutes to break down grime.
- Scrub gently with a soft brush or cloth to lift stains.
- Rinse thoroughly with water and dry for a fresh finish.
This simple method empowers you to reclaim your tiles, making stubborn stains vanish effortlessly. Baking soda’s gentle abrasiveness and vinegar’s natural acidity work together, giving you a clean space without sacrificing your freedom to choose eco-friendly solutions.
Vinegar Application Tips
Although vinegar is a powerful natural cleaner, applying it correctly is key to maximizing its stain-removing effects without damaging your tiles. Start by preparing a proper vinegar dilution—mix equal parts white vinegar and water to avoid harsh acidity that can erode grout or tile surfaces. After applying your baking soda paste to the stain, spray or pour the diluted vinegar over it. You’ll notice fizzing—that’s the magic working to lift the stain free. For tougher spots, let the vinegar soaking happen for 5 to 10 minutes, giving it time to break down grime. Rinse well with clean water afterward to remove any residue. By using vinegar thoughtfully, you keep your tile looking fresh and stain-free without risking damage or wasting effort.
How to Remove Mold and Mildew From Tiles
Dealing with mold and mildew on tiles can be tricky, but a few simple steps will help you restore your surfaces quickly. To effectively tackle mold prevention and mildew treatment, you’ll want to:
Tackling mold and mildew on tiles is manageable with a few simple, effective steps.
- Ventilate the area well to reduce moisture buildup.
- Use a mixture of water and white vinegar or a specialized mildew cleaner.
- Apply the solution generously, letting it sit for 10–15 minutes.
- Scrub gently with a soft brush or sponge to avoid damaging tiles.
- Rinse thoroughly and dry the surface completely to prevent return.
Effective Techniques for Cleaning Grout Stains
Once you’ve tackled mold and mildew, you might notice that grout lines still look dull or stained. Effective grout cleaning is key to restoring your tile’s true beauty and keeping your space feeling fresh. You can use natural or commercial cleaners, but always test a small area first. To keep stains at bay, seal your grout regularly—this simple step offers long-term stain prevention.
| Technique | Benefits |
|---|---|
| Baking soda paste | Gentle, natural abrasive |
| Hydrogen peroxide | Disinfects and brightens grout |
| Grout sealer | Prevents dirt and stains |
Treating Hard Water Deposits on Tiles
Anyone who’s noticed cloudy, chalky spots on their tiles knows how stubborn hard water deposits can be. These mineral buildup marks resist regular cleaning, but you don’t have to let them control your space. To reclaim your tiles’ shine, try this approach:
Cloudy, chalky tile spots from hard water deposits can be tough, but you can restore your tiles’ shine.
- Mix equal parts white vinegar and water to dissolve mineral buildup.
- Apply the solution, let it sit for 5-10 minutes.
- Scrub gently with a soft brush or sponge to avoid scratching.
- Rinse thoroughly with clean water to remove residue.
- Dry tiles with a microfiber cloth to prevent new deposits.
Cleaning Oil and Grease Stains From Tile Surfaces
Although oil and grease stains can seem impossible to remove, you don’t have to let them ruin your tile’s appearance. Start by focusing on oil absorption to lift the stain before tackling grease breakdown. Use absorbent powders like baking soda or cornstarch to soak up excess oil. Afterward, apply a degreaser or a mix of dish soap and warm water to break down stubborn grease.
| Step | Action | Purpose |
|---|---|---|
| 1. Oil Absorption | Sprinkle baking soda | Absorbs excess oil |
| 2. Wait | Let sit 10-15 minutes | Maximizes absorption |
| 3. Grease Breakdown | Scrub with dish soap solution | Dissolves grease |
This method frees your tiles from oily grime, restoring their clean, vibrant look effortlessly.
Natural Remedies for Removing Rust Stains
Three natural remedies can help you tackle rust stains on your tile without harsh chemicals. You don’t need to rely on strong chemicals when rust stain solutions can come from your kitchen or garden. These eco friendly cleaners give you freedom from toxins while effectively restoring your tile’s look.
Try these simple options:
- Lemon juice: Apply directly and let it sit to break down rust.
- White vinegar: Soak a cloth and place on the stain for 10 minutes.
- Baking soda paste: Mix with water, scrub gently, then rinse.
- Salt and lemon: Sprinkle salt on lemon juice-soaked stains for extra power.
- Potato slices: Rub on rust stains to naturally lift discoloration.
Using these natural remedies keeps your space safe and clean, giving you control over your environment.
Preventative Measures to Keep Tiles Stain-Free
While natural remedies can effectively remove rust stains, preventing stains from forming in the first place saves you time and effort. One of the best ways to guarantee stain prevention is proper tile sealing. Sealing creates a protective barrier that repels liquids and dirt, making cleaning easier and preserving your tile’s appearance. Additionally, routine cleaning and quick spill management keep stains at bay.
| Preventative Measure | Benefit |
|---|---|
| Tile sealing | Protects against stains |
| Regular cleaning | Removes dirt before it sets |
| Prompt spill cleanup | Prevents absorption |
| Use of mats/rugs | Reduces tracked-in dirt |
| Avoid harsh chemicals | Maintains sealant integrity |
Frequently Asked Questions
Can Tile Stains Cause Permanent Damage to Flooring?
Yes, tile stains can cause permanent damage if you don’t act quickly. You want to focus on stain prevention through regular floor maintenance to keep your tiles looking fresh and durable. Ignoring stains might lead to discoloration or etching that’s tough to reverse, limiting your freedom to enjoy a spotless floor. Staying proactive helps you maintain your tiles’ beauty and avoid costly repairs down the road.
Are There Specific Products to Avoid on Natural Stone Tiles?
When cleaning your natural stone tiles, you’ll want to avoid acidic or abrasive cleaning agents. Products with vinegar, lemon, or bleach can etch or dull the surface, limiting your freedom to keep that beautiful finish intact. Instead, stick to pH-neutral cleaners specially designed for natural stone. By choosing the right products, you’ll protect your tiles and maintain their natural beauty without worry, giving you the freedom to enjoy your space fully.
How Often Should I Deep Clean Tiles to Prevent Staining?
Wondering how often you should deep clean your tiles to keep stains at bay? For effective stain prevention tips, aim for a deep cleaning frequency of once every 1-3 months, depending on foot traffic and usage. This routine helps maintain your tiles’ natural beauty and prevents grime buildup. Don’t forget to spot clean regularly and seal natural stone tiles to give yourself the freedom to enjoy spotless floors without constant worry.
Can Professional Cleaning Remove All Types of Tile Stains?
You might wonder if professional cleaning can tackle all stain types on your tiles. While pros use advanced cleaning methods that handle most stains—like dirt, grease, or mildew—some stubborn or deep-set stains might resist removal. It really depends on the stain type and tile material. Still, professionals offer the best shot at freeing your tiles from unwanted marks, giving you more freedom to enjoy a spotless, worry-free space.
Is It Safe to Use Bleach on Colored Tile Surfaces?
You might think bleach is your go-to for tough stains, but wait—using it on colored tiles can be risky. Bleach can strip color and damage tile colorfastness, leaving dull, faded spots. Instead, why not try bleach alternatives like vinegar or baking soda? They’re gentler and help preserve your tile’s vibrant look. Choosing wisely means you keep your freedom to enjoy beautiful tiles without worrying about irreversible damage.