How to Remove Stubborn Stains From Walls
To remove stubborn stains from your walls, first identify the stain type to choose the right method. Prepare the surface by dusting and testing cleaners on a hidden spot. Use mild soap with warm water for general stains. For crayon, try baking soda paste or rubbing alcohol for markers. Grease needs dish soap solutions, while scuffs respond to eraser sponges. Applying baking soda and vinegar paste works well too. Follow these tips, and you’ll handle stubborn stains effectively—let’s explore more detailed strategies next.
Identifying Different Types of Wall Stains

Before you can effectively remove stains from your walls, it’s important to identify what type of stain you’re dealing with. Water stains usually appear as discolored, often yellowish or brown patches, sometimes with a slightly textured surface. These stains indicate moisture issues that might need addressing to prevent recurring damage. Smoke damage, on the other hand, shows up as a dull, grayish film or yellow discoloration, typically near ceilings or vents where smoke accumulates. Recognizing these differences helps you choose the right cleaning method without risking further damage. By accurately identifying water stains or smoke damage, you gain control over the cleaning process and avoid unnecessary work, ensuring your walls regain their original appearance efficiently and sustainably. To prevent future issues like moisture buildup, it is important to keep walls dry and well-ventilated, similar to the recommended practices for mold and mildew removal.
Preparing Your Walls for Cleaning
Before you start cleaning, make certain to clear the wall surface of any dust or debris to prevent spreading dirt. Next, test your chosen cleaning solution on a small, hidden area to check for any damage or discoloration. This careful preparation helps guarantee effective stain removal without harming your walls.
Clear Wall Surface
Although it might seem simple, clearing the wall surface is an essential step that guarantees effective stain removal. Proper wall surface preparation involves removing dust, cobwebs, and loose debris using appropriate wall cleaning tools. This makes certain stains aren’t locked beneath dirt, which could reduce cleaning solution effectiveness. Start by moving furniture away and covering floors to protect surfaces. Then, use a microfiber cloth or soft brush to gently clear the surface.
| Step | Tool Needed | Purpose |
|---|---|---|
| Remove dust | Microfiber cloth | Clears loose particles |
| Brush cobwebs | Soft brush | Eliminates webs and dirt |
| Move furniture | Hands or dolly | Access entire wall |
| Cover floor | Drop cloth/plastic | Protects flooring |
| Inspect surface | Flashlight | Spot hidden debris or damage |
This methodical approach prepares your walls perfectly for stain treatment.
Test Cleaning Solutions
Since different cleaning solutions can react variably with wall materials and paints, you’ll want to test each one on a small, hidden area first. This step guarantees you avoid discoloration or damage when tackling stubborn stains. Start by applying a minimal amount of your chosen cleaning hack or stain remover to an inconspicuous spot. Wait a few minutes and inspect the area for any adverse effects like fading or peeling. If the wall looks intact, you can confidently proceed to treat the visible stains. Remember, testing stain removers systematically helps you identify the safest and most effective option for your wall type. Incorporate test cleaning hacks into your routine to preserve your walls’ integrity while achieving a thorough clean. This methodical approach gives you freedom to clean without risking damage.
Using Mild Soap and Water for Surface Stains
To tackle surface stains effectively, you’ll want to choose a mild soap that won’t damage your wall’s finish. Start by mixing a small amount of soap with warm water to create a gentle cleaning solution. Use a soft cloth or sponge to apply the solution with light, circular motions, avoiding excessive scrubbing.
Choosing the Right Soap
Selecting the right soap is essential when tackling surface stains on your walls, as harsh chemicals can damage paint or wallpaper finishes. To guarantee effective and safe cleaning, consider these points:
- Choose mild soaps with simple soap ingredients to avoid abrasive effects.
- Opt for eco friendly options that reduce environmental impact and indoor air pollution.
- Avoid soaps containing bleach or ammonia, which can discolor or erode wall surfaces.
- Test the soap on a small, inconspicuous area first to confirm it won’t harm the finish.
Preparing the Cleaning Solution
Once you’ve picked a mild soap that’s safe for your wall finish, the next step is to prepare an effective cleaning solution. Start by filling a bucket with warm water, then add a small amount of your chosen mild soap or natural cleaner. Stir gently to mix without creating excessive suds. This balanced solution is ideal for tackling surface stains while protecting your walls from damage. Avoid harsh chemicals that could strip paint or wallpaper. Using natural cleaners not only supports stain prevention but also maintains a healthier environment in your home. Keep the mixture mild to guarantee you don’t saturate the wall, which could lead to moisture issues. This precise preparation sets the foundation for a successful cleaning process that respects both your space and your freedom.
Proper Washing Techniques
Although it might seem straightforward, washing walls with mild soap and water requires a careful approach to avoid damage. Different wall materials react uniquely, so you’ll want to tailor your method accordingly. Follow these steps to maintain your walls while effectively removing surface stains:
- Test a small, inconspicuous area first to verify the cleaning solution won’t harm the paint or texture.
- Use a soft sponge or cloth dipped in a mild soap and water mixture, wrung out to avoid excess moisture.
- Gently wipe the stained area in a circular motion, avoiding harsh scrubbing that could strip paint or damage finishes.
- Rinse with a clean damp cloth and dry promptly to prevent water marks.
Adjust cleaning frequency based on the wall material and stain buildup to preserve your walls’ integrity.
Removing Crayon and Marker Marks Effectively
Many households encounter crayon and marker stains on walls, especially in spaces where children play or work. For effective crayon removal, start by gently scraping off excess wax with a plastic scraper or credit card. Then, use a damp cloth with a mild dish soap solution to wipe the area. If the stain persists, try a baking soda paste applied with a soft cloth, rubbing gently in a circular motion. For marker solutions, especially permanent markers, apply rubbing alcohol or a commercial stain remover onto a cotton ball and dab the mark carefully. Always test these methods on a hidden wall section first to avoid damage. With patience and the right techniques, you can restore your walls without harsh chemicals or excessive scrubbing. Acting quickly and using gentle blotting methods can prevent stains from setting deeply, similar to how immediate actions help with coffee stain removal on carpets.
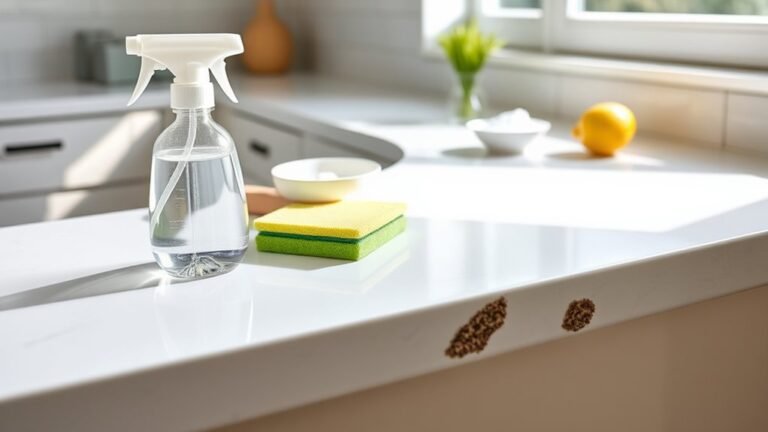
Tackling Grease and Food Stains in the Kitchen
Grease and food stains are some of the toughest marks you’ll face in the kitchen. To tackle them effectively, follow these steps:
- Prepare a degreasing solution: Mix warm water with a few drops of dish soap designed to break down grease.
- Apply the solution: Use a microfiber cloth to gently scrub the stained area, focusing around kitchen appliances where grease traps often accumulate.
- Rinse thoroughly: Wipe the wall with a clean damp cloth to remove soap residue, preventing streaks or buildup.
- Dry completely: Use a dry cloth to finish, ensuring no moisture remains that could attract dirt or damage paint.
Additionally, avoid scrubbing with the wrong tools to prevent damage to delicate wall surfaces while cleaning.
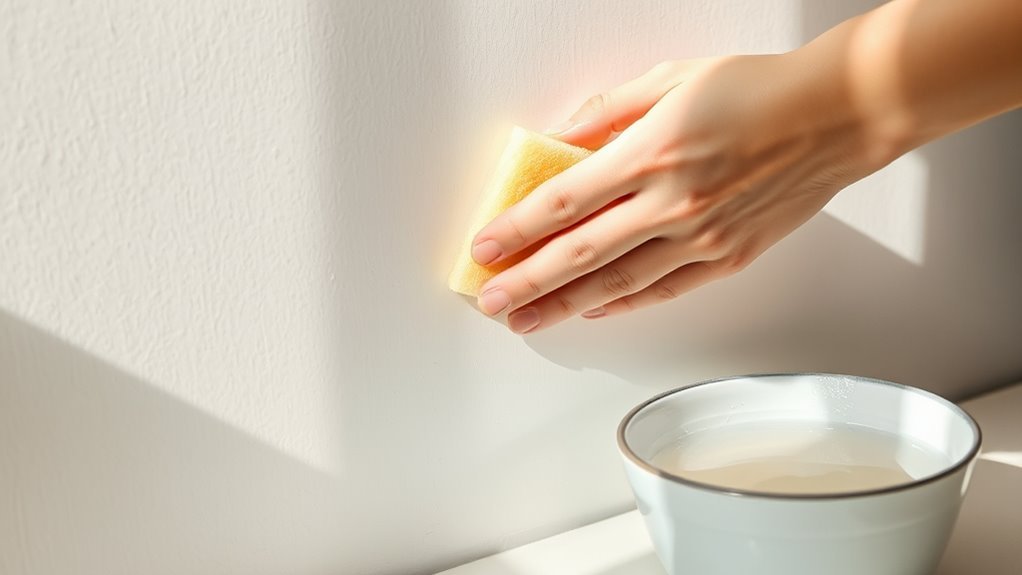
Eliminating Scuff Marks and Shoe Prints
After handling stubborn kitchen stains, your walls may still show signs of wear from daily activity. Scuff marks and shoe prints often accumulate near entryways and high-traffic areas. To tackle these, start with gentle scuff removal techniques like using a clean, damp microfiber cloth or an eraser sponge to lift marks without damaging paint. For tougher stains, a mild detergent solution can be applied carefully with a soft cloth. Avoid abrasive scrubbers that can worsen the damage. To maintain your efforts, consider shoe print prevention by placing mats at entrances and encouraging shoe removal indoors. Regularly cleaning these high-contact zones also reduces buildup. By methodically applying these scuff removal techniques and prevention tips, you can keep your walls looking fresh and protect your freedom to enjoy a clean, welcoming home environment. Using a soft sponge or cloth can help prevent scratches and further damage during cleaning.
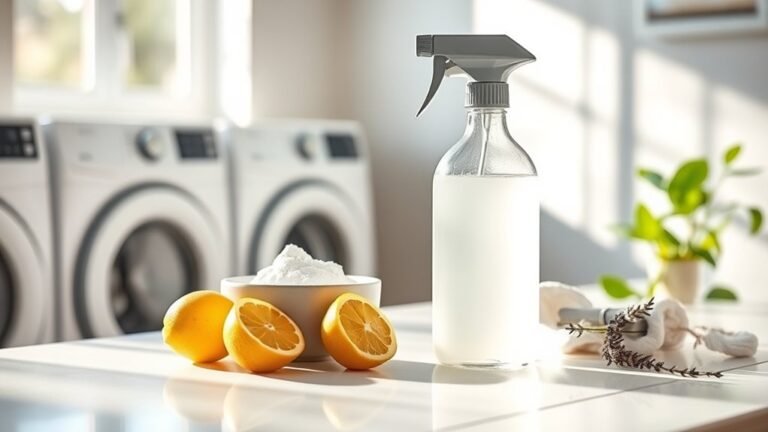
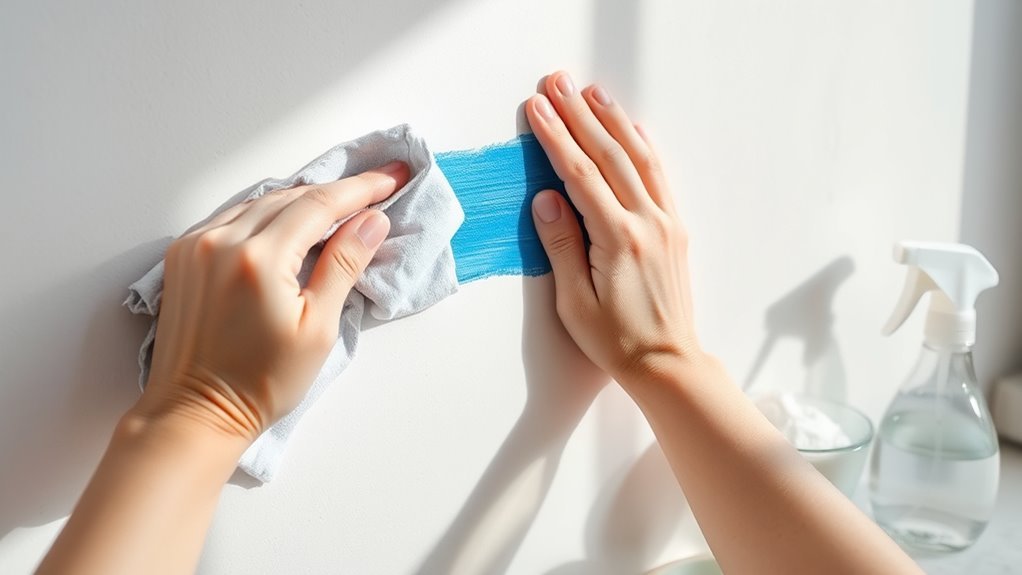
Applying Baking Soda and Vinegar Solutions
While some stains resist conventional cleaning methods, applying baking soda and vinegar solutions offers an effective, natural alternative. Here’s how you can tackle stubborn wall stains with this simple approach:
- Mix 1/2 cup of baking soda with enough water to form a paste.
- Apply the paste directly to the stain, letting it sit for 10 minutes.
- Spray a vinegar mixture—equal parts white vinegar and water—over the baking soda paste.
- Gently scrub the area with a soft cloth or sponge, then wipe clean with a damp cloth.
This method harnesses the mild abrasiveness of baking soda and the natural acidity of vinegar mixture to break down stain particles without harsh chemicals. It’s a liberating cleaning solution that’s safe for most painted walls and easy to rinse away. Always test a small area before applying to ensure surface safety.
Preventive Tips to Keep Walls Stain-Free
Although stains can be stubborn, you can considerably reduce their occurrence by adopting simple preventive measures. For effective stain prevention, start by applying a high-quality, washable paint that resists dirt and moisture. Regular wall maintenance is essential; dust and wipe surfaces with a damp cloth weekly to prevent grime buildup. Avoid placing furniture or items that may transfer stains directly against the walls. Use protective coverings in high-traffic areas, especially where children or pets frequent. Address spills immediately—quick action prevents permanent marks. Guarantee proper ventilation to reduce humidity, which can cause mold stains. By incorporating these practical steps into your routine, you’ll maintain cleaner walls and enjoy more freedom from constant cleaning and repairs. Consistent wall maintenance is your best defense against stubborn stains. Additionally, using eco-friendly cleaning options helps maintain wall surfaces without causing damage or environmental harm.
Frequently Asked Questions
Can Wallpaper Be Cleaned the Same Way as Painted Walls?
You can’t clean wallpaper the same way you do painted walls because wallpaper materials vary widely—vinyl, fabric, or paper-based. Some can handle mild cleaning solutions, while others might get damaged by water or harsh chemicals. Before cleaning, test a small area with a gentle solution to avoid ruining the surface. So, always tailor your cleaning method to the wallpaper type, ensuring you preserve its look without sacrificing your freedom to refresh your space.
How Do I Remove Mold Stains From Bathroom Walls?
Think of mold removal like erasing ink from a treasured page—you want to be thorough but gentle. For bathroom cleaning, start by mixing one part bleach with three parts water in a spray bottle. Spray the moldy walls, let it sit for 10 minutes, then scrub with a soft brush. Rinse well and dry completely to prevent return. Always wear gloves and guarantee good ventilation to keep yourself safe and free from harsh fumes.
Are There Stain Removal Methods Safe for Textured Walls?
Yes, you can safely clean textured walls using specific textured wall techniques. Start with gentle, safe cleaning solutions like diluted dish soap or vinegar mixed with water. Avoid abrasive scrubbers; instead, use a soft sponge or microfiber cloth to prevent damage. Test your solution on a small, hidden area first to verify it won’t harm the texture. This method lets you maintain your walls’ look and feel while effectively removing stains.
Can Professional Cleaning Damage My Wall Paint?
You might worry professional cleaning could damage your wall paint, but with proper cleaning techniques, paint durability is usually preserved. Professionals know how to tailor their methods to your paint type, avoiding harsh chemicals or abrasive tools that could harm the surface. Still, it’s wise to discuss your concerns upfront so they use the gentlest approach, ensuring your walls stay vibrant while stains are effectively removed without compromising the finish.
How Long Should I Wait Before Repainting Stained Walls?
You should wait at least 24 hours for stain drying before you repaint stained walls. This guarantees the stain is fully dry, which is essential for proper paint adhesion. If you repaint too soon, the paint might peel or bubble. For tougher stains, consider using a stain-blocking primer first, then wait another 24 hours before applying your topcoat. Taking your time assures a smooth, lasting finish you’ll appreciate.